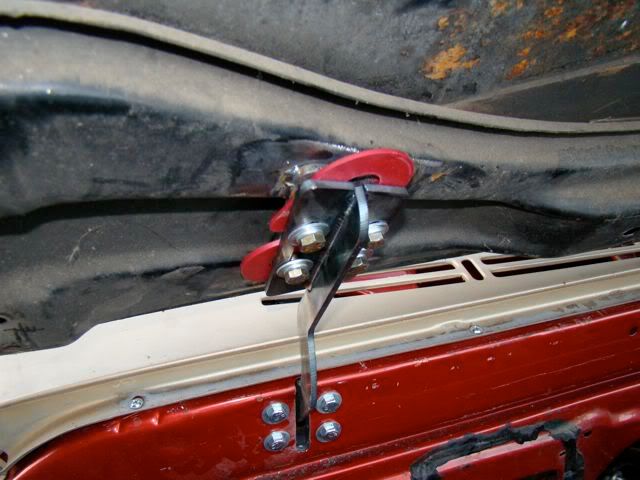
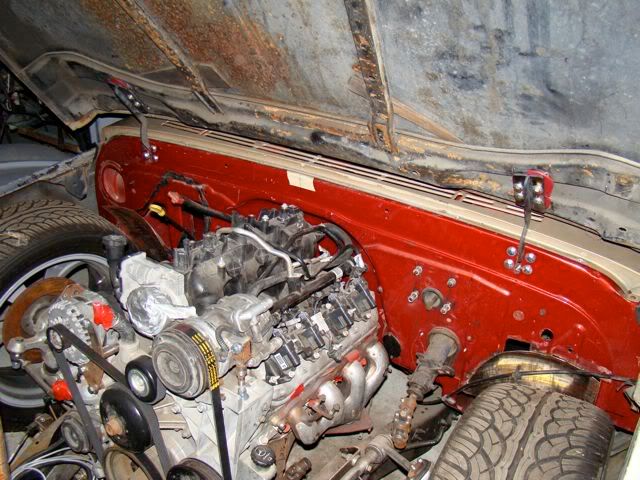
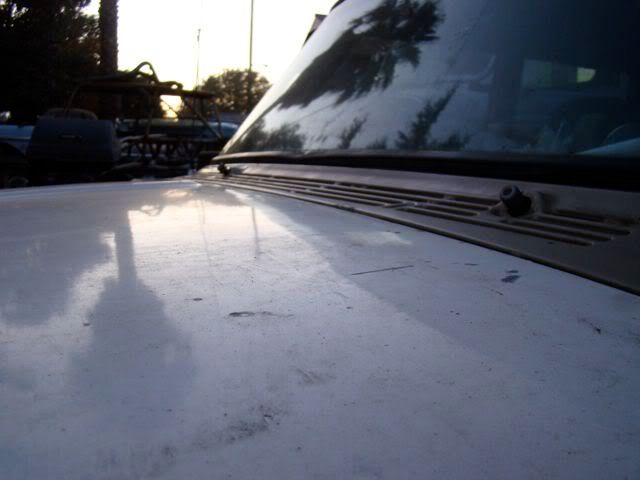
Now just bolt the hood on a drive, well almost. With the hood up (helps with 2 guys) I started all the bolts (do not use the SS bolts for this step yet) and once they were snug I adjusted the hood so that the mounting plate for the hood was about 1/4" in front of the plate on the arm. This gave some extra clearance for the cowl on the first shutting but still be careful that the hood does not contact the cowl. I did mine this way and when it was said and done I only had the hood slid out about 1/16" past the plate on the arm.
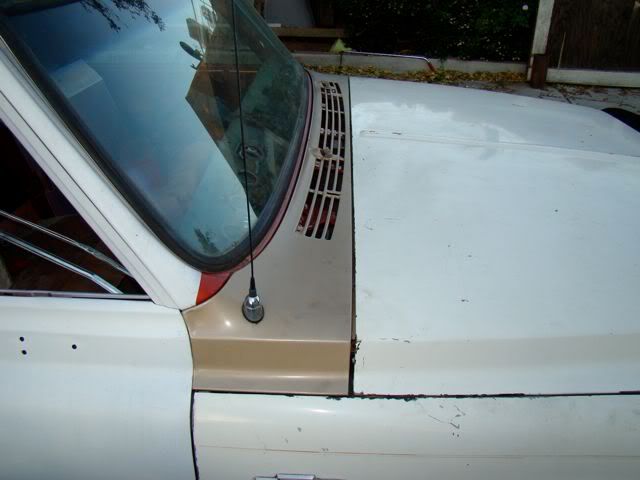
Now my hood was 1/8" lower than the cowl and needed to come up. I had some spacers that were 1/8" so I loosened one side at a time and slid in the shims and re-tightened the bolts. This put the hood perfectly flush with the cowl and the hood to fender gap was great as well.
I have Talked with Nate and he will be suppling (2) 1/8" and (2) 1/16" shims with the next kits.
[IMG]
[/IMG]
[IMG]
[/IMG]
No worries about chipping paint with these hinges, once they are set correctly.
[IMG]

[/IMG]
[IMG]
[/IMG]
[IMG]
[/IMG]
[IMG]
[/IMG]
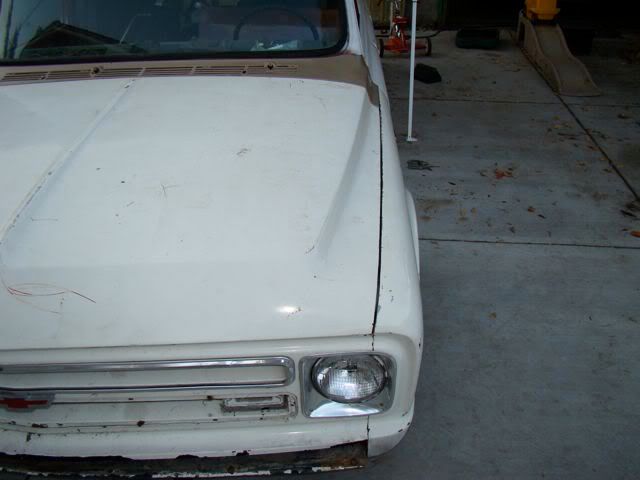
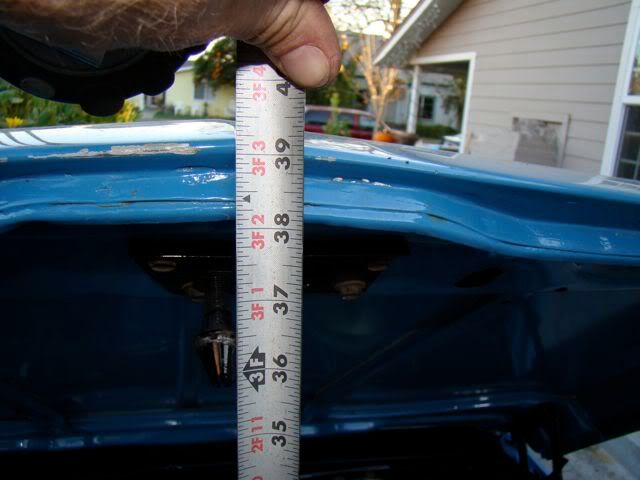
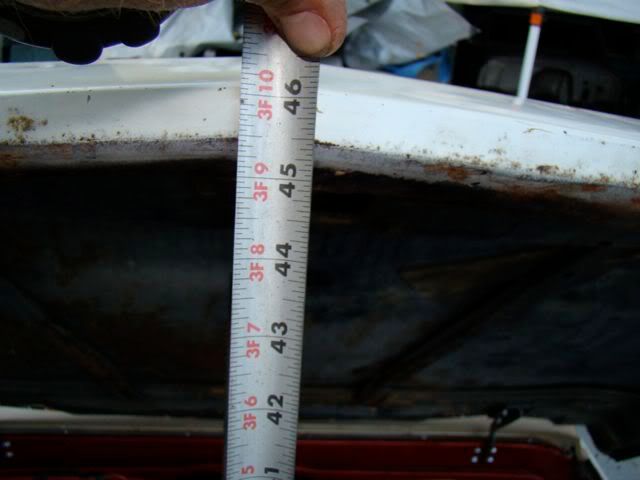
How is this for a hood opening! I checked on low buck and had an opening of 39" (blue hood) between the hood latch and latch pin and on the Tahoe ( white hood) with Nate's kit I had 46"! A total gain of 7"!
[IMG]
[/IMG]
[IMG]
[/IMG]
[IMG]
[/IMG]
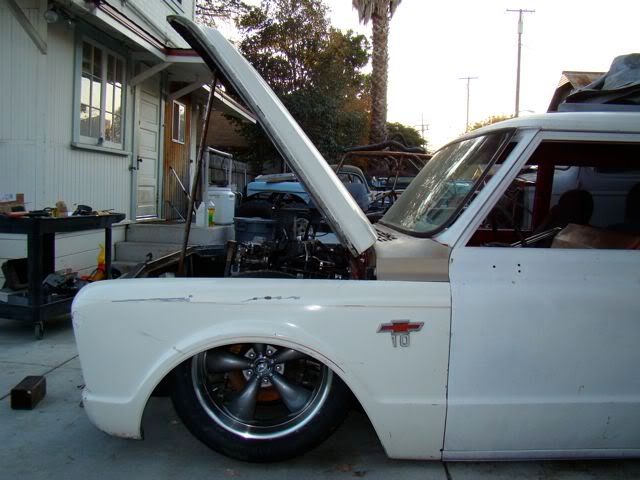
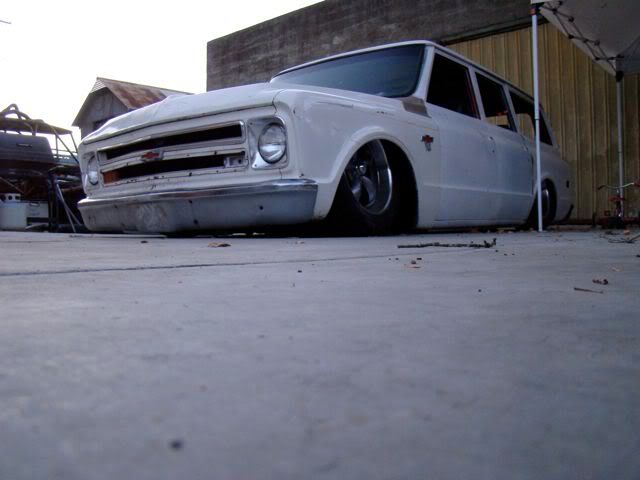
So now you can be this low, rolling on 30" tires and still take your hood with you all for about 4 hours work.
[IMG]
[/IMG]
Kevin
LFD Inc.