Robbing from Peter to pay Paul
A number of times any adjustment to one panel affects others not directly in contact with it
After 35+ years of truck use and abuse the cab is probably not sitting the same as it came out of the factory (twisted, tweaked, sagged) and then add in rust, cancer or damage, its very unlikely that the cab is perfect. The mission Ive decided to accept (smile) is to bring all the panels together on this truck to be as good as what came from the factory or better.
With all the repair panels and after market doors and fenders that I using, it would be impossible for me to say which ones are a perfect fit and if any problems that exist would be caused by the panel or the factory metal that Im installing it on. One part installed on one truck could fit perfect and on another truck require bending, forming, and shimming, each truck is different as every build is. So with that being said Ill be showing the problems that Im encountering and how Im working at salving them. Along with throwing in a few of my thoughts in on how Ill be approaching the task.
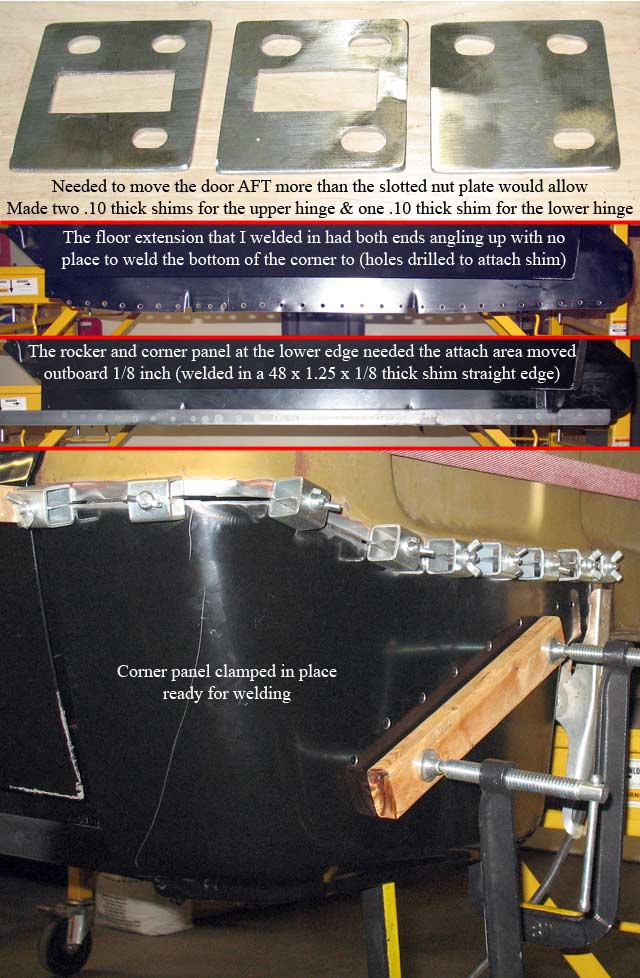
I spent a few days fitting the door to what was left of the cab that is not going to be replaced as well as the front fender temporarily installed to bring the parts in alignment and have the door as close to the final position as possible (will show how I temp fit the front fender in the next post). Needed to make some shims for under the hinge to move the door aft to line up with the aft pillar. With the door set Ill start fitting the rest of the repair panels around it.
The lower edge of the floor extension that I installed is not straight across the bottom and needed to be shimmed out 1/8 inch for the rocker and corner panel to sit right and have a place to weld them to. Welded in a 1/8 inch thick x 48 inch long x 1-1/4 inch wide shim along the bottom edge (will cut the forward end to length later).
Fit and cut in the corner panel then clamped in ready for welding. The more clamps along the butt seam will aid in preventing panel warping during welding (plenty of spot welds between them before I start removing them).
Welded in the butt seam first then the spot welds a long the back side. Then the forward edge and finally the spot welds along the bottom edge to the shim. Not that it was really needed (might say a little bit of overkill) ran a weld bead along the inside of the butt seam after all the outside welding was accomplished. Note welding in the long butt seam first complete before the spot welds because the panel can grow a slight amount a long the seam and if its welded at other locations may create warping in the panel (Ive learned this the hard way on other welds)
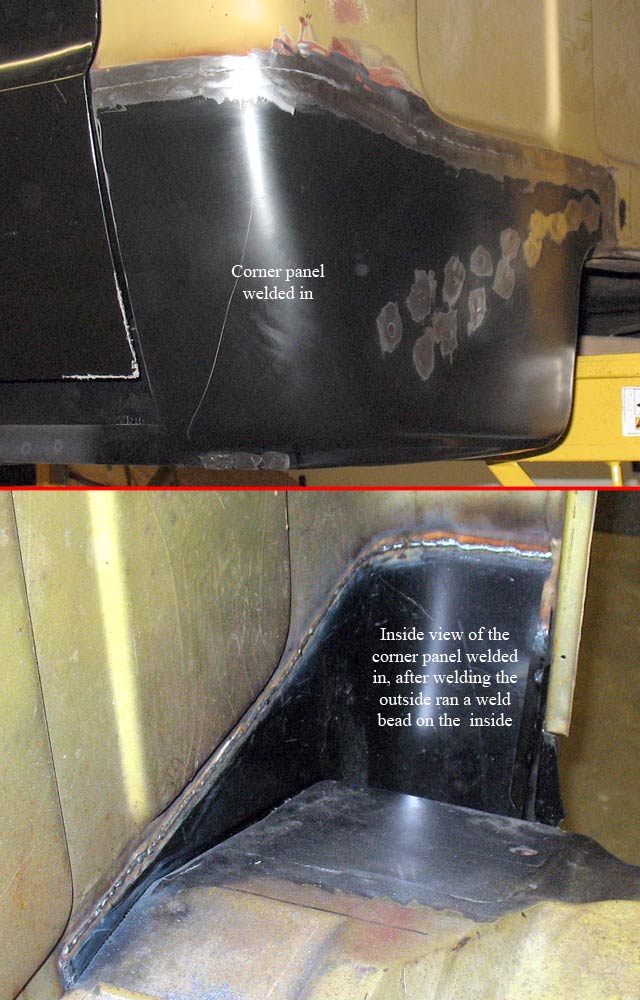
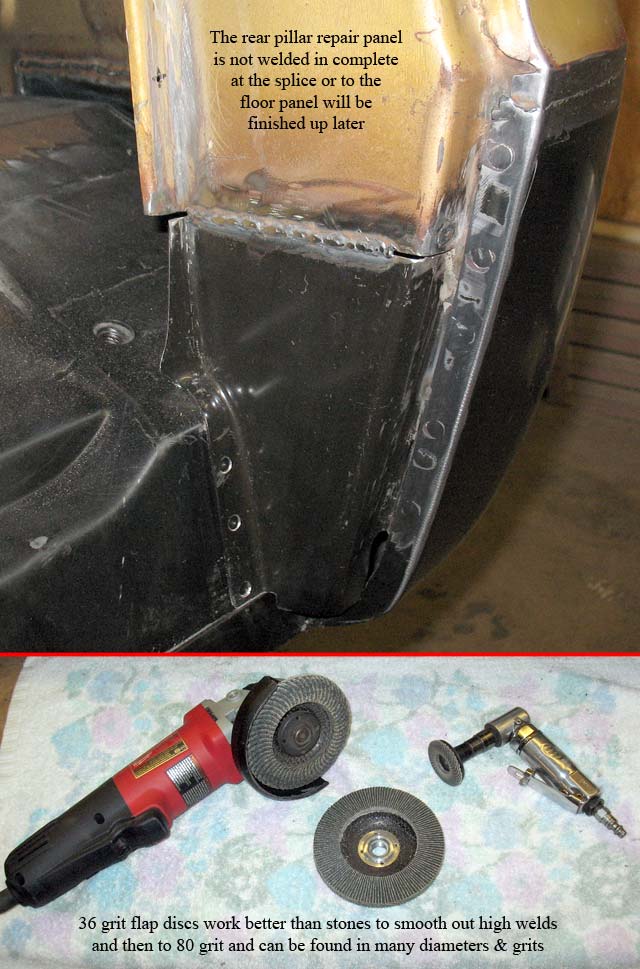
The rear pillar repair panel is not welded in complete at the butt seam or to the floor extension panel (might help in positioning the rocker panel). Note with the corner panel welded in the gap between the corner panel and door is set and will not move.
I was told a number of years ago that using flap discs to take down welds and are more forgiving than stone discs and less possibility of gouging. I have to agree they work great and come in many diameters sizes and grits. I use a 36 grit to bring the weld close then an 80 grit to smooth it out.
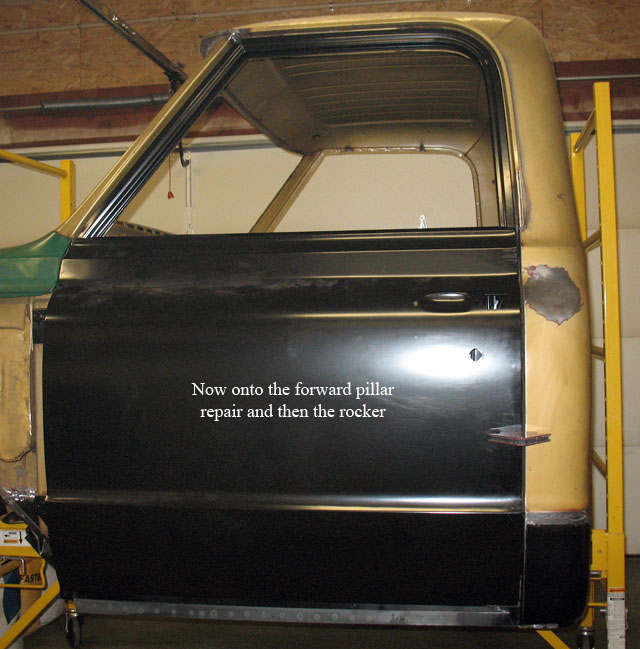
The door lines up with the rear cab lines and gap is with in range. Now onto the forward pillar repair.
May you keep track of the big picture of your build and not get what some might call tunnel vision on one area that might cause you problems in other areas. Enjoy your build