its been a while since i have dropped in here.been so busy lately i haven't been able to pick up a wrench. thanks again for more comments fellas.in the new year my buddy is going to let me move back into his garage so i can finish it up.as for hinges in going to install some in the back.they will be custom.
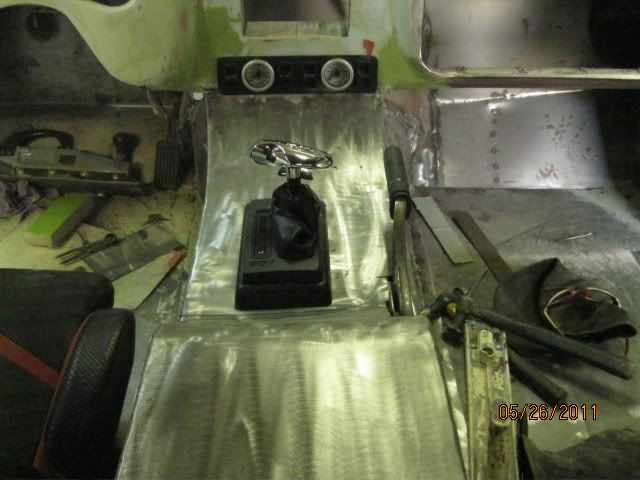
and for the center console i will try to think back and give you a step by step.it was actually quite easy to build.hardest part was getting the right measurement for the shifter and hand brake holes.
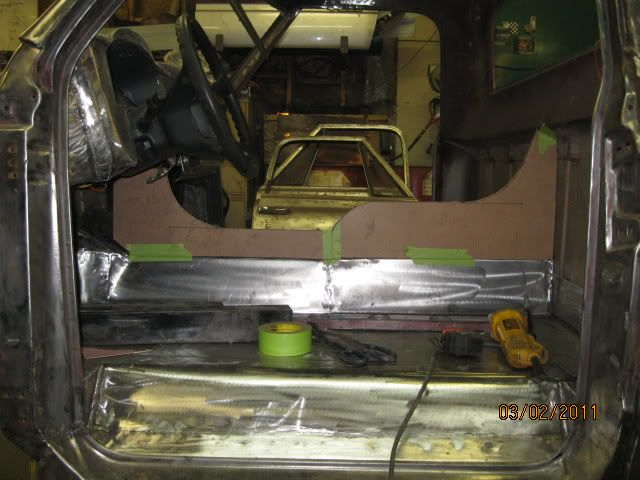
1st step...i got my measurements of the length and height i needed to work with and cut a rectangle out of thin press board with that measurement.you could use cardboard.
2nd step...i trimmed the rectangle at the rear to fit the back of the cab perfect and the front to fit up to the underside of my dash.
3rd step...i had an idea of the shape and just marked out the flat lines of the place where the shifter would stick through then the step up where the arm rest would be.then just traced circles from various things laying around to get the flow i needed.
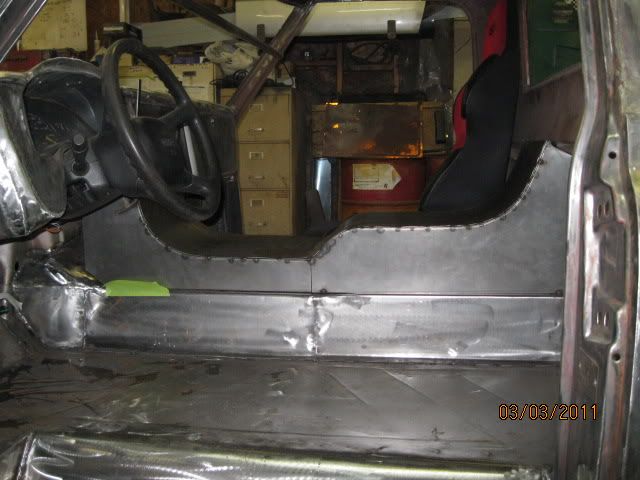
4th step...after cutting the shape out of the press board i traced in onto sheet metal (18ga) then cut it out (make both sides the same)
5th step...i used 1 inch wide x 1/8 thick flat bar on its edge and tack welded it to the whole top edge of the side pieces.this is where the top sheet metal will set on for sturdiness and will give a backing for welding the seams
6th step... i just figured out how wide i needed the console and used a soft measuring tape to see how long i would have to cut the top sheet metal to cover the top.
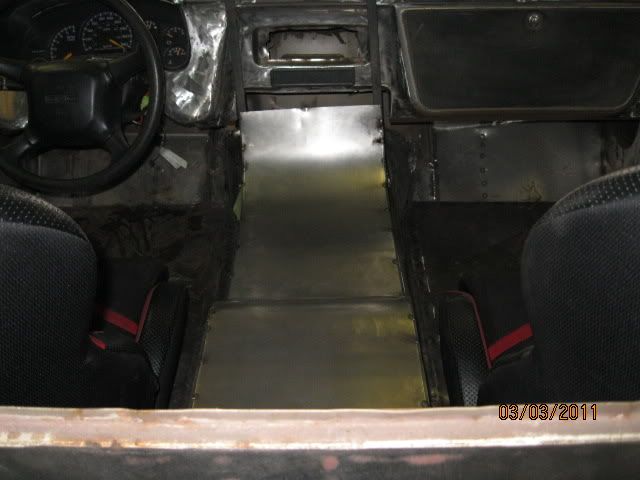
7th step... once the top was cut i began to get a rough shape of where i needed to bend it to fit to the sides.i just laid it against the side and marked where one bend had to be,bent it over my thigh (crude but it worked) then kept moving onto the next bends.
8th step..i worked with one side and the top and tacked it from one end to the other.this is where you lay the edge of the top on the side flat bar.as your tacking and shaping small taps with a body hammer helps get it into place.then repeat with the other side.
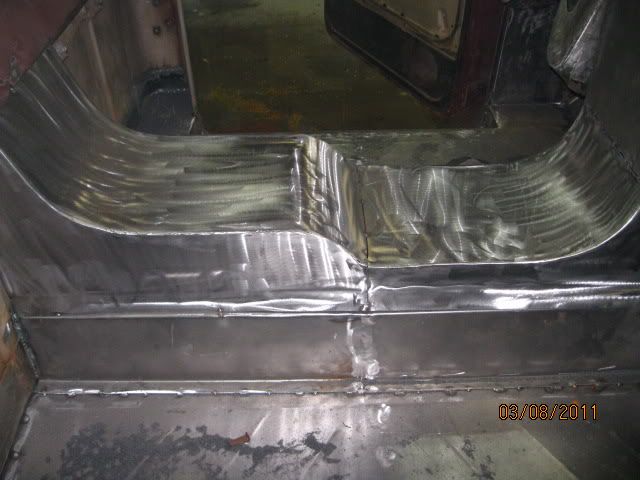
9th step.... tack weld both seams on each side every 2 inches apart until its all welded.dont let it get too hot or it will warp.once done use a flap disc to buff and round the edges.
10th step...install it in place and carefully drill holes where you want to mount it to the floor .i welded 1/4 thick flat bar tabs drilled and tapped to thread a 1/4 bolt into.worked great.but im sure sheet metal screws would do also
11th...cut holes for gauges/shifters/switches/nitrous bottles/cup holders ect then body fill/prime/paint and enjoy
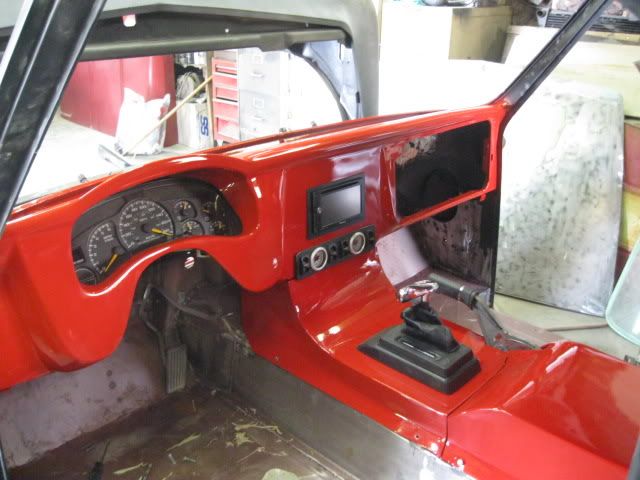
and to be honest once your into it its not that hard at all.
hope this helps