UNIVERSAL JOINT R&R (4 OF 6)
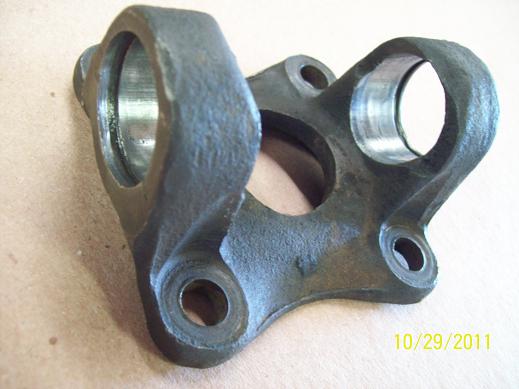
Now that it's apart, you should have something that looks like this.

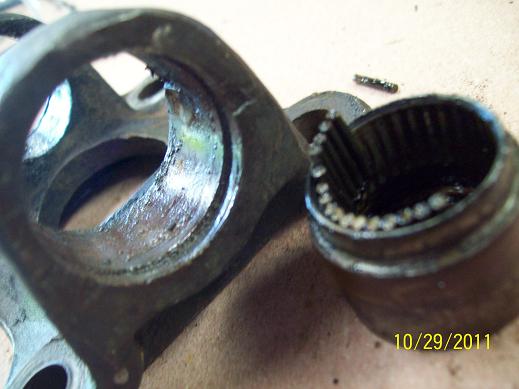
Here is what the yoke bores looked like just after removal of the UJ. With all that crud jammed in there, you can see why the bearings didn’t break free with the clamp or vise, even with heat and penetrant.
Clean the interior surfaces of the yoke thoroughly. For the bore, I use Scothbrite pads or abrasive paper 220 grit or smoother. You don’t want to use anything that will severely score the bore. A wire brush attachment on a Dremel gets inside the lock ring annulus. Use what you have, just get it clean and don't abuse it.
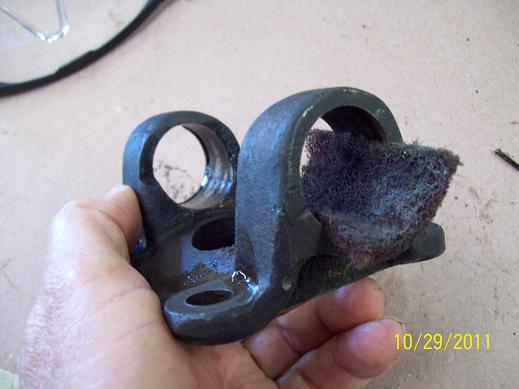

Inspect the interior surfaces for damage and remove any burrs, scratches, deformations, or other impediments to insertion of the new bearings and lock rings. A Dremel tool with suitable grinding attachments works well. Files do, too. The bore should feel smooth to the touch. Do the same for the lock ring annulus and test with a new lock ring. Everything should be clean and smooth but don’t go crazy and remove a lot of material. You'll end up with loose, ill-fitting bearings. Now you should have something that looks like this.