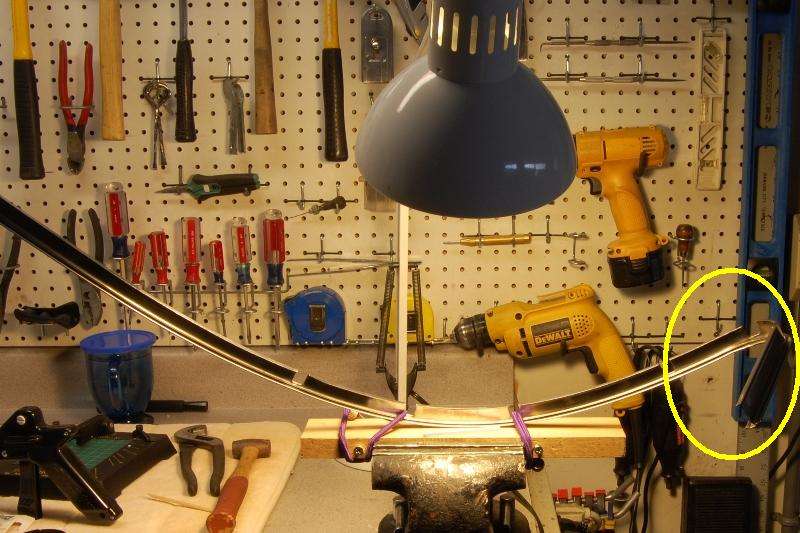
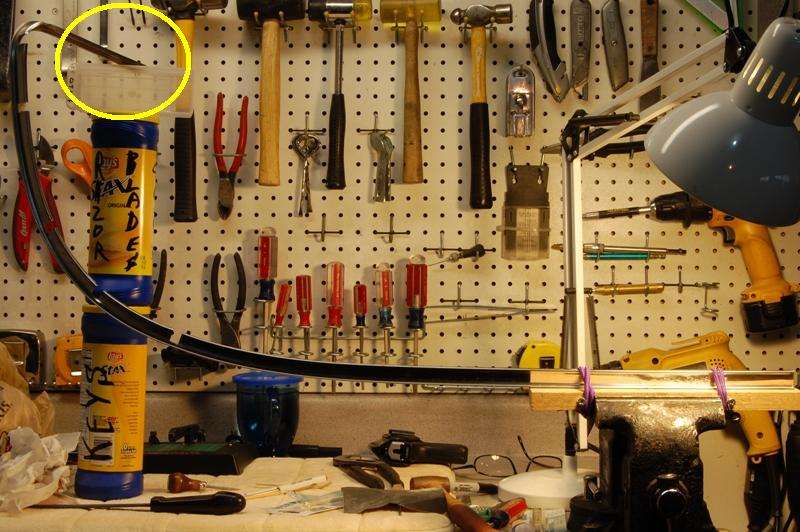
Finally saw some sunshine this evening, which inspired another 3 hour windshield trim repair session. This time I was focusing on dent removal. The first step was figuring a way to hold the trim in position. With the vertical windshield post portion nearby on the right side, I simply added some screws to the jig board and strapped the trim down with mini-bungee cords:
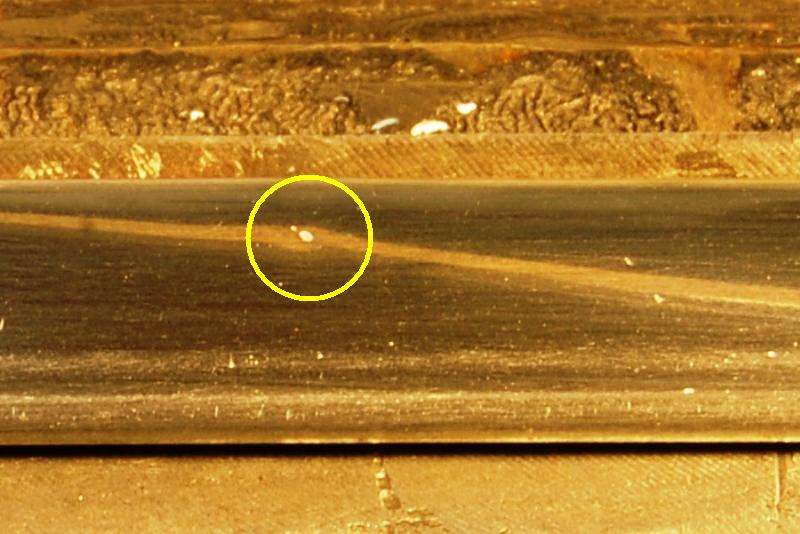
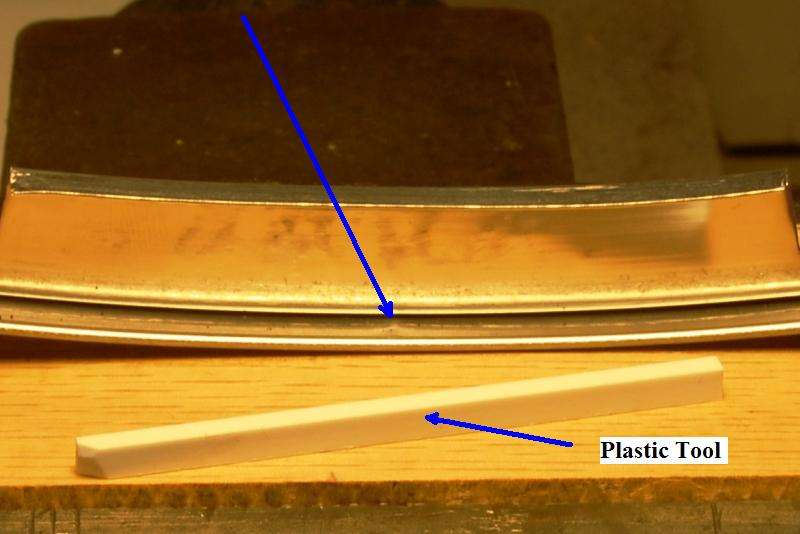
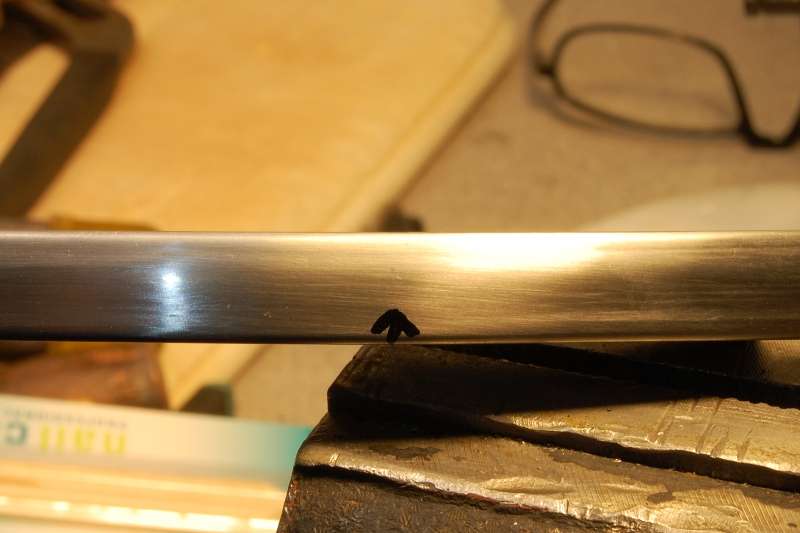
This was the dent I was after. I can’t figure out which of the before pictures shows this dent, so I may have missed taking one of it. The first tool/punch I started with was a length of styrene plastic, but it failed to transfer enough energy to the trim to effectively move the metal.
I switched to what used to be called “orange sticks”, designed for ladies fingernail maintenance. Both ends were used depending on the repair needed. Once the ends get smashed I trim them with fingernail clippers or grind a different shape on the Dremel sander. I also used the awl once to remove the very bottom of the dent once it was no bigger than a pit. This was done by hand without a hammer, because the risk of damage to the trim is so great.

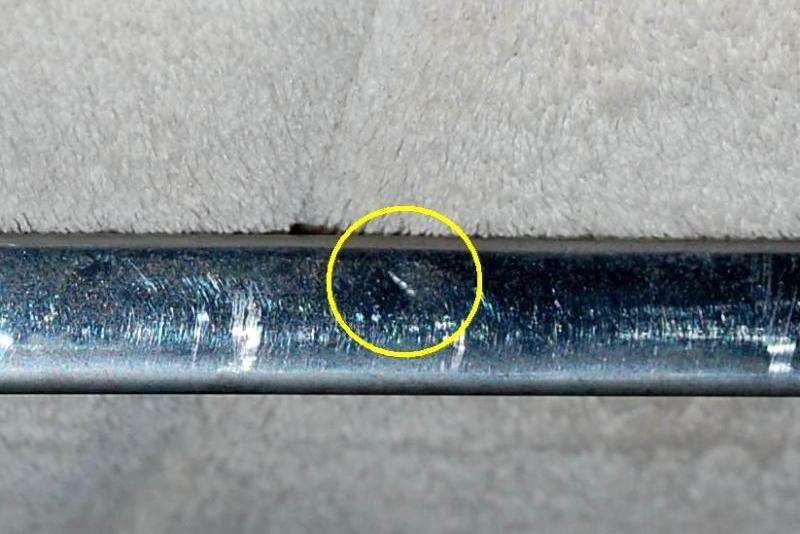
Not realizing I didn’t have a before picture, this is the first shot I took about half way through the repair. The dent was quite deep and took over an hour to get to this point. I’m sure trim repair experts can go a lot faster, but this is my first attempt so I’m taking my time. If I have it all done and installed by August I’ll be happy.
And this is the end result. I’m very anxious to start polishing these parts, but it is such a messy process I’m managing to hold off until I have everything ready to do at the same time.
Moving on to the second dent placed the elbow in the trim precariously unsupported, so a makeshift tower was put in place to keep it from flopping around.
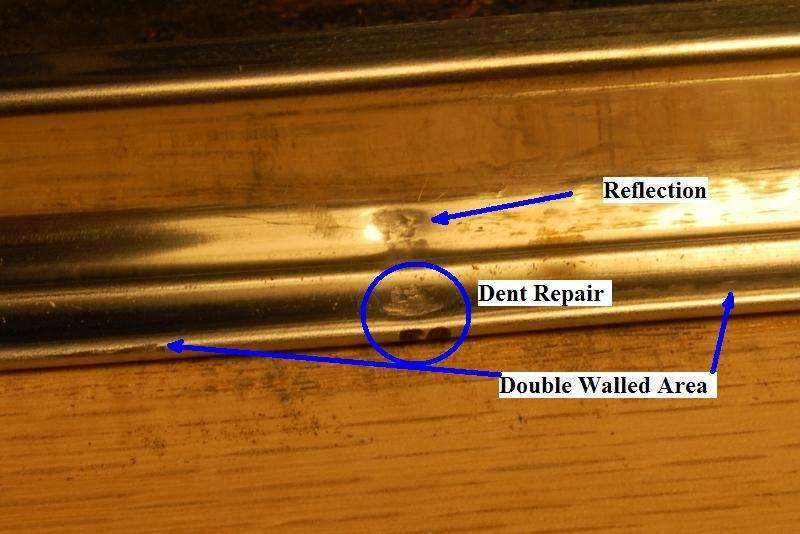
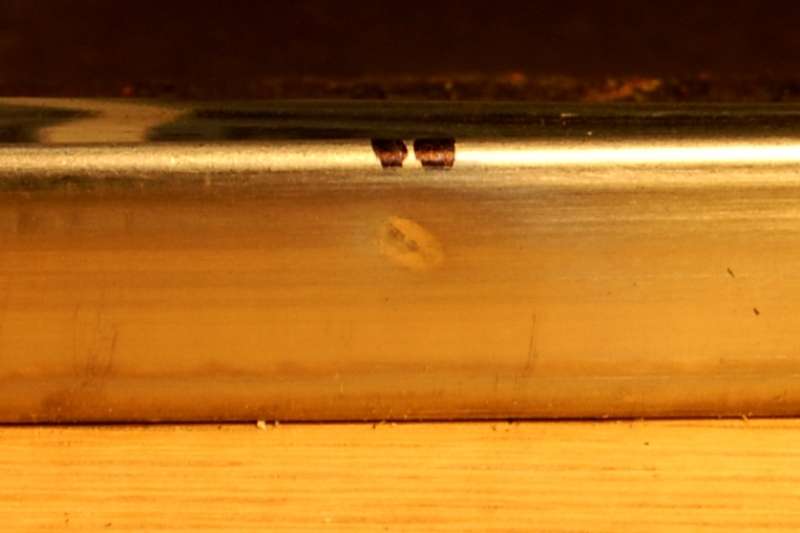
This was the dent I was after:
This one was much harder to work on, due to the design of the trim. I’ve rotated the photos so they are all oriented the same, but this dent is actually on the bottom half of the trim as installed on the truck. The difficulty being the half of the trim closest to the glass is single wall thickness. Dents can be accessed from the backside. Dents on the outboard edge of the trim are double wall thickness, the metal begin folded over to create the j hook flange. This prevents direct access to the dent. I went ahead and deformed the back edge in order to push the dent out in the front. Depending on where the dents are, it might be easier to drill a hole in the backside to reach the dent, but this could easily result in damaging the back side of the face with the drill bit. Care must also be taken to avoid flattening the edge of the trim, which will show when installed.
Again, this is about half way through the repair:
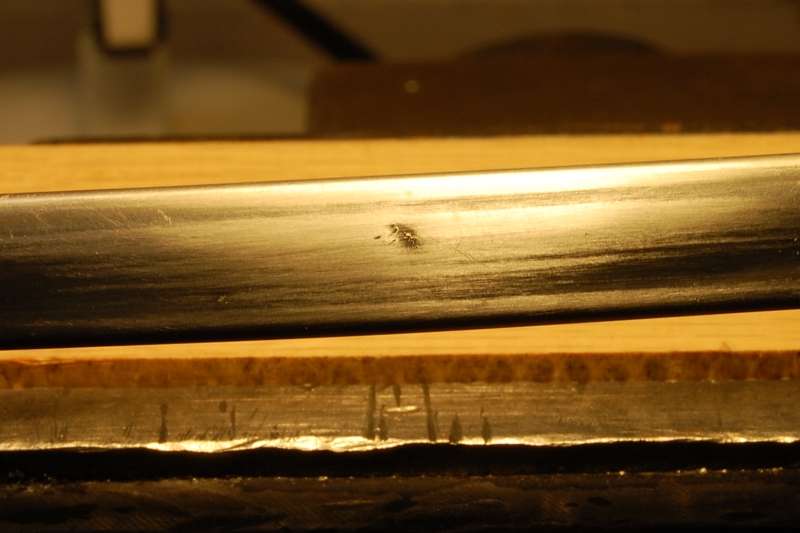
And this is a very poor photo of the semi-completed repair. I'll replace this photo with a better example next time I'm working on it. Almost all of the dent is gone, but a small “pit” remains. I was burned out by this point, so I’ll start again on this defect next time.