OKGMC4, you are so correct. Everything I touch I try to think of what and how I can make some small change that will add a personal touch.
Building that exhaust was an exhausting experience.

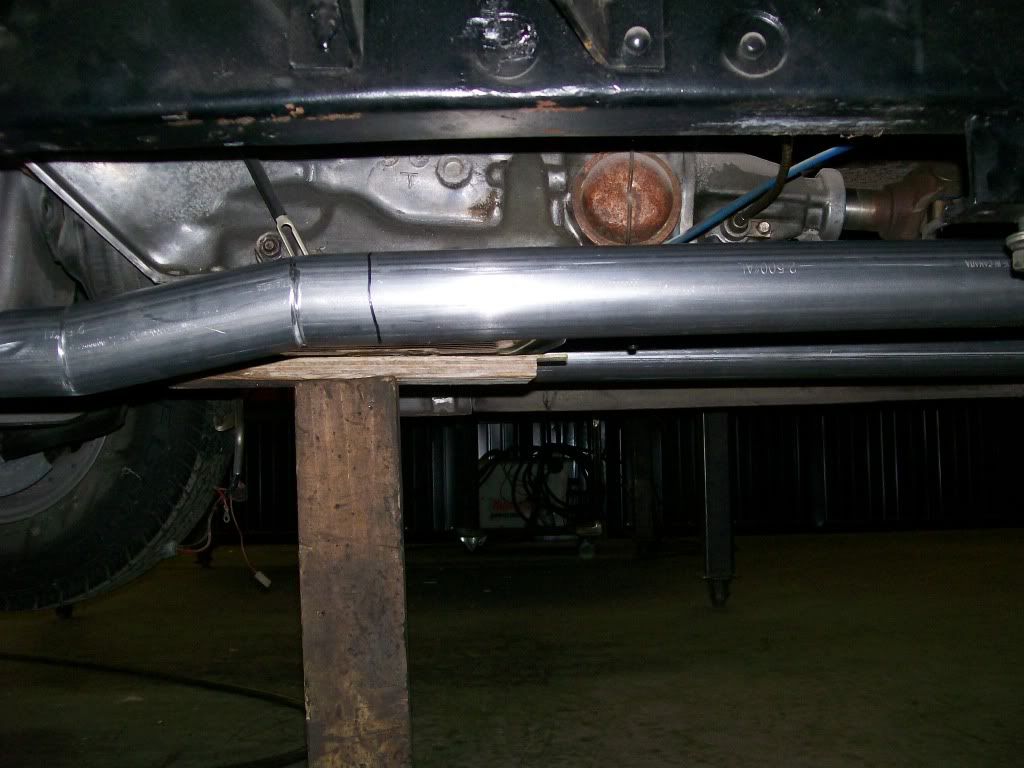
I started with a set of shorty headers by patriot exhaust. I didn't use the full length headers because I didn't want the headers to dictate how the exhaust was going to fit under the truck. I also had to build my own crossmember, at the time I figured I'd be trying to fit the exhaust up and over the crossmember. By looking at the last set of pictures you'll see no humps or drops to avoid hitting the crossmember.

I had a choice, build the crossmember first, then route the exhaust around it, or build the exhaust first, then build the crossmember around it. I chose to build the crossmember over the exhaust.
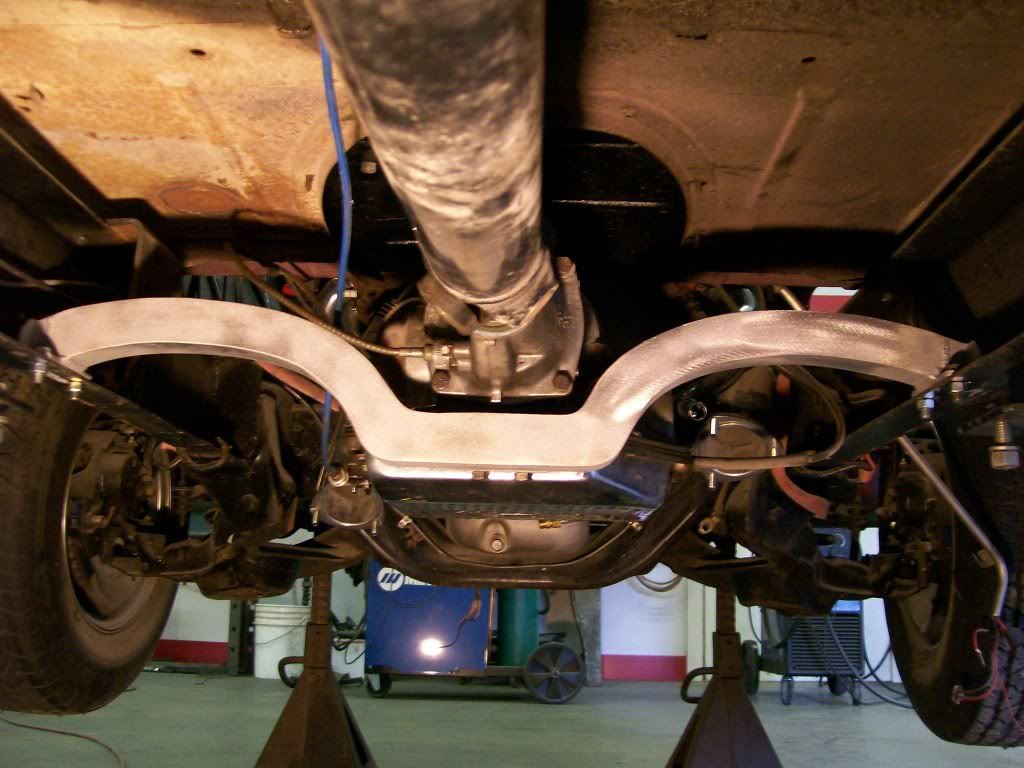
I figured there is performance lost when there are more bends put into the exhaust vs having the bends in the crossmember, which will have no effect on the performance.
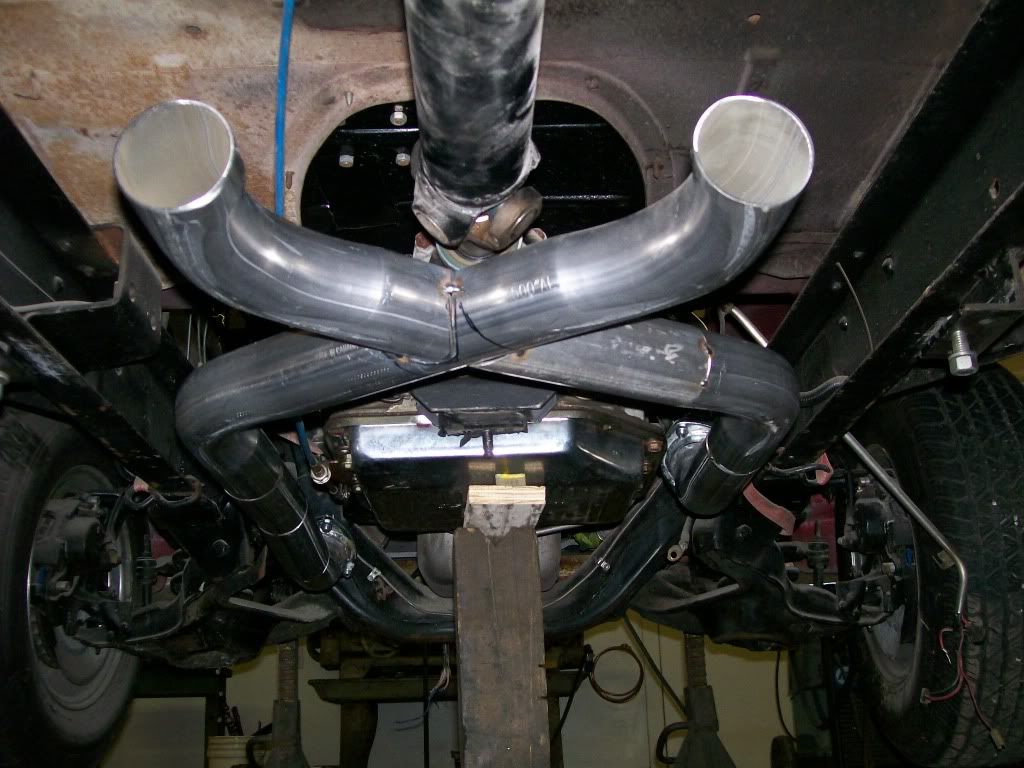
Next, the total exhaust can removed just by on bolting it and dropping it down.
Next, the "X" in the exhaust is back far enough that the transmission can be removed with out touching the exhaust.
Yes, I laid under the truck for a couple hours getting this figured out.
I hope no one minds, but I have many pics of the process loaded so I'll show some of the work getting this all put together.
Originally I was going to do a simple dual exhaust, then I thought about the side outlets, then I was going to do an "H"pipe. Then I didn't want to do all the fish mouth cuts to fit the pipes together. All I can say is, don't let time be the deciding factor in how much of yourself you put into a project. In the end it'll be worth it. What I smile on your face when you describe to people all you did to it later.
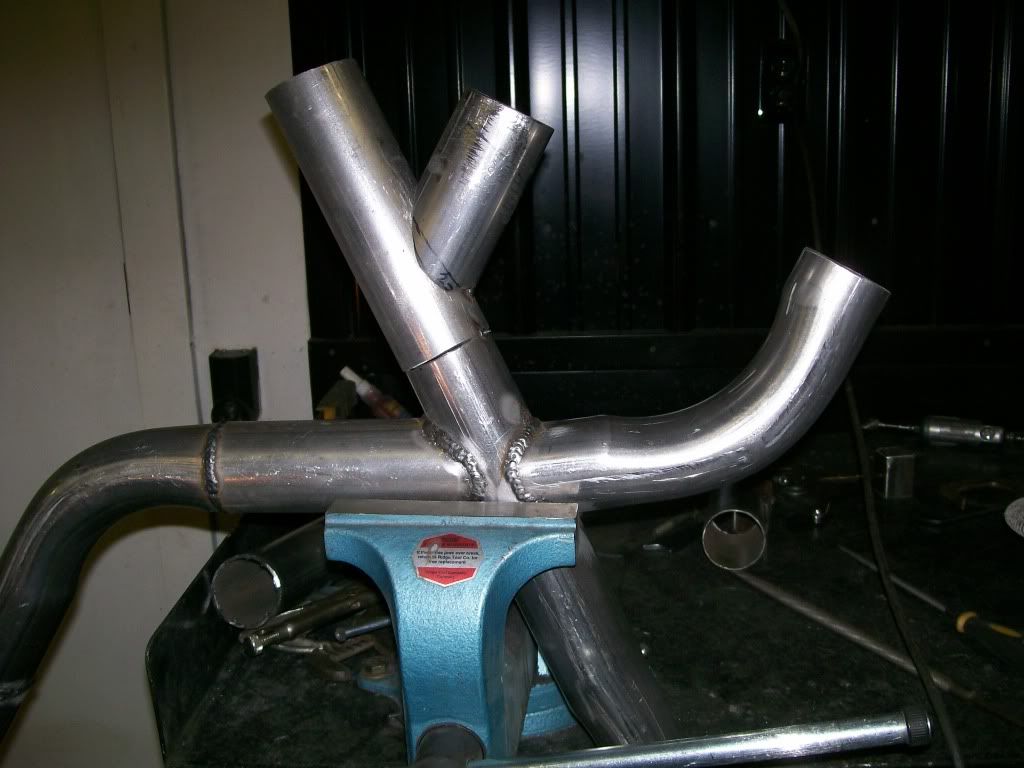
I decided on the "x" pipe.
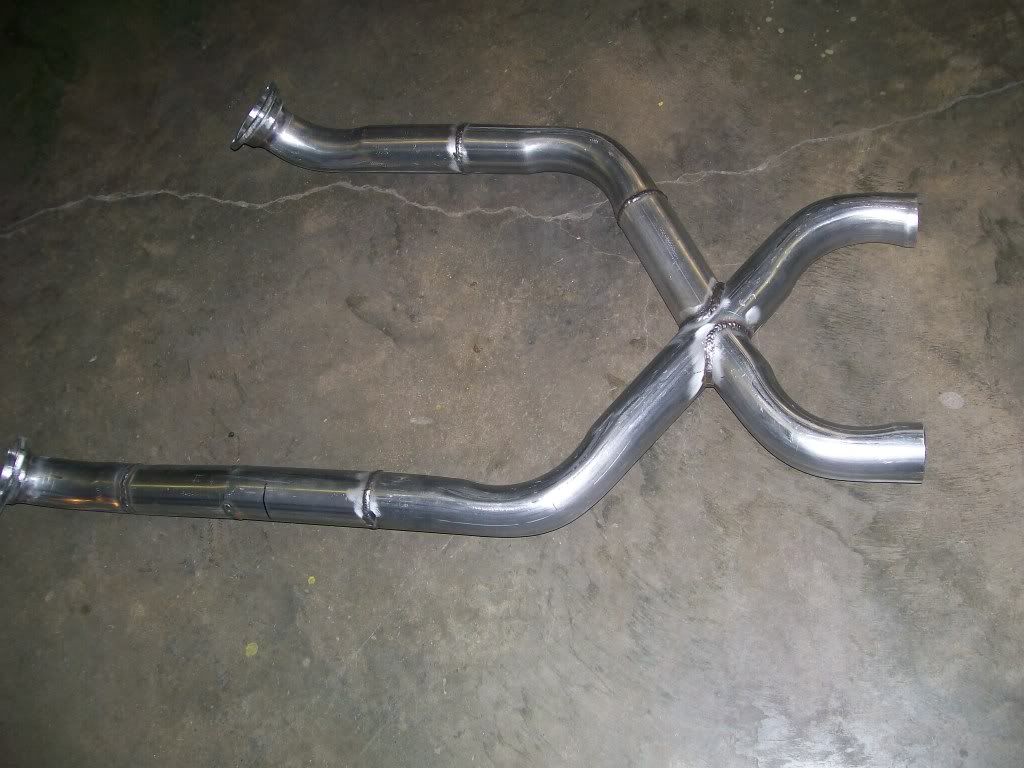
This would have been simple, just slide on a couple mufflers and run the tailpipes, or even the side pipes from here.
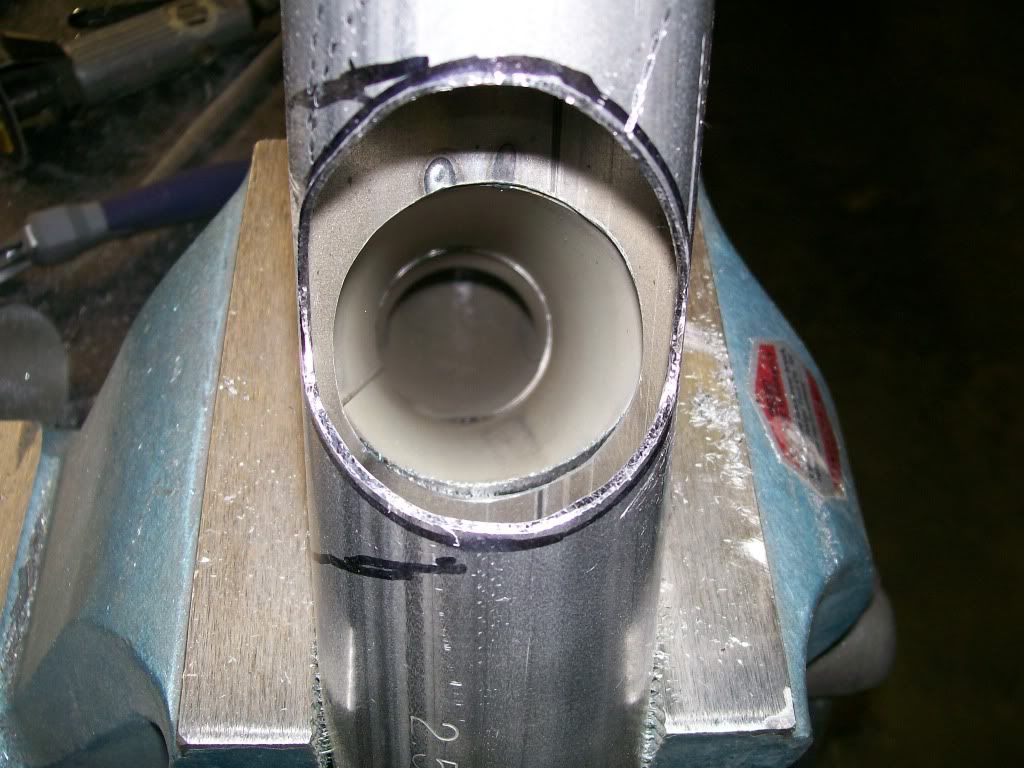
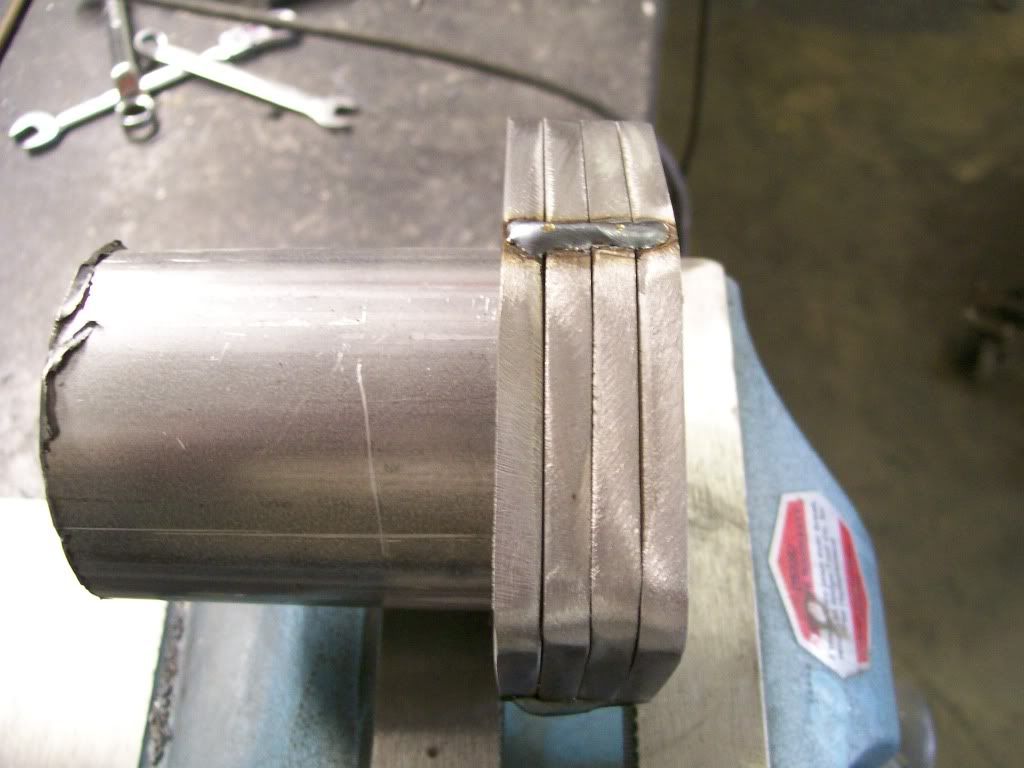
The headers didn't match at their outlets. So once I fabed up the collectors the drivers side was about an inch lower. I found it easier to cut a couple small wedges out of the pipe and pull the pipe back together. I can check the fit and remove more from the wedge if needed. Plus, the pipe is still together, I have some flexibility to get it at the perfect angle before I commit to the weld.
I wanted the same height for the passenger side and the drivers side, if they were off, the "x" would look lopsided.
Working my way through building the "x". I know they have preformed "x"s available. I just have issues with being restricted to the prefitted angles of bought pieces sometimes.
I can't believe this is going to work out ok. LOL....
I need a flange on both sides of each of the cut out valves. I used the gasket and scanned it on the computer and had the Torchmate cut the flanges. I however do the bolthole drilling by hand. A plasma torch is not precise enough to cut the small boltholes.
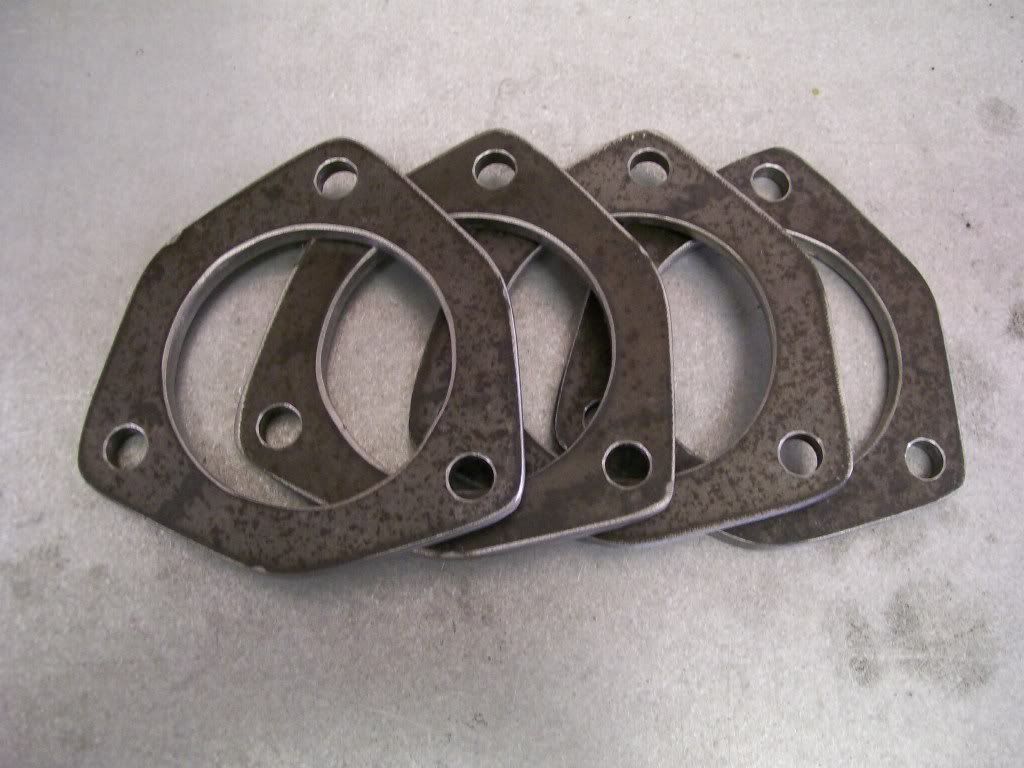
I had four flanges to drill. I drilled one flange to the exact dimensions. I then slid all four flanges together on a piece of pipe, then tack welded them all together. Then removed the pipe. Now with the drill press I can use the one that has the exact holes as my guide to drill all flanges that will be in perfect alignment with the bolt holes and the inside hole as well.
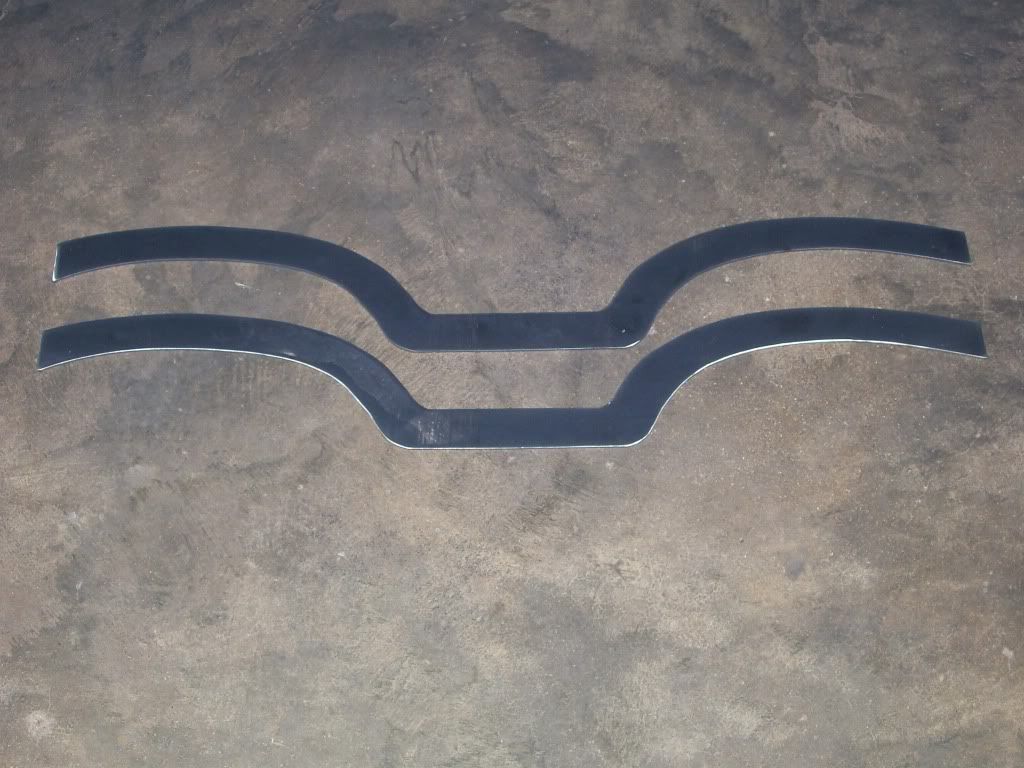
I'll continue the exhaust later, here is a teaser of how the cross member started.