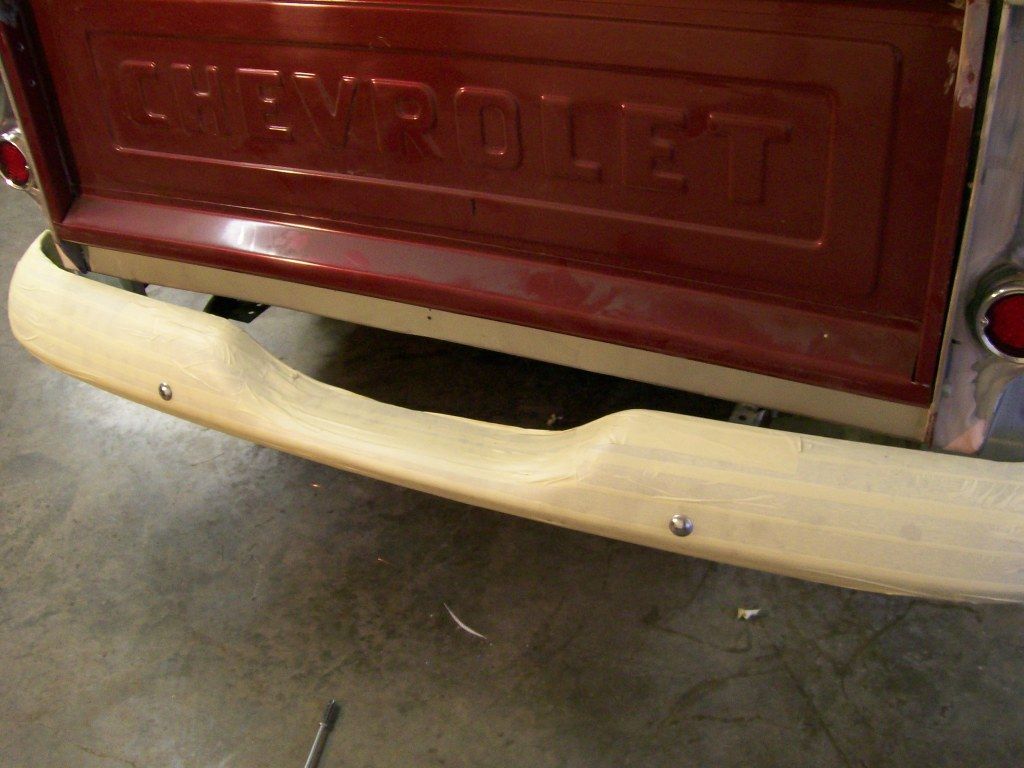
Earlier I went through the shortening and raising the rear bumper brackets. One thing I really like about bringing the rear bumper forward is that now the rear bumper pretty well matches the way front bumper comes around and overlaps the side fenders.
This was something that the other bumper did that was on here before but it was from a different/newer vehicle. The original front has a rounded look to it, and one that was on it had a square look to it. It just didn't match.
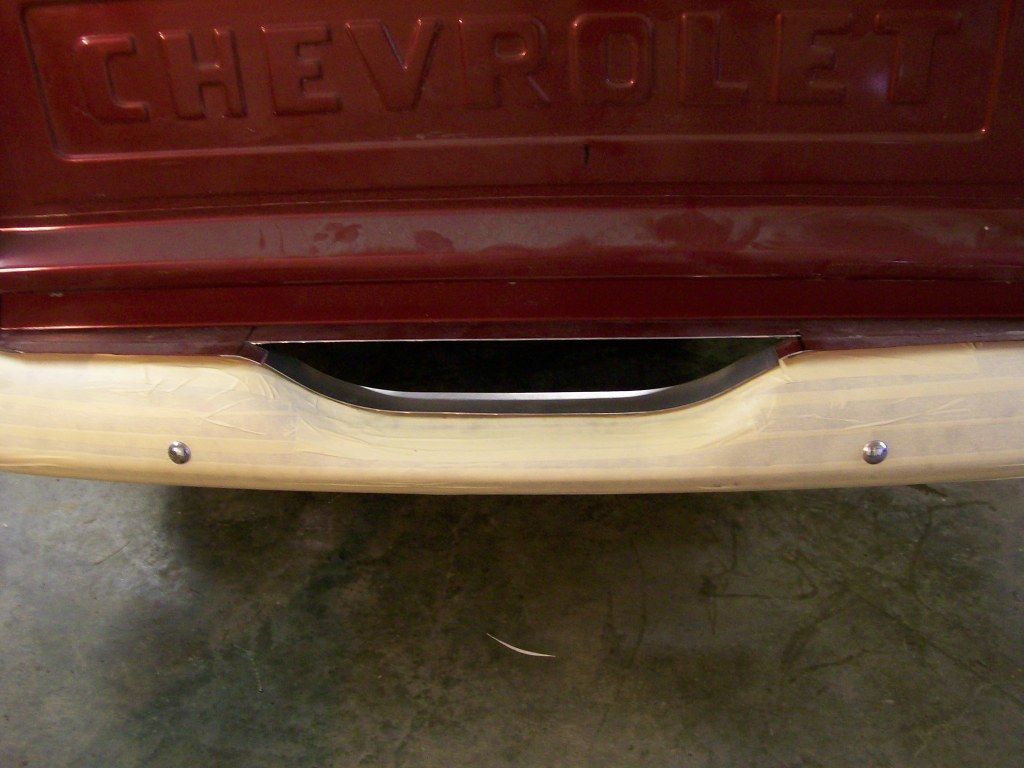
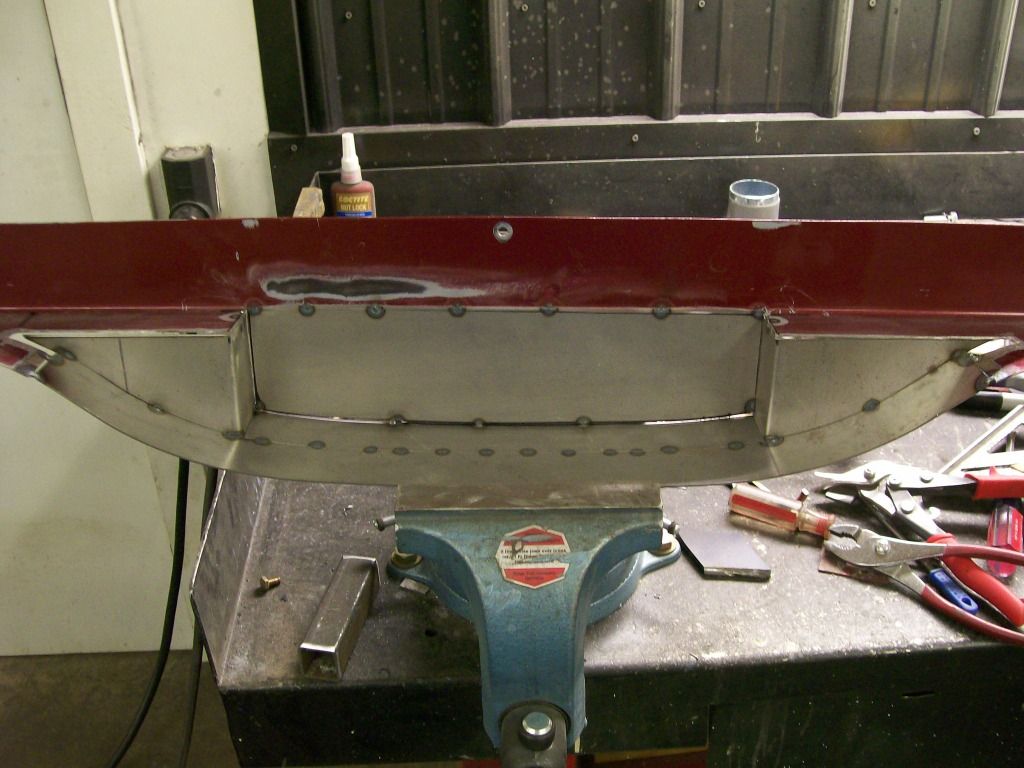
Before I started working on this truck I never paid attention to the original fit of the rear bumper and I never noticed there wasn't a filler panel to fill the open area between the bumper and the bed. Time to fill the gap....
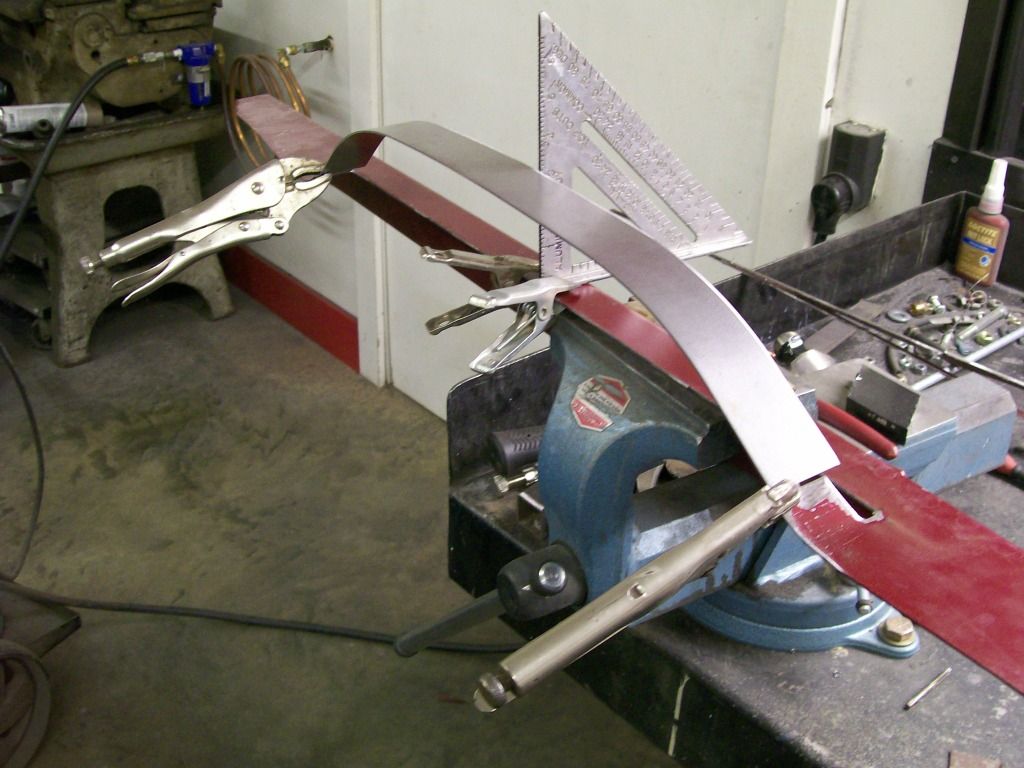
Once I got the bumper where I wanted it I grabbed a piece of bent 16 guage sheet metal I had left over. My original intention was to use this as a mock up, then have another one bent that will replace the experiments that I will do while building the filler panel. I ended up using this piece although I had to do some axtra welding, at least I don't have to start all over making another piece.
Here's the gap.
Starting with the old panel, and a piece of sheet metal. I had to get the flow of the drop in the bumper.
Now to attach the two. Using the triangle I'm assured the new piece is aligned with the rest of the panel. If this isn't squared up, the rest of this is not going to line up later.
With this next picture you can see the need to keep the alignment when welding this together. The two side wedges would not be straight up and down and would be visible later.
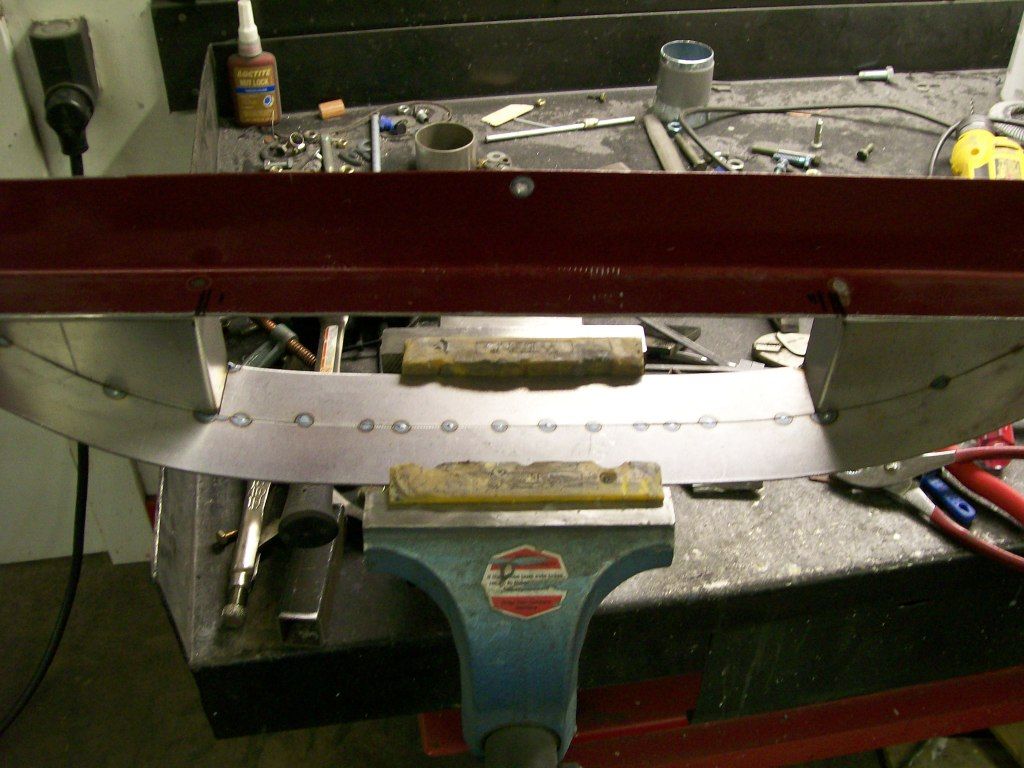
Now to enclose the open area.
More to folllow.