Here's a do it yourself for those who need the info and don't want to pay outrageous prices to have someone to do it for you. *
Alright the job is lower balljoint replacement on a 1996 Chevy S10 ZR2, but could give you a general idea for other makes and models. *
First the tools you'll need:
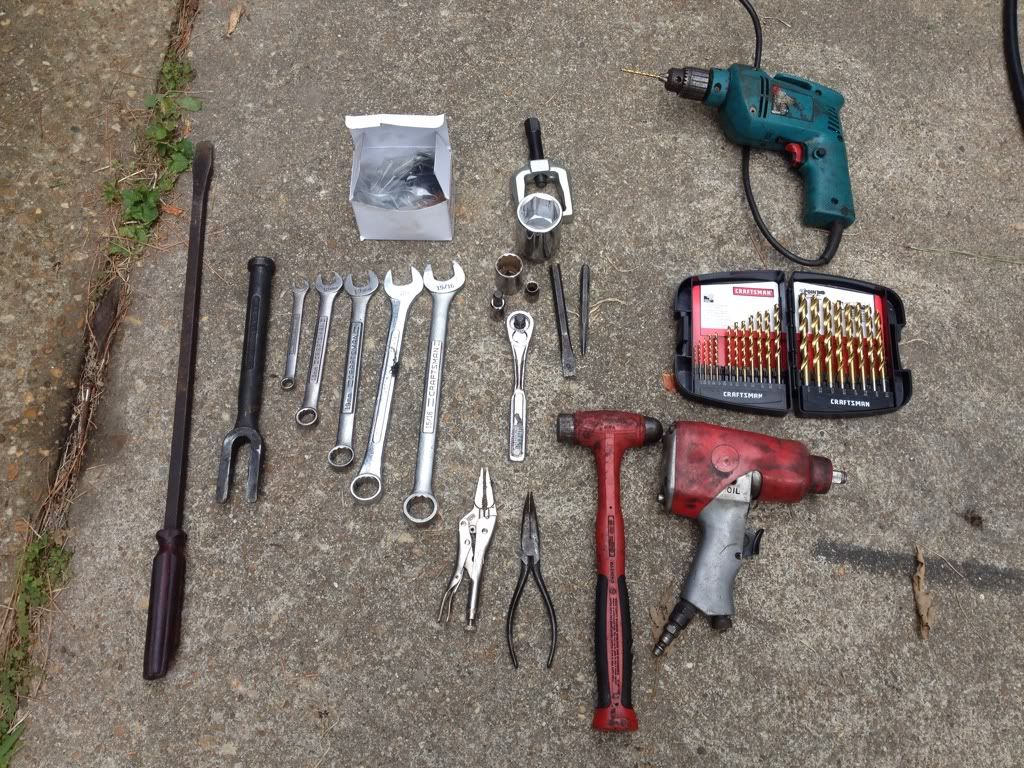
Jack
Jack stand*
Tie rod end puller
10 mm socked
10 mm wrench
12 mm wrench
13 mm socket
19 mm wrench
7/8 in wrench
15/16 in wrench
15/16 in socket*
3/8 in Allen socket
Ratchet
36 mm socket(axle nut)
Center punch
Drill and drill bit set
Chisel
Hammer/mallet(choice of person)
Ball joint separator
Needle nose pliers
Needle nose vise grips(not needed but good to have)
Flat tip screwdriver (cleaning purposes)
Pry bar
1/2 drive impact gun(electric or air)
Case of beer, bottle of liquor, coffee, soda, water, ect
Optional:
Music to entertain yourself with
Fender lizards( Fender lizards are anyone you have, it could be friends, your ol'lady, brother, son, father or equivalent, usually they are the ones watching you do all the hard work and telling you what your doing wrong but have a use of a tool fetcher or drink fetcher.)
Cigarettes of you smoke, in my case put them away from where you are working so you have a reason to get one and take a break if you are frustrated.*
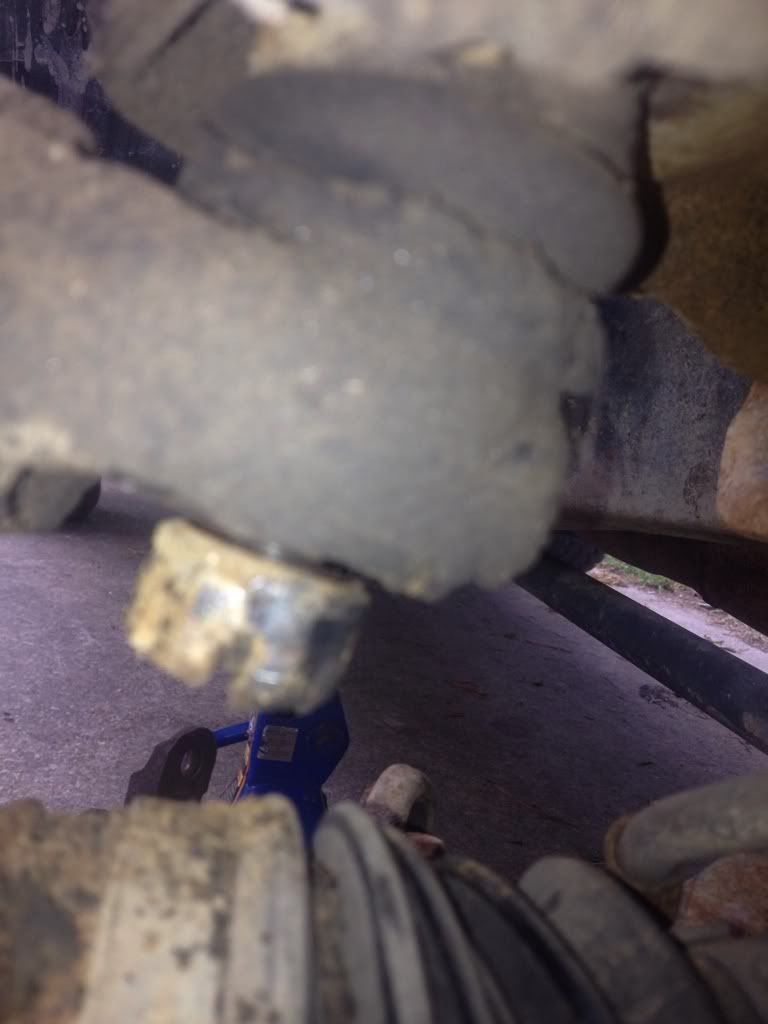
Alright first lift the vehicle and set on stands, Safety first. *Remove tire and support lower control arm with jack(reason is a lot of force is implemented with the torsion bar or spring if not this specific model.)
Remove brake assembly, caliper, pads and rotor.
Remove tie rod end, make sure to remove cotter pin and nut, a hammer can justify if no tie rod end pulled is available. *
Remove axle nut.

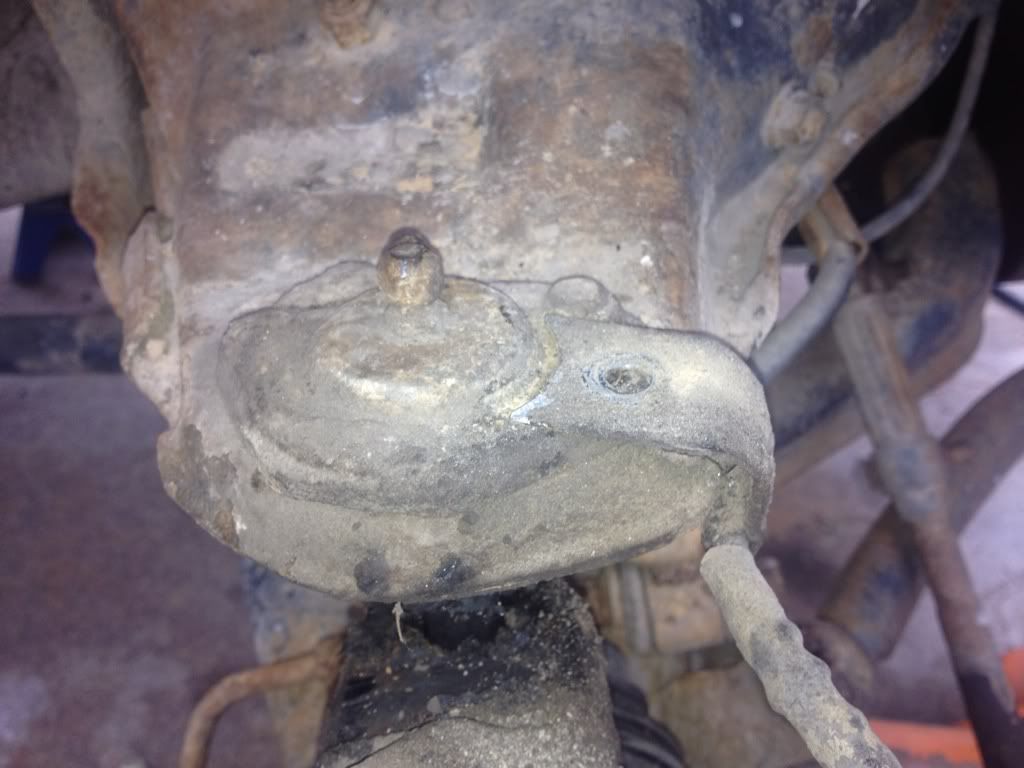
Remove upper ball joint.
7/8in wrench after removing cotter pin
Back nut off a good couple of turns until you can see clearance *between nut and steering knuckle
*
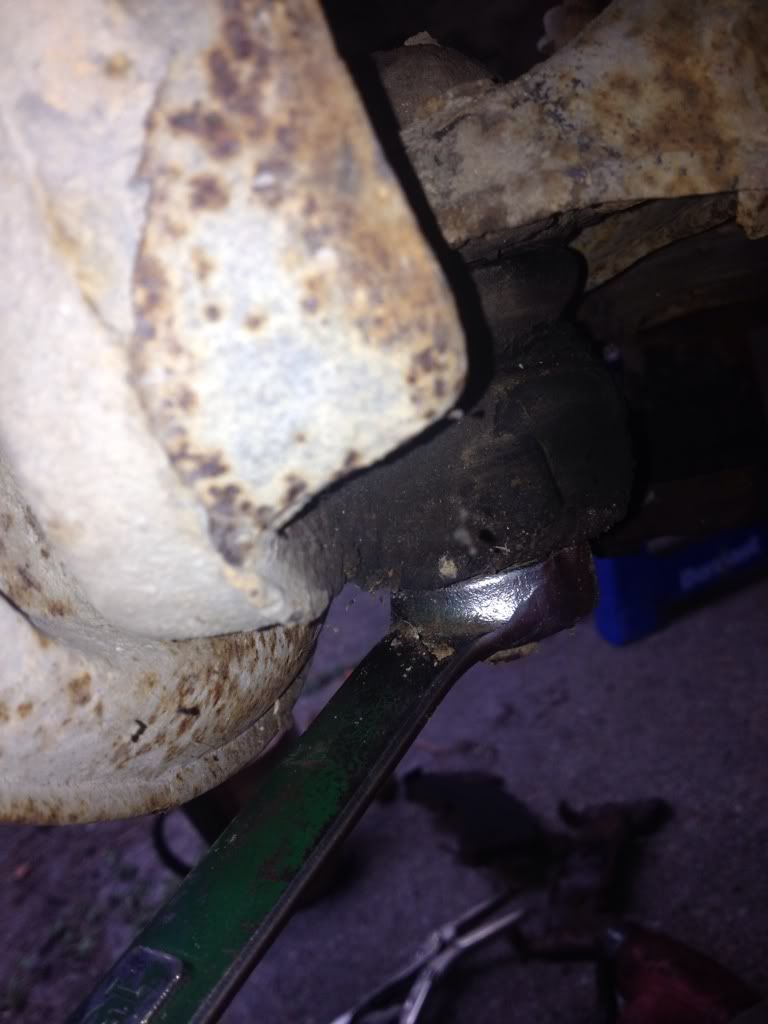
Insert ball joint separator and hammer until joint separates sitting on the nut.
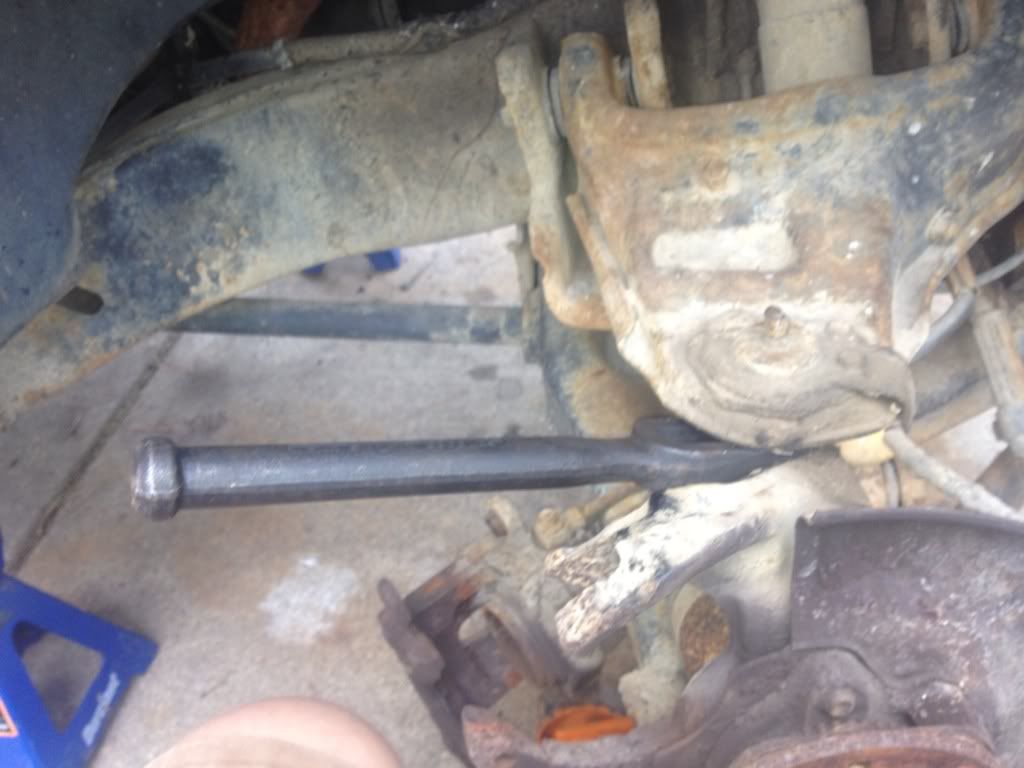
Remove nut and put in a safe place to reuse, lift upper control arm.
On the top of the upper control arm is a cable support for the abs sensor remove(10 mm socket and wrench) it will provide you with room to move steering knuckle later.
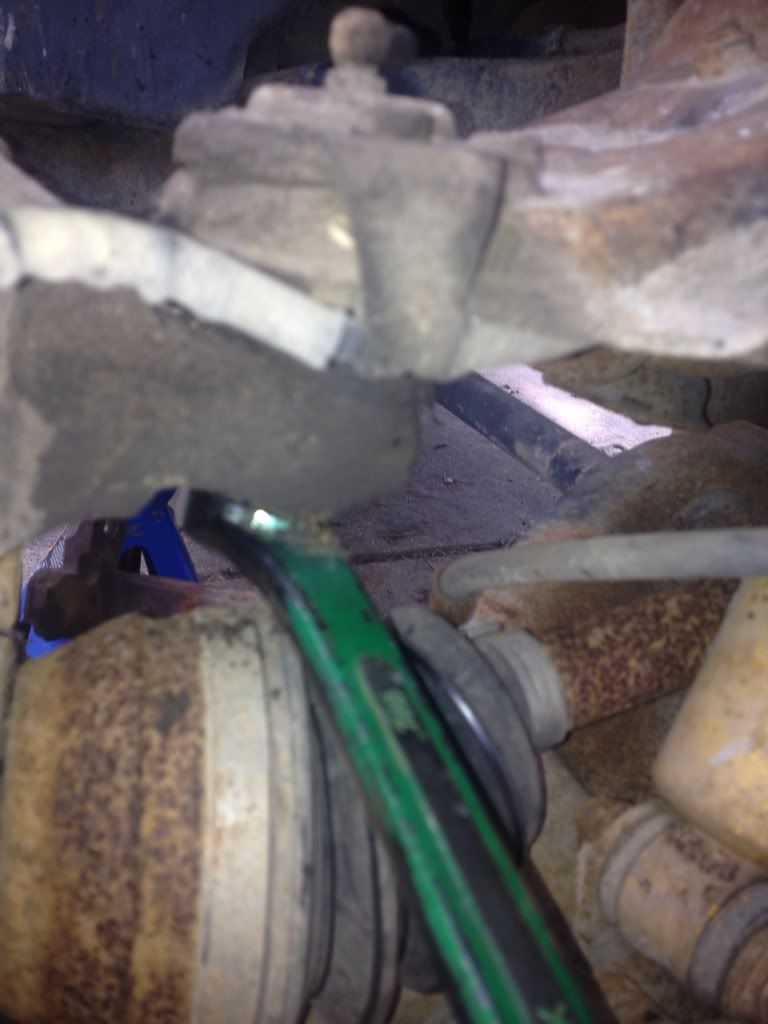
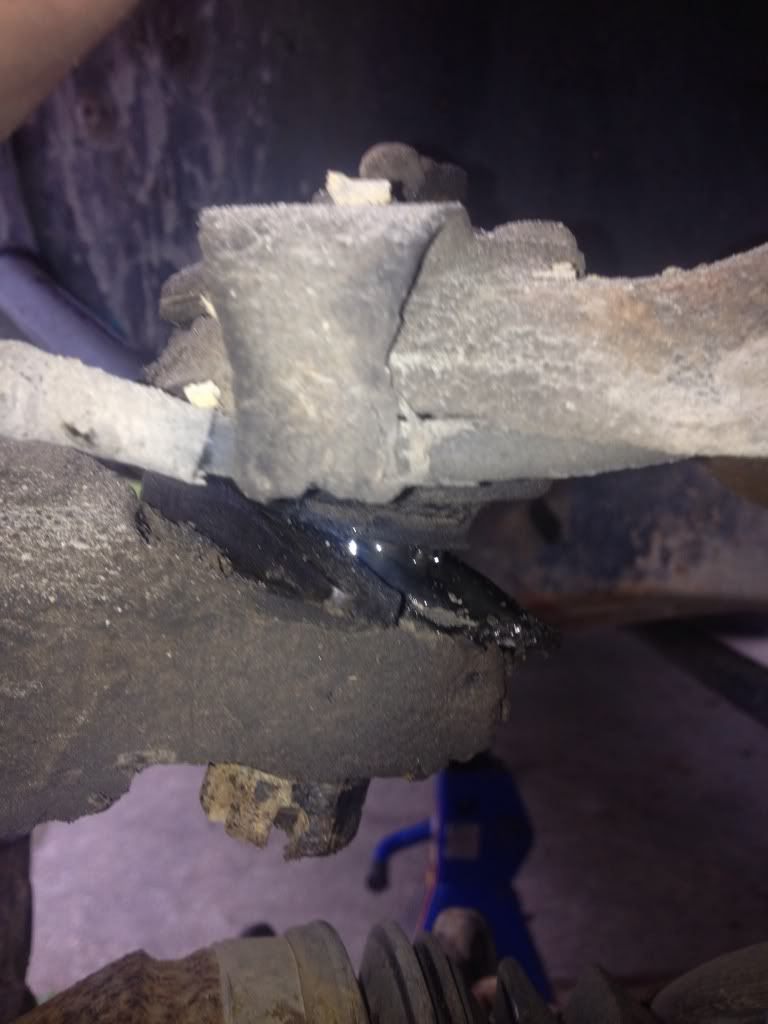
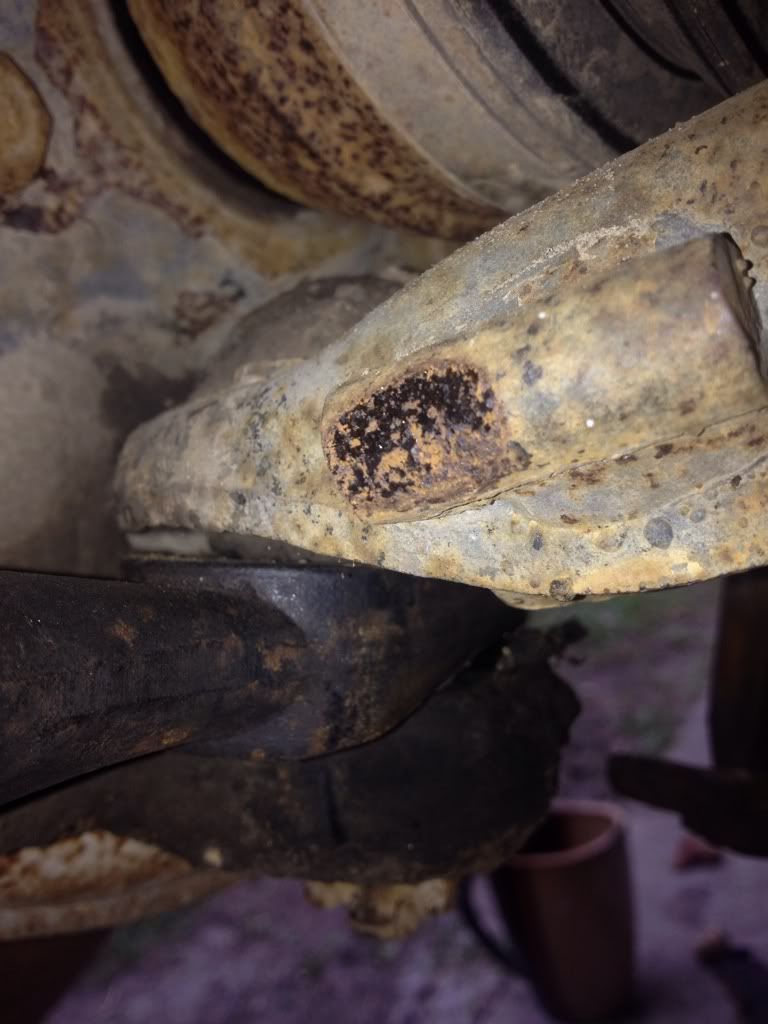
Now separate lower ball joint from steering knuckle.*
Using a 15/16in wrench to loosen nut after removing cotter pin
Repeat same steps as in upper ball joint separation, loosen but and make clearance, insert ball joint separator and hammer until joint separates from steering knuckle.*
*
Posted via Mobile Device