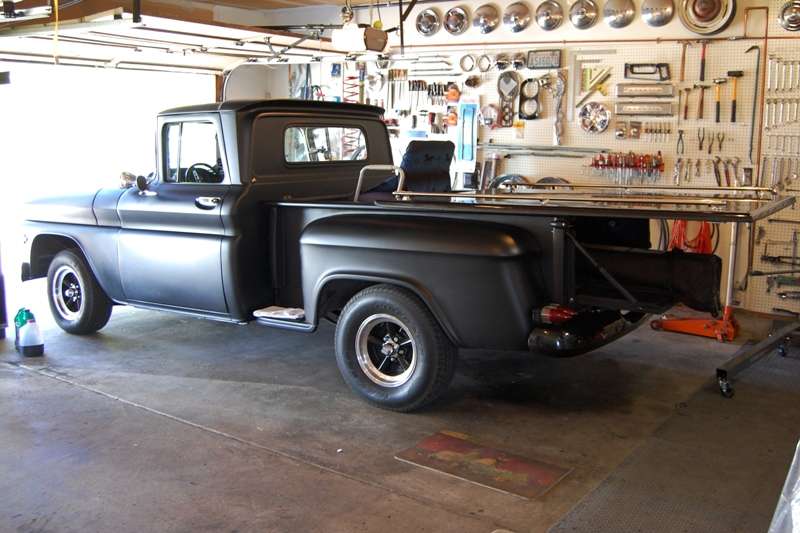
It was a beautiful morning as I escorted my bride to the refuse site so we could offload the nuisance tree I cut down yesterday. The temperatures at noon were in the low 70s, so I decided while she and our daughter did yard work, it would be a great day to install the chrome rear window bead lock I picked up last winter.
I told her, if it goes as well as when I put the black bead lock in, it shouldnt take more than 10 minutes. First order of business was detaching the bed cover and pulling it back a few feet for working clearance:
It took about 3 seconds to probe the seam and pull out the black bead lock in perfect condition. I started on the chrome version using the aftermarket accessory tool and Windex for lubrication. After 30 minutes and having only turned one corner, I realized the Windex wasnt working and switched to Armoral. That worked much better, but the tool was virtually no help at all. I gave up on that and started using a smaller version of the hook tool I used to install the windshield. That went much faster, and the entire bead lock was installed within another 30 minutes.
I stood back about 10 feet and admired the sharp appearance of the chrome stripe around the window. The seam at the bottom was undetectable, and all the corners were flat and wrinkle free. I decided to wait on taking pictures until after my wife had removed all the wrinkled clear tape left over on several random inches of the chrome area. I assumed it was some form of clear carrier tape that held the protective blue film in place.
It wasnt. It was actually wrinkled up chrome surface finish. It was very strange, because it didnt look like chrome, it looked like transparent tape. Attempting to remove the wrinkled film with tweezers saw the chrome finish go away right along with the wrinkles. Seeing the results of the first area, it was concluded the project was a failure and there wasnt any point in removing the rest of the damage.
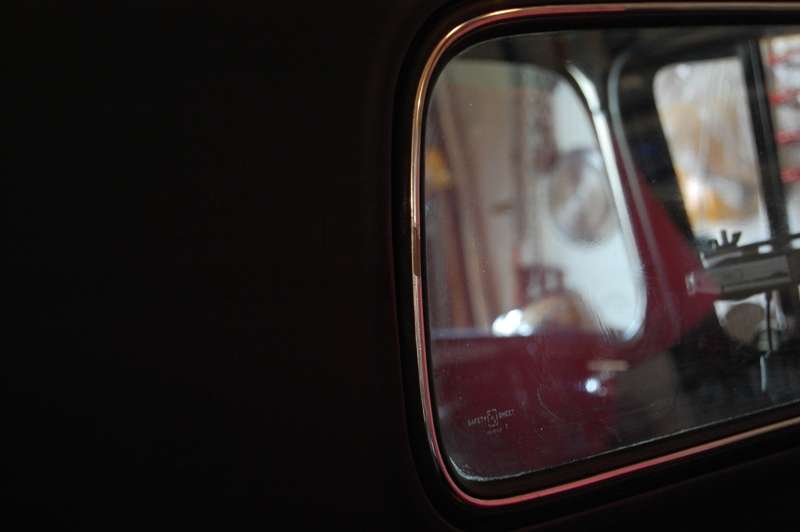
Heres what it looked like from a few feet away. Note the blotch at the left side:

And heres what it looked like close up. I was trying to capture an image of the wrinkled clear material, but it doesnt show up in any of the photos:
So it was unceremoniously ripped back out, and the old black lock bead reinstalled. The old one did indeed go back in without any effort, using the bead lock tool. So as I told my wife in the beginning, the black bead lock took no time at all. It probably didnt even take 60 seconds. It ended up being a little over 2 inches too long, so rather than cutting it off I joined the two ends and then spent a few minutes working all the excess back into the groove. It should remain nice and tight, just like it was before.
So there you have it. At one brief point in history my truck actually had chrome rear window trim!

All that remains now is the Armoral and Windex drippings all over the back of the cab. Ill wash it up either tonight or tomorrow depending on weather.
This was certainly a disappointing adventure. I could have invested all that time doing something that resulted in a productive outcome, but I couldnt know that in advance. I really like the way the trim looked, but it is very hard on the hands (not good for me) and having it turn out ruined does not inspire me to make another attempt. Come to think of it I really like the look of the black gasket! Ya, thats the ticket!
For anyone else doing the chrome bead lock install on their truck I have a few suggestions. Use a better lubricant than Windex to start with. Armoral worked okay, but something like Dove dish detergent in a squeeze bottle would probably work just as well, and be easier to clean up.
I recommend not using the aftermarket bead lock installation tool. It runs the black bead lock into the groove in nothing flat without problems. But the chrome bead lock version is so stiff, Im reasonably certain the tool is what damaged the chrome surface causing the wrinkling. In addition, it just didnt help insert the lock into the seal cavity.
What worked better was pushing either half of the lock into the groove, and then lifting the opposite flap over the bead with the hook tool. This went much faster and had very little of the lock popping out after insertion. When going around corners, tuck into the inside of the corner first, and then work the outside flap of the window seal over the lock bead. Having a third hand to apply firm pressure to the face of the lock when going around corners is much easier and more productive.