With the tail light section in place it was kind of a tight fit to insert the inner structure. Fits real well.
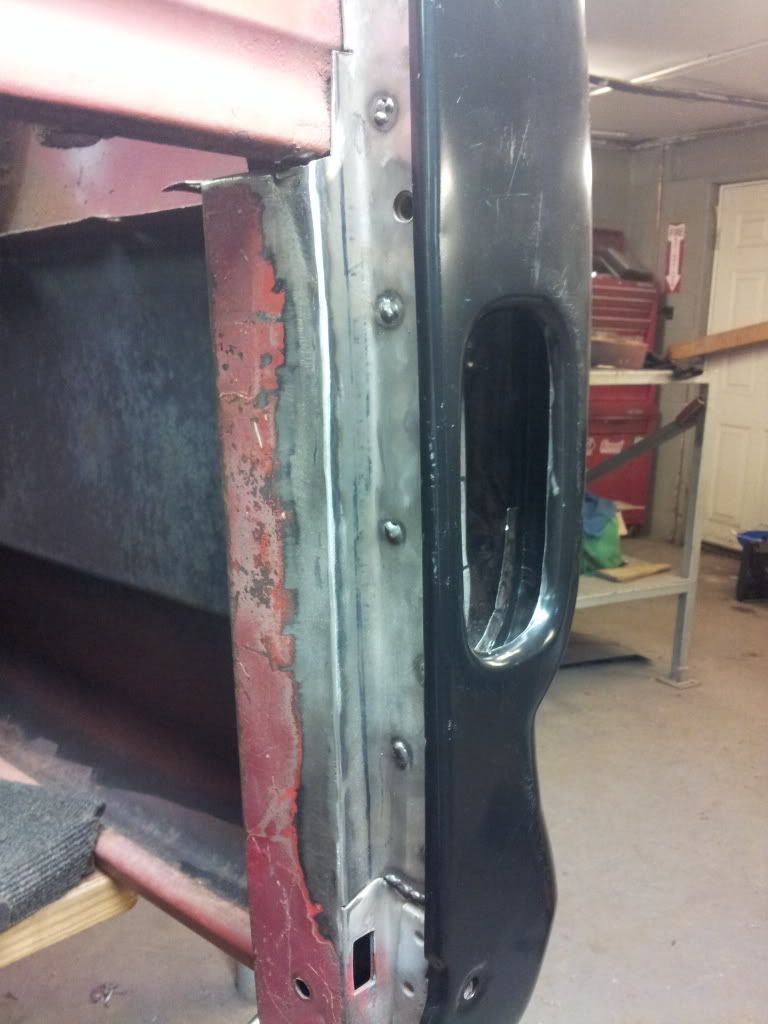
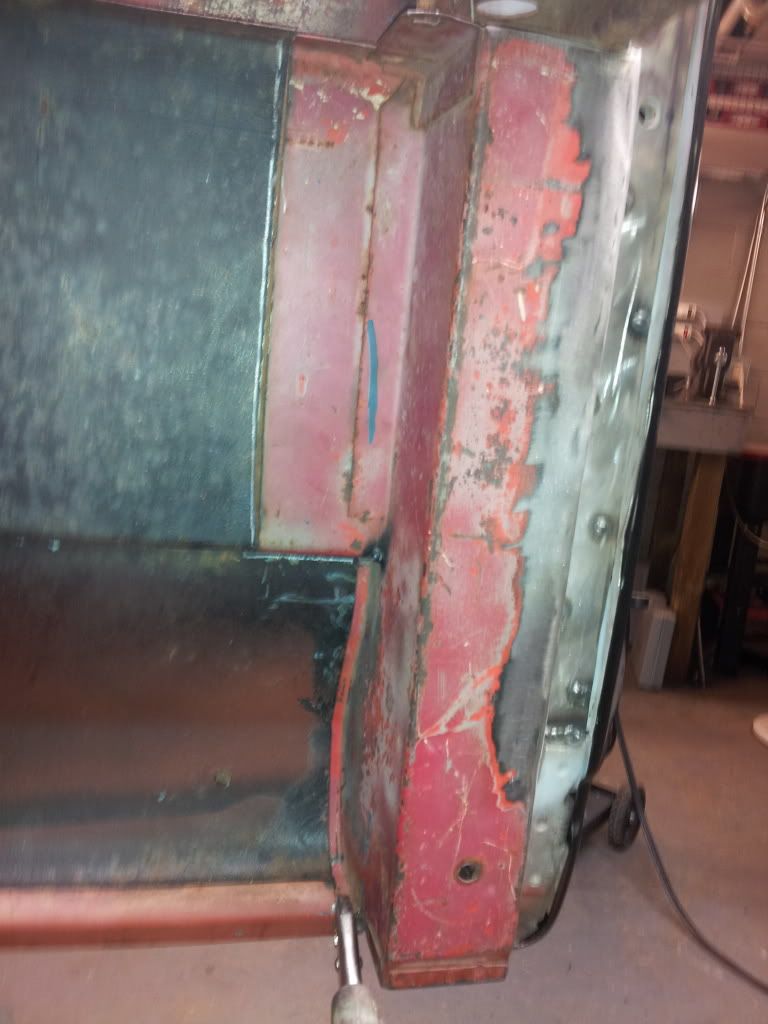
Left a few inches of the inner bed side on the replacement piece. The original bed side has some rust right at the corner where the end panel was spot welded on.
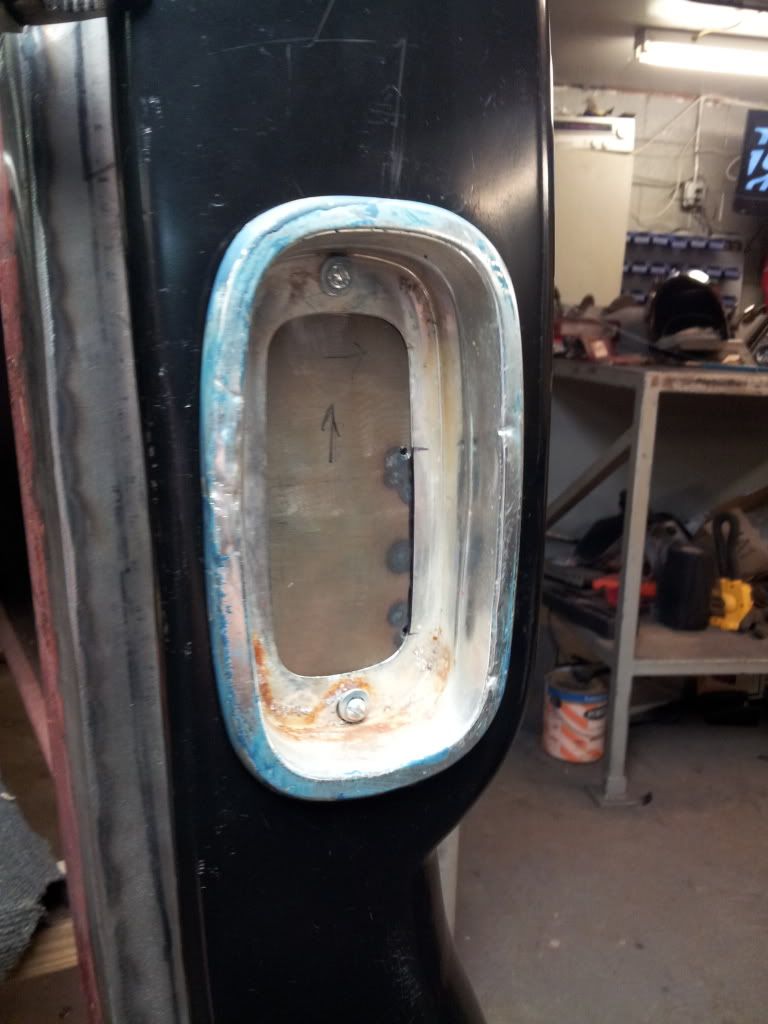
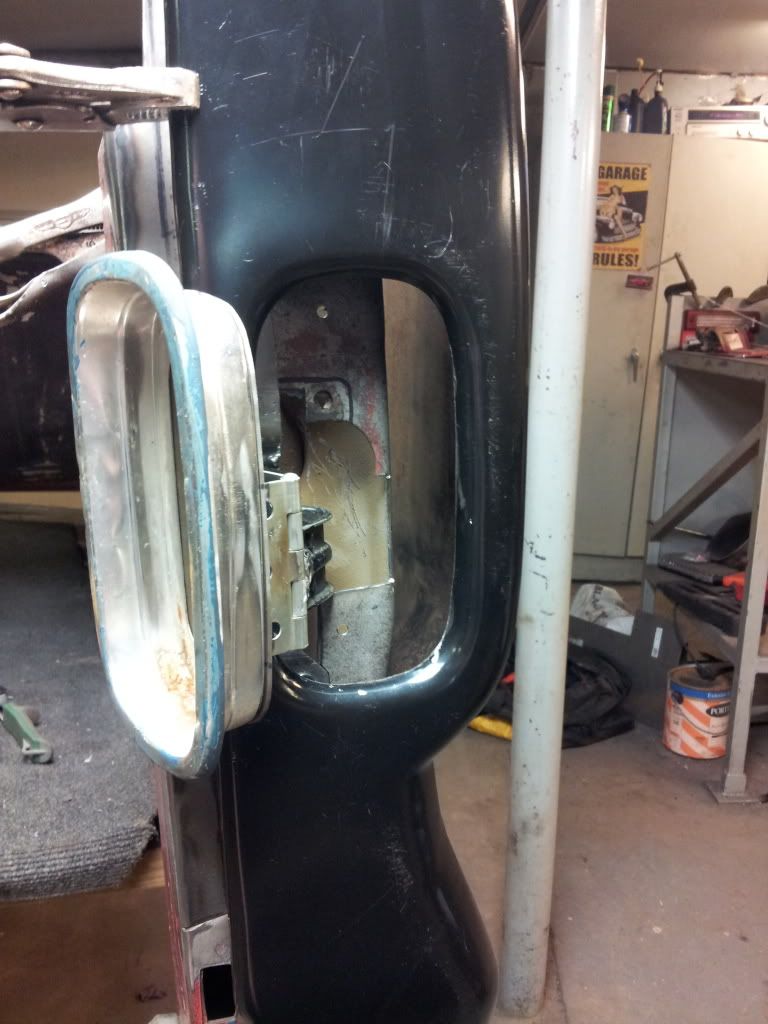
This is with the old tail light bezel. Ive ordered two new ones as well as the gaskets and I will have to use LED tail lights since there isn't any space for the original light buckets. I planned on using LEDs anyways so it wasn't a big deal.
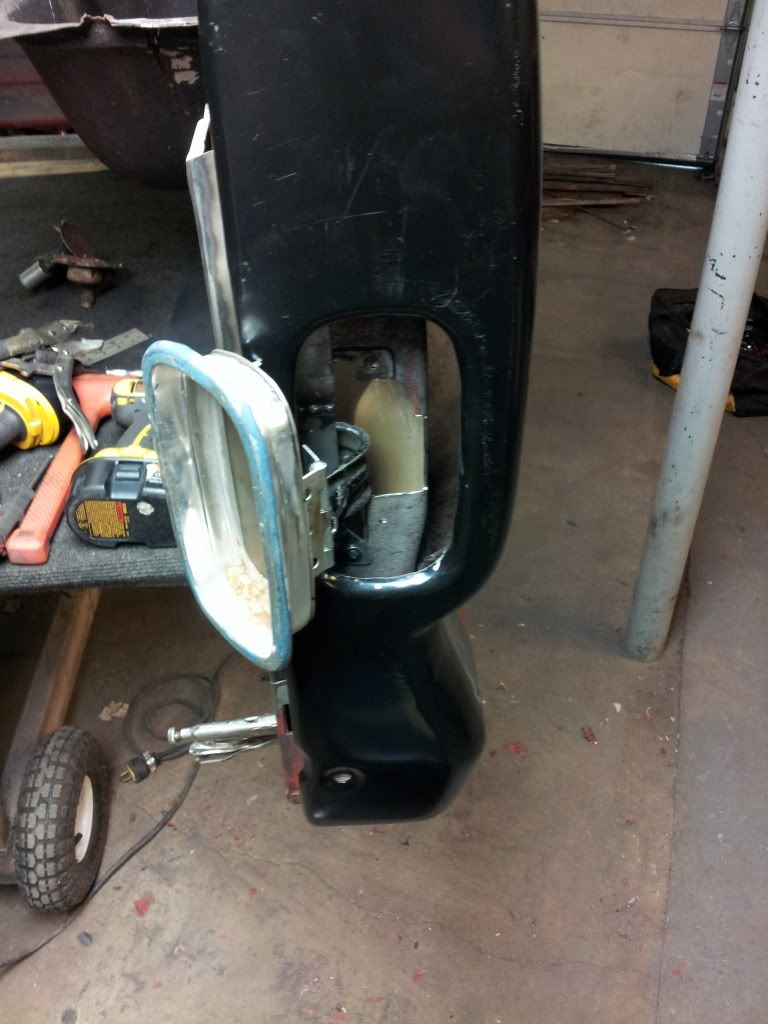
I had to put a hinge between the mounting plate and the door arm for two reasons. One because I needed the spacing and two it would allow the light assy to swing around giving more room to get to the filler neck. It still needs to be cleaned up and made to look decent. But right now it works great. The spring loaded hinge holds the light bezel against the body. Ill have to add something to keep the bezel from scratching that paint. Maybe the gasket will protect where it lands on the tail section but there's spots where it could hit as it swings around.
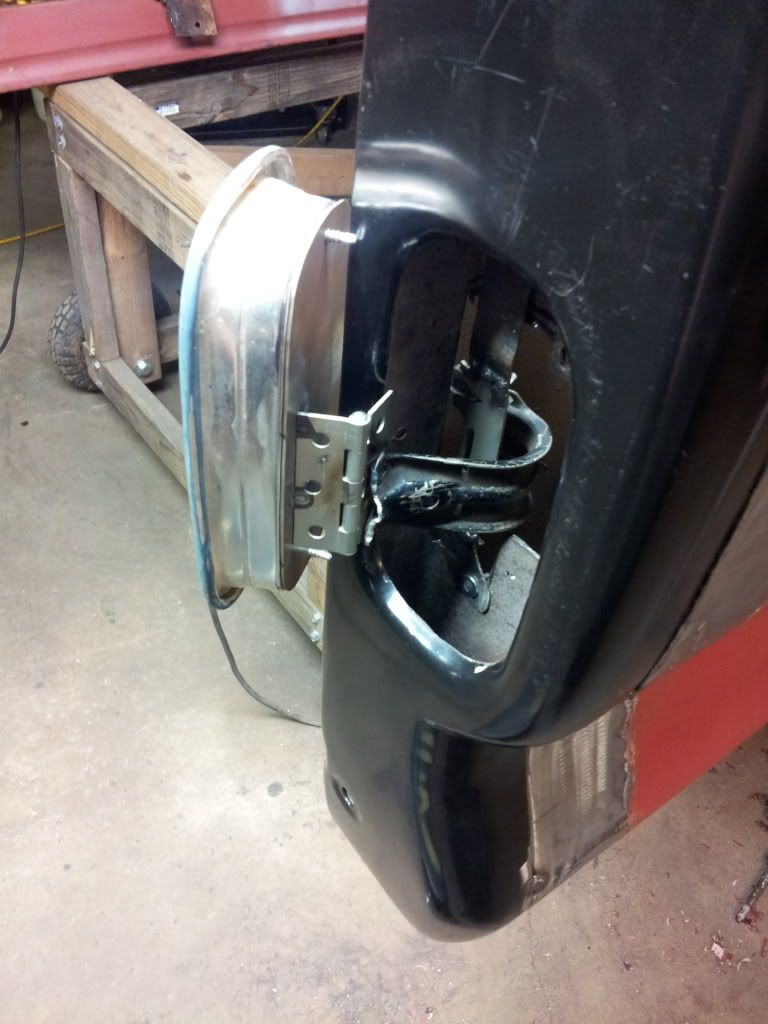
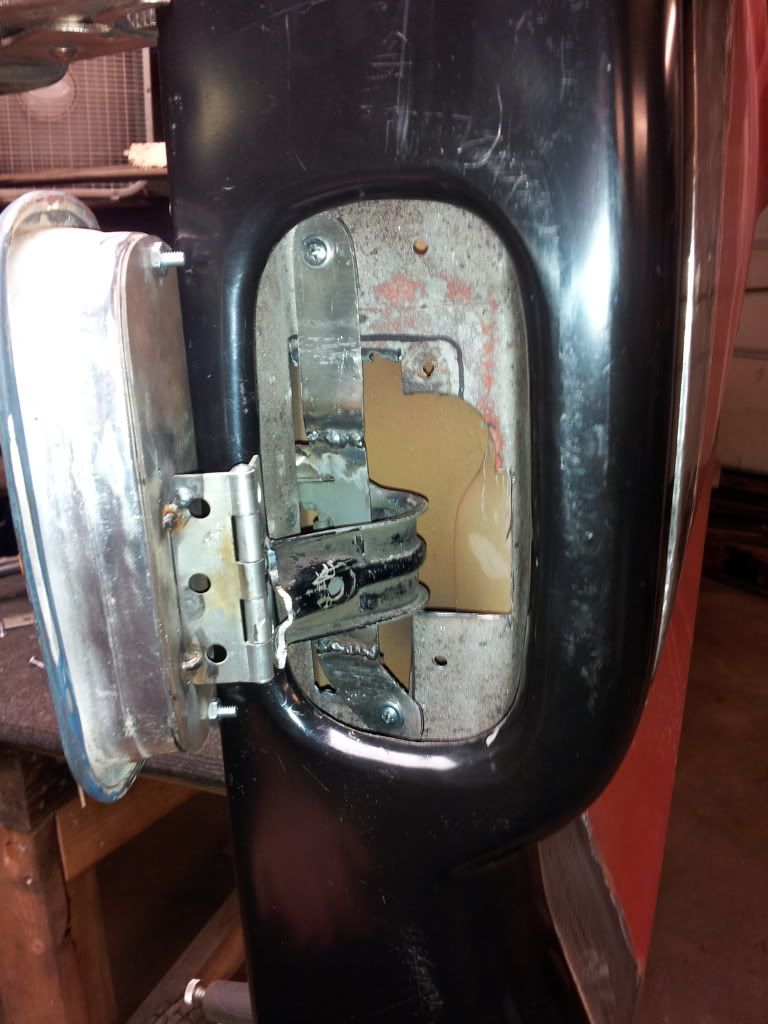
Definitely needs cleaning up.
Next is the filler neck. Thanks for looking