And the edges have been smoothed inside the rim of the die:

A cap is centered on the cover (I was going quickly taking the pictures. I would never form a button with the cap this far off center. Before inserting into the die they always dead center.):
This is the “stick” that comes with the press. I find it hard extremely fatiguing and hard to insure perfect alignment so I don’t use it:
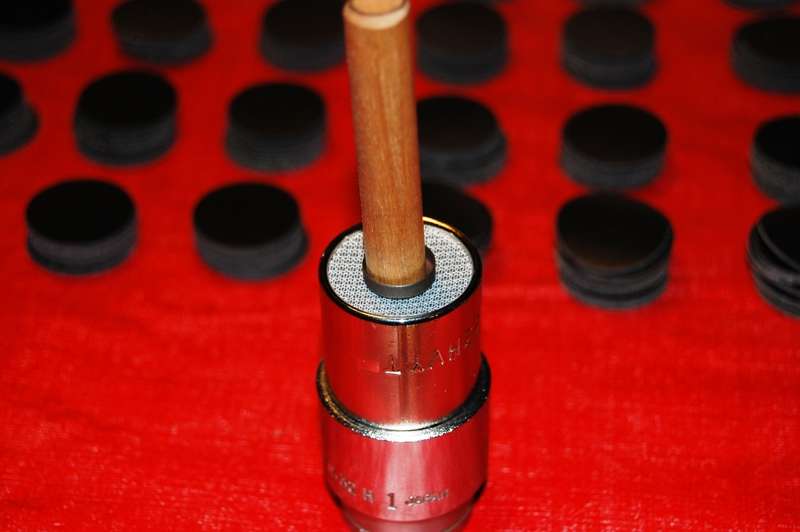
I use a ¼” nut driver instead:

At this point the cover and cap are fully seated. It’s obvious right away if the alignment is bad as more of the cover will be showing on one side:

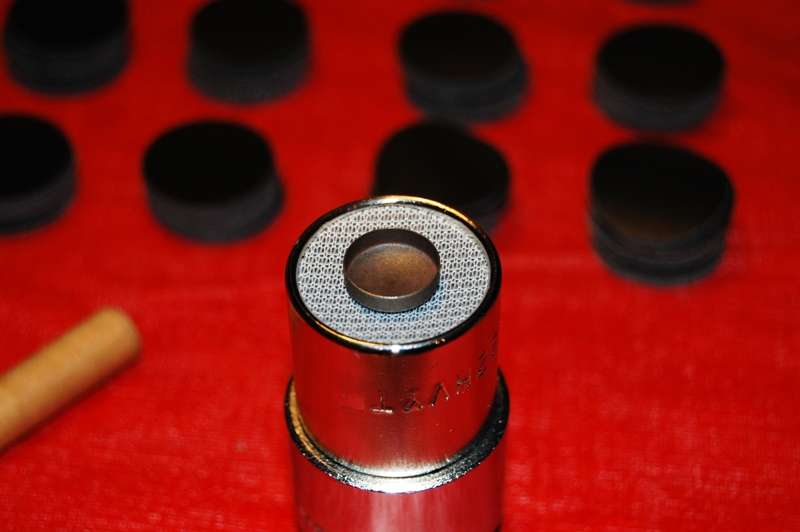
And this I learned from experience. When the cap & cover are inserted, they generally look like this:
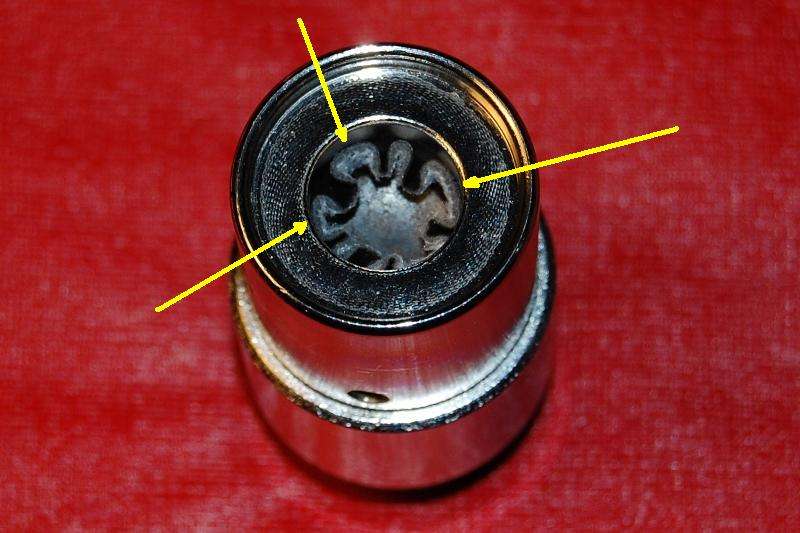
If the button is assembled with the cover looking like this, it will likely have sharp edges/corners around the perimeter of the cap (along the bottom face of the button head) and is likely to fail sometime in the future. In order to prevent this, I take a sharp sewing awl and make little puckers out of all the big ones:

This is tedious, boring, wears my hands out, and adds a tremendous amount of time to the process. It also makes the buttons turn out perfect every time:
Now we’re finally ready to make a button. After reconfirming there is a prong back in the lower die, the upper die is placed on top of the lower die:

And the plunger has been depressed, assembling the button:

Too little pressure and the cap may/will come off. Too much pressure will cut the fabric around the bottom of the cap, or can damage the upper surface of the button. I have developed the habit of quickly compressing the springs in the press, then using both hands I give it one steady firm pull straight down. It took quite a while to find that magic sweet spot.