Well, I've been waiting for the seat cover to arrive in order to move forward. I didn't want to hang the doors, fenders and hood and then have to monkey around with the bench seat afterwards. I had purchased my Avocado highlander plaid fabric from SMS a while back, and at the end of July I sent it to member "Truckseats" to be sewn into a seat cover. It took a lot longer than I had anticipated, but its not something he had laying on the shelf. And once it arrived, it looks beautiful.
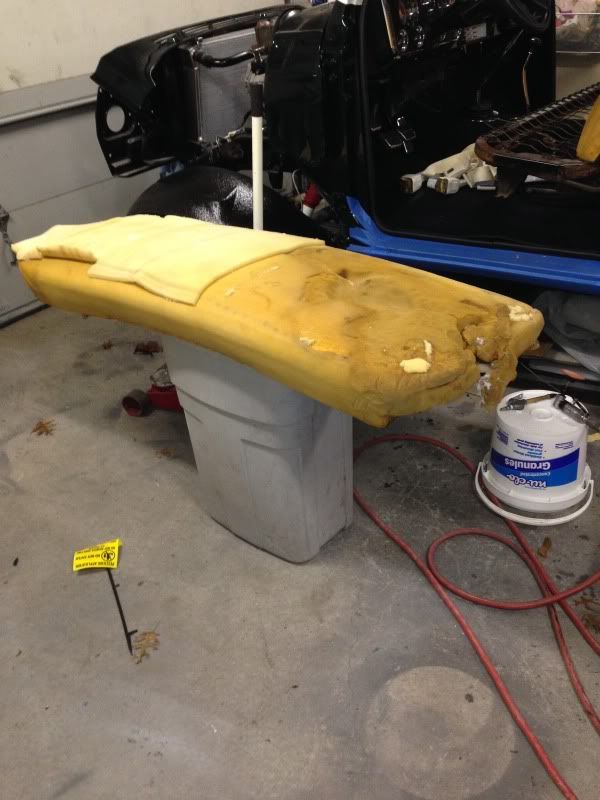
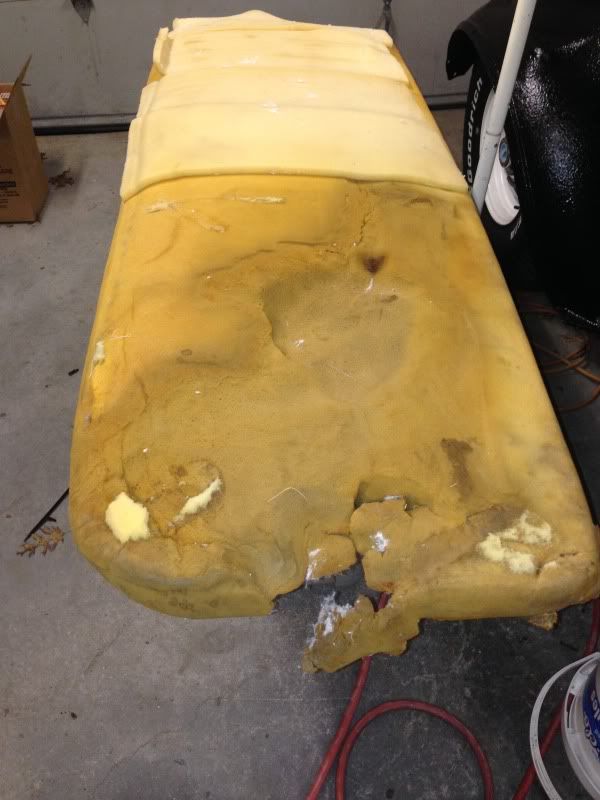
The seat foam was a mess under where the drivers butt would be. Through some reading on Jim's 1969 C/20 build, I used his method of repairing the foam. The block of foam was about $65 (a far cry from the prices of all new bench foam). I am still in the middle of that right now, it is pretty time consuming. Here are some pics
EDIT 1/5/14: I've gotten a few PMs about the foam. It is available at
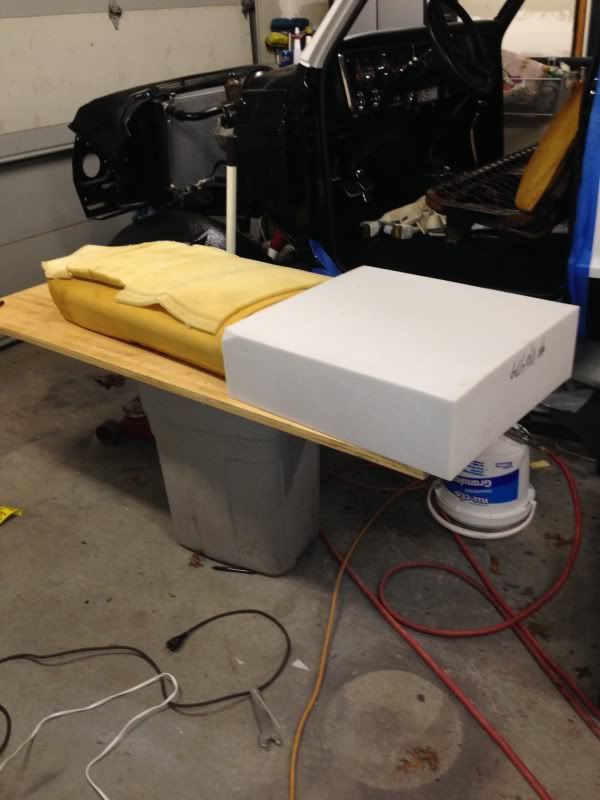
www.DIYupholsterysupply.com The foam block I used was 24" x 22" x 7" thick. Based on the info in Jim's 1969 C20 build I chose firmness of 40lb and density of 24. The new foam is significantly firmer than the old seat. To the point where it feels like I am sitting higher up in the cab. Not necessarily uncomfortable, but definitely noticable. Hopefully it will wear in after a while. The next softer foam might have been too spongy, though. This is Jim's build that has much more detailed info than mine. Begin reading at post #211
http://67-72chevytrucks.com/vboard/s...=456911&page=9

Just placed the cover on there to get an idea of what it would look like

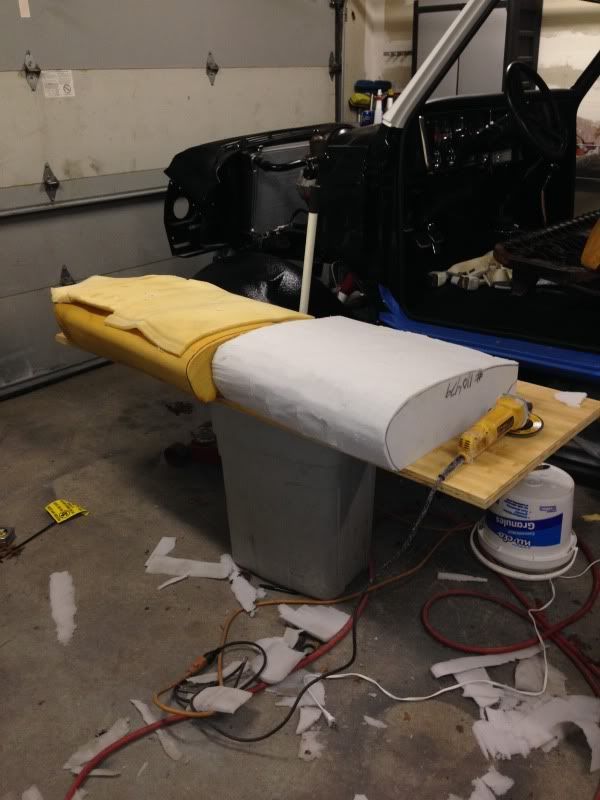
Foam work:
THE POINT OF NO RETURN!

Shaved down to match the old foam using an Electric turkey slicer and flap disc. Still plenty of shaping left to do...