I was very impressed how nice the emblem turned out. Up front the owner took the time to explain how much work was going to be involved. First they had to “cut” the top and face surfaces because it had so many tiny pits. I was surprised how pitted it was as it was never previously chromed and rusted. It was a painted piece with decent paint all over. He explained it was because it had been a painted piece, they never polished the bare metal in the first place and those pits had been there since it was new.
He was concerned about cutting the edges around the face because it bumps up against the “wings” at the bottom. So when I got the piece that was the first place I looked and it’s perfect! It still needed 2-3 coats of copper and they did a lot more work in the tiny areas than he committed to.
New business:
I sat up and looked around this morning, and realized there’s every indication that I’m moving forward with the illuminated porthole project after all. Here’s a summary of what’s been accomplished so far:
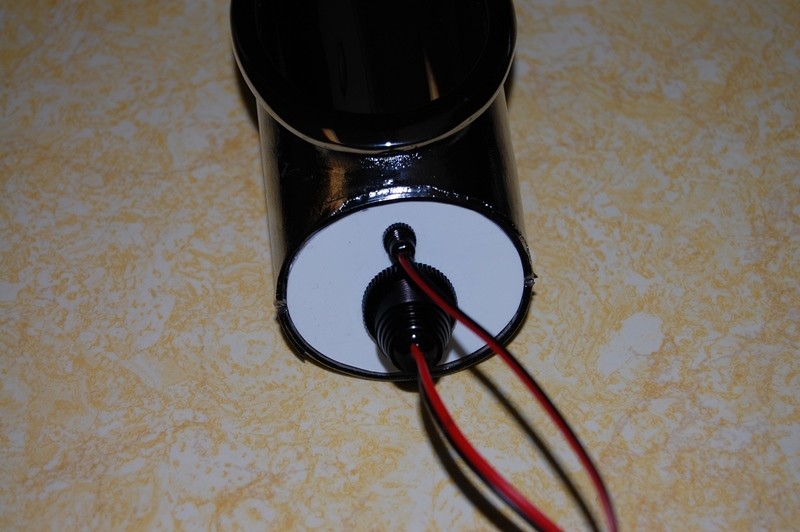
A few days ago I ordered and received the first sample 1954 Buick porthole and looked it over. In some of the hidden areas the chrome is only driver quality, but the main portion that shows looks great:
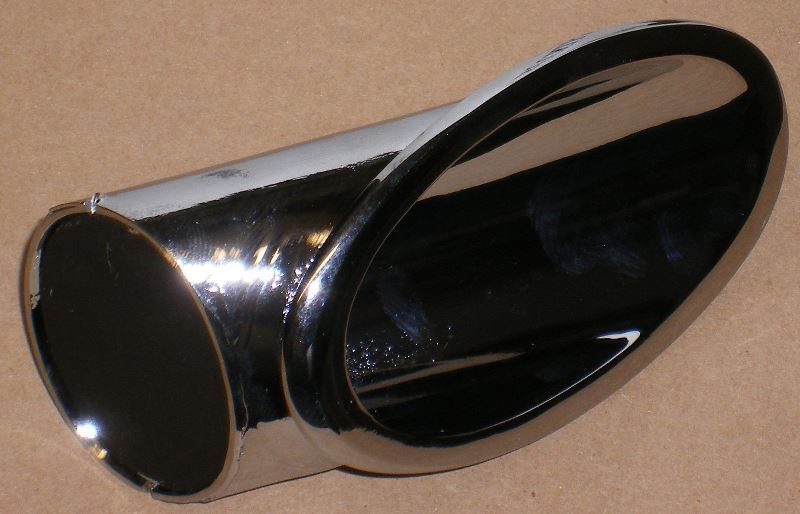
Close inspection revealed the end cap is simply staked in place. A sharp poke with a finger popped it off.
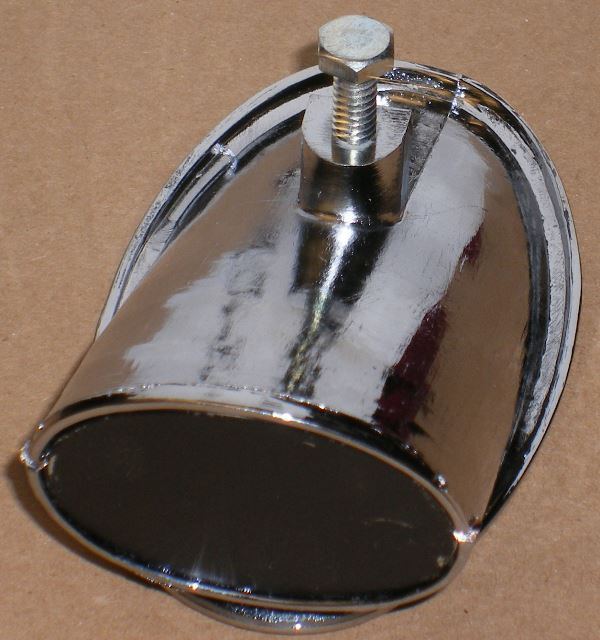
This end cap will become the mounting plate for the LED lights.
I took some close up photos in order to create exact size photos, needed to confirm fit and proportions on the truck:
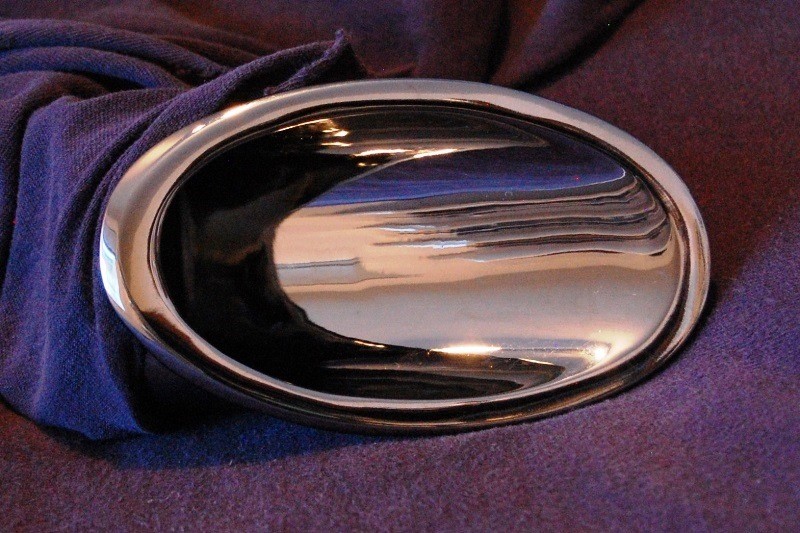
The exact dimensions of the real porthole as seen on the face of the fender are 4 7/16” long and 2 9/16” high.
Four photos were printed up to these dimensions and attached to a piece of black poster board, which was turned into a “refrigerator magnet”. Here it is stuck to the hood, for comparison to the earlier photo I created digitally. The only defect being the shadows are upside down. (These pictures would have been more appropriate for the driver side of the truck, but we’ve had so much snow recently it isn’t practical to pull the truck outside for photos on that side):
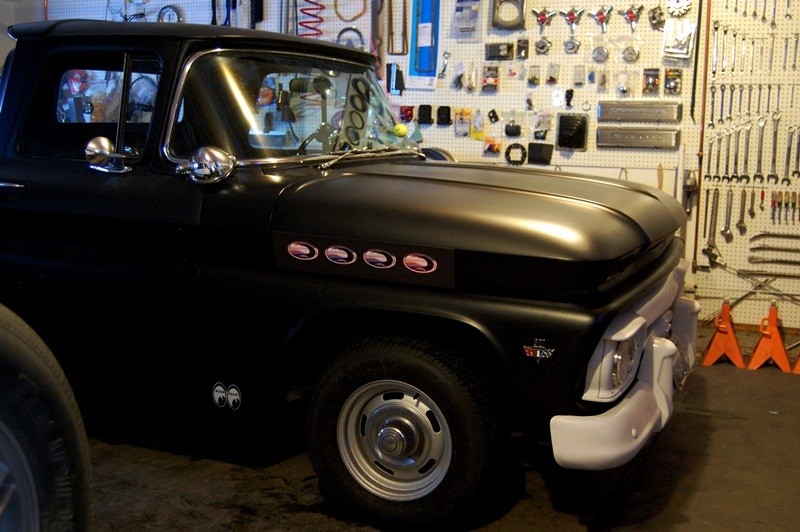

If the wheels were pointed straight ahead in both pictures, the portholes would look to be roughly the same size and position on the hood.
Recently I discovered Oznium.com and their LED Bolts on a motorcycle web site.
http://www.oznium.com/led-bolt
I bought a variety of these LED’s to test various reflective patterns inside the porthole housing. I made a few end plates out of styrene sheet, and tested several different layouts, before deciding on this as the final layout:
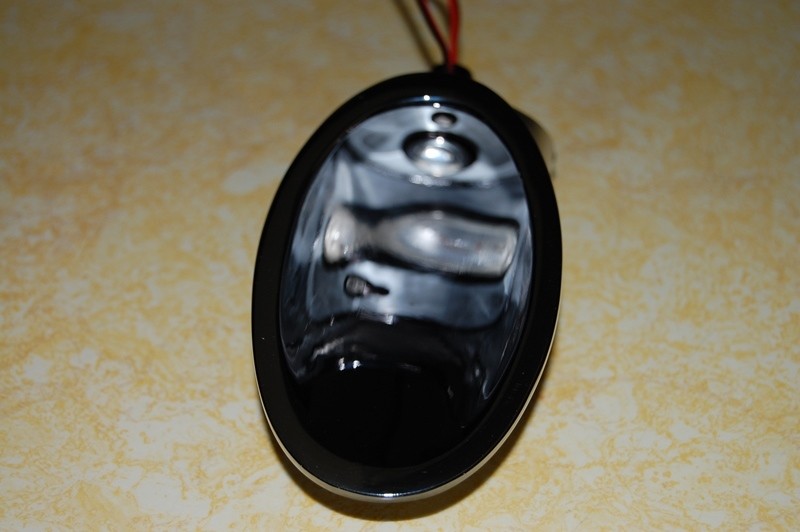
The little lamp will act as the parking light, and being twice as bright the large unit will become the blinker. I couldn’t get the camera to focus inside due to the highly reflective surface, but still shows the general idea. The white plastic was just for testing. In the permanent installation the original metal plates will be used.
There are a number of sources for sequential blinker modules, but most only support a maximum of 3 lamps. Then I discovered that Web Electric Products recently released a universal sequential turn signal kit for 4 lamps: Part Number STS-4. It does both sides of the car for only $79.
http://www.webelectricproducts.com/products.htm
One of these kits is on the way and will be used to cause the blinkers to flash in sequence from front to rear. Now I’m thankful I never completed the parking light/hood harness. More than enough wires from the Ron Francis kit are hanging in a bag on the garage wall to build a complete new parking light harness, including the connections for the portholes. I won’t need to touch the fuse panel or the turn signal switch/steering column. All I have to do is wire up the hood and plug the new harness into the firewall connector.
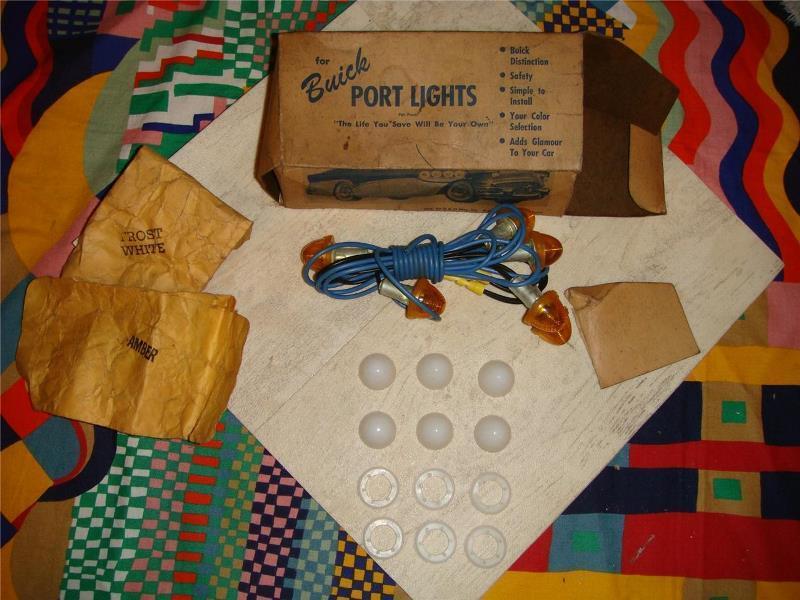
On a somewhat related note - I thought it was interesting in going through numbers of threads related to Buick portholes, I learned once upon a time JC Whitney offered a Buick port light kit. I couldn’t believe it when I actually found a picture of the kit:
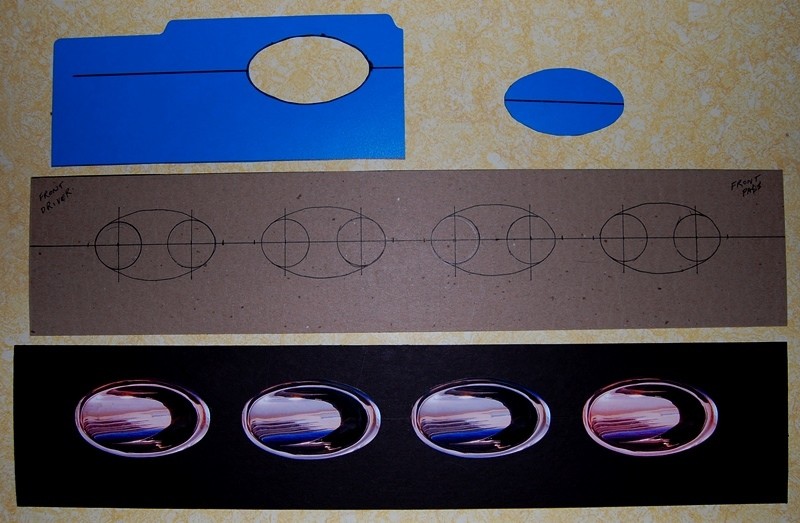
Next I taped up the chrome face surfaces and fitted the porthole inside the hood bracket at the rear, to make sure I could access the mounting area once the holes are cut. Since the balance of the portholes are due to arrive within the next day or two, I whipped up a drilling/cutting template. The cardboard piece will locate the centers for cutting out the end holes. Rather than cutting out the entire cardboard template, the blue plastic piece will be used to scribe each outline directly on the hood. The cardboard may deteriorate and change shape by the eighth hole, but the plastic won’t.
I still have to fabricate clamps and obtain studs for every porthole. I’m thinking of using half of a pipe, perhaps an inch wide for each of the porthole fasteners. I could use old dash gauge brackets, but I want something longer (front to rear) to prevent distorting the hood sheet metal when the portholes clamp up.
The studs will be necessary for mounting the rear two on each side, and just easier (compared to bolts) for the forward units. That’s about all I’ve come up with at this point.
Not much left to do now except avoid making mistakes cutting 16 holes and 16 slices in the hood!