Accomplished quite a bit of tedious progress today. The attaching bolts for the portholes turned out to be 1/4x20 rather than metric. Apparently the supplied bolts were foreign sourced and didnt really match up with either 1/4x20 or 16mm metric well. A little gentle clean up with a tap fixed up the fit on each casting to where 1/4x20s work perfectly now.
Scrounging through my stash I found five of the 1 socket head 1/4x20 studs I previously used for valve cover fasteners. A thorough search failed to turn up the other missing three.
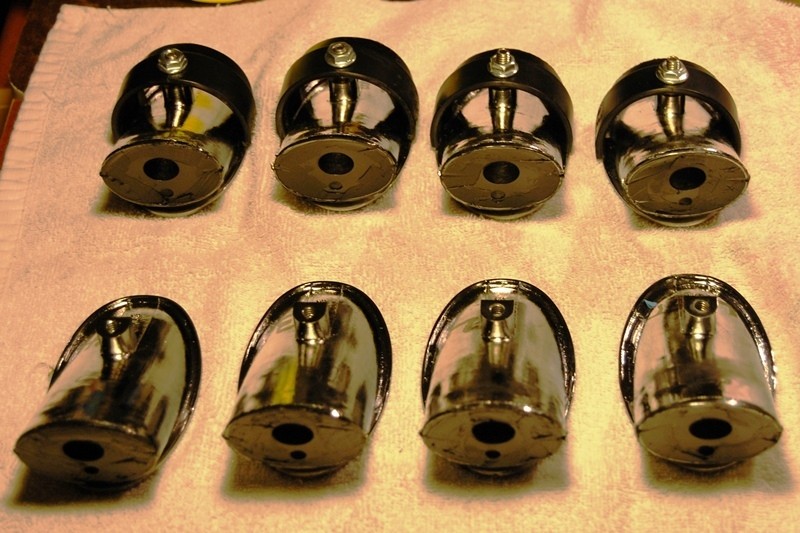
Looking for suitable black ABS pipe to make the clamps from, I discovered the existence of correctly sized pipe on the internet. Unfortunately my local Lowes doesnt carry that size, so I went through the bits and pieces and found that 2 ABS 90 degree elbows should work just fine:
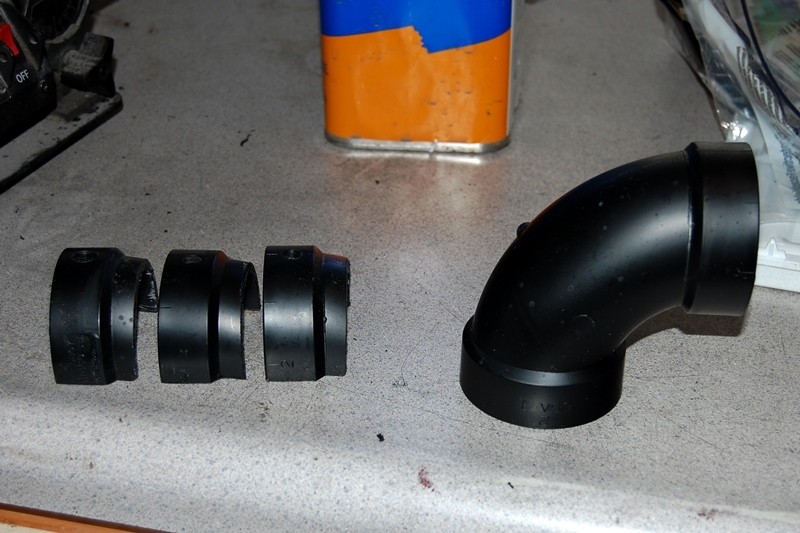
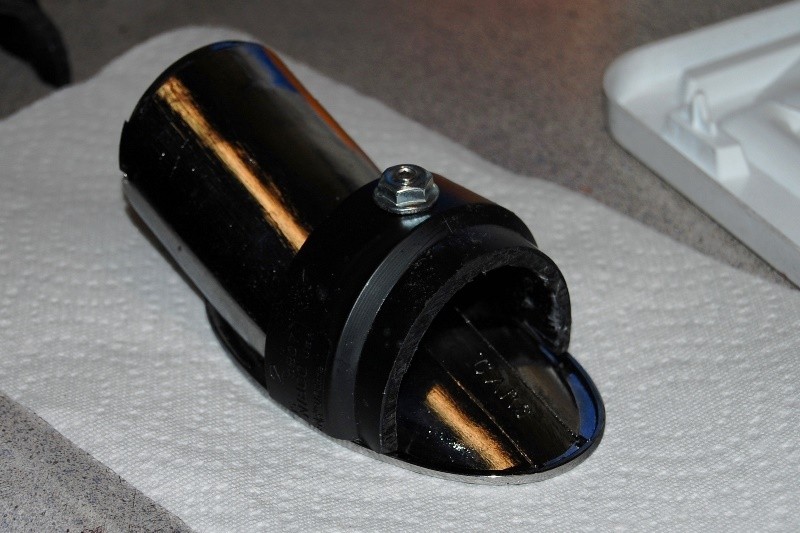
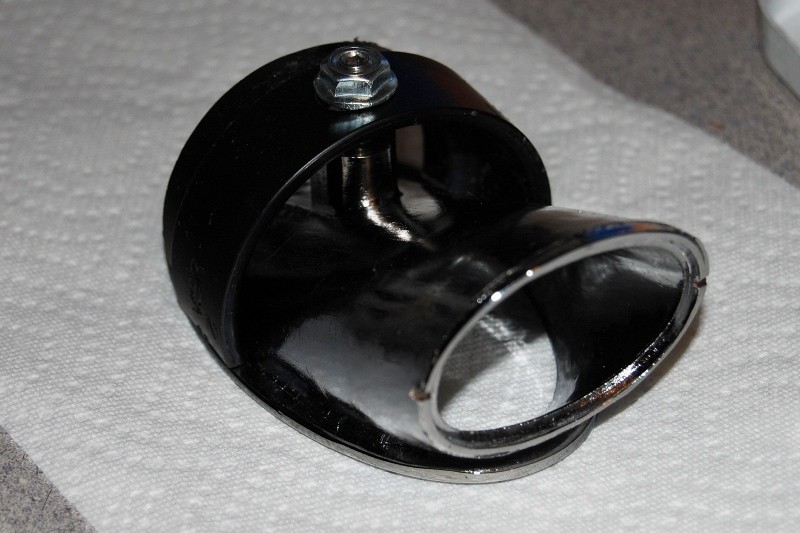
My first experiment was cutting the ends in half to see if I could make four clamps out of 1 elbow, and it didnt work. At 50% diameter the legs turned out about 1/8 too short to clamp tightly against the hood. So I ended up cutting the ends about ¼ below center and achieved a perfect fit. Unfortunately I needed a couple more elbows to finish the job, but at $1.95 each that was probably the cheapest part of this project. I left some extra length (front to rear) so there would be more surface area touching the sheet metal. I neednt have worried about strength. Im pretty sure I could stand on these things without deflection. Heres how they look from both ends:
Once those were all cut, drilled, and deburred, I turned my attention back to the castings. First thing I did was slather them with two heavy coats of wax, knowing theyll probably never receive that kind of attention again:
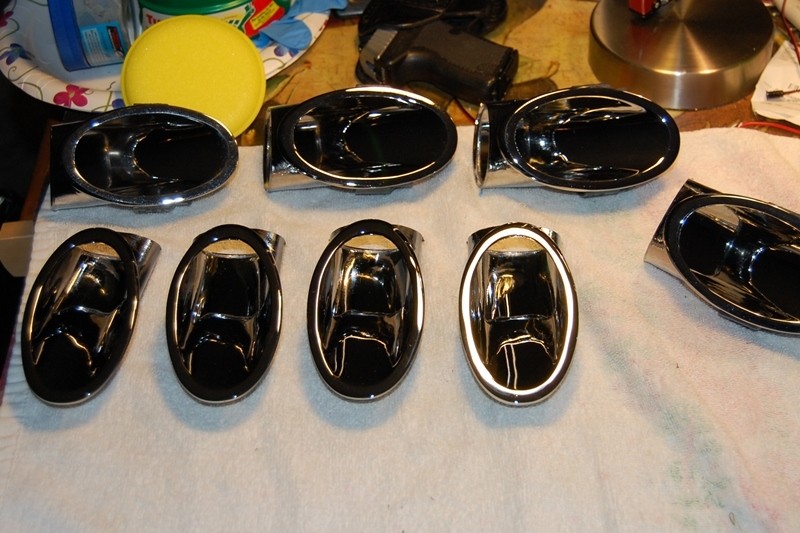
The next step was reattaching all the end plates. (I painted the second side of the plates last night). Using the original stake marks I snapped them back in place. Once that was done each was treated to a generous amount of Krazy Glue around the perimeter for extra security:
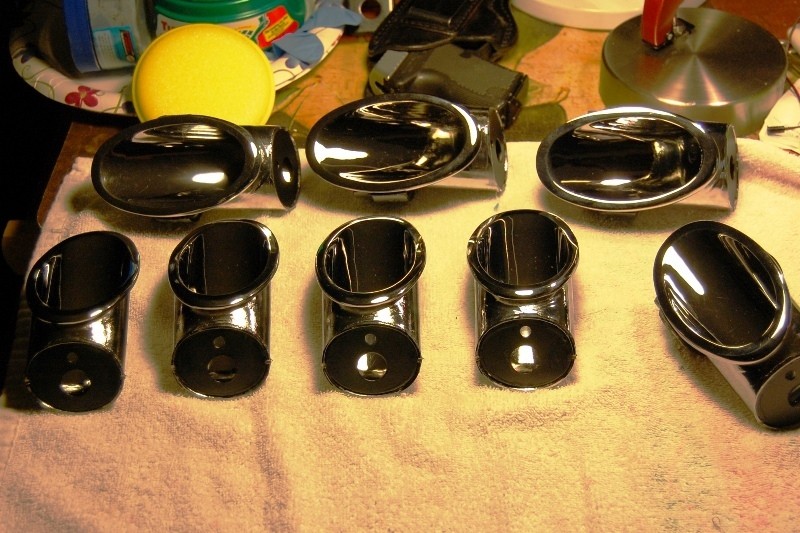
A shallow cavity is formed with the end plates installed. This was filled flush with Permatex Adhesive Sealant. I discovered a while back (by accident) this isnt the regular gasket maker, this stuff really sticks and is difficult to remove later. So Im figuring the lights and mounts should be solid for years to come.
Thats about it for tonight. Tomorrow I get the rest of the studs and then take some time off until the lamps and sequencers show up. If everything goes well I should be able to start cutting/mounting Saturday.