Earlier today I responded to a question in the What did you do to your truck today thread. It filled in several gaps so I thought I should also post the information in my build thread.
I have a floor shifted 4 speed manual transmission, and the key remains on the dash in the original location. I purchased the 32 chrome straight steel version, part number 101320020. It was very easy to install. I used the factory floor clamp, and years ago I added a muffler clamp at the dash to secure the column to the lower pedal support housing. Heres what that looks like. I simply drilled two holes in the column support and bolted it in place with the clamp saddle on top. It is clamped down gently, as the column has little reason to move around on its own:


In the engine compartment I retained my 2nd generation Monte Carlo intermediate shaft. I simply knocked the cross pin out, ground the round portion into the DD shape, cut off the piece with the hole for the cross pin, and later trimmed another 7/16 off the end and joined the column to the intermediate shaft with a polished SS Borgeson joint. The lower shaft is ¾ DD and the bottom of the column is 1 DD. Heres what the finished connection looks like:

Someday I may replace with old intermediate shaft with a polished stainless item in an attempt to further divert visual attention away from how crappy the rest of the chassis looks!
The Ididit part number for the polished stainless Borgeson joint is 3000124952.
The most difficult issue was sorting out which wire would work on the Ididit adapter for the horn. I ended up using the straight wire that came with the column. It looked just like this one from a different adapter kit. Notice the length of the plastic locking connector:

With the steering wheel adapter on the column, this connector reached all the way into the nylon horn tube and ended flush with the top of the adapter when locked in place.
This is the actual wire and adapter that came with the adapter kit after being desoldered from the horn contact plate:

The wire is too short, and being soldered to the horn plate prevents removing it for ease of installation. Also the locking collar is so short its nearly impossible to latch in place even with tweezers.
This shows the major components of the adapter/horn kit. It shows the soldered wire, but the locking connector is much longer than the one I received (shown above):

The kit shown above must be an earlier version, as the adapter I received had an extra hole present at 10:30 for alignment with the horn tower, and a channel on the face of the adapter to run the wire up into the horn cap area. Heres the type I received:

Since I didnt have any of the tiny female speaker terminals needed to hook the horn wire to the horn contact plate, I simply spliced on my old wire/terminal with a waterproof boat connector.
Another interesting note every Covico, Grant, and Superior wheel of this type Ive seen has the top two mounting holes level across the top like these:

The Mooneyes wheel apparently was designed with the Ididit column in mind, as they rotated the mounting holes clockwise:

This was to accommodate the nylon tower on the horn plate being set at 10:30 on the top of the column. This allows identical left-right travel on the cancelling cam.
With the Covico wheel, I had to position the horn plate at 9:00 as the upper left mounting hole is located at 10:30, making it impossible to align the horn plate at that clock position.
With new Mooneyes wheel, I simply pulled the adapter back off and rotated it to match the newly corrected wheel position. I did have to drill a new hole at the location shown in the blue circle so I had room for the horn wire to make the turn into the cavity under the steering wheel. It sounds more complicated that it was. The entire modification/adjustment took about 10 minutes.
Also, the Ididit instructions state snap the cap in place. This is incorrect information and a sure method for eventual failure. Here is a photo on the side of a typical modern horn cap (anything made in the last 30+ years). Note the dash stamped into the cap, with a dot underneath right at the edge:

The correct method for cap installation is to align the 3 dots on the sides of the cap with the 3 notches in the horn plate. Lower the dots over the notches, and rotate the cap left or right trapping the plate between the dots and the dashes imprinted on the sides of the horn cap. This will keep the horn cap in place without damaging the edges of the horn plate. To remove, simply turn the cap to align with the notches, and it will pop right off.
Its also interesting to note the Ididit cap is more pointed in the center than generic horn caps, and it is also slightly larger across. It must be used with the horn plate that comes with it. Generic horn plates are slightly smaller. When attempting to install an Ididit cap on a generic plate, the cap simply falls off and wont latch. The caps arent much different, but I prefer the more pointed look of the Ididit cap, and the upper surface also extends further over to the edges making the cap look bigger than other brand caps.
Also, here are a couple more shots with the Mooneyes wheel installed:
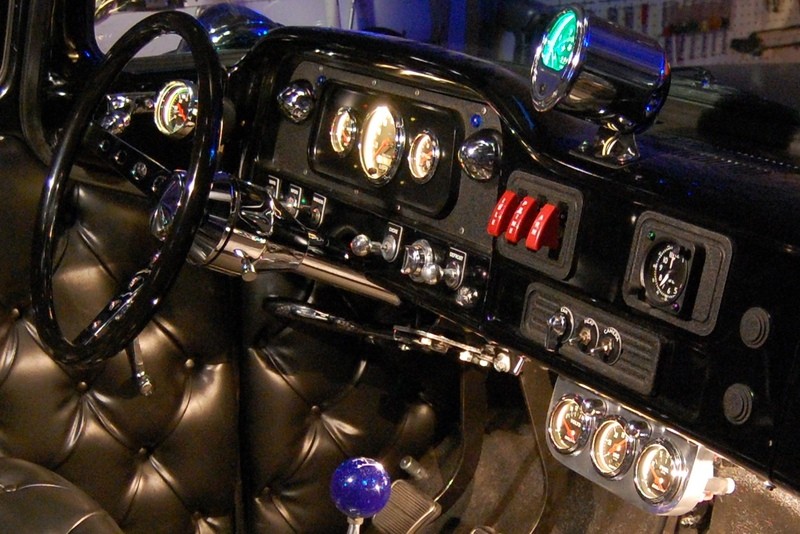
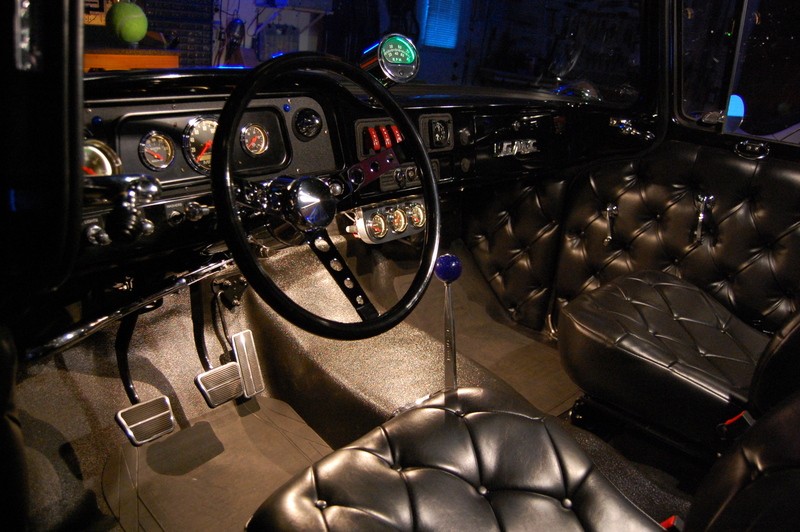
It is exquisitely finished and is truly beautiful compared to my classic Covico version. It also has the bead on top of the rim like the early Covico wheels had. This is an entertaining feature during casual driving.