Quote:
Originally Posted by Bomp

My biggest obstacle is getting too much stretch.
Can you give some how to's or what to watch for so you don't get too much to stretch and info on shrinking when stretching has occurred?
Been practicing what your teachin
All tuned in here.
|
As I'm planishing some weld seams, I take for granted that's what you are referring to. The problem with me giving a fixed number of hammer strikes to planish each weld dot is that some people may strike with more force, some may have larger weld dots, etc. What I would suggest is to use a "test subject" to help you see the effects of shrinking and how the planishing counteracts those effects, so you can better understand how the panel reacts to heat (shrinking) and how the weld dots react to planishing (stretching). This is not intended to be the end all-be all of how much, but it should get you in the ballpark of a measured amount to keep the panel in relatively good shape with minimal warping effects during the initial planishing efforts while welding.
For your planishing test subject, use two sheet metal strips about 3/4" wide by about 15" long. These will be tacked together on the long edge, and works best if you can cut it with a shear, as you can cut a piece 1-1/2" x 15 and then shear it through the middle for a perfect seam. For you to see the effects of the shrinking and then the planishing, it needs to be a perfect cut through the middle for best results. So by using a shear to make this center cut, it will help tremendously.
Next, the process and specifically amount of planishing needed is going to be directly related to weld dot size and/or wire type/softness, etc. So this is where consistency will help out, as your weld dots should be consistent in size. Now that you have a fresh cut test piece, take your two pieces and align together TIGHTLY along the long sheared cuts and tack the seam at about one inch in from one end.

DO NOT PLANISH at this point. Go another 1/2" and add another tack. Is there any change in panels positioning? Go another 1/2" and add another tack. What we are trying to do with this process is to monitor how much shrink is occurring. The first tack should "anchor" the two panels together at the end. With the panels tight together, each subsequent tack, and the shrinking effects realized once cooling takes place, will start to pull the panels even closer together and also to shrink the length along the seam we are welding. Pulling together and shortening the length along the weld seam will eventually show that the two separate pieces will start to overlap each other. So If you haven't seen this happen, keep welding dots at 1/2" spacing until it does happen.
Now that you see these panels overlapping, the next phase is to see how much planishing it takes to "undo" the overlap. Start at your anchor tack, and hammer and dolly once.
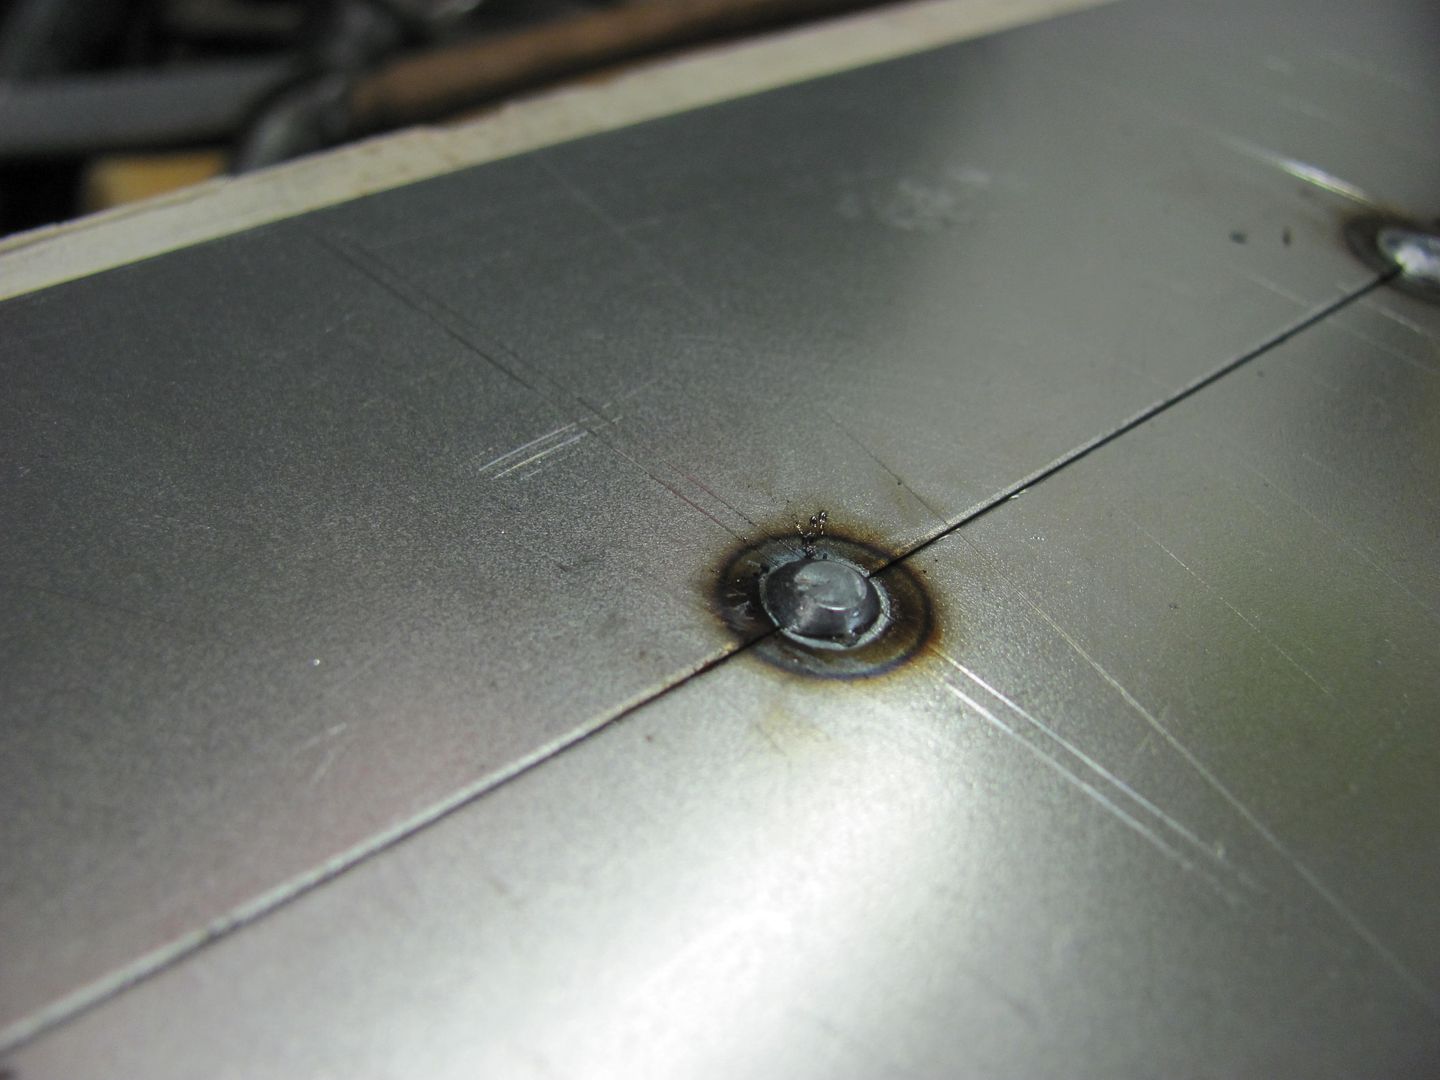
Go to each subsequent dot and apply the same hammer and dolly in the same approximate force. The flat should be similar in size, but I'd gauge your effort more on using the same hammer force than size of the flats. When you get to the end, check the overlap to see if it still interferes with adjacent panel fitment at the un-tacked end. If so, start at the beginning, repeating one dot at a time, monitoring overlap. When your panel overlap issue has been resolved, your weld dot planishing effort for similar welds should be the number of hammer strikes it took per weld dot to resolve the overlap, using approximately same striking force. This assumes your weld dots don't mysteriously grow in size to add the need for more planishing, so again the importance of OCD consistency. This planishing effort will not be the end of the metal bumping to your panel, it is merely the minimum needed to relieve the shrinking effects so the differing forces will relax a bit. After this initial planishing, any remaining planishing needed will be based on what the panel looks and feels like, high spots, low spots, etc. after all the welding, initial planishing, weld dot grinding, and panel reading is completed.