So now the tricky part. Since I knew I was going to mount the fuse block and possibly the heater under the seat, I wanted to make the removal and installation as easy as possible. After much thought and of course alcohol consumption I came up with making a bracket out of 2 pieces of angle iron. One permanently mounted to the seat riser the other mounted in reverse direction on the seat. ( If that makes any sense.
First off I cut and fitted the 2 pieces of 1" angle iron and bolted them to the seat frame using 9/16 bolts.
[/URL]
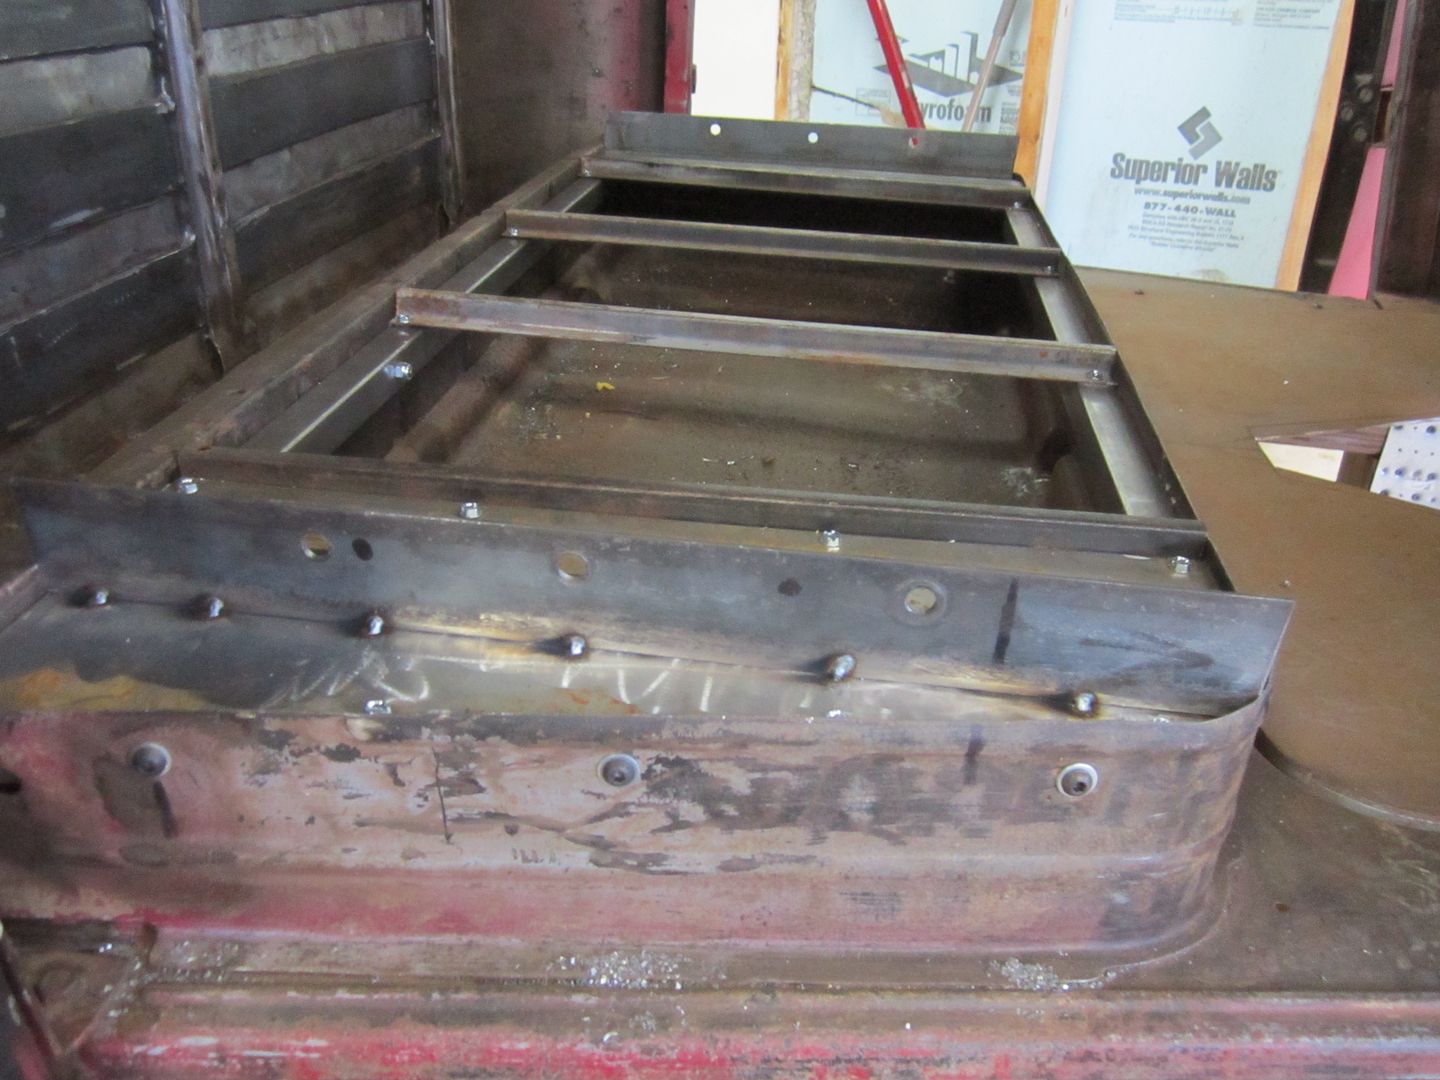
Then I took 2 pieces of 1-1/2 angle iron and set them in place where I kind of thought their final resting place would be. Ignore the tack welds and holes that came later
[/URL]
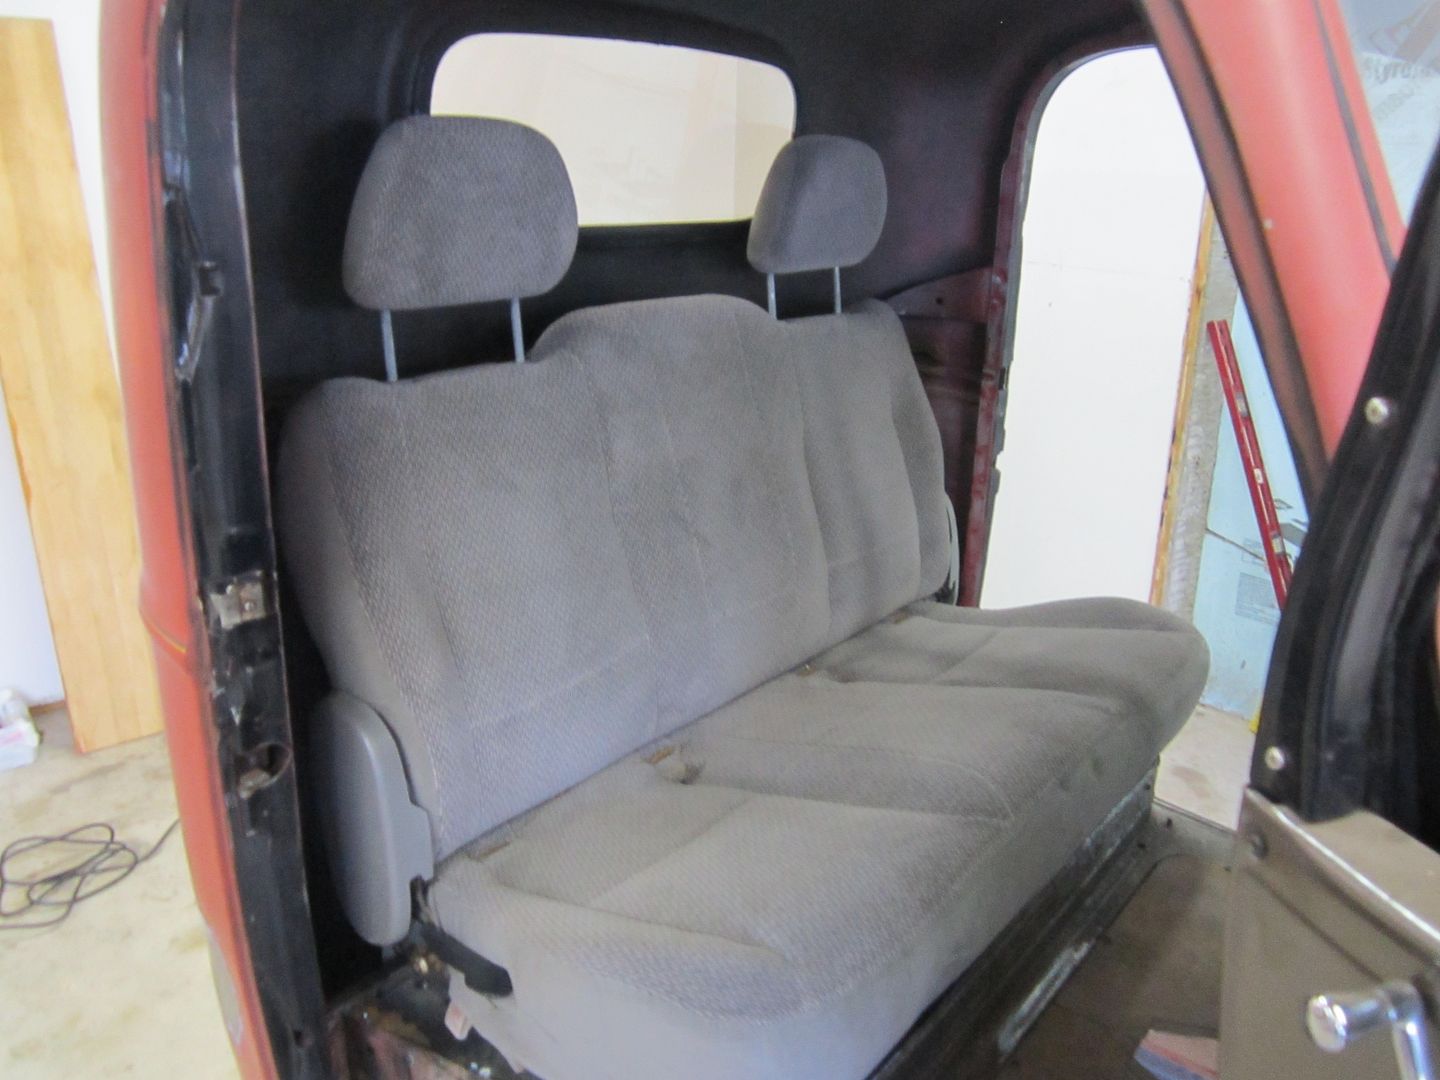
Then I took the seat with the brackets bolted to the bottom and set it in the truck and adjusted to center and front to back were I thought was best
[/URL]
After being certain of the position of the seat was correct, I just drilled 3 small holes on each side of the seat through the bracket on the riser and bracket mounted to the seat. Then I screwed it all together with some small sheet metal screws. This step was crucial as I needed everything to stay in perfect alignment when I took the seat back out, as the plan was to use welded nuts on the back side of the brackets bolted to the seat. so once I got the seat back out I took the brackets of and drilled larger holes through the brackets. Then I bolted them back together and tacked nuts to the back side.
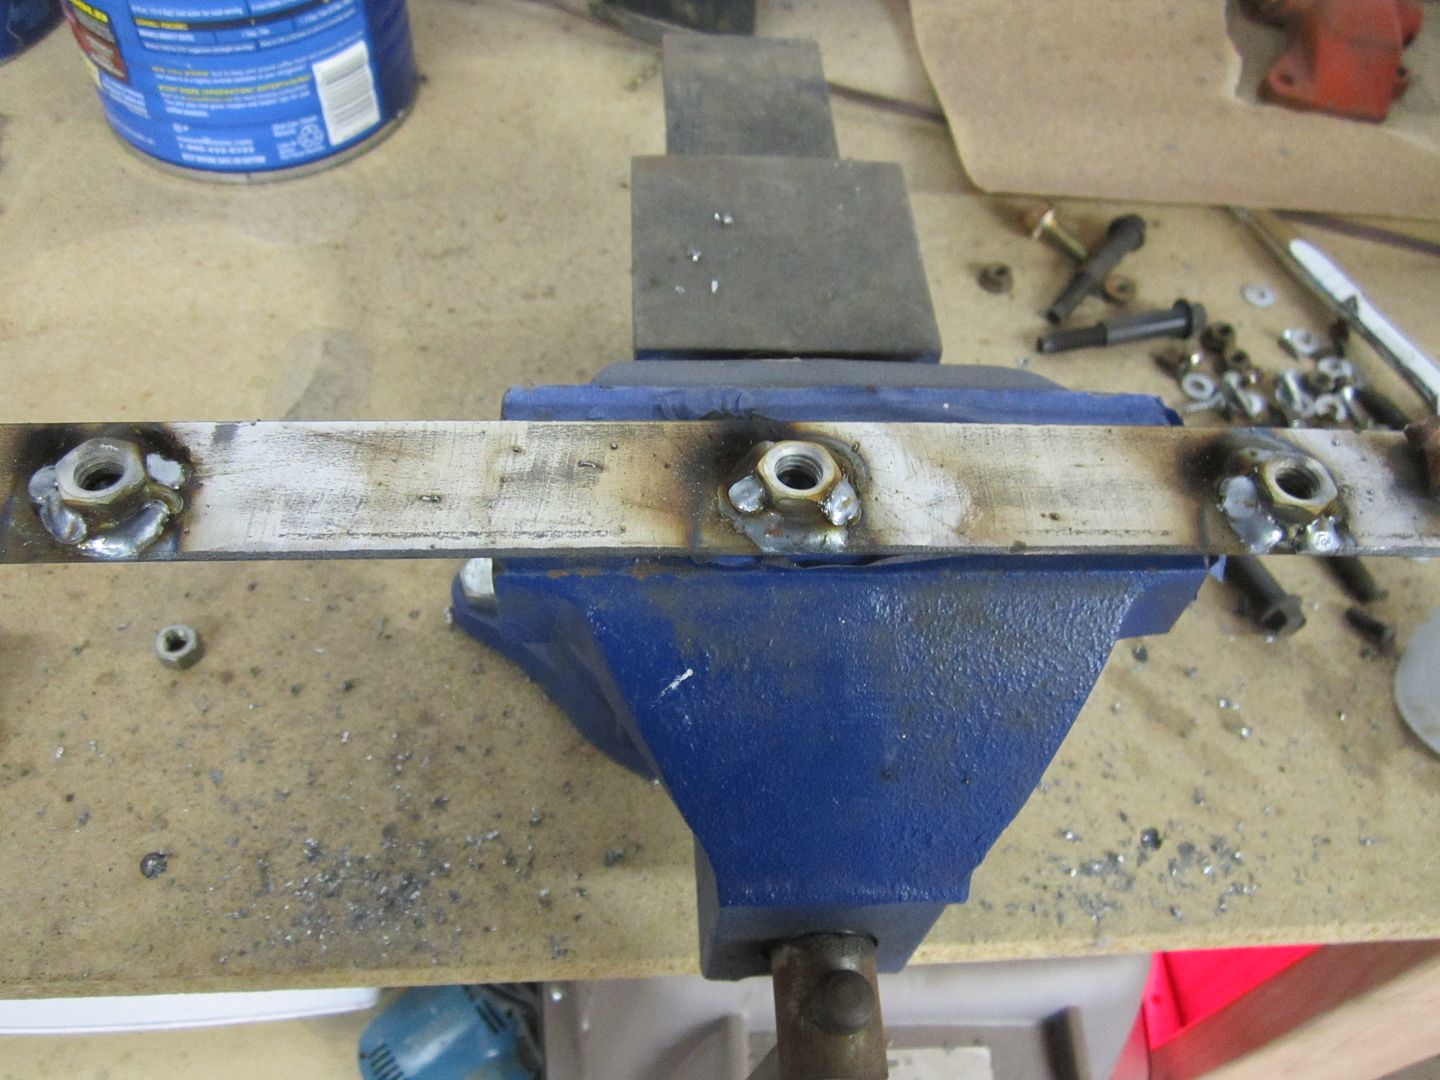
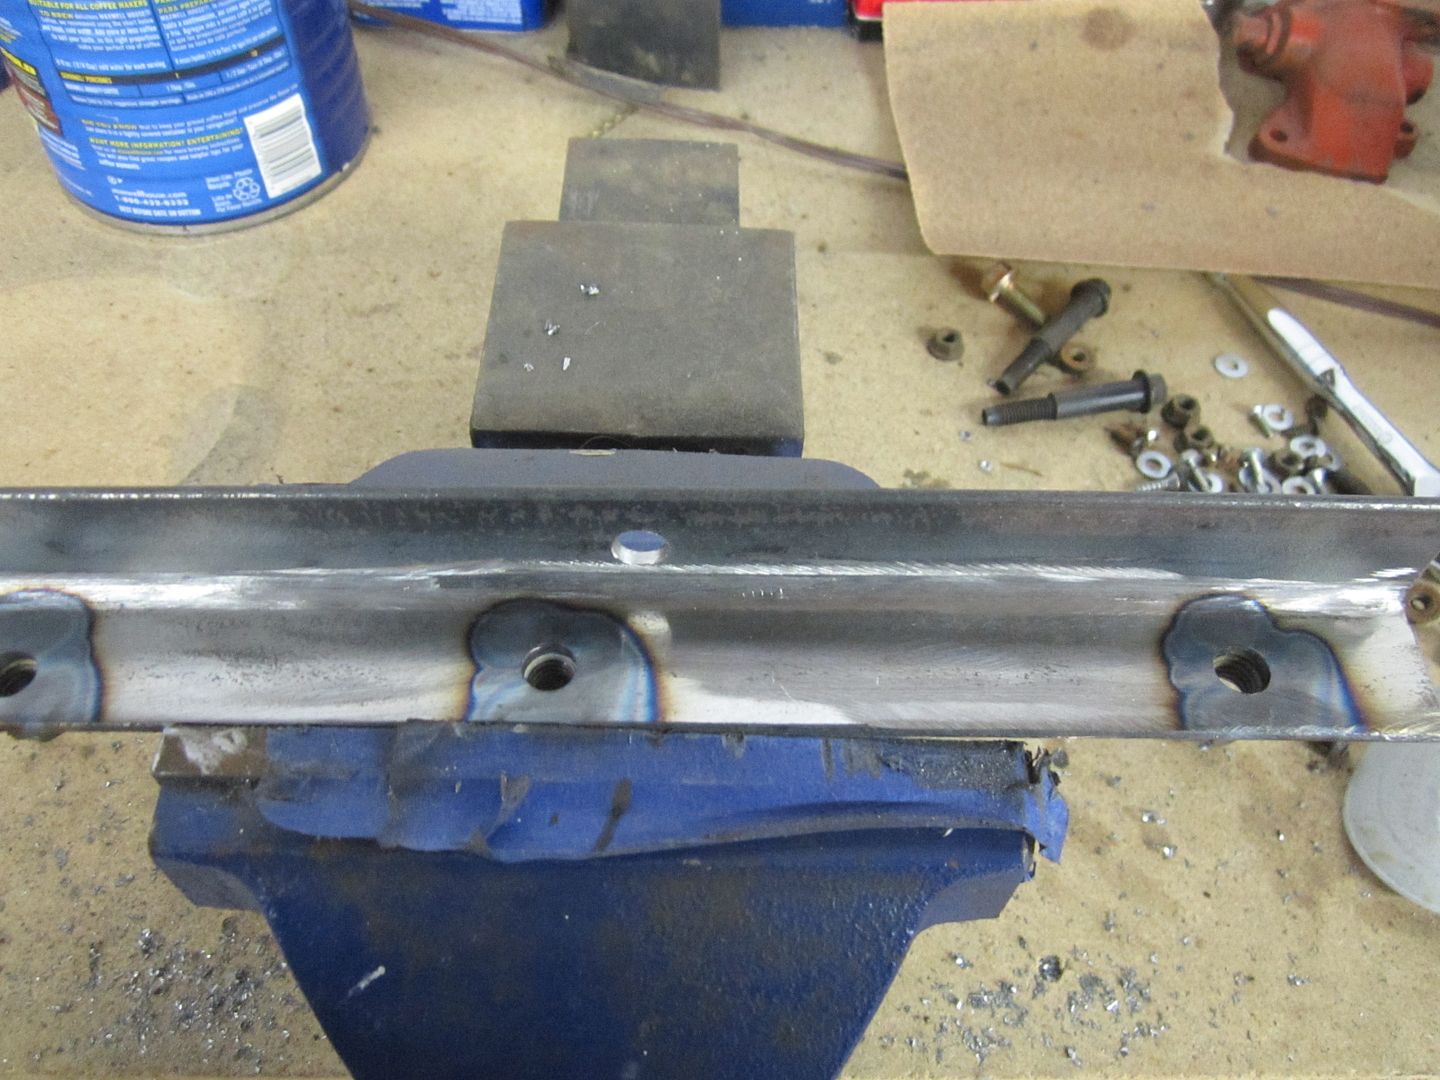
I guess I got penetration... The nuts were cherry red and this is what the back side looked like.