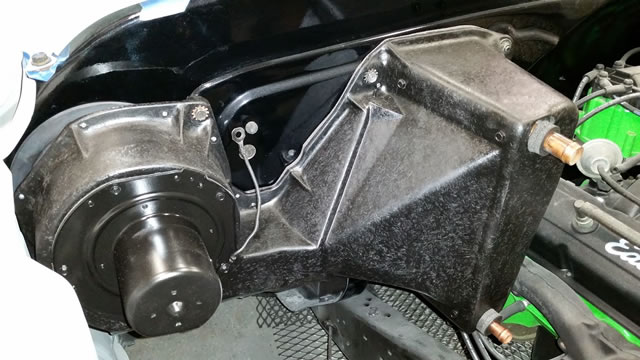
This week I finished up the heater components.
I had some cracks and one missing tab I needed to repair. I filled in the cracks with PC7 and used a wood clamp to pull them closed, just a little though because I didn't want to squeeze out the PC7. This is the same stuff I'm used when I started to repair a 68 steering wheel with a few pages back and never finished yet. :-/
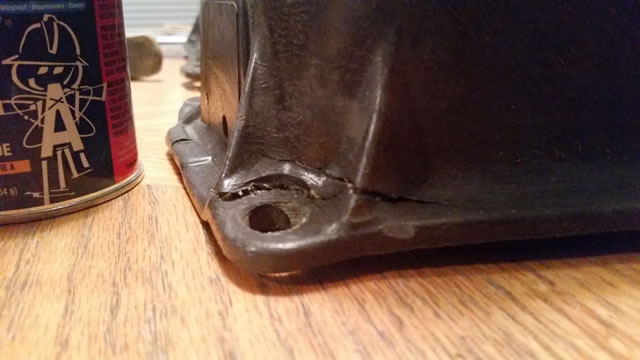
This one the tab was missing completely on. I spead the PC7 on and then used newspaper and pressed it on each side so I could mold it how I wanted, keep it in place, then just sanded, and formed it how I needed it to be. This is an in progress pic.
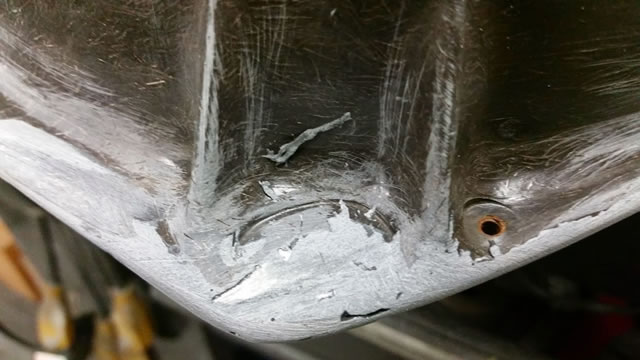
This sealed up real nice... This area I spent alot of time on straighten it out and making it smooth. Was a mess after sandblasting the cab. I'm sure my heater will work much better without cold air blowing in through the cracks that were here.
BEFORE
 AFTER
AFTER
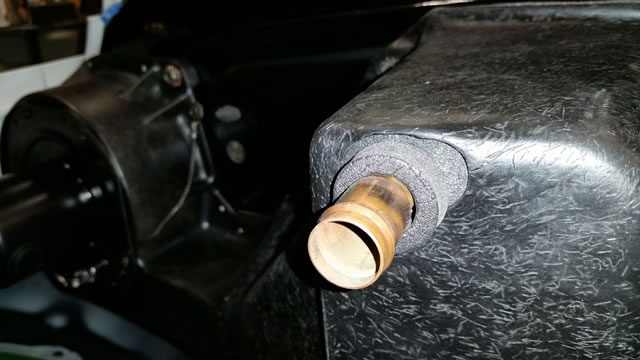
I'm not sure how I'm going to finish these off yet, going to look to the board for inspiration and ideas, but in the end, they will be sealed up nice and tight. I also took my heater core to my local radiator shop, had it flush and tested for $20
I had my paint guys mix me up a can of semi-flat to paint the box with after I lightly sanded it and washed it and scrubbed it with dawn dish soap.