It's been a while since I've had any worthy update, but I believe I hit a milestone today.
I have a ROLLING CHASSIS!

Earlier in my build thread I had issues with the Willwod calipers rubbing against the rim. I finally found a solution but it wasn't easy to figure out. I'll get to this in just a moment, but let me recap what I've been doing the last 4 weeks.
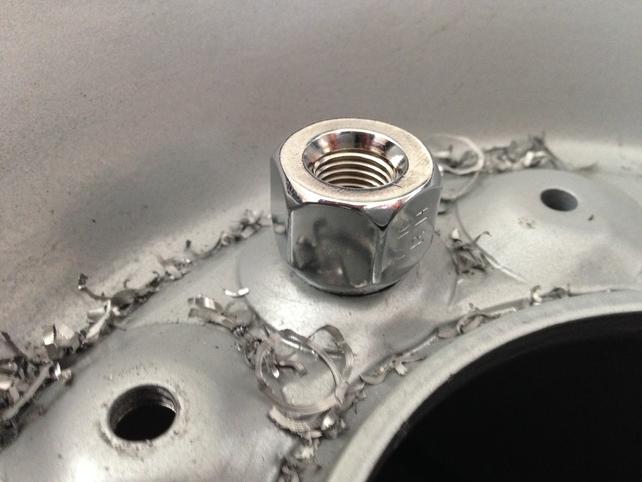
So I had the front axle ready to go until I broke off one of the bolts that holds the dust shield to the steering knuckle (twice) Yeah, that right I managed to do it two times in a row..
The first time the bolt was really stuck in there so I had to grind some of the metal off and then drill it out. I put a heli coil in as a replacement.. Then I went to assemble the wheel hub and steering knuckle for the 37th time.. btw - I found how do seat the spanner nut and ball joint studs right the first time.
I decided to read through the service manual very thoroughly this time around and in the fine print underneath the standard instructions it says
1. place the steering knuckle studs inside the C clamp.
2. Tighten the top king nut snug enough to keep the stud and steering knuckle from moving.. not torqued to spec, but just snug enough to keep the knuckle from moving side to side..
3. Then torque the bottom to spec 70 lbs
4. torque the spanner to spec 50 lbs
5. torque the upper to spec 100 lbs
Works like a charm. You will notice the steering knuckle starts to losing as you tighten the upper ball joint nut, giving it that smooth free flow with just a little bit of drag.
So after I broke the 2nd bolt off the dust shield / knuckle, this time I welded a washer to make the surface flush again because last time I grinded it down after the first time. I then used a washer on the back side and two washer on the front and made the new thread size bigger and this time it worked.
So after spending the last 2 weekends dealing with that I finally was able to make some progress.
Remember the Wilwood Calipers that where rubber the inside of the wheel? I found a solution and it works.
1. I used a .250 (1/4") spacer.
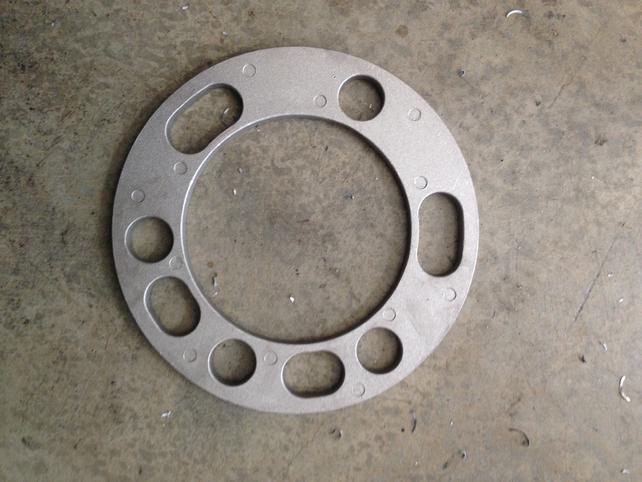
5. Mounted the rims and had enough clearance