Thanks everybody, as I've mentioned before, It's great where people with the same passion enjoy your work through pictures and explanations.
Going through my pictures there is a set that I haven't posted yet. Nothing big, but being part of the interior it had to be clean and neat when finished.
The seat frame, as I said, nothing big but it did take some doing to get it right. It had to first raise the seats to the proper height. I also wanted it to connect to the center shifter hump. It had to support the seat belts and have some nice sheet metal work on the ends for a finished look.
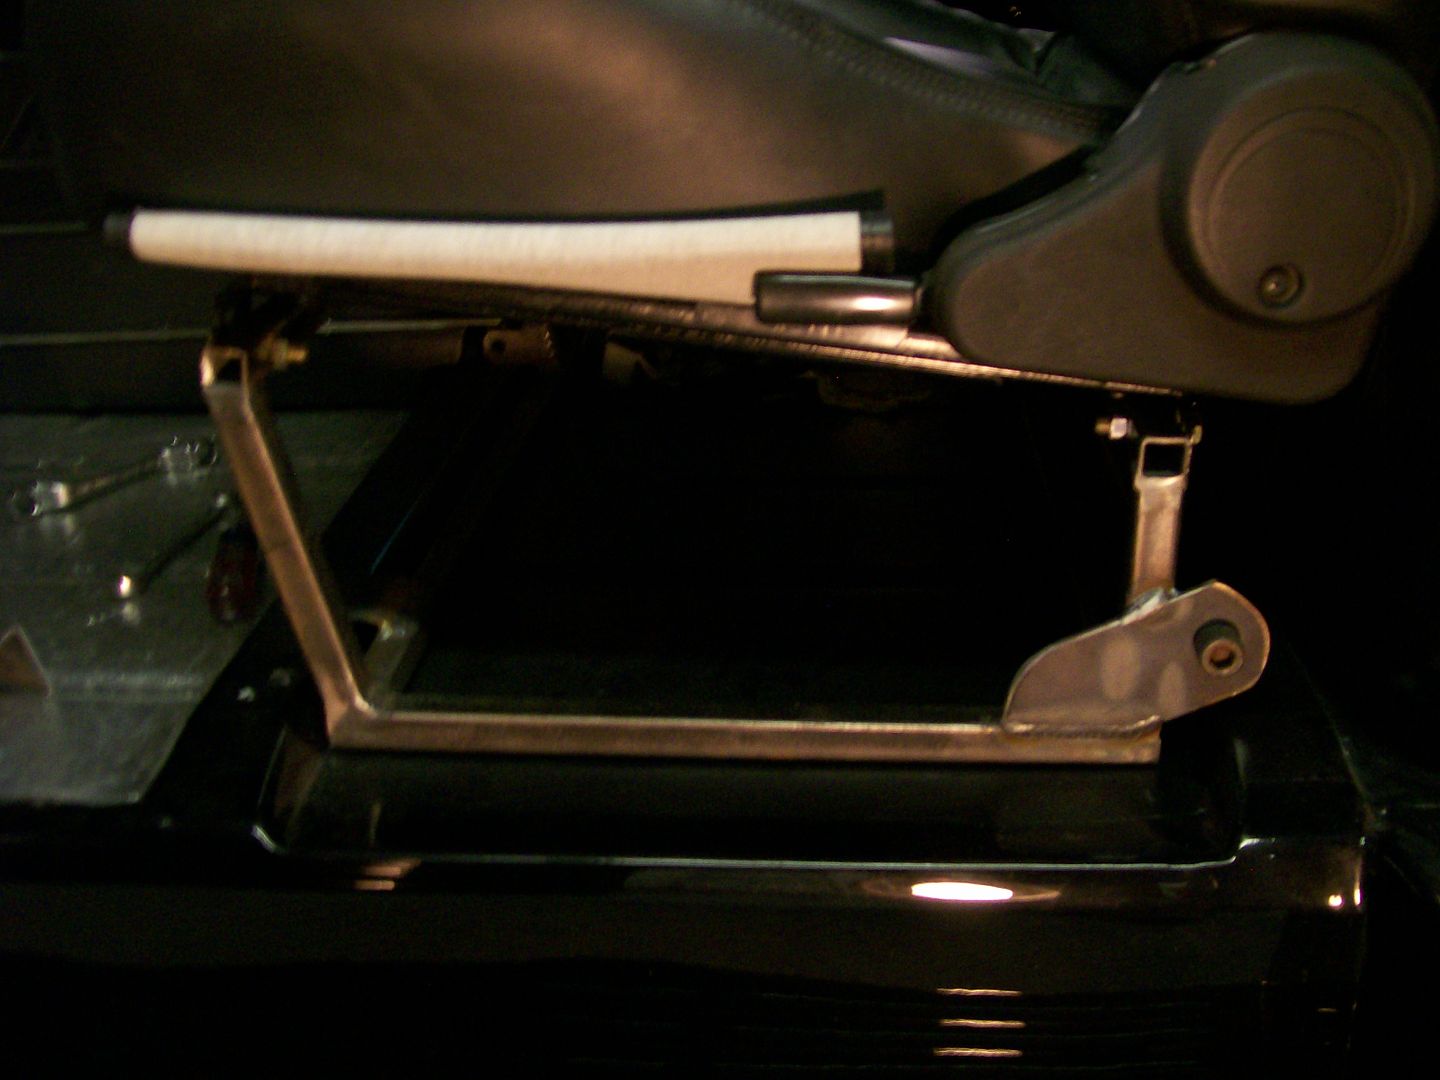
At look where it started.

One of the ends that need to be finished.
Back to the bead roller, a tool that really isn't very expensive and has many different purposes. Not only does it ad a visually appealing look here but it also adds strength at the same time.
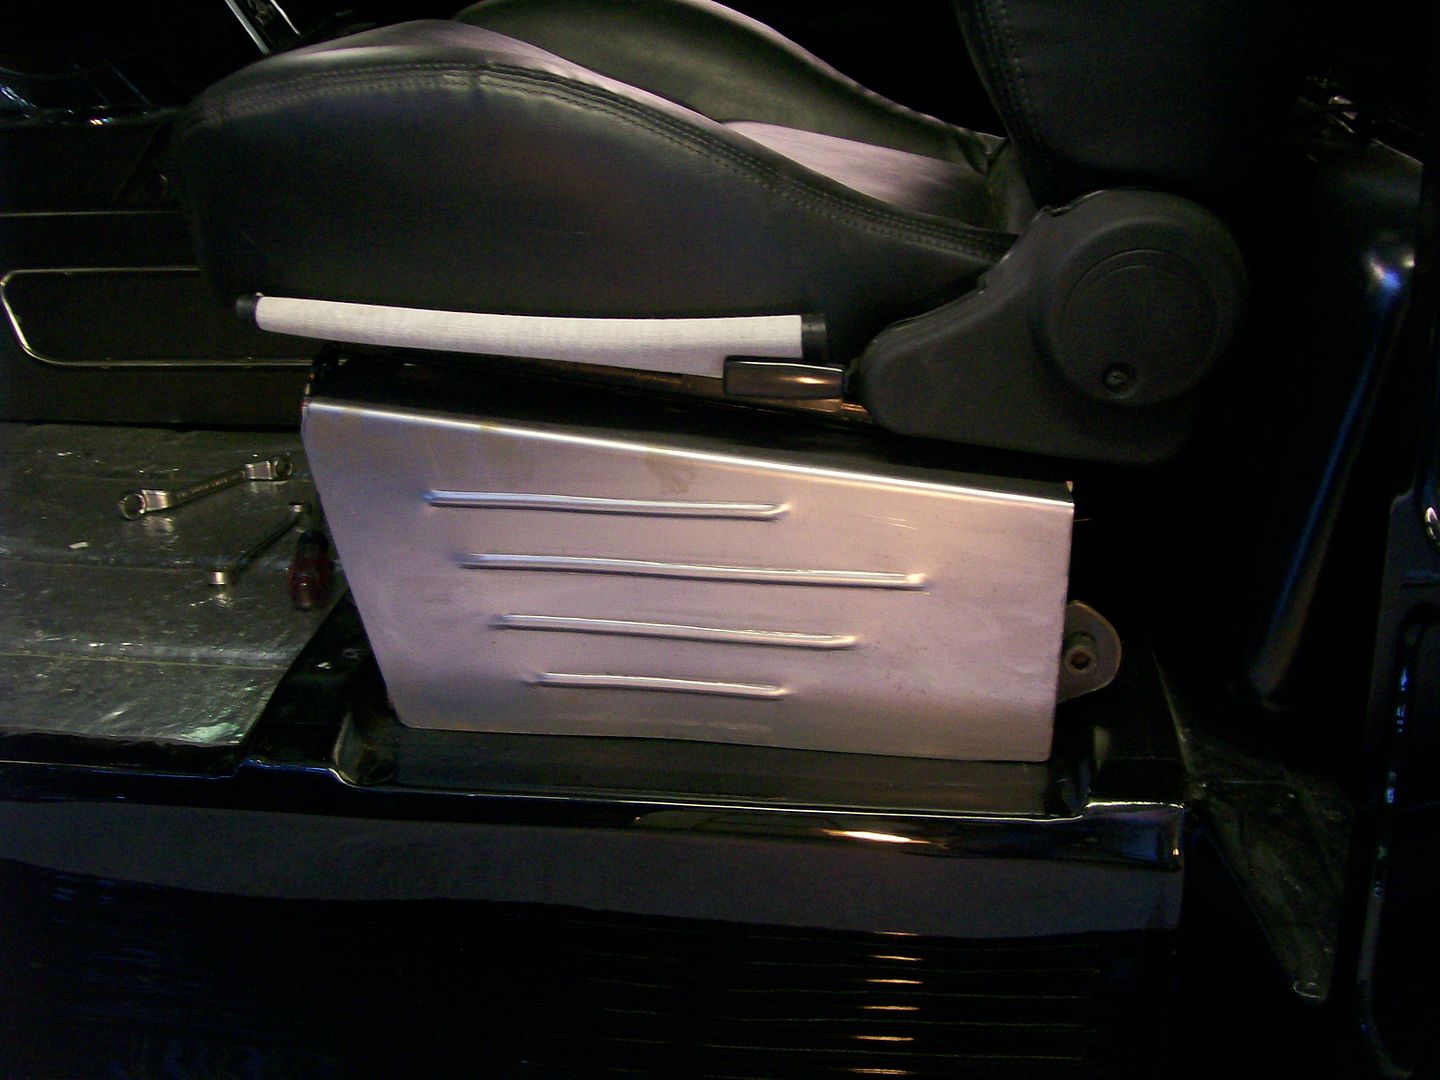
The seat belt reinforcement plate intruded into the sheet metal area here. With some careful cutting and fitting it actually added a nice look when finished.

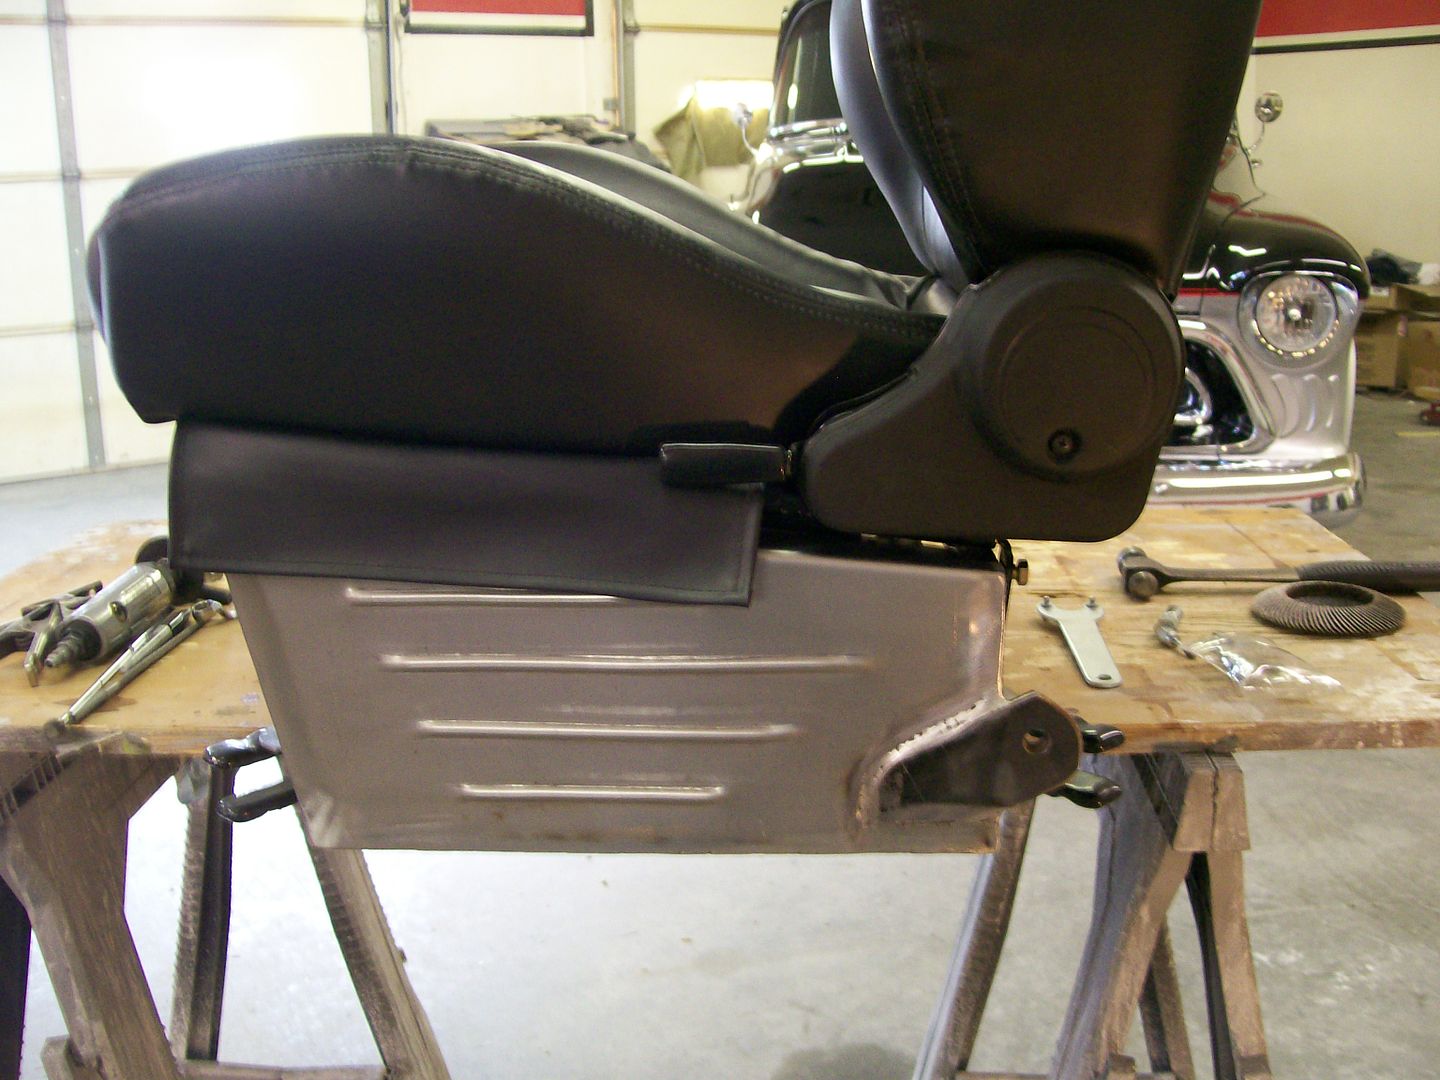
With the welding done it was time for the Flap Disc. Used properly you can flatten all the welds, and still end up with nice edges all the way around. Even with the 40 grit disc, there are no cosmetically damaging grind marks.
FarmerSid, one tip I have for the flap disc here is.... Use a disc that will grind the welds flat but leave a small amount of the weld yet to be ground down. basically to where the weld is nearly flush with the metal you've welded on.
By using that used 40 grit disc you have to apply pressure while grinding, this will cause the disc to conform to the weld you are grinding, you'll never get a real true flat surface.
By leaving just a but of the weld yet to be ground down, now go to a brand new disc, not a slightly used one, a brand new one. Now with the slightest pressure, grind the small bit of weld left over. The new grit on the new disc will grind extremely true and leave a very level surface with no left over weld. the fusion of the weld and the metal blend perfectly together.
The direction of the spinning disc is also important, you can not grind into the edge, then to the weld. The disc will glance off the edge and never hit the weld. Grind so the disc spins across the flat or the weld, then off the edge. This way the disc's pressure hits where you want to grind, and not bouncing over where you want to grind.
FarmerSid, you may already know all this, but for those checking in, they may want to give this a try.
Where was I, on to the next step. I read many posts about sandblasting, within those posts I read so many people saying to stay away from sandblasting. I understand the dust in your lungs issue, wear a mask. I understand the sheet metal warpage issue, don't blast thin sheet metal.
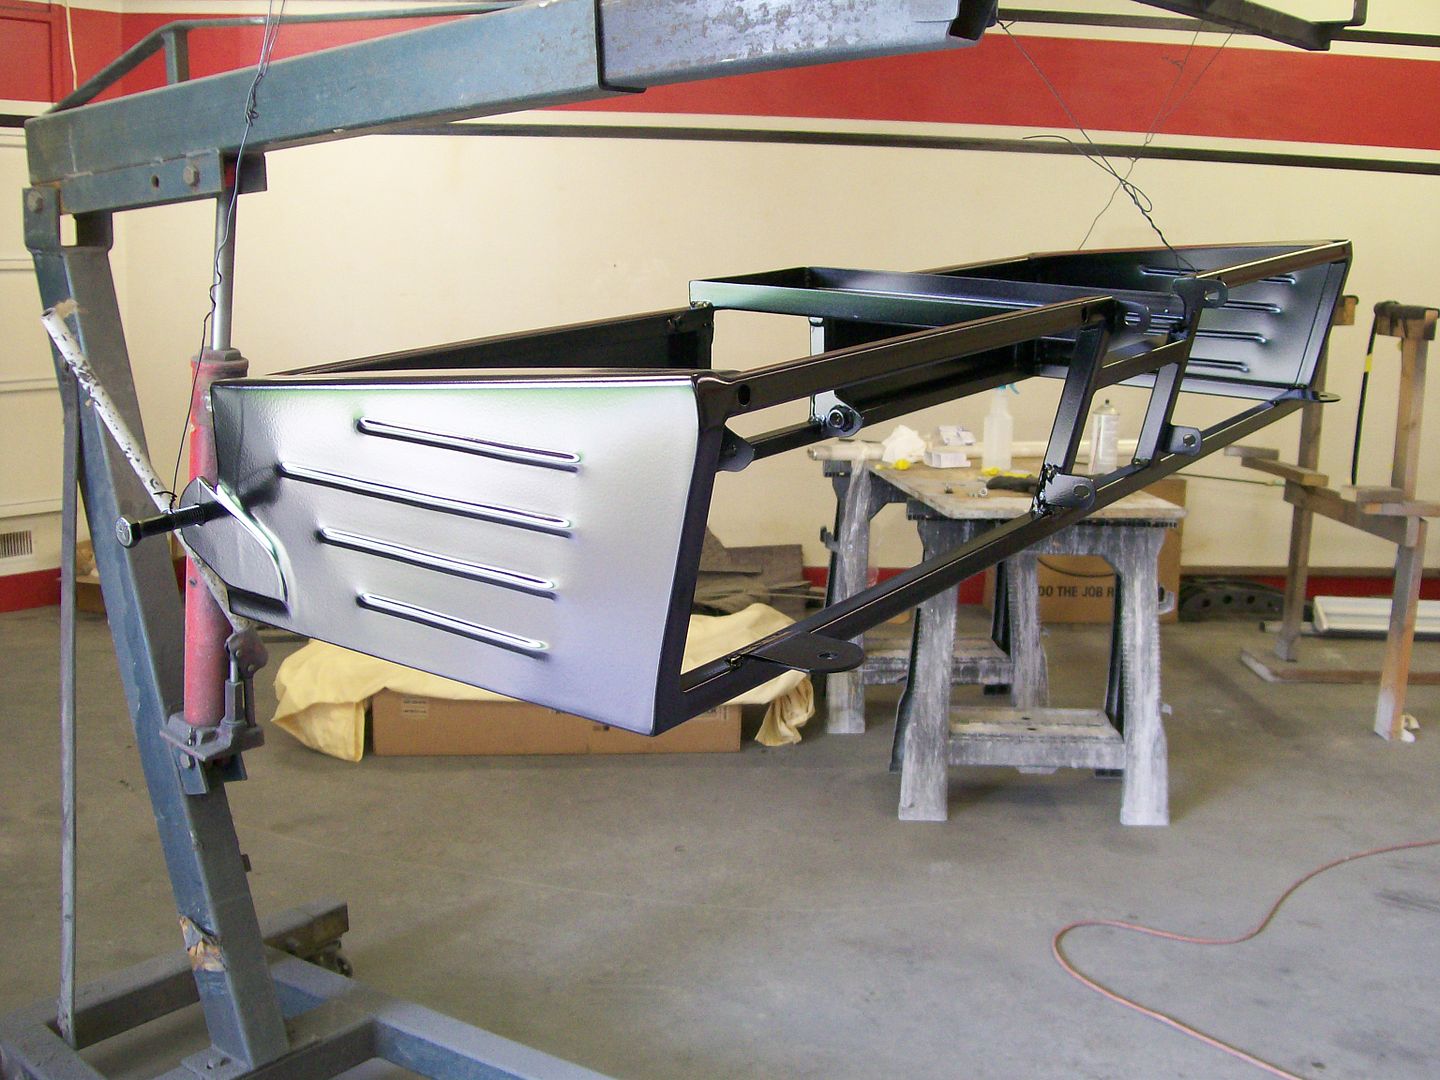
There is a ton of excellent areas to sandblast, like this seat frame. In 10 minutes time I have a excellent surface for epoxy primer, I've removed all the marks from bead rolling and any grinding marks. I have a few pits from welding, the blasting cleans the pits perfectly so I can finger apply some spot putty along the edges. Once the putty dries I sand it and go directly to priming and painting.

One coat of epoxy primer, wait a couple of hours, then 2 coats of satin black.
It's been nearly 2 weeks since the car show, we had a little over 60 vehicles. With the participants and the many people who stopped by and visited, then also getting my picture in the paper, it has been fun seeing the changes in people, I'm not only the Mailman, but I can built one heck of a truck also.

Jim