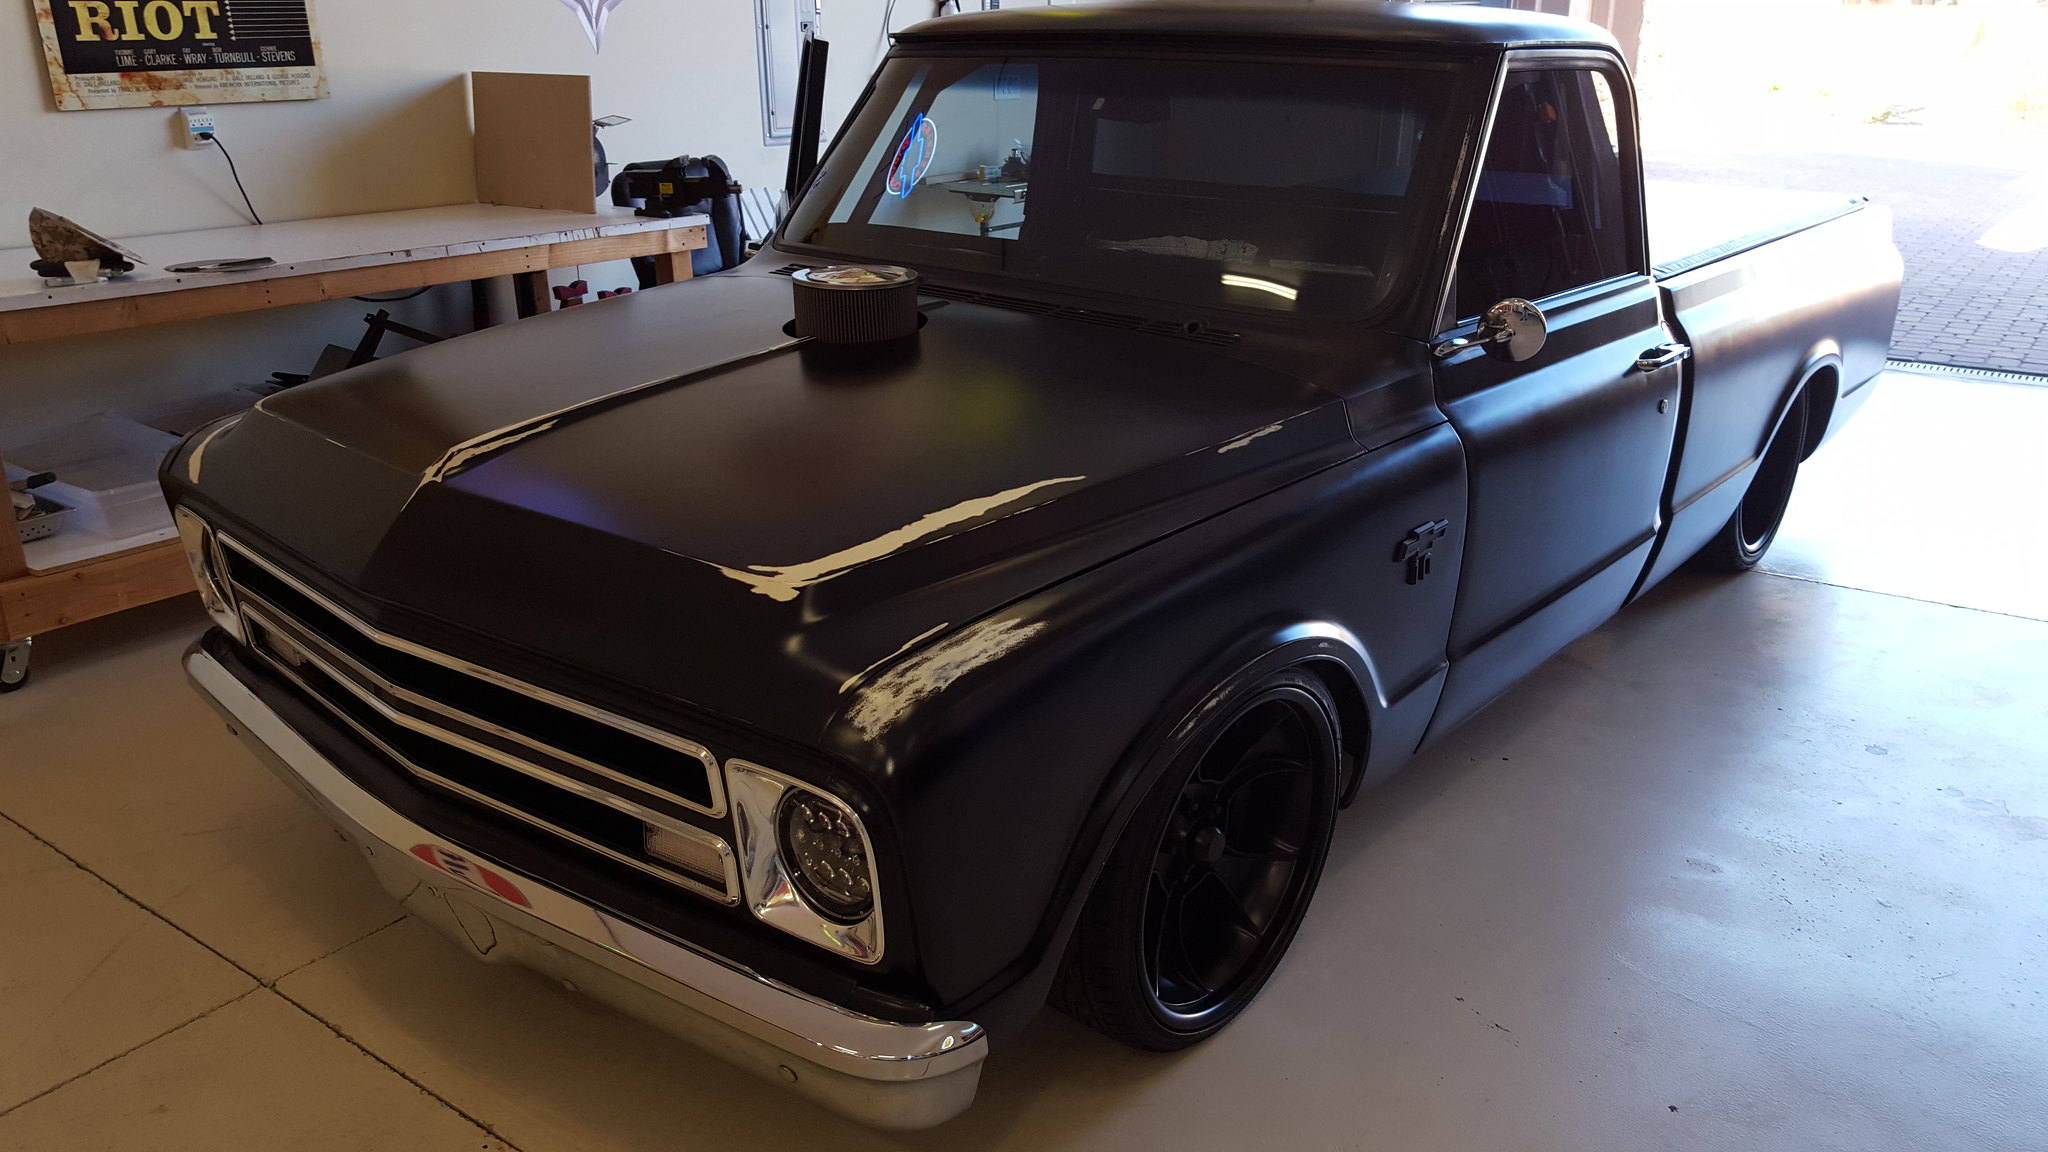
I just spent last weekend installing this kit, so I'm going to update this article from 2009 to 2016/2017 so everyone is aware on what to expect when they spend $440 on PB Fab hinges.
First of all I want to thank Paul (LFD) for taking the time to put together this awesome original thread/"instruction manual" since this kit comes with no paperwork. I have taken Paul's quotes and added my notes to them. I hope it helps others out when installing.
Quote:
Originally Posted by Rokcrln

Ok first thing to do is remove the hood, cowl and stock hood hinges. Then you need to find the center point of the front of the cowl area and put a piece of masking tape their that you can write on. Then from this center mark you will go left and right 23" each way so the hinges will be 46" from center to center. I used masking tape to make all my marks on so it is easy to change if you make a mistake and also it will help protect the paint for the painted guys. Ok so once you make your two hinge marks 46" apart from each other you are ready to make a template so you can transfer the hinge mounting holes and center slot.
|
After doing all of this measuring I felt it was unnecessary. On my truck (and yours may vary) you could just set the drivers side box directly in the pocket in the cowl and trim it forward so it drops in. Set the passenger side box as far over to the passenger side so it drops in against the stop of the cowl. *see my pics*
Quote:
Originally Posted by Rokcrln
I have Talked with Nate and he will be supplying (2) 1/8" and (2) 1/16" shims with the next kits.
|
This never happened and would have been nice. I ended up making my own shims.
Quote:
Originally Posted by Rokcrln
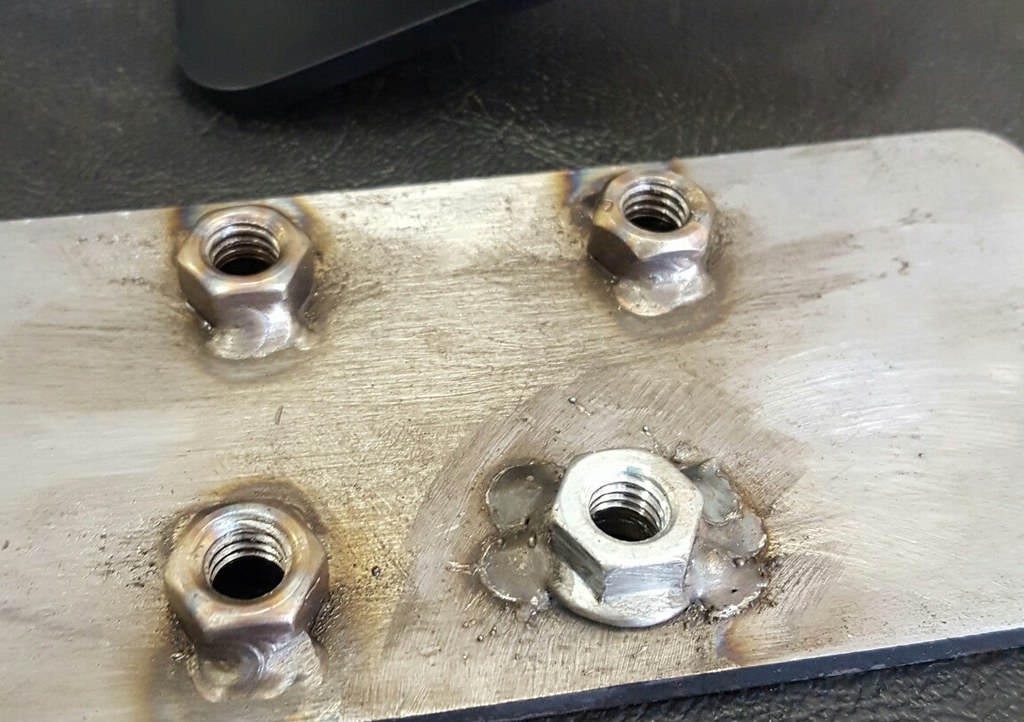
The very first thing you want to do is make sure all the bolts can be screwed all the way into the mounting plate. If you have any problems you should run a tap through the hole first. I had one that did not go and found out after it was welded in place. I have already spoke with Nate about this and he is fixing this so it will not even be a possible problem on later kits.
|
This also never happened. I had to run a tap through all 8 holes after the first allen bolt locked up in the hood bracket. I ended up braking it off and using a cut off wheel to cut the nut off the backside and had to weld a new nut on. I know, I should have listened to Kevin and did the tap first, but thought it was fixed...its not fixed...its worse.

Quote:
Originally Posted by Rokcrln
1) Is to enlarge the holes in the hood mounting plate about 3/32" to avoid any problem screwing the bolts in.
|
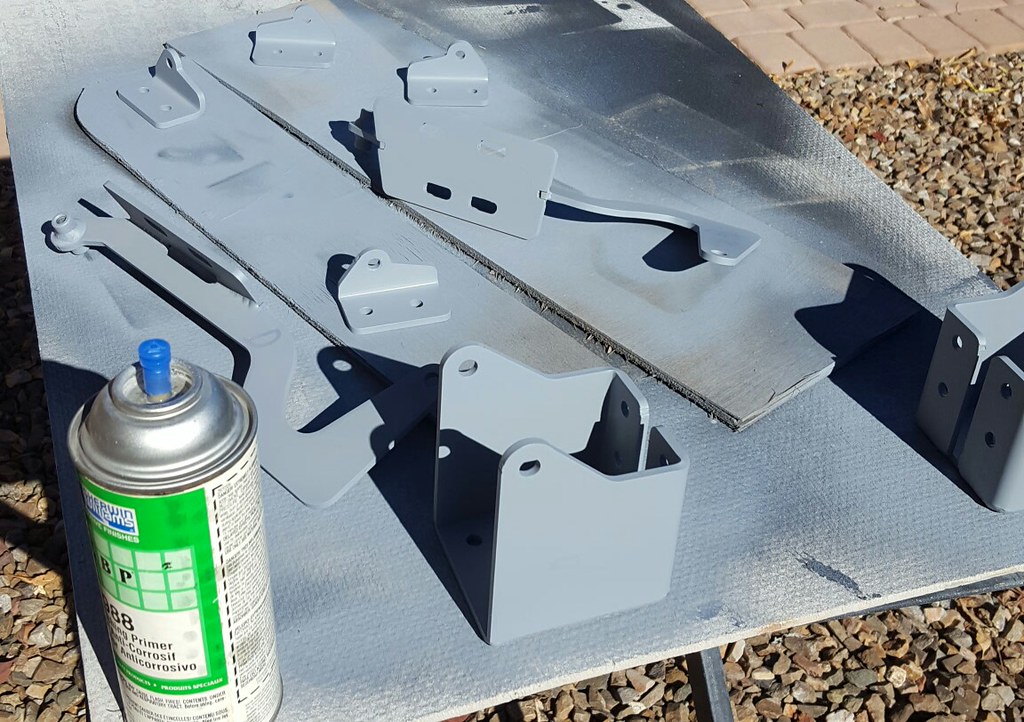
I recommend to enlarge the holes in the hinge boxes and the shock brackets. As a matter of fact if you paint them before you install the hardware its almost impossible to get the hardware to fit though the holes at all. Do yourself and run a drill bit that is one size larger than the hole that comes in them before you start the project and or paint..
Quote:
Originally Posted by Rokcrln
2) To provide the template needed for marking out the cowl bolts and slots on the face. You will still be on your own for the 2 bottom bolts in to the cabin and the opening of the cowl top to fit the boxes.
|
Yes this would be nice.. but I made my own templates in less than 5 minutes.
Quote:
Originally Posted by Rokcrln
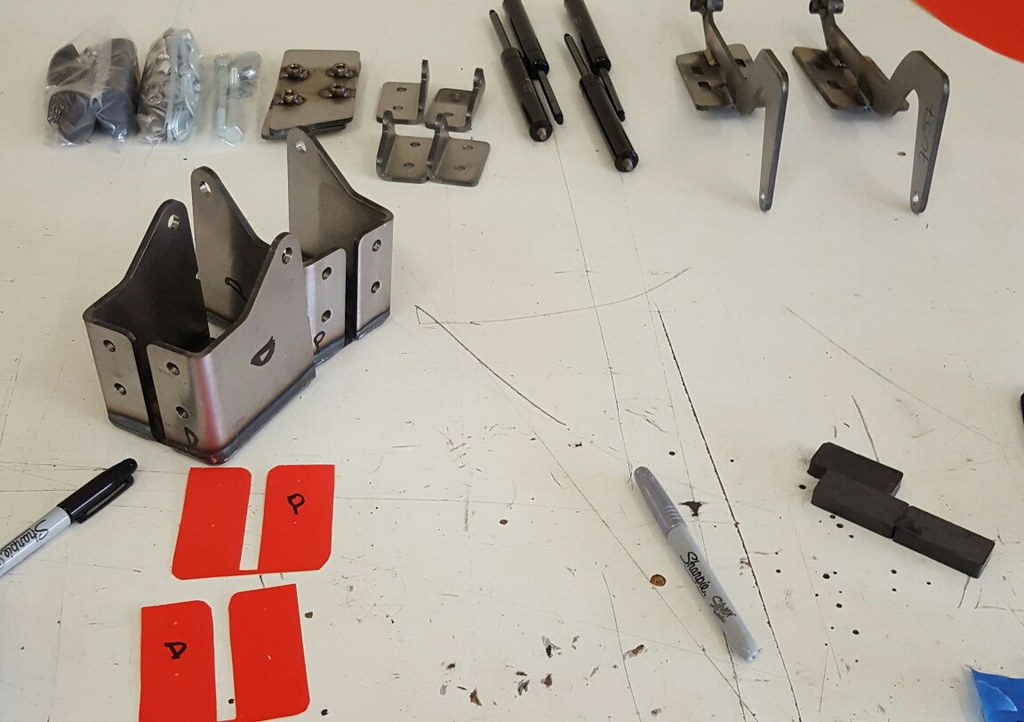
3) Pre mark all the pieces with a P (passenger side) or a D (driver side) just so their is less of a chance to make a mistake as you are rushing to get this done.
|
As described earlier in this article they did mark the drivers side box with a notch and its pretty hard to confuse the hinge arms, since they will only go on the hood one way.
Quote:
Originally Posted by Rokcrln
5) Maybe include some mock up hardware so you can save the SS for final assembly. This one he does not know about yet but it would be great at least for the hood to arm connection because this is the easiest part to mess up a SS bolt and ruin the threaded plate causing some big nightmares.  |
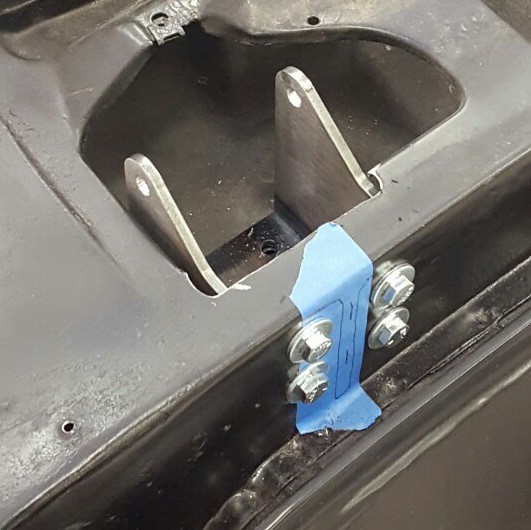
The kit comes with 4 standard bolts and nuts for mounting through the top of the cowl into the interior of the cab. I was able to use that hardware for most of the mock up doing one hinge at a time.
Quote:
Originally Posted by Rokcrln
So find a good place to lay your hood up side down and grab your tape measure. You will once again want to find the center of the hood along the rear brace. Their is a factory hole that is almost exactly center but double check it before moving to the next step. Once you find center you will want to measure out 23" each way just like on the cowl. This again is the center of the hinge mounting plate but since these plates are 2 1/2" wide now measure to one side 1 1/4" so you have a good mark to line the edge of the plate up with. Put the plate down and trace around it with a pen then remove the plate and clean all the paint off this area so you will get a good weld in a later step. Now re measure and place your marks one more time (don't forget the 1 1/4" offset line) and using a framing square you will want to make sure these plates are square with the rear of the hood and 1" in front of the back of the brace. This should also be about 2 1/2" from the very back edge of the hood. Once you have this I recommend just doing one tack weld per piece first. After both sides are tacked re-check your 46" number to make sure it is correct then finish welding. I only did about a 1" weld in each corner and I feel that is more than enough to secure the hood for good.
|
My truck does not have inner fender liners, so I bolted the hood plates to the mounted hinges and then laid the hood on the truck. I then shimmed the hood all the way around so it lined up with my cowl and fenders, tacked the plates to the hood from up under the fender. I then unbolted the hinges and pulled the hood and finished welding the brackets. It was very easy and ensured the brackets and hinges lined up PERFECT without having to do any measuring.


So overall a great kit. My hood opens and closes very smooth for the first time since I have owned the truck. However I wish they would fix the few, little, and easy to change issues to make the kit perfect and drop the price to the $300 range.. $440 seems high for what you get.

I hope my notes and pictures helps to simplify this installation for others.

Chad