Shortbed Conversion, Part 1
For the last two months or so I've been working on the shortbed conversion and thought I would share an update on the progress. Originally, I wanted to include the entire conversion in one complete post, however, the process is taking much longer than I hoped since I don't have that much time to dedicate to the project. That being the case, I thought I would split it up into two posts. This first post will document the overall plan for the conversion, disassembly, modifications, and fab work. The second part will document paint and reassembly.
My plan from the beginning was to do a static dropped shortbed truck with ~2" of tire tuck. To get there, I would need a few additional inches of drop over the standard spring/blocks/spindles static drop recipe. Therefore, I decided I would incorporate a 2.5" step up in the rear frame during the frame shortening process. This would be just enough to get the fenders down over the tires without going crazy with a full drop member suspension. The overall plan was simple, then. Use original GM shortbed sides, shorten/step my frame, and shorten the bed floor, driveshaft, and brake lines.
First, I disassembled the bed and cut 12" directly off the front of the bed floor. I chose this route instead of sectioning it so I didn't have a seam in the bed floor. I lost the flat front edge of the floor, but it still looks factory when reassembled.
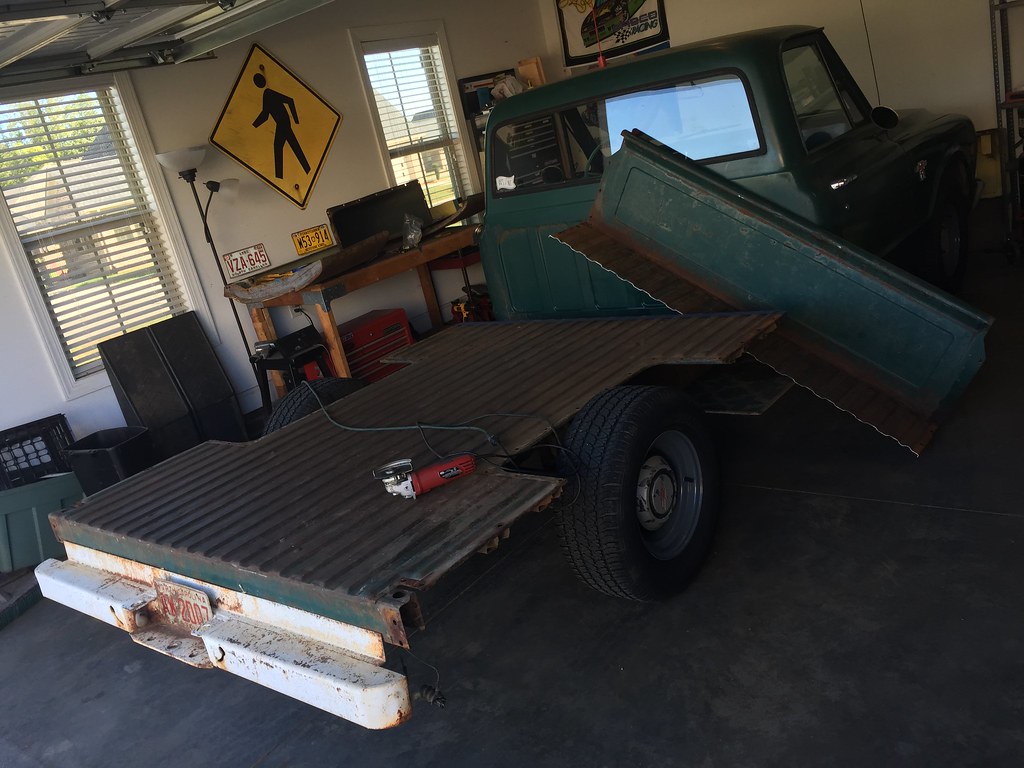
For the back, I ultimately decided to section 8" from the floor instead of cutting it directly off the back like 65standard did in his shortbed conversion. Reason being that I do not posses the metal working skill to be able to rework the rear edge of the bed floor without beating it to death with a hammer
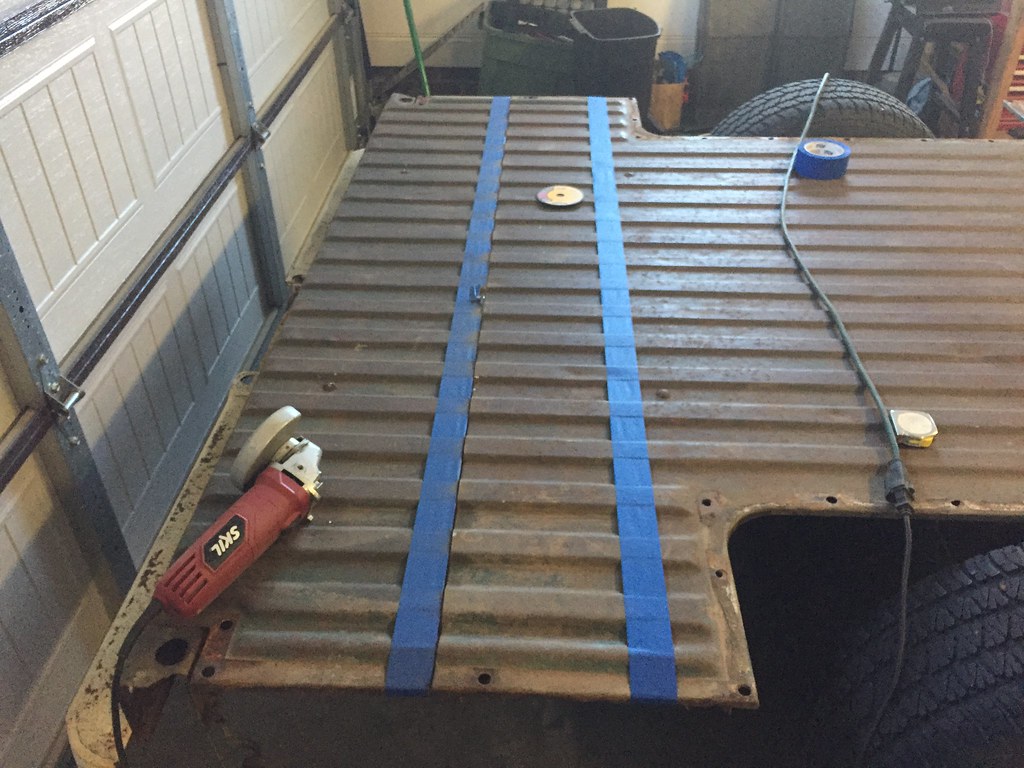
This is where I started to lean on my dad for help by welding up the bed floor.
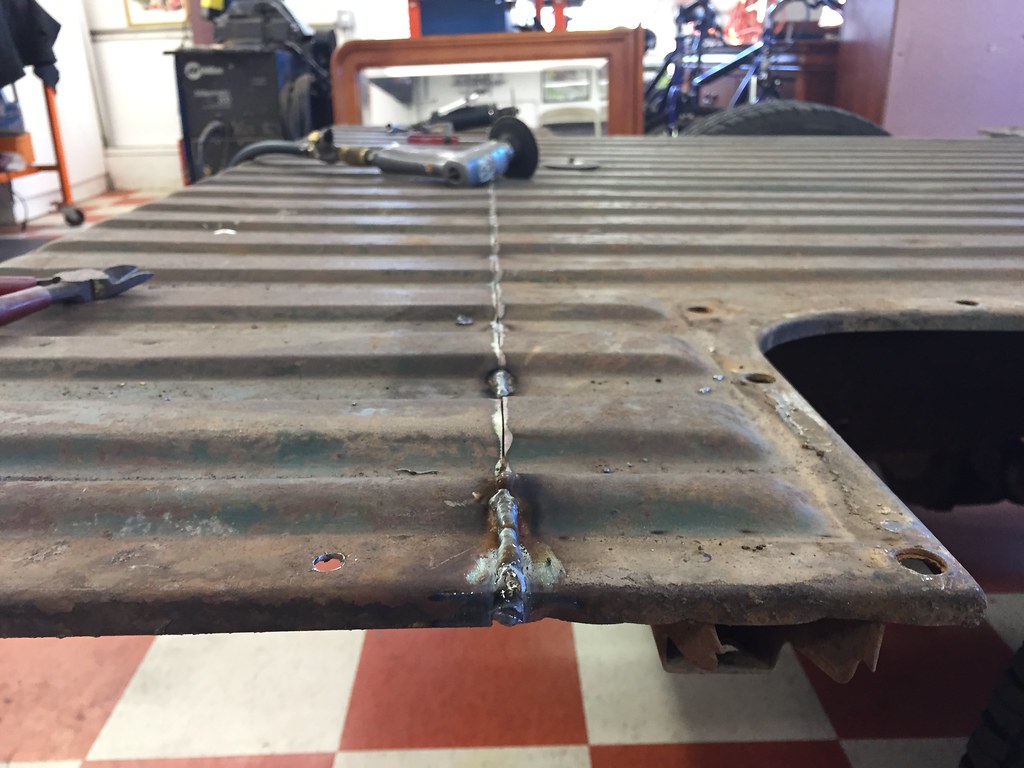
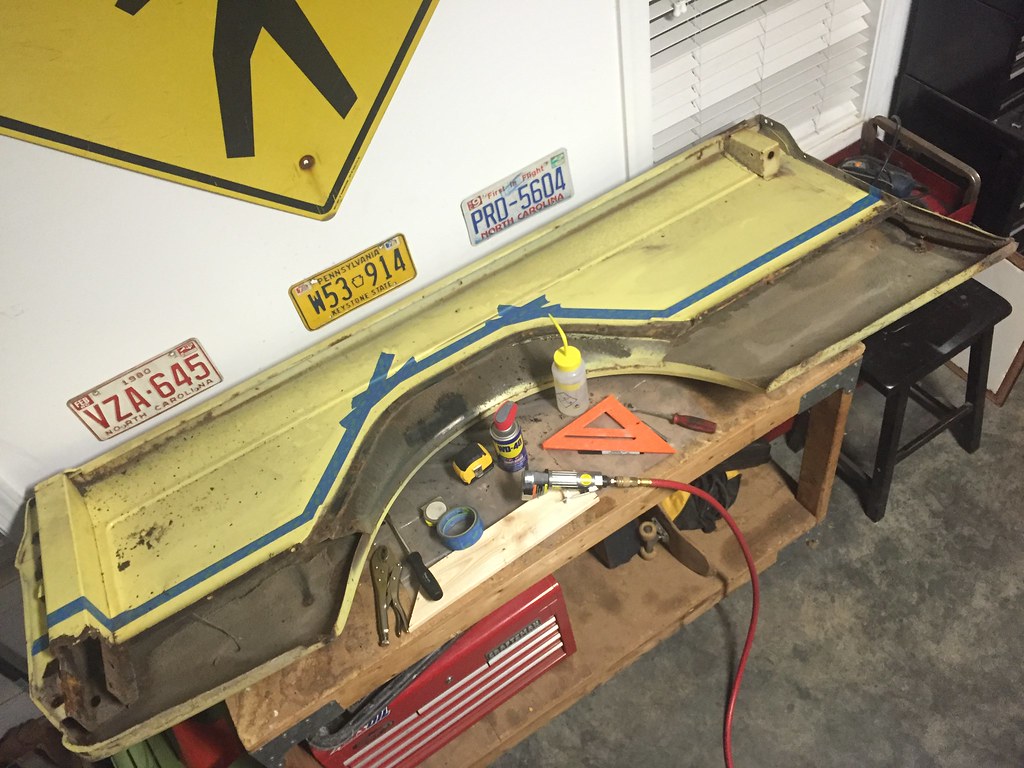
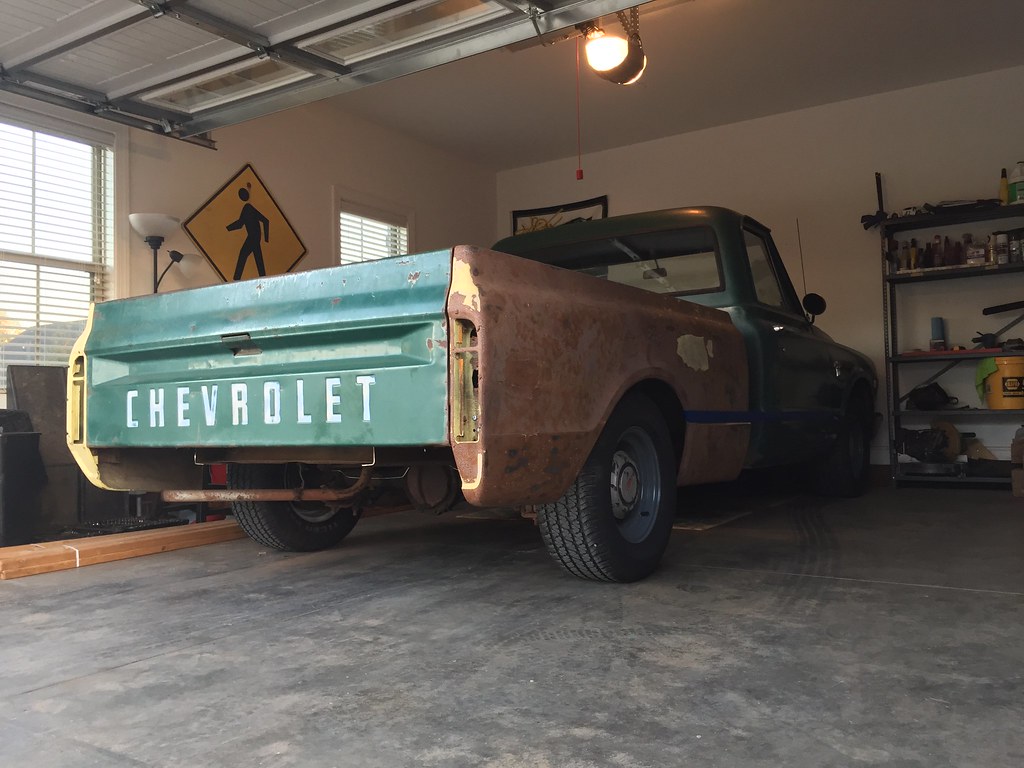
Next up was to modify the shortbed sides that I got from Gr8-68.
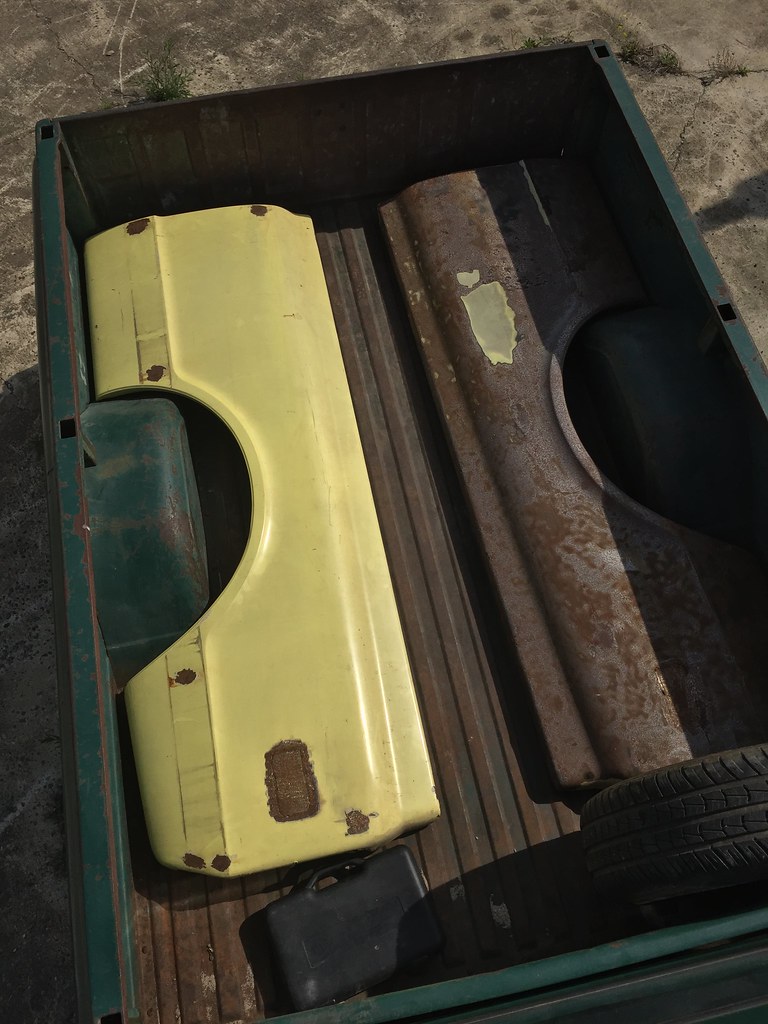
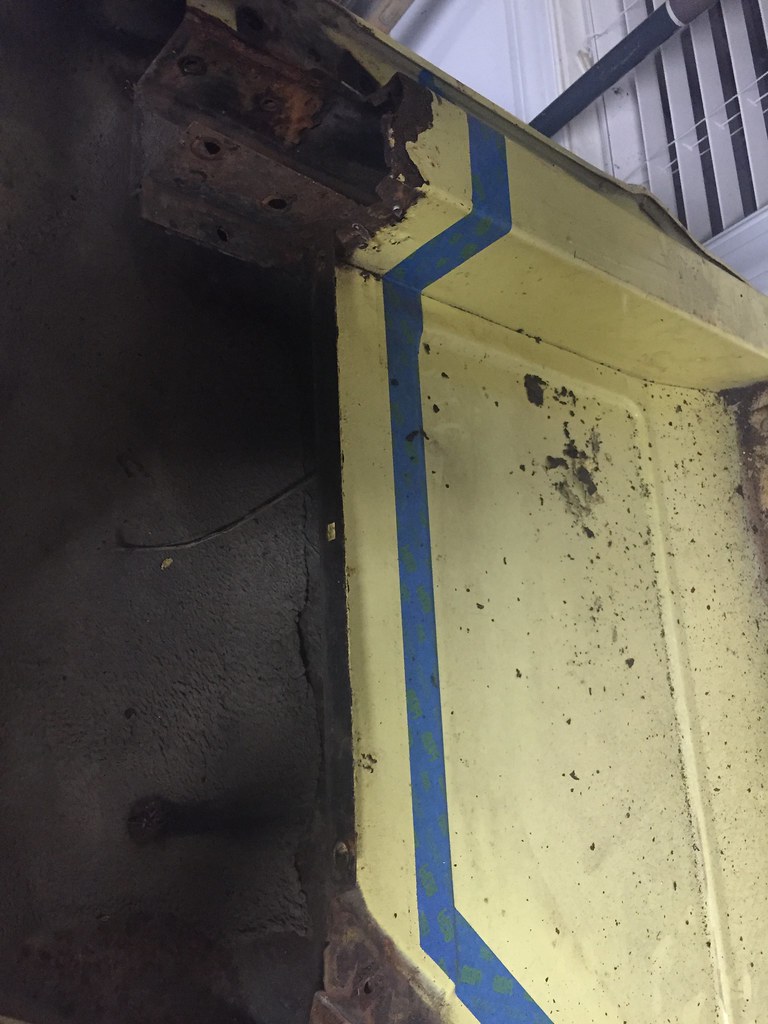
In order to accommodate the 2.5" step up in the frame, I had to drop the bedsides 2.5" in relation to the bed floor. I did this by cutting 1.5" up from the original mounting flange, and then bending over the remaining 1" to make the new mounting flange. In this way, the bedsides retained their factory look.
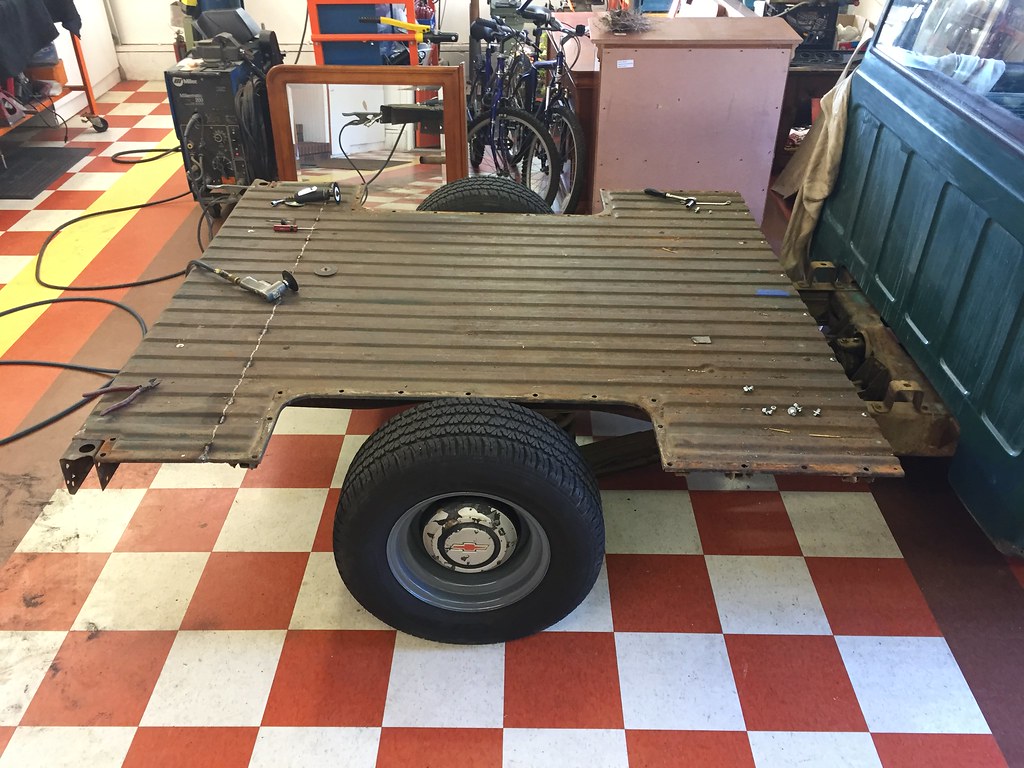
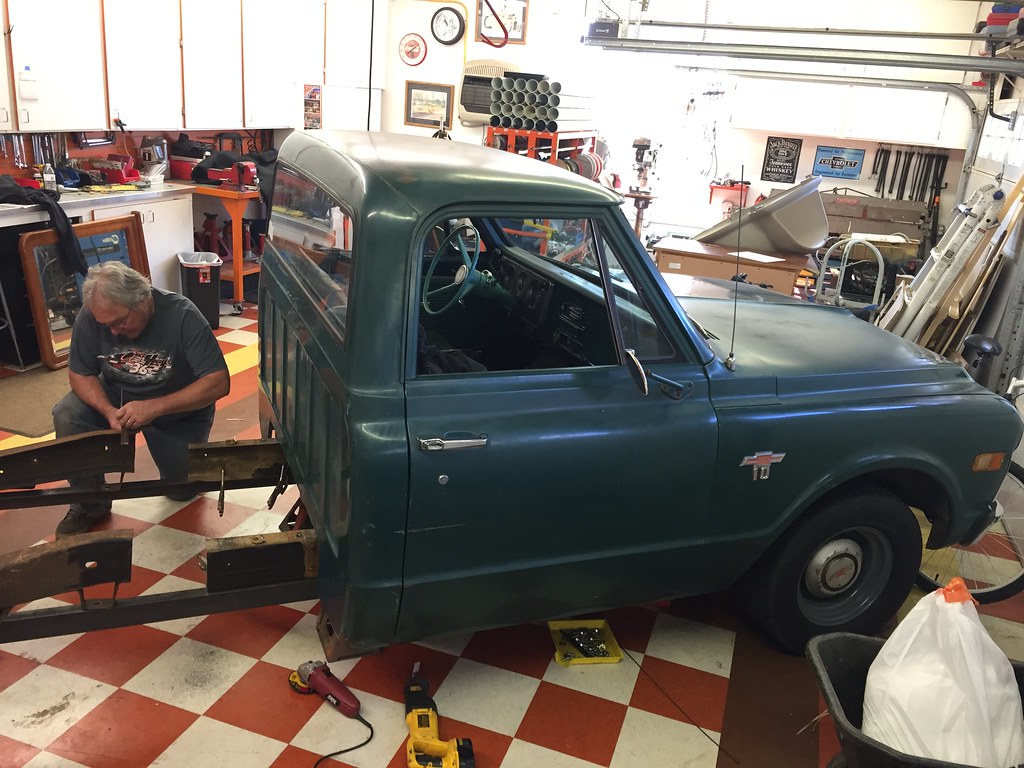
At this point, I reassembled the bed to mock everything up and check alignment. Not pictured above was the 8" I cut directly off the rear of the frame.
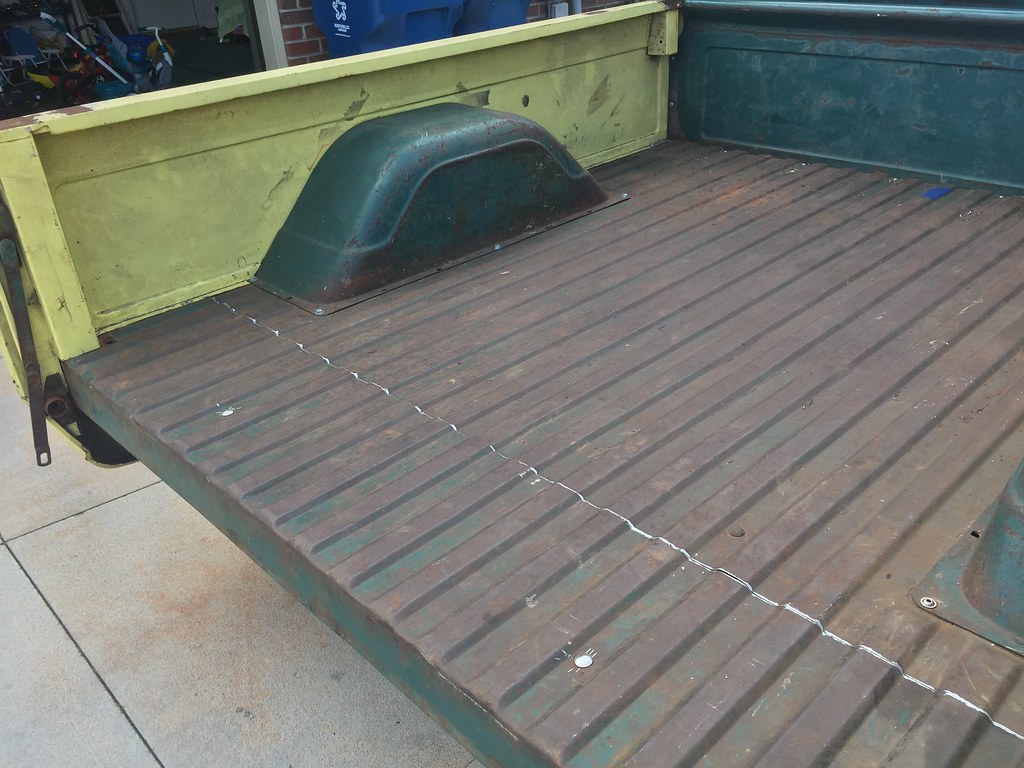
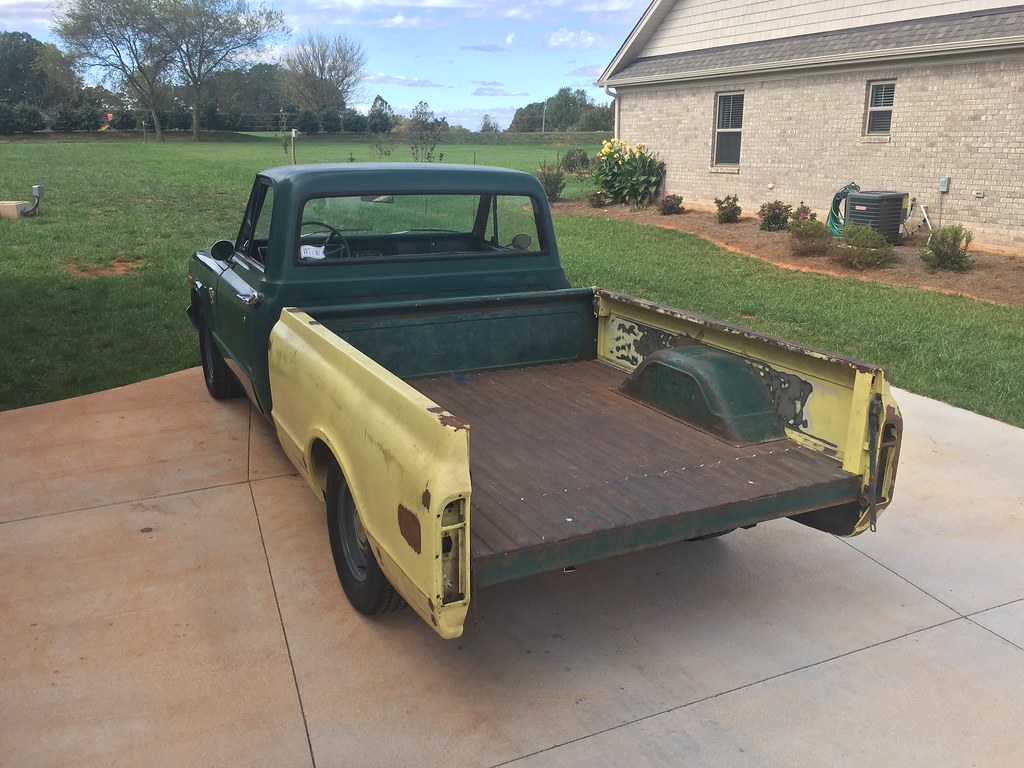
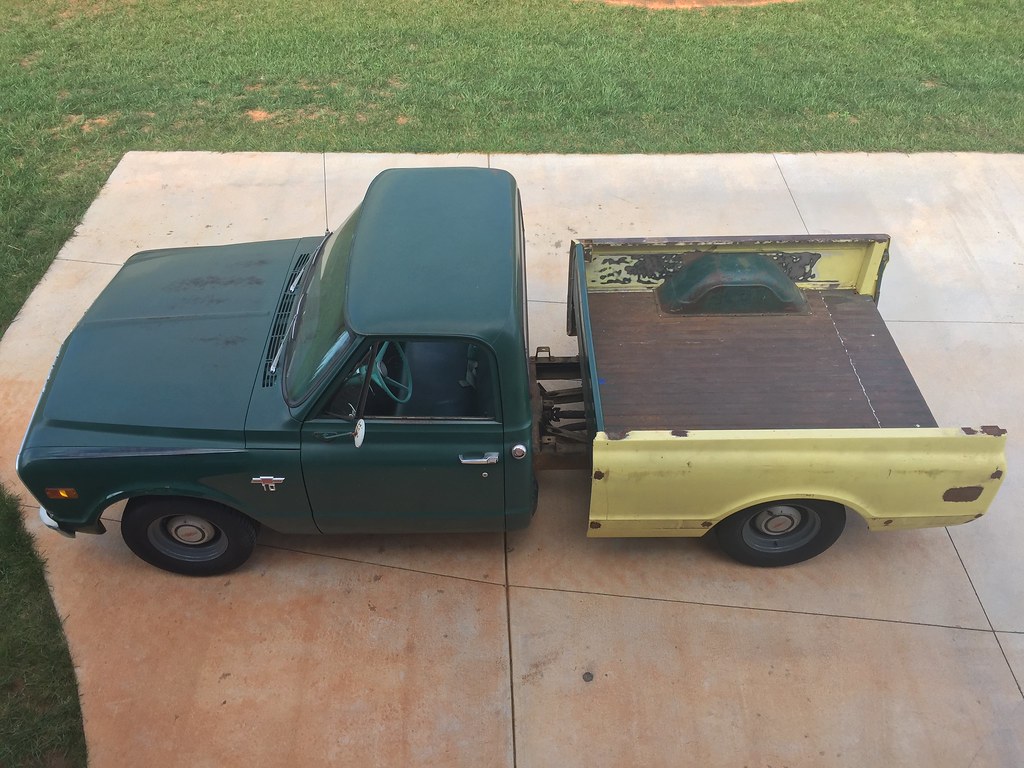
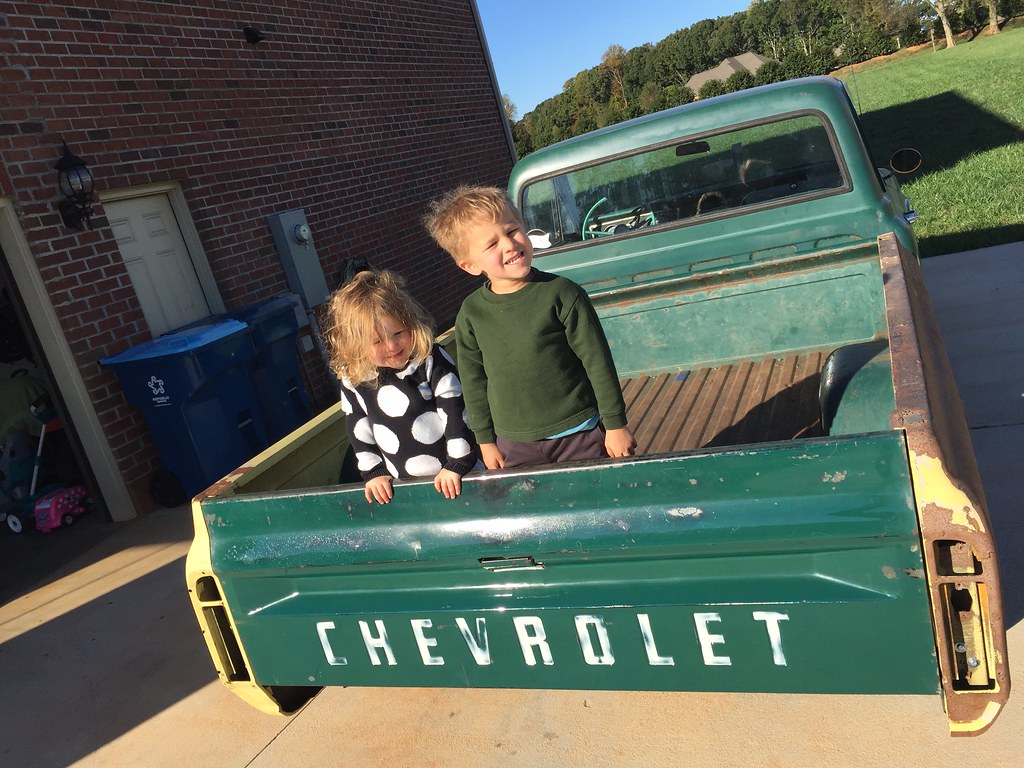
My kids were excited to have their truck back together for a few days.
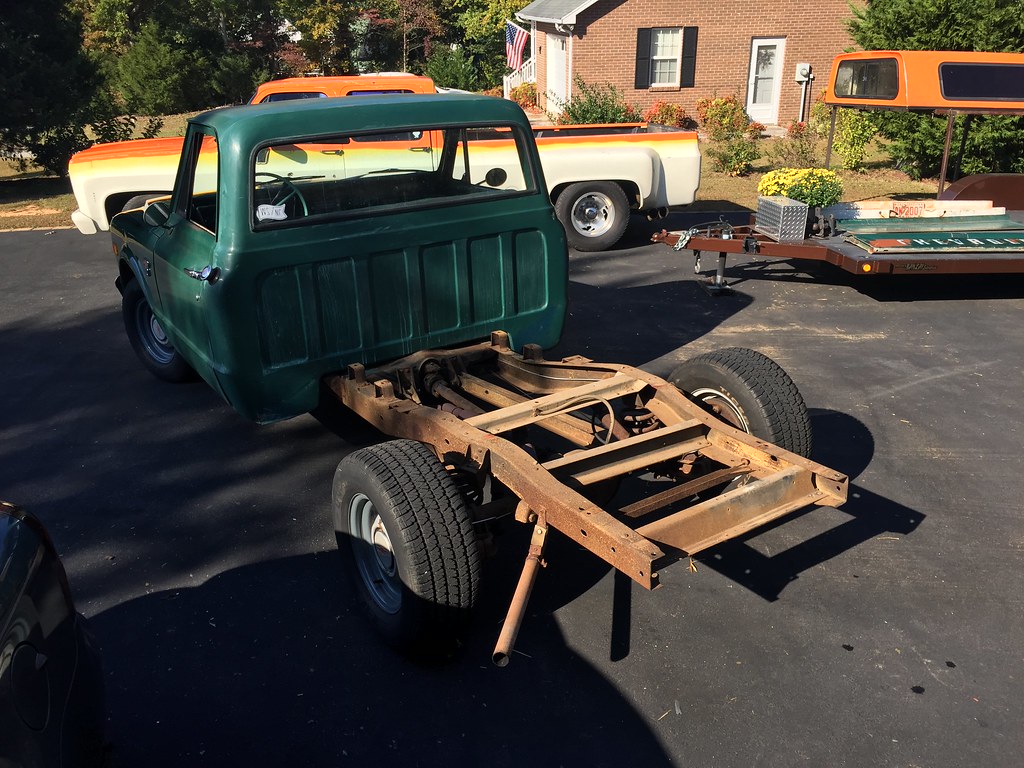
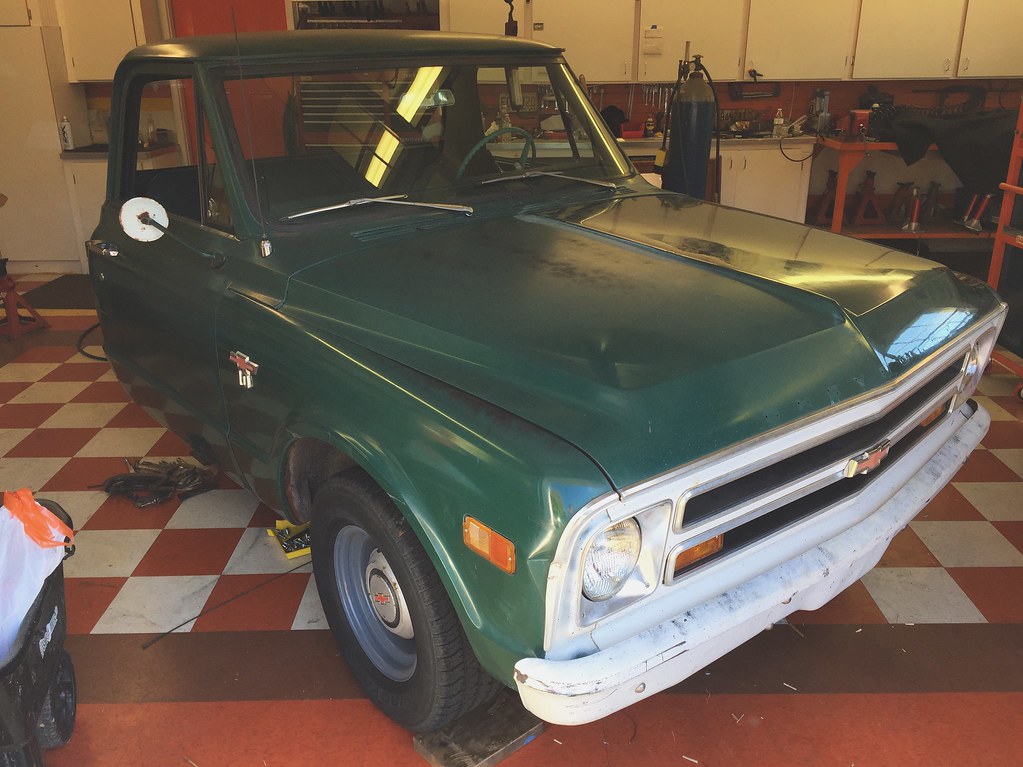
Next, the bed and all suspension came off in preparation for the frame shortening process. If you've been following along from the beginning, you may notice the '75 crew cab in the background. This is the same truck pictured from the 80's in my project introduction post. Over the years, my dad eventually converted it to a dually and it went through a few different paint jobs.
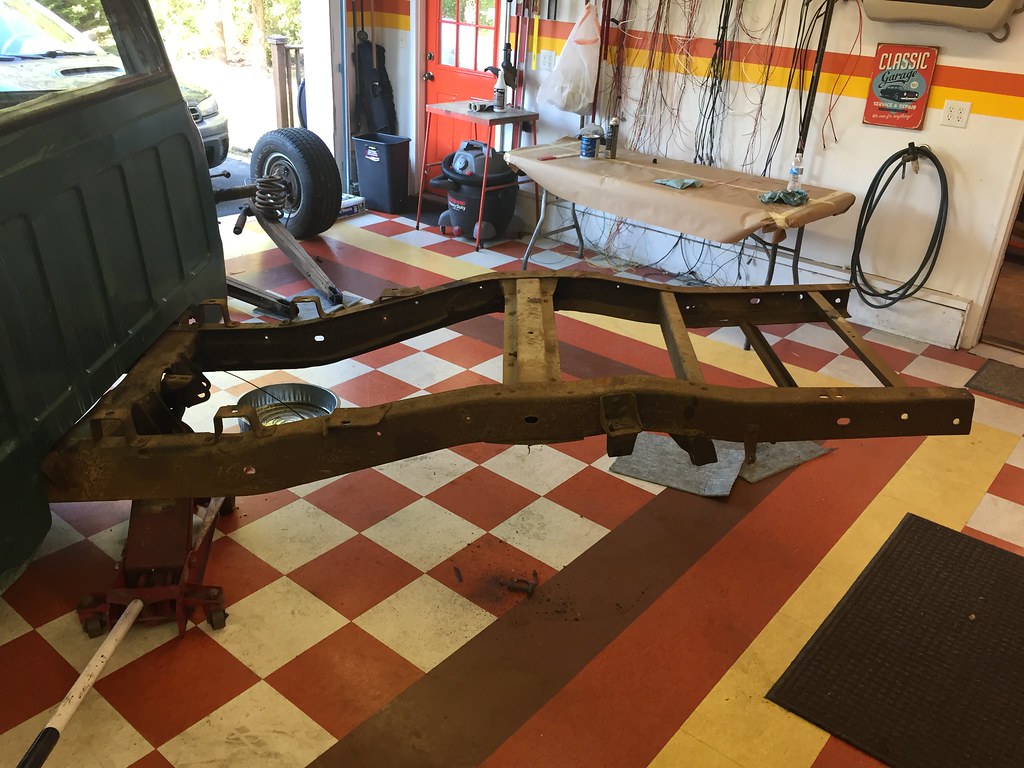
The first thing to do was move the crossmember forward 12". I chose to shorten the truck behind the cab so I had room to incorporate the 2.5" step up in the frame.

My dad has back halved and built full chassis for many cars before, ranging from personal and customer drag cars to Cup cars in NASCAR, so he made this look easy, but without him I could not have completed this process. We temporarily mounted angle iron to the front frame section to serve as our reference points for when we hacked off the rear frame.
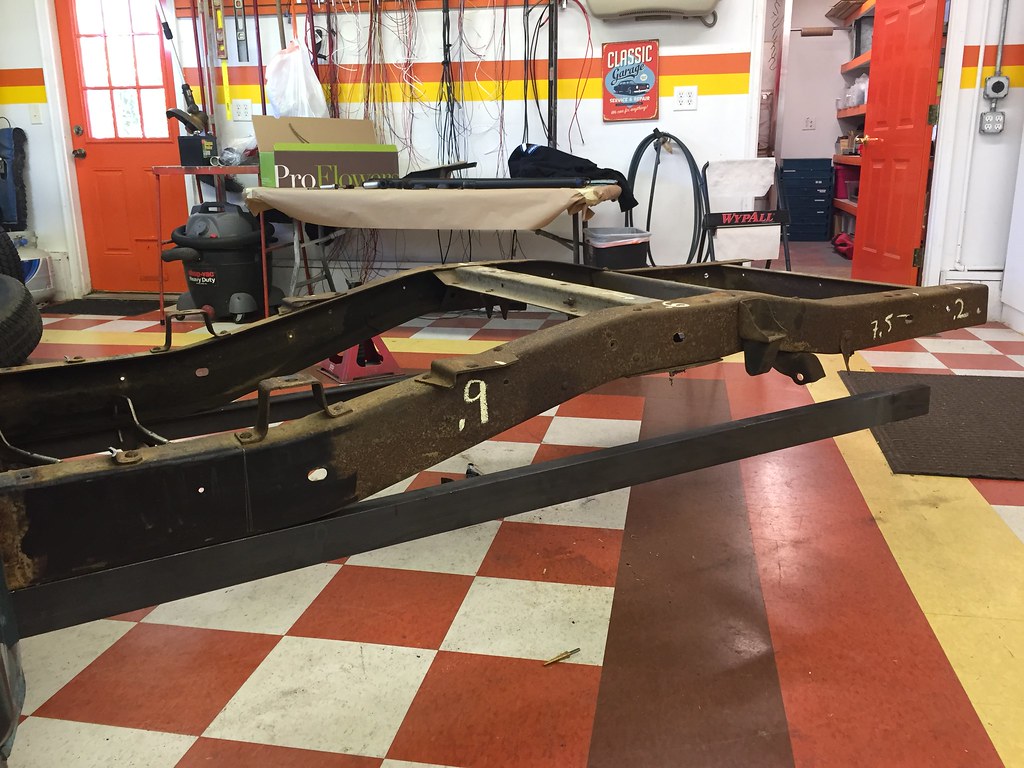
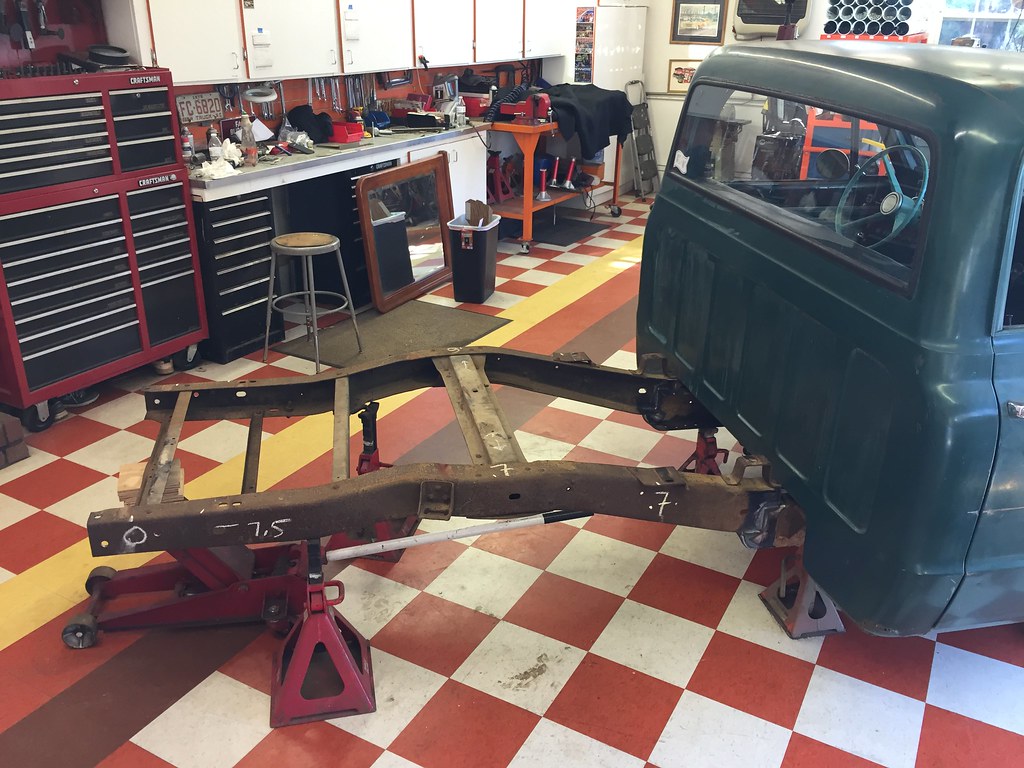
This photo illustrates the cuts we made to shorten the frame 12" and raise the rear section 2.5". The colored marks on the rear frame section match up with the marks on the front section after cutting out the extra piece in between.

After cutting the frame apart and removing the excess material, we simply slid the two pieces back together, and then aligned and clamped them for welding. Pictured here is my dad measuring the frame.

While my dad was welding, I was busy taking a photo for Instagram...
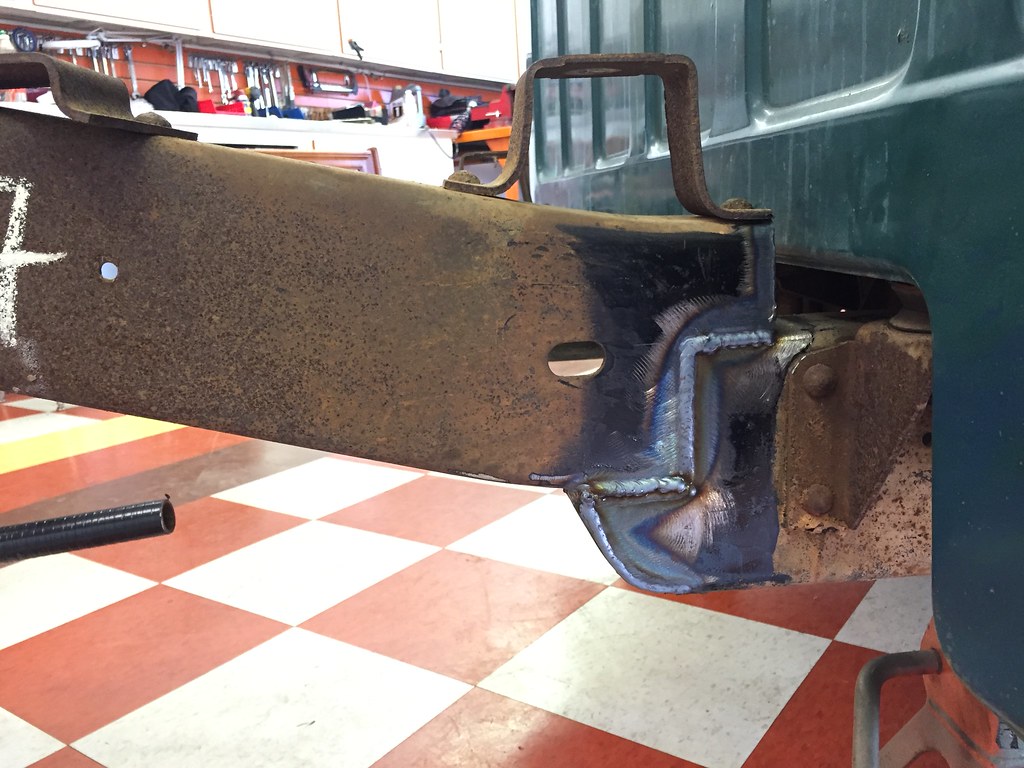
After my dad finished welding, we double checked everything and it was spot on. We also welded up the insides of the frame. We do plan on adding in a brace plate to strengthen the area further.
From this point on, it is all finishing work and reassembly. In Part 2 I will show the brace plate we added and the completed and cleaned sectioned frame area, along with painting of the bedsides and reassembly.