Started early this morning at 730 sharp. Put in about 8 hours today. Suppose to rain the next two days so wanted to make the most of today.
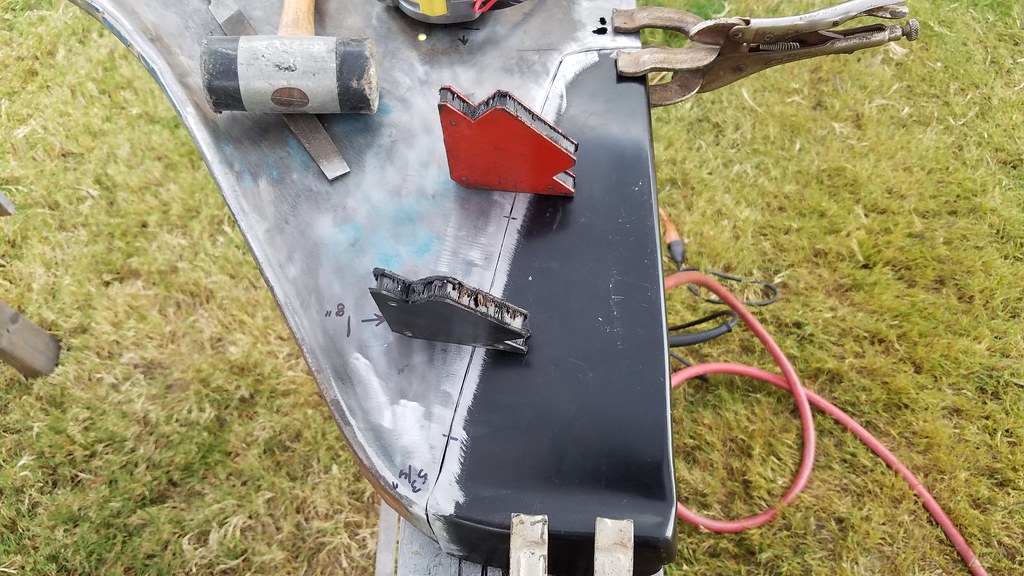
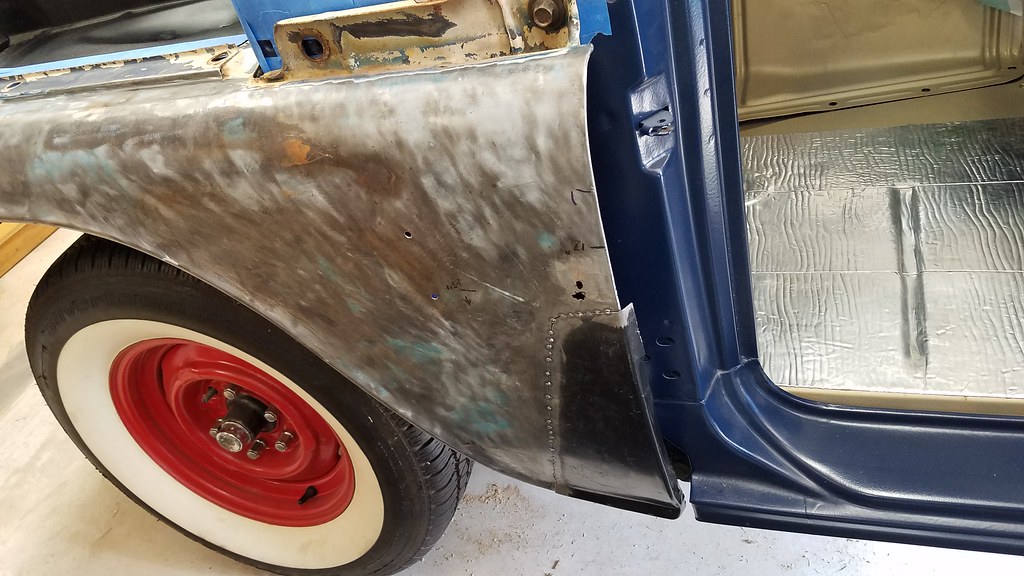
So here is where I left off with the fender. I spent about an hour getting it fit just right and rechecking all my measurements to make sure it was in the right place.
 20171002_085520
 by
bjohnson388, on Flickr
 20171002_085514
 by
bjohnson388, on Flickr
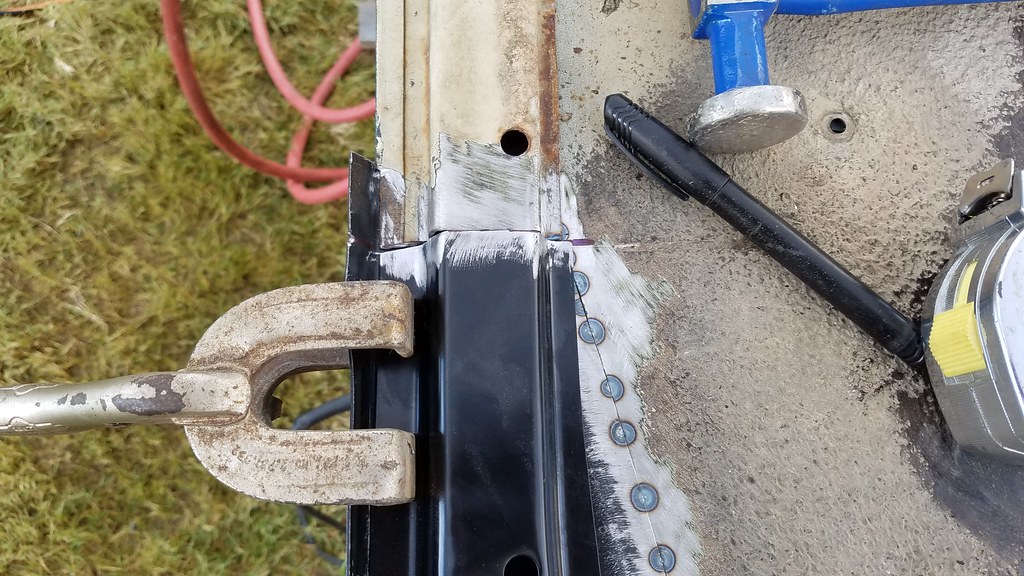
Some tack welds to hold it in place. I went very slow let it cool completely and planished each weld with hammer and dolly.
 20171002_091919
 by
bjohnson388, on Flickr
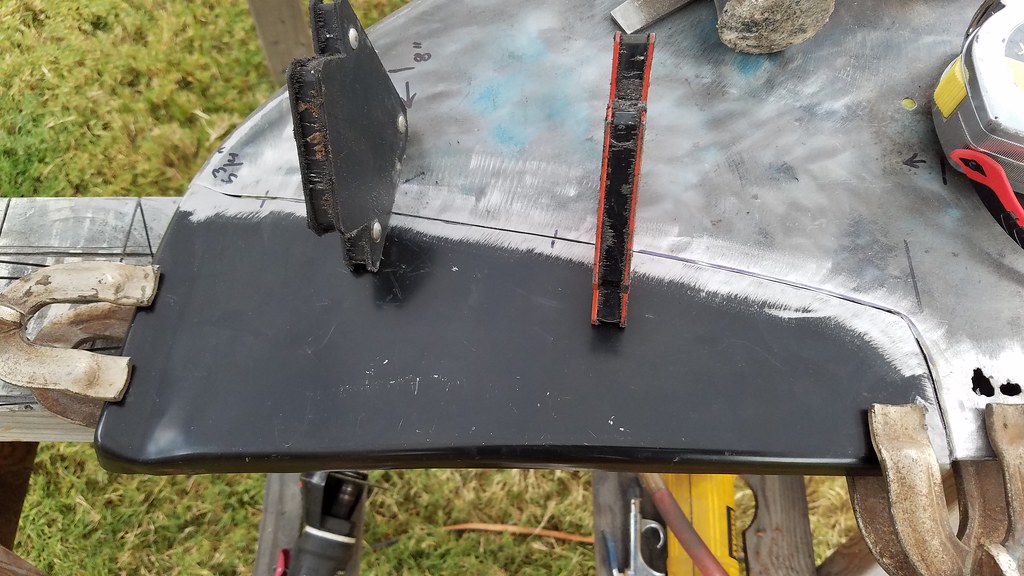
This part would have to be shaped after it was welded in securely. These aftermarket parts never fit properly. They all require massaging.
 20171002_091929
 by
bjohnson388, on Flickr
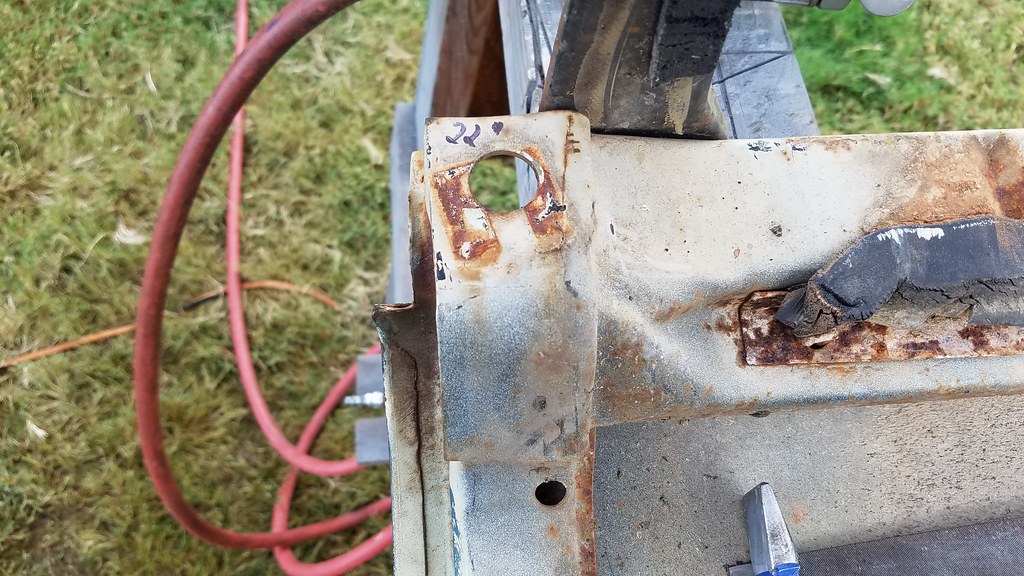
After the patch was secure flipped it over to replace this mess. Took 2 measurements to the mounting hole to get it back in the same place.
 20171002_093939
 by
bjohnson388, on Flickr
 20171002_093943
 by
bjohnson388, on Flickr
Cut the old piece above damage and test fitting the replacement.
 20171002_094728
 by
bjohnson388, on Flickr
Cut line.
 20171002_094730
 by
bjohnson388, on Flickr
Cut to size and clamped in place.
 20171002_100724
 by
bjohnson388, on Flickr
Decent fit.
 20171002_100727
 by
bjohnson388, on Flickr
One of my measurements to verify it is in the right vertical position. Also more of the ugly original paint of my truck.
 20171002_100736
 by
bjohnson388, on Flickr
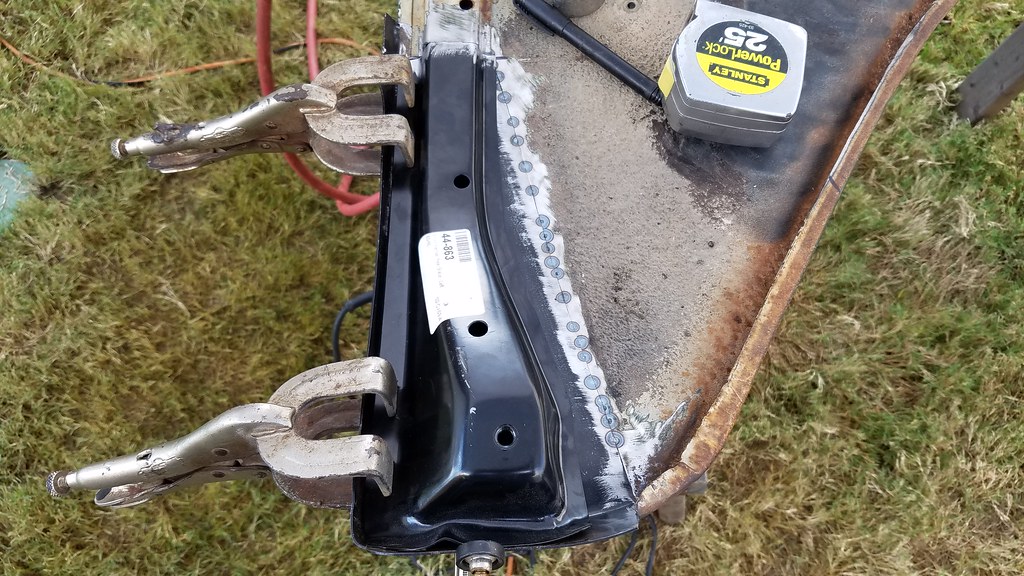
Had to put this clamp on the outside to put some curve in since the brace was cut right in the middle it was sagging.
 20171002_100742
 by
bjohnson388, on Flickr
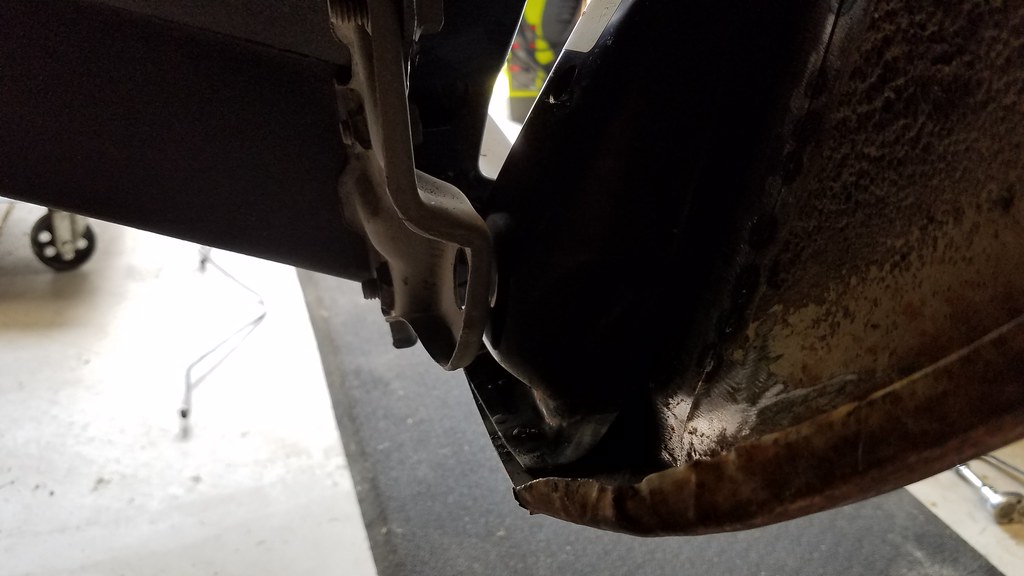
After I tacked the brace I put it on the truck to verify it was right. It came out perfect. This fender hasn't been on this truck for almost 4 years.
 20171002_104922
 by
bjohnson388, on Flickr
This bottom mounting hole is about 3/4" big so there is plenty of play to move the fender around.
 20171002_104935
 by
bjohnson388, on Flickr
 20171002_104944
 by
bjohnson388, on Flickr
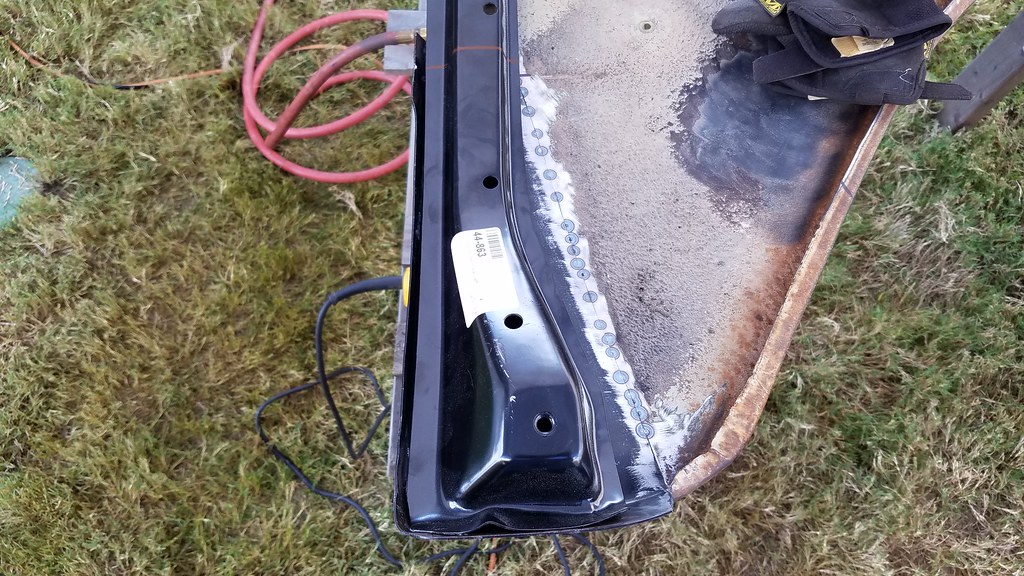
With it verified it was in the right place plug welded the brace in.
 20171002_113145
 by
bjohnson388, on Flickr
With some primer and undercoating no one will never notice anything happened here.
 20171002_114654
 by
bjohnson388, on Flickr
 20171002_114658
 by
bjohnson388, on Flickr
Dealt with this part next. Massaged it into place.
 20171002_115024
 by
bjohnson388, on Flickr
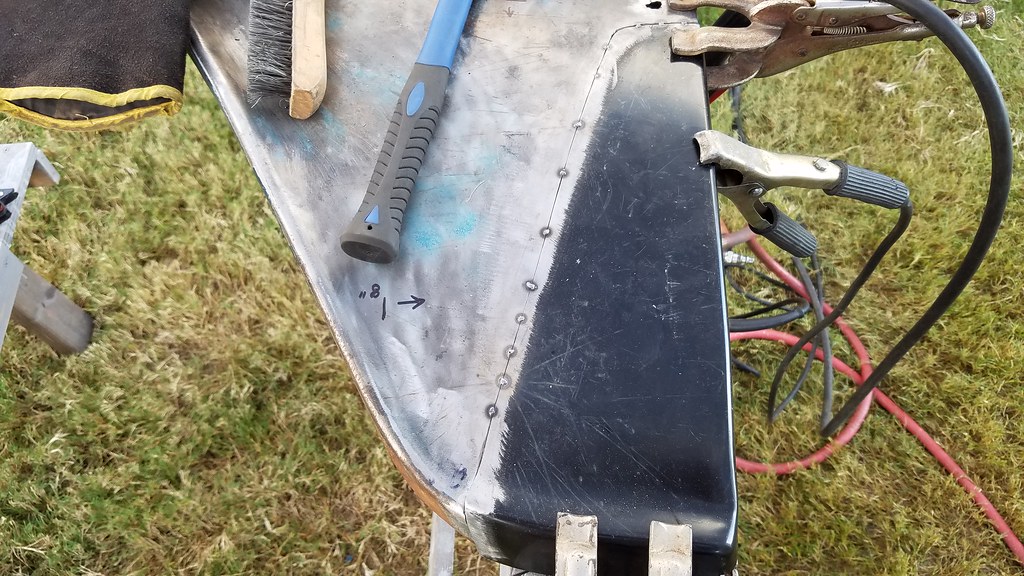
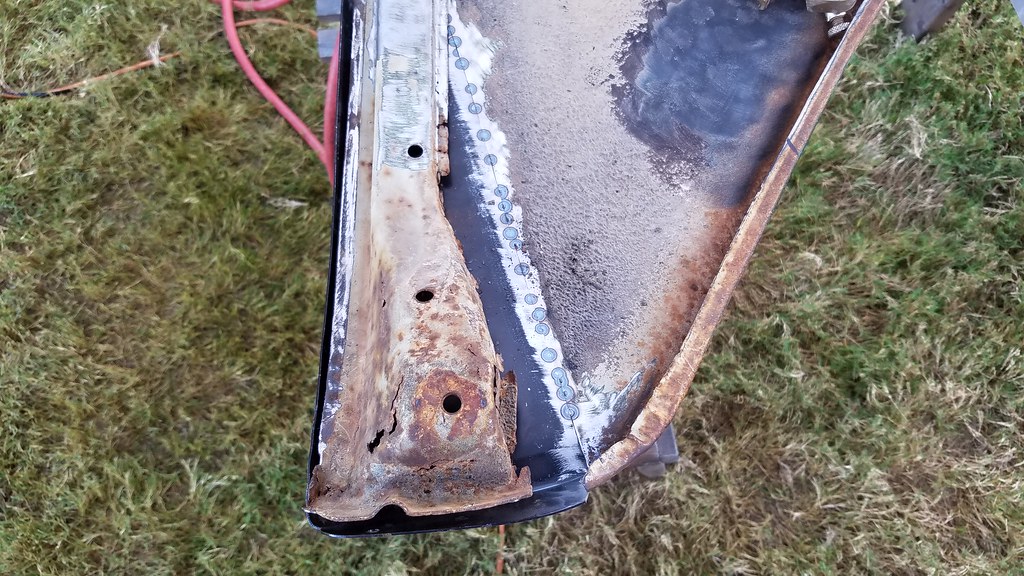
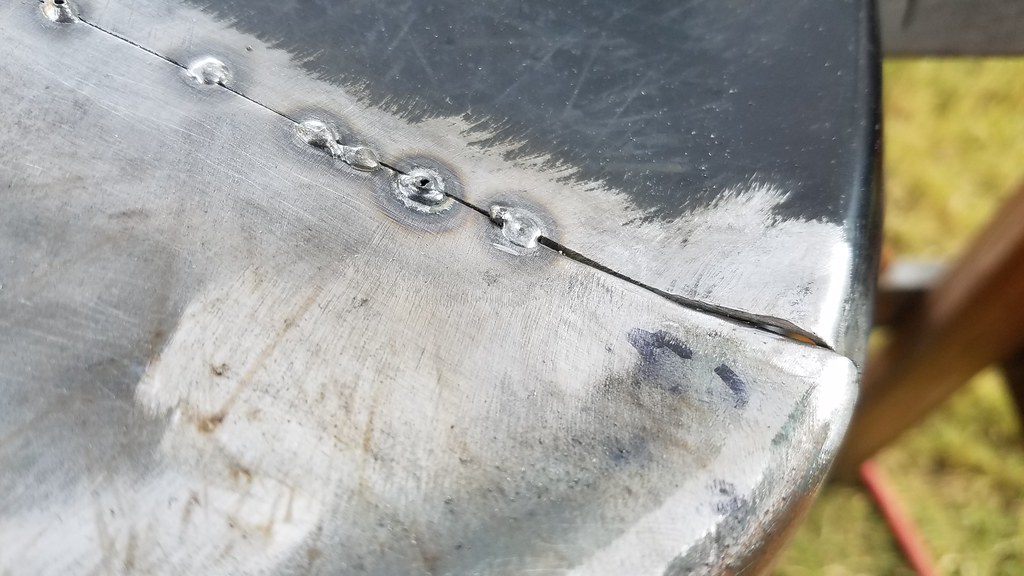
Stitching it up very slowly. VERY SLOW.
 20171002_121239
 by
bjohnson388, on Flickr
In fact to keep busy during cooling I drug out the front bed panel to see if I could get the bow out of it. I didn't take any pics but I took a 2x4 and a BFH and beat the hell out of it til I got it pretty damn straight. I also knocked out about 8 really bad dents that were from stuff sliding forward in the bed.
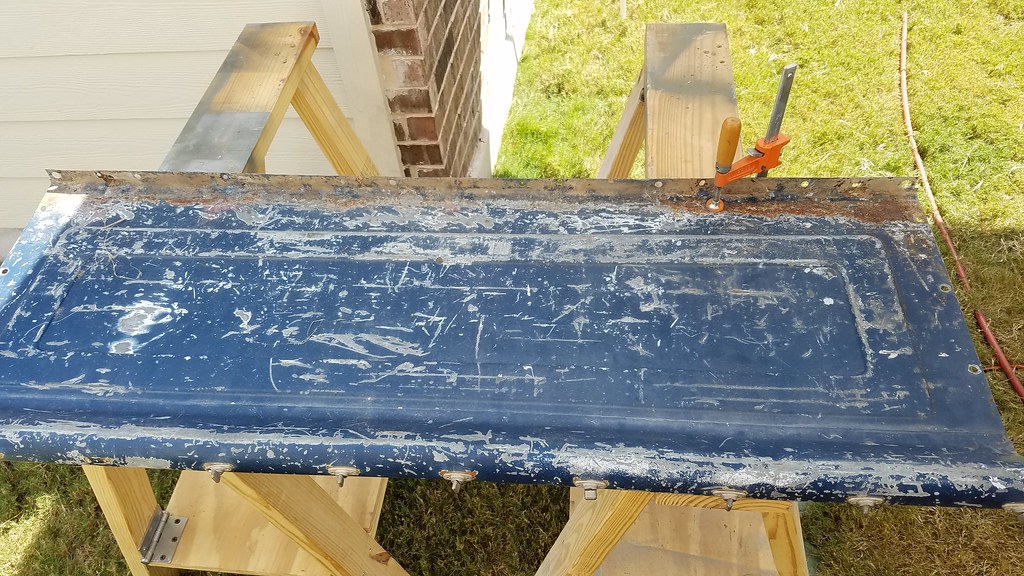
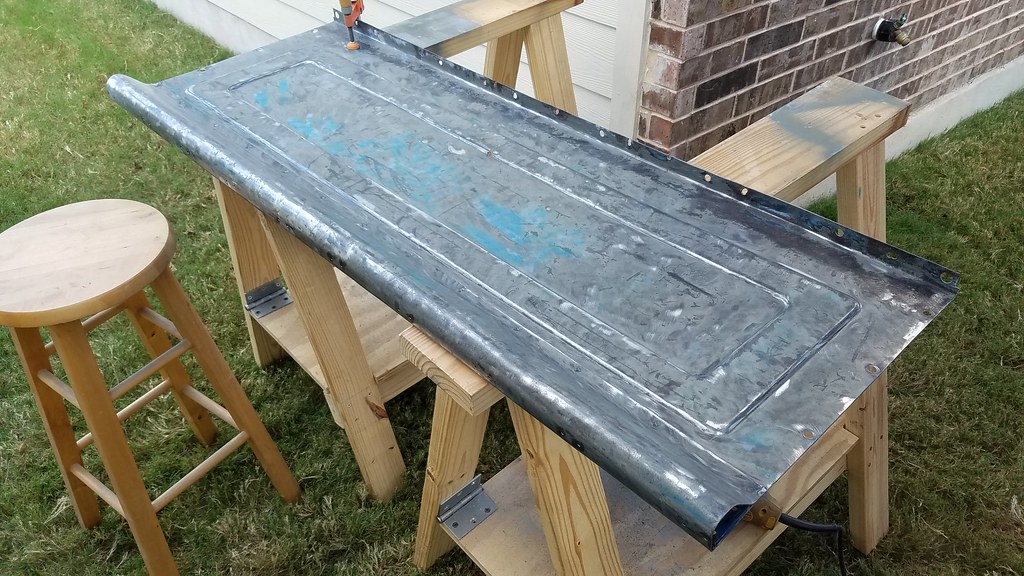
So while waiting for the fender to cool I decided to start stripping it.
 20171002_142759
 by
bjohnson388, on Flickr
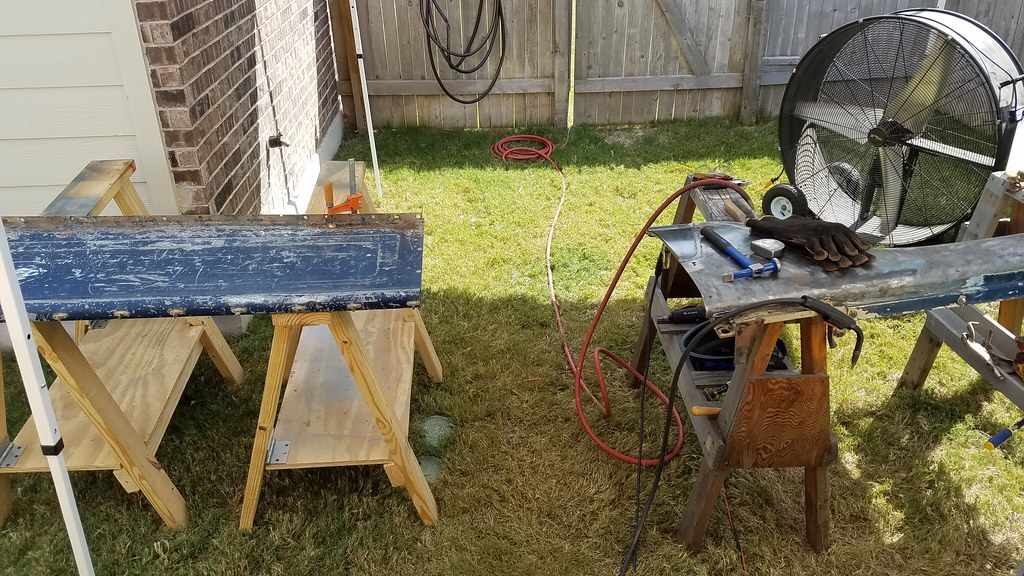
2 work stations in the shade with the Big fan blowing. Was a beautiful 84* today. I worked til 5p.
 20171002_142808
 by
bjohnson388, on Flickr
Before
 20171002_142803
 by
bjohnson388, on Flickr
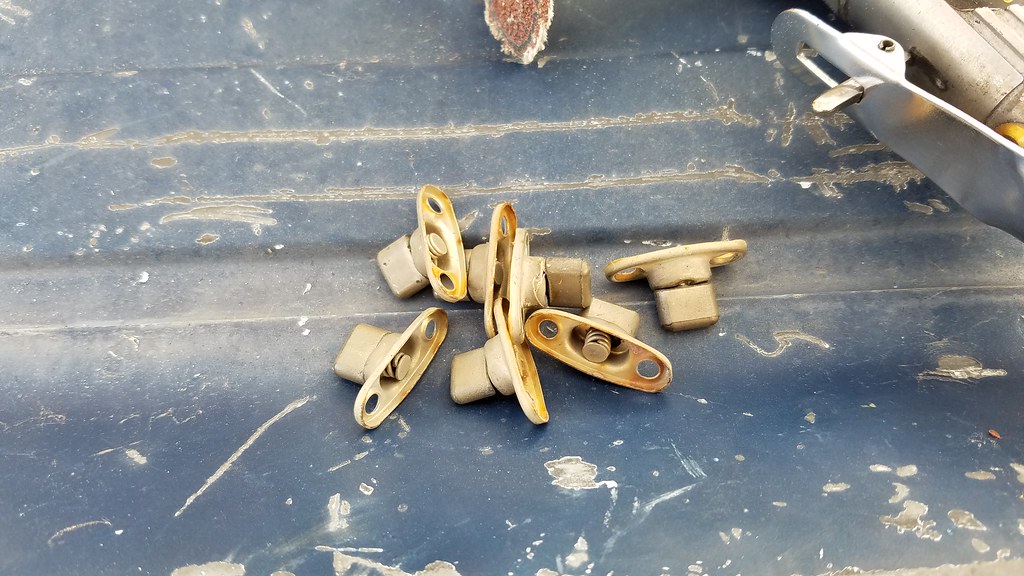
Drilled out the rivets and took these buggers off. My FIL had a vinyl tonneau cover on it.
 20171002_143614
 by
bjohnson388, on Flickr
Aching neck, back, arms and 3 hours later.
 20171002_164953
 by
bjohnson388, on Flickr
 20171002_165012
 by
bjohnson388, on Flickr
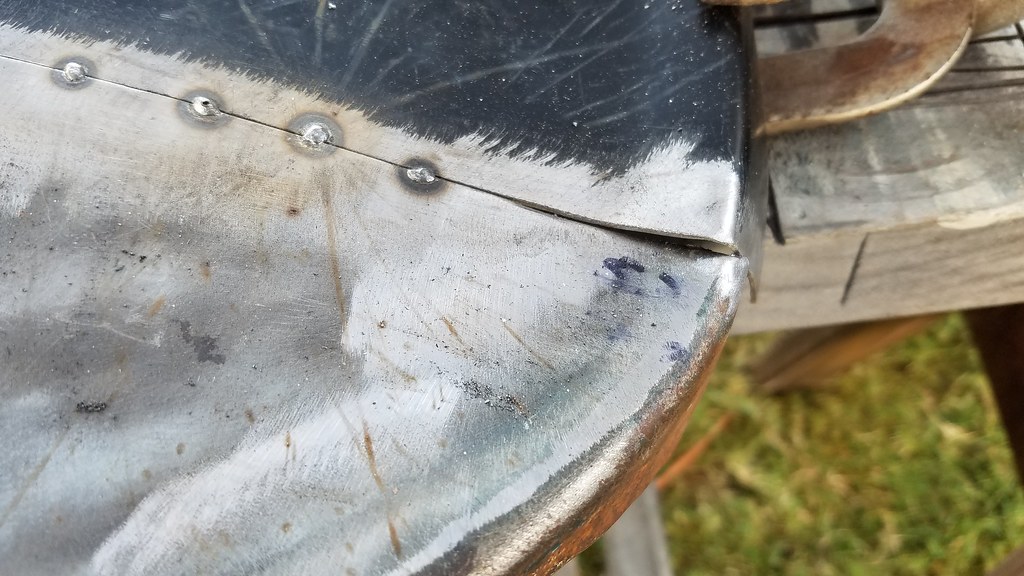
The fender is almost stitched up. The the next thing is putting a patch right above this new piece. The bottom patch wasn't quite long enough.
 20171002_165017
 by
bjohnson388, on Flickr
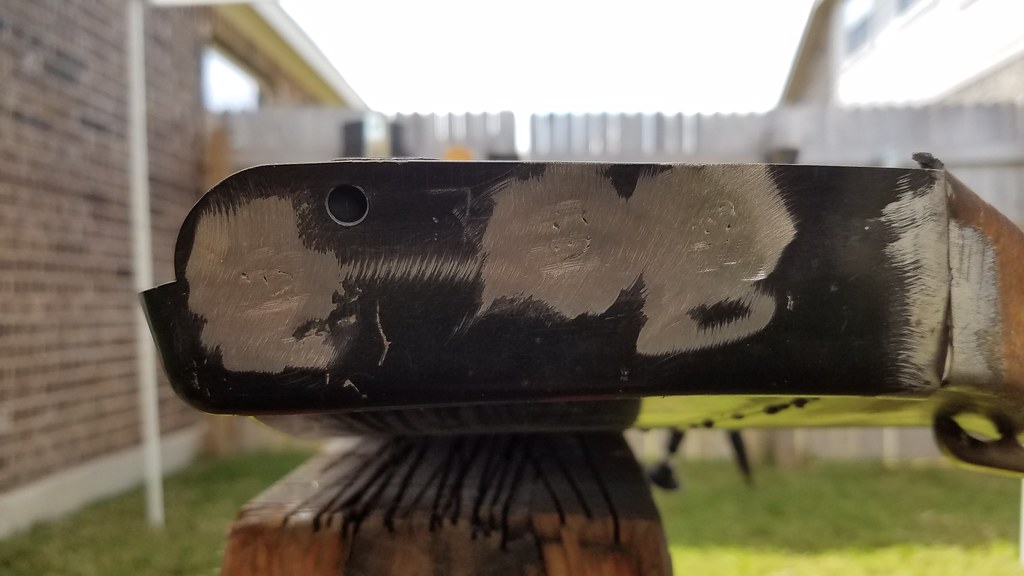
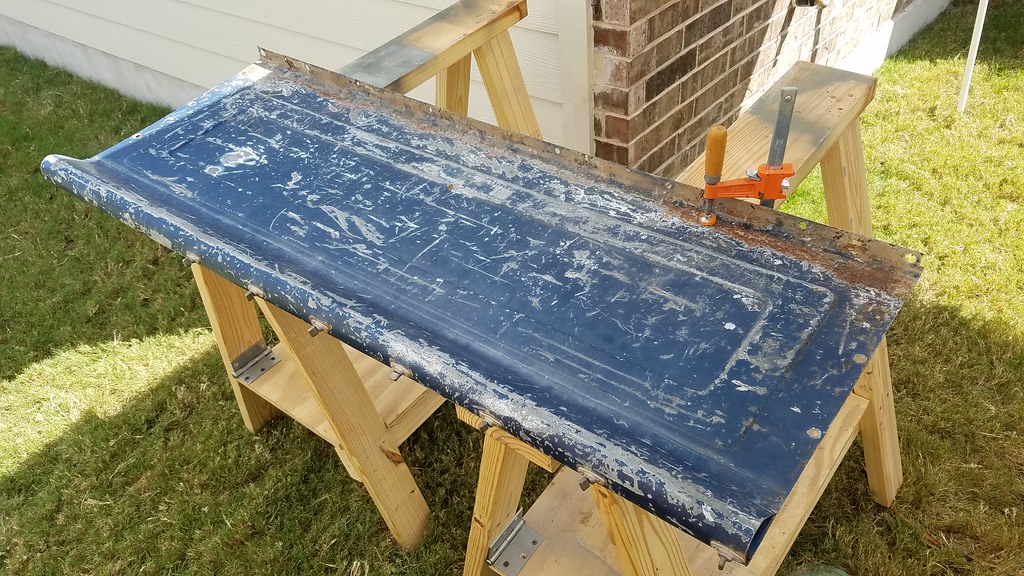
Quick pass with the dual action sander and some 80 grit. These bed pieces are galvanized from the factory. I tried my best to leave as much of it as possible.
 20171002_165537
 by
bjohnson388, on Flickr
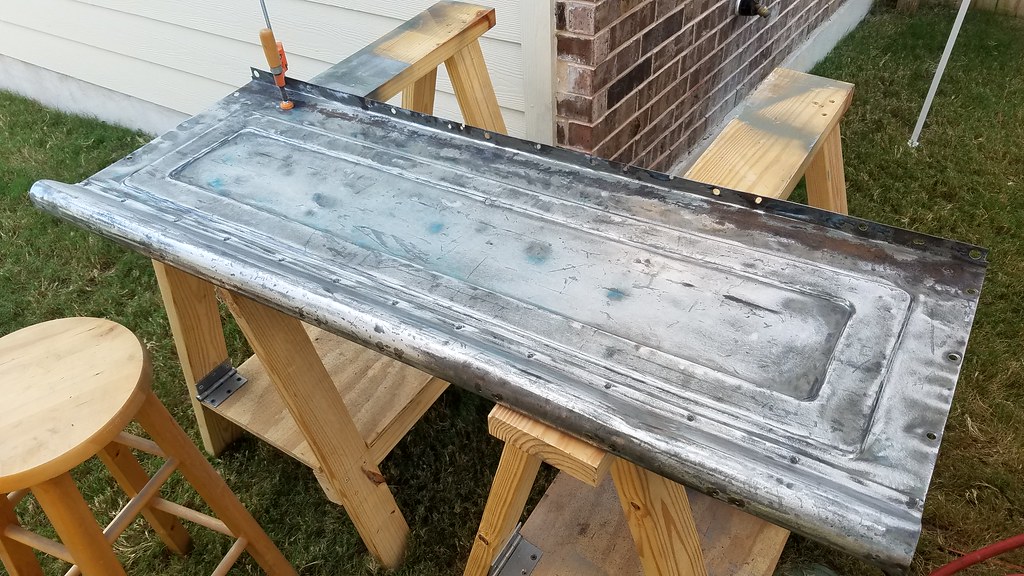
I have a little bit of rust at the bottom of the panel I will have to treat and one small pin hole I can weld up with a nail head.
 20171002_165541
 by
bjohnson388, on Flickr
That's it for today.
Bret