Yesterday's work.
I only had the morning to get stuff done as the weatherman predicted and rain. And for once he was right!
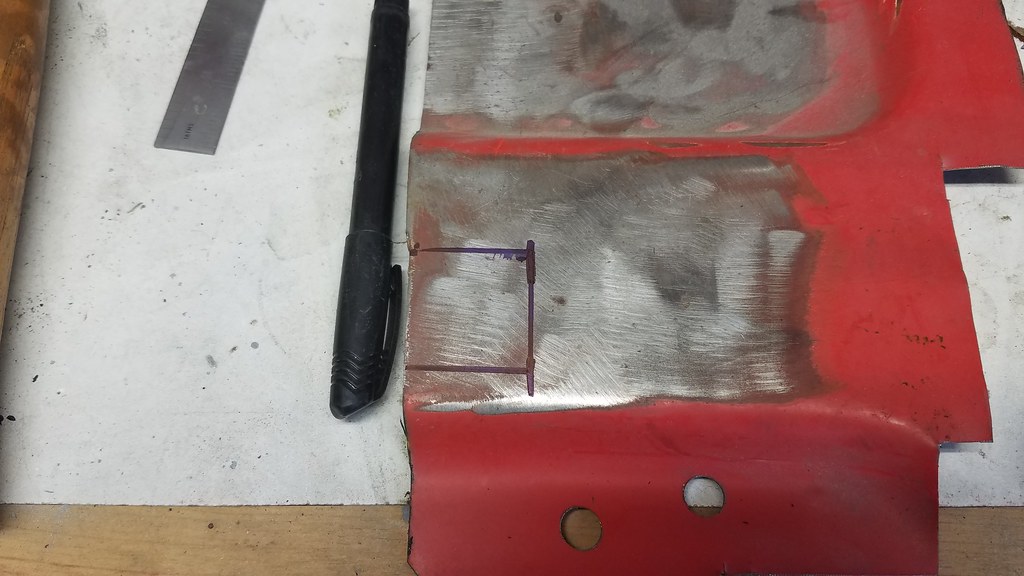
Made a patch for this small spot.
 20171003_082614
 by
bjohnson388, on Flickr
One thing I have learned is cutting the hole to match the patch is much easier than cutting the patch to try and match the hole.
 20171003_082610
 by
bjohnson388, on Flickr
I have been make all of my patches from this piece of a cab back. When I got my gas tank mounts John just cut the whole piece from the cab versus cutting all the spot welds. I don't blame him and the plus side I have some original sheet metal to patch with.
 20171003_082216
 by
bjohnson388, on Flickr
 20171003_085125
 by
bjohnson388, on Flickr
 20171003_085130
 by
bjohnson388, on Flickr
While welding in the patch I flipped the front bed panel over. This is the only place on the whole truck that still has decent paint. It even still has a sheen to it. So I plan to just sand this side down really well and feather in all the bad places and just prime over it.
 20171003_090156
 by
bjohnson388, on Flickr
I almost wanted to polish it out to see what the paint job my FIL did looked like.
 20171003_090202
 by
bjohnson388, on Flickr
You can see all the dents from over the years I knocked down. Not perfect but much better than before.
 20171003_092921
 by
bjohnson388, on Flickr
 20171003_092926
 by
bjohnson388, on Flickr
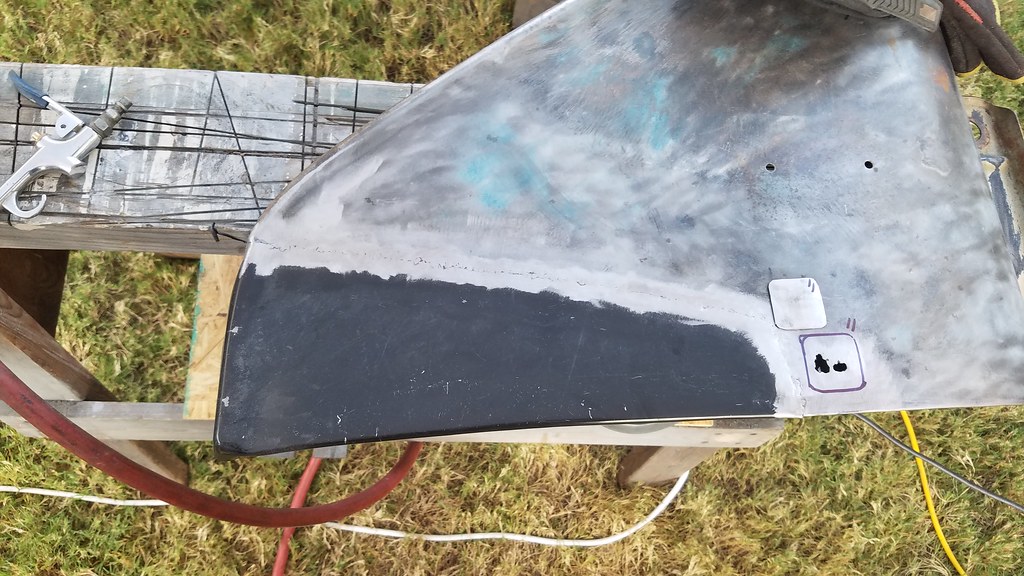
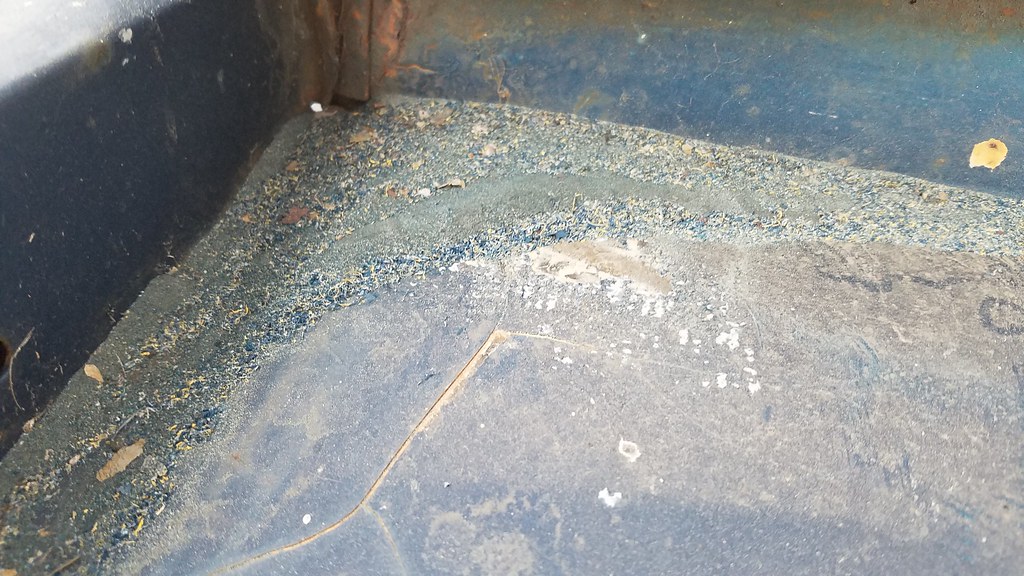
Drilled out the one small rust hole it had.
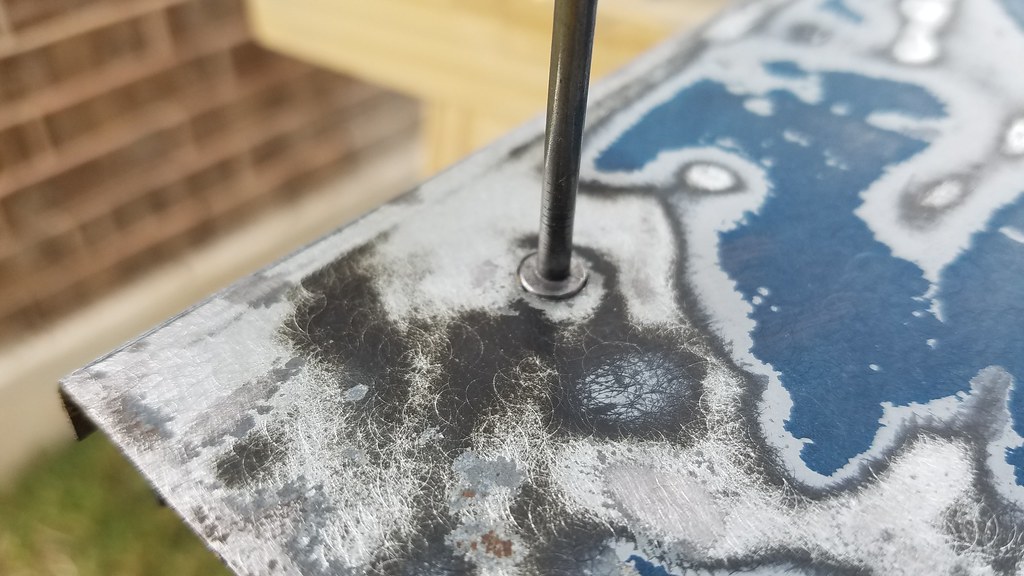 20171003_093509
 by
bjohnson388, on Flickr
 20171003_094517
 by
bjohnson388, on Flickr
Welding up the 20 holes across the top.
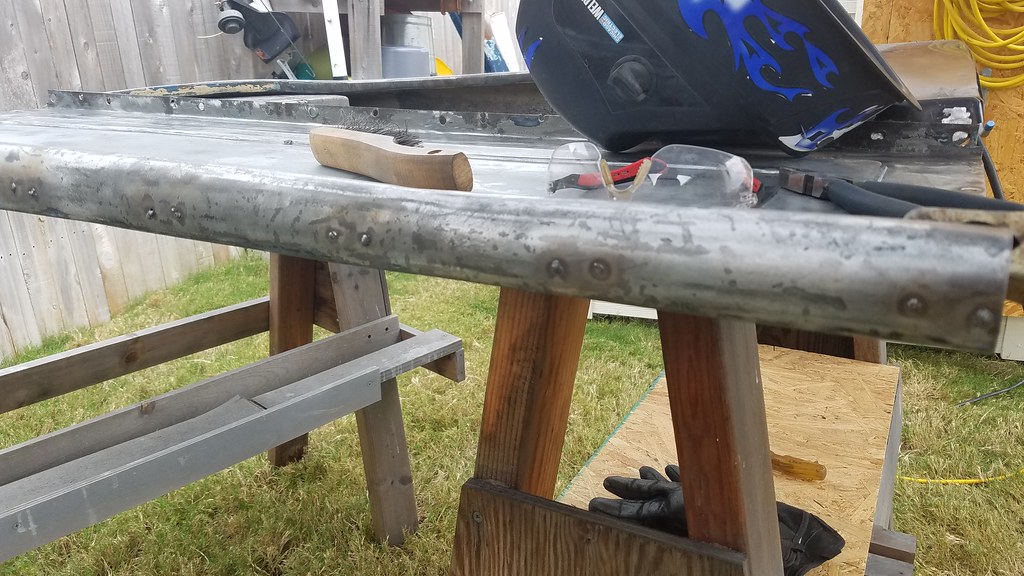 20171003_101315
 by
bjohnson388, on Flickr
These were super easy. Even for me.
 20171003_094528
 by
bjohnson388, on Flickr
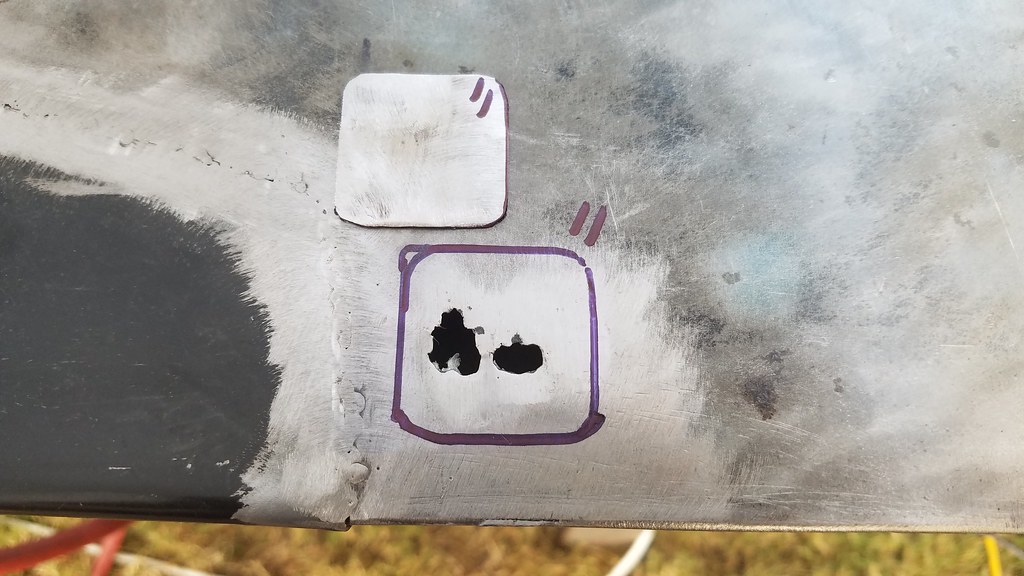
Had one big 3/8" size hole right in the raised part in the middle. I made a flanged patch and welded from both sides.
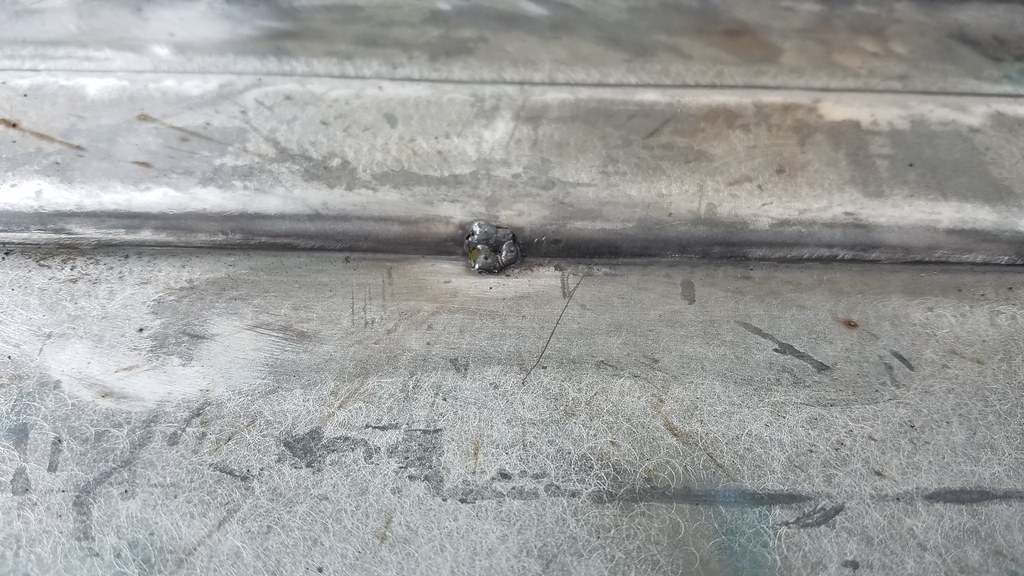 20171003_101321
 by
bjohnson388, on Flickr
This pic popped up on my instagram feed and the shot of the bed really helps motivate me. Hopefully I will have mine looking like that soon. Not sure about the Elco bumper?
 Screenshot_20171003-135200
 by
bjohnson388, on Flickr
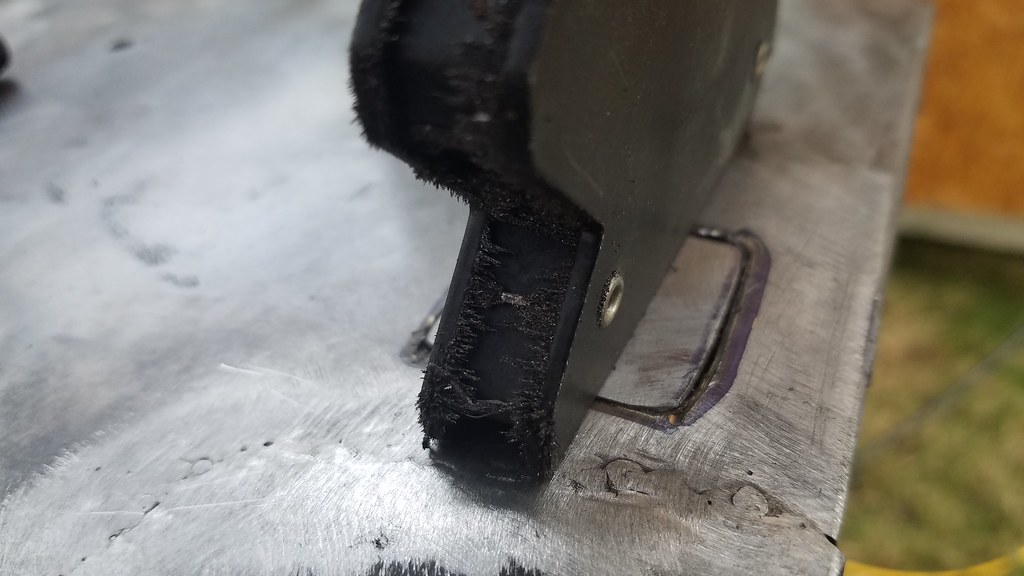
Started stripping the driver side bed panel. I made a run to HF and bought one of their Polycarbide abrasive wheels, a new cup brush and a 3" Roloc Disc sander. The Polycarbide wheel works really well for stripping fast and is much faster than the cup brush. Downside is it wears out really quick.
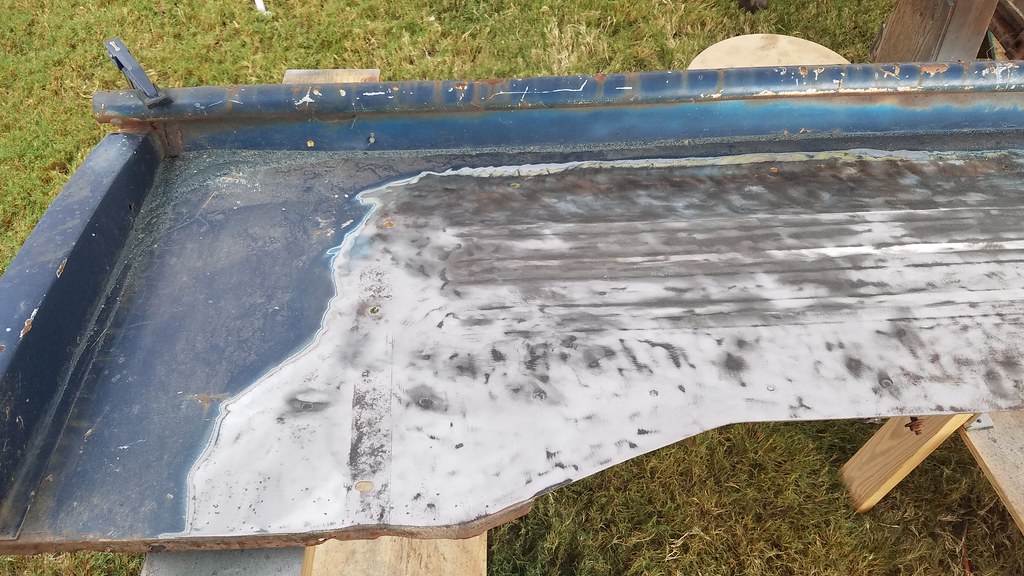 20171003_175334
 by
bjohnson388, on Flickr
Not sure how I am going to get up at the top near the rail. My grinder is too big to fit up in there. Either going to have to sandblast or use paint stripper.
 20171003_175328
 by
bjohnson388, on Flickr
Tons of paint on this bedside. Especially around the outside edges of the fenders. Looks like there is about 6 layers of paint and primer.
 20171003_175337
 by
bjohnson388, on Flickr
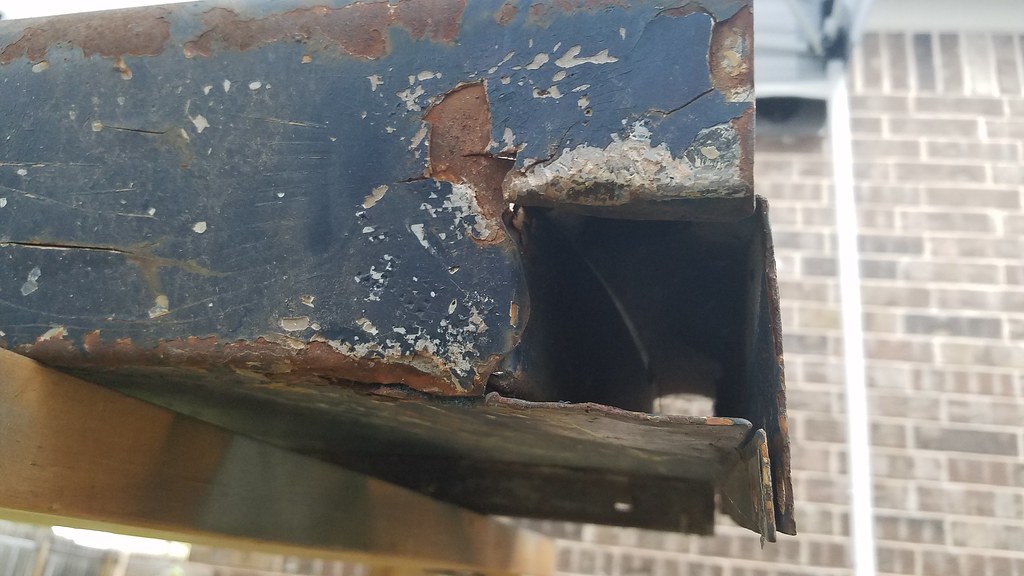
So this front corner needs attention. Some one pulled or tied something too it and pulled it loose from the stake, broke the weld and the metal on then side of the bed and the tab where it was spot welded to the bedside. What were they thinking?
 20171003_175343
 by
bjohnson388, on Flickr
Broken tab.
 20171003_175351
 by
bjohnson388, on Flickr
Looks like it might have happened before my father in law got it as the top of the bed has body filler on it.
 20171003_175404
 by
bjohnson388, on Flickr
thanks for looking in,
Bret