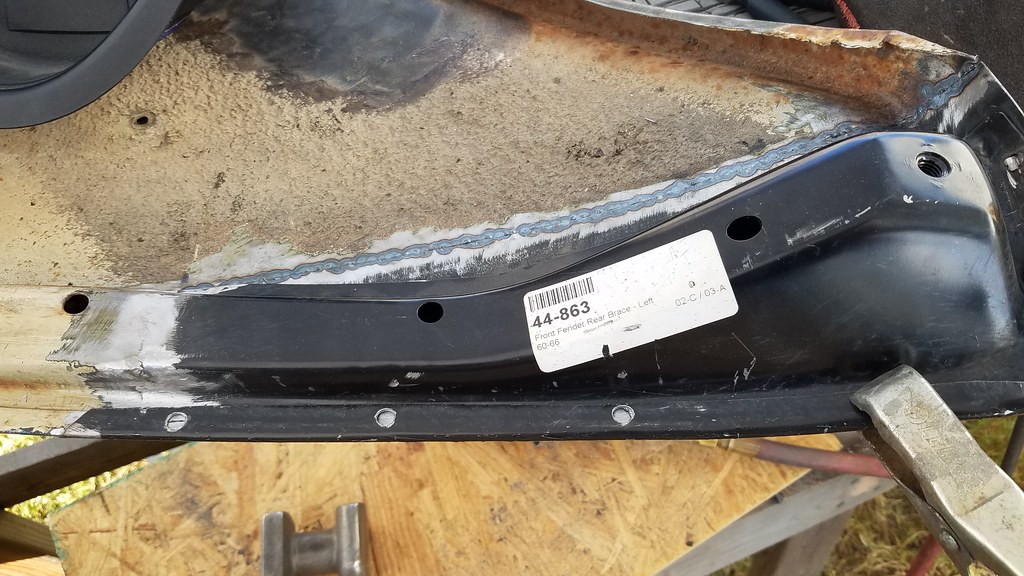
I spent all day working on the driver fender.
First off was bending over the patch.
 20171004_102558
 by
bjohnson388, on Flickr
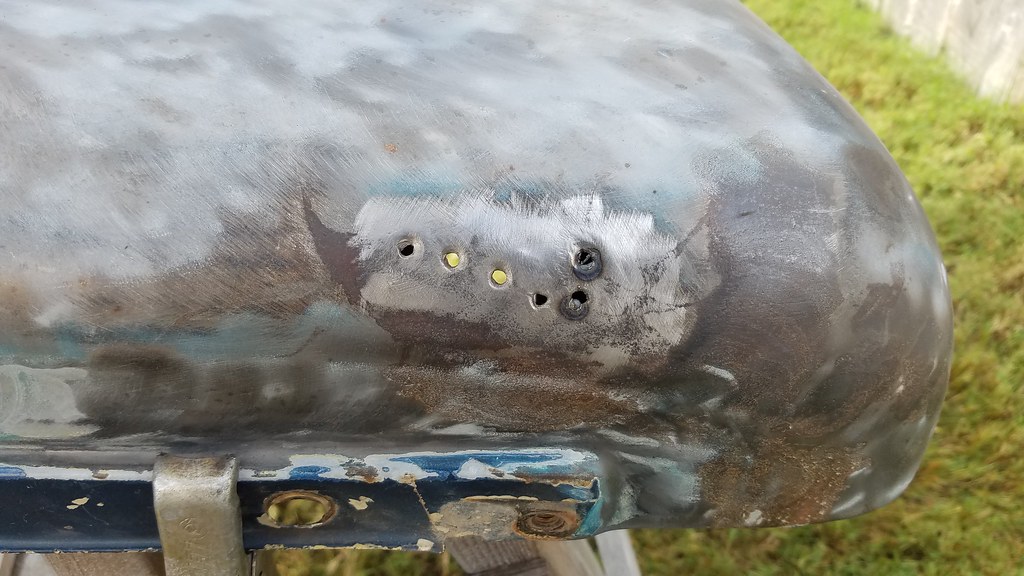
Next I knocked this dent back in place and then welded up the holes.
 20171004_112317
 by
bjohnson388, on Flickr
 20171004_122024
 by
bjohnson388, on Flickr
 20171004_122028
 by
bjohnson388, on Flickr
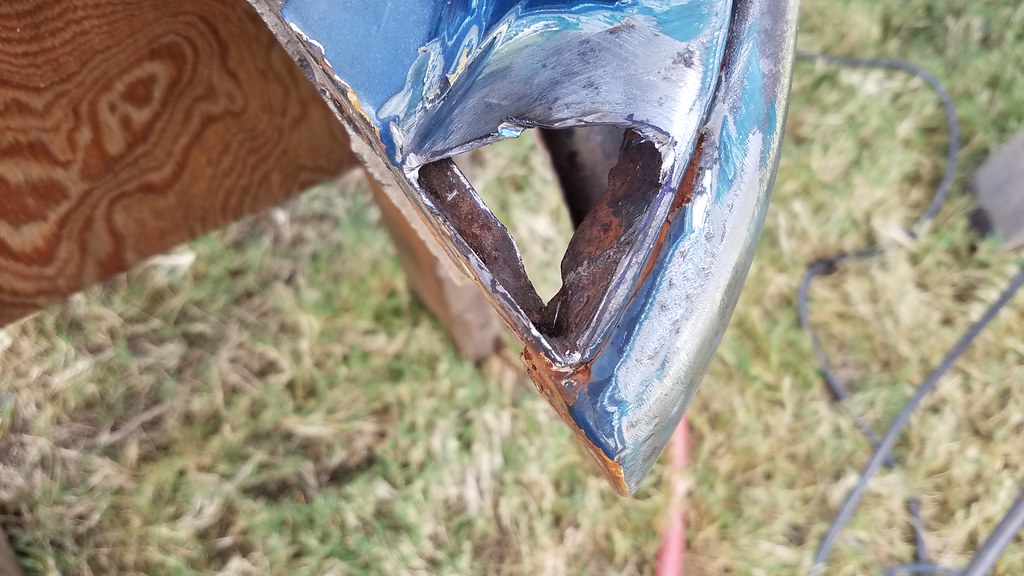
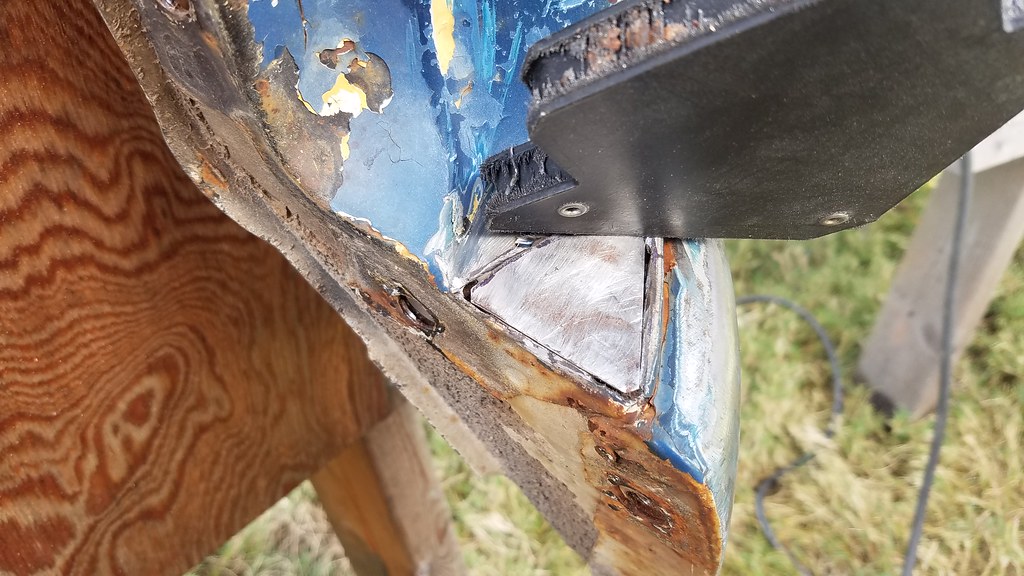
Last thing to weld up was a patch for this rotted place on the eyebrow.
 20171004_122042
 by
bjohnson388, on Flickr
Hung it on the sawhorse to make it easier to work on.
 20171004_123306
 by
bjohnson388, on Flickr
I didn't take a pic but this corner was packed all the way back to the top of my cut with dirt and rust. It took about 10 minutes to dig and blow it all out.
 20171004_124340
 by
bjohnson388, on Flickr
 20171004_124345
 by
bjohnson388, on Flickr
 20171004_124332
 by
bjohnson388, on Flickr
Not perfect but pretty close and will be fine with some mud.
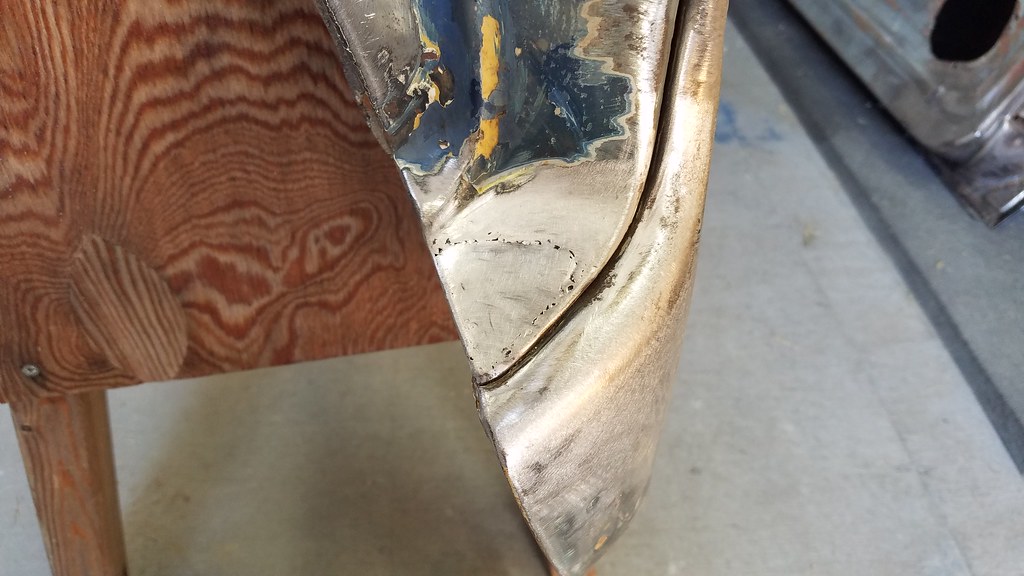 20171004_153748
 by
bjohnson388, on Flickr
 20171004_153800
 by
bjohnson388, on Flickr
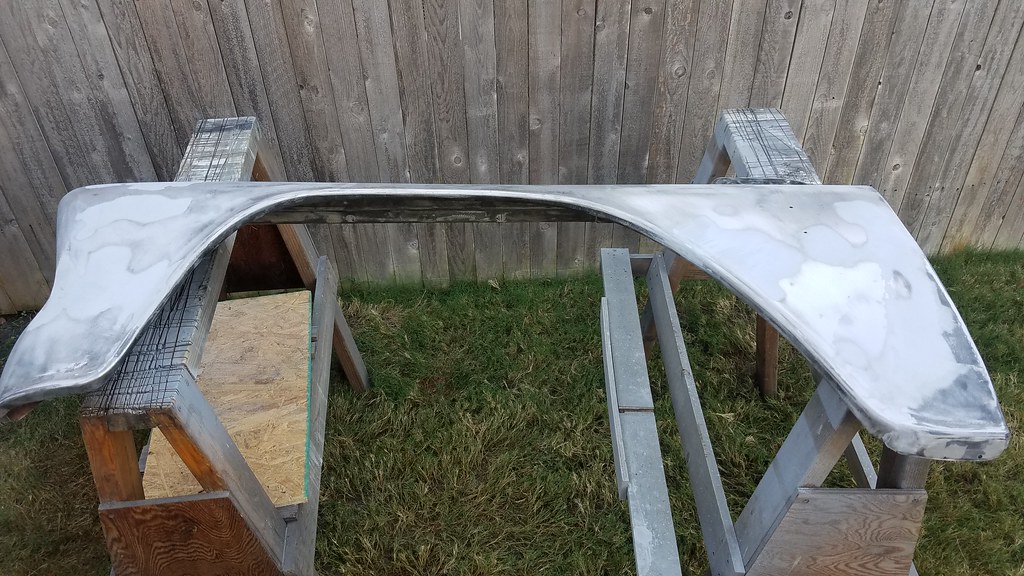
And here is the fender all stripped, cleaned, welded, and ground ready for some Metal 2 Metal aluminum filler before primer.
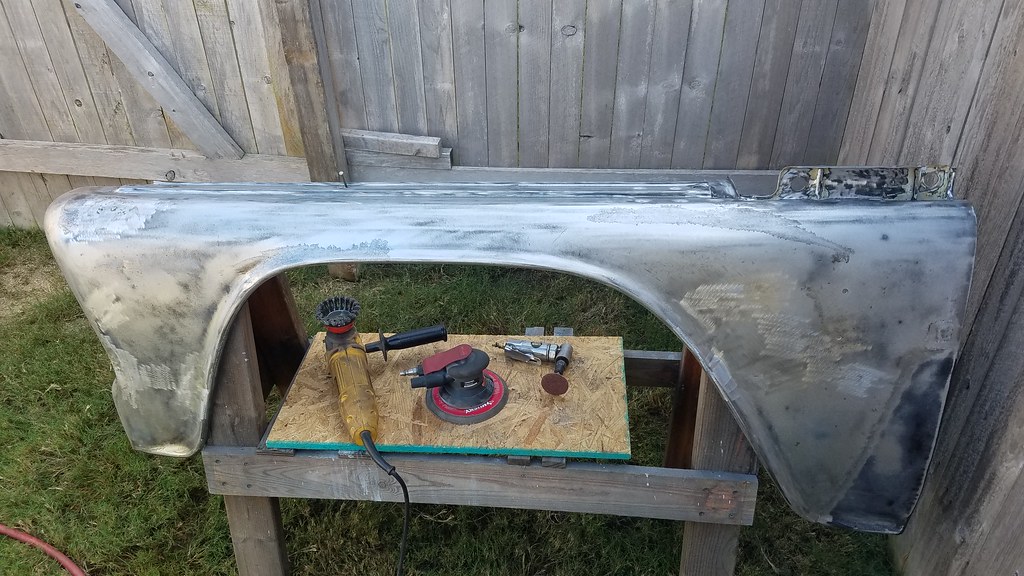 20171004_160429
 by
bjohnson388, on Flickr
 20171004_160433
 by
bjohnson388, on Flickr
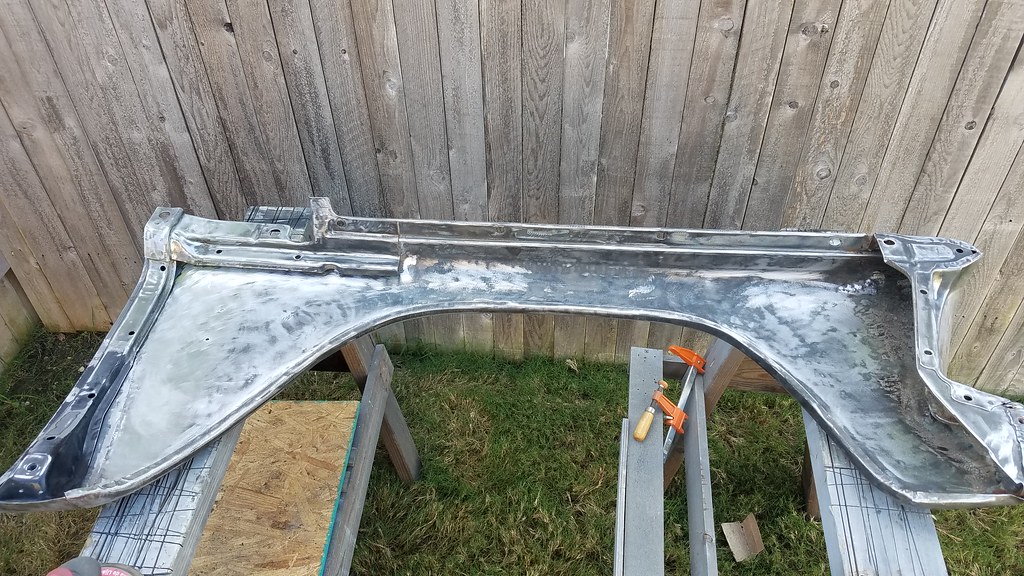 20171004_162834
 by
bjohnson388, on Flickr
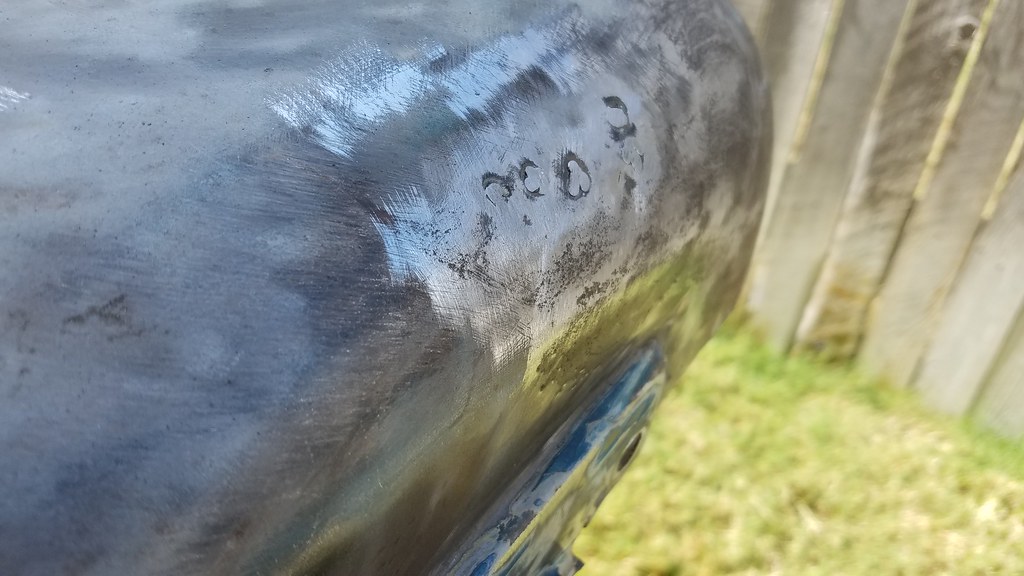
This eyebrow part of the fender is one of my favorite parts about these trucks.
 20171004_162842
 by
bjohnson388, on Flickr
First coat of mud.
 20171004_165908
 by
bjohnson388, on Flickr
 20171004_165917
 by
bjohnson388, on Flickr
 20171004_175126
 by
bjohnson388, on Flickr
Best before shot I could find of it.
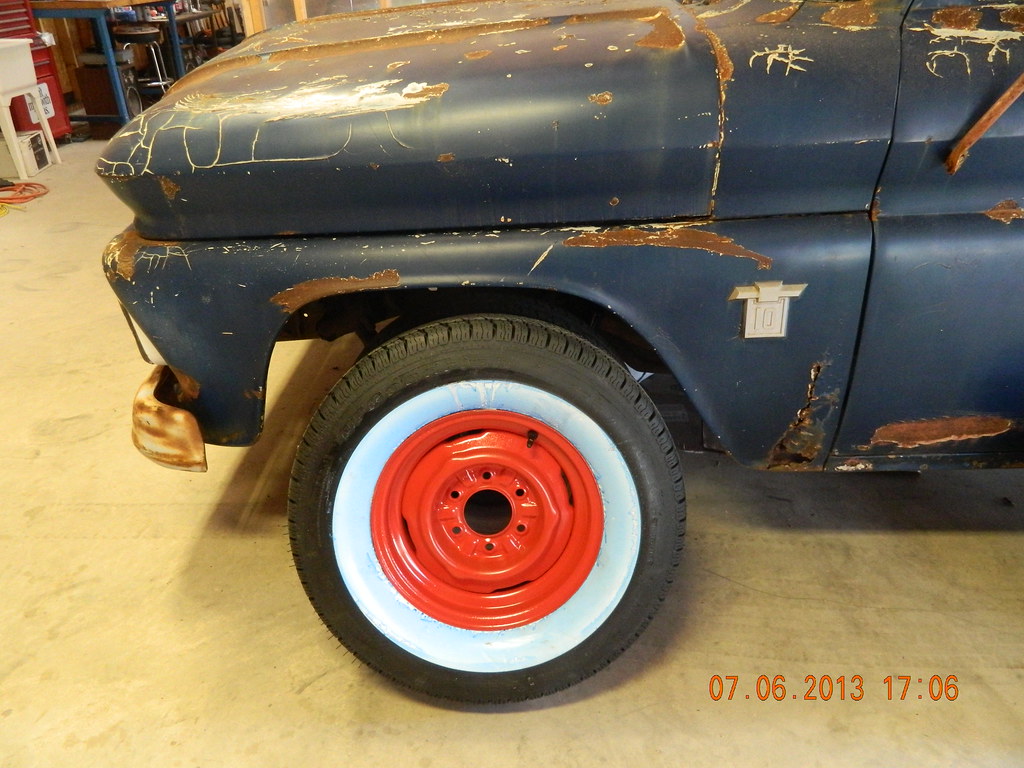 DSCN6789
 by
bjohnson388, on Flickr
Tomorrow will get i primed and then some primer surfacer and blocking after that.
Bret