I sanded all the old paint off, straightened the emblem and bobs my uncle.
 31246513867_79751845b0_b
 by
Joe Doh, on Flickr
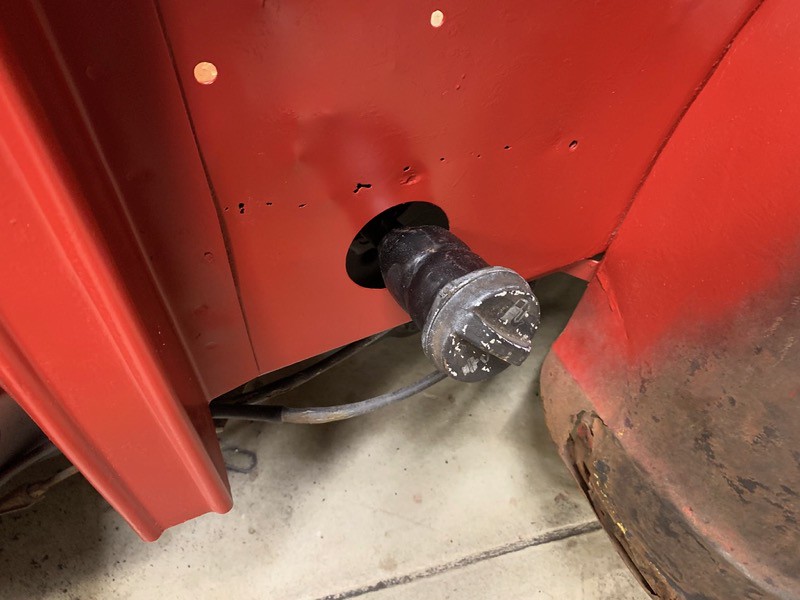
I learned on the last truck that installing the filler neck was better as a stick through than a bolt on, too many things to get perfect if you bolt it to the bedside. I use pinch welt on the rough cut and it works out nice, and you can remove and replace the bed without trying to get past the running boards and aprons and bedsides from below to get the filler neck loose.
I shortened the rubber hose about 4 inches and took another 3 out of the steel neck.
 31246514127_8ebbe65b1d_b
 by
Joe Doh, on Flickr
 46135099912_b71e018a5d_b
 by
Joe Doh, on Flickr
 31246514007_b553019936_b
 by
Joe Doh, on Flickr
I sanded the welds on the cab corners down flush and put the bed back on.
 IMG_2448
 by
Joe Doh, on Flickr
if a job is worth doing, well just do it again dummy.

 IMG_2451
 by
Joe Doh, on Flickr
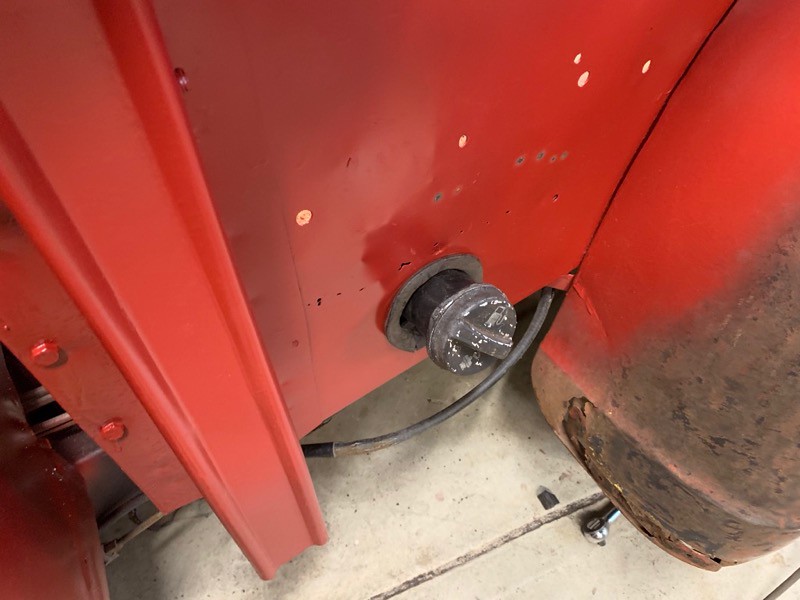
after my royal dumbness took another two inches out of the rubber hose, finally we had the right stickout. I used some pinch welting to finish the job, keeps the neck from rattling.
 IMG_2462
 by
Joe Doh, on Flickr
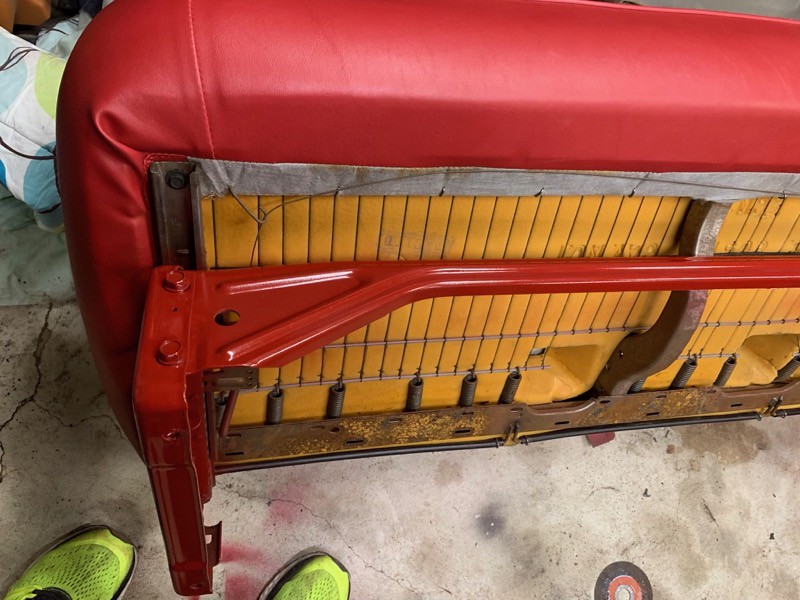
painted the seat frame, nothing fancy to show except the excellent color match.
 IMG_2450
 by
Joe Doh, on Flickr
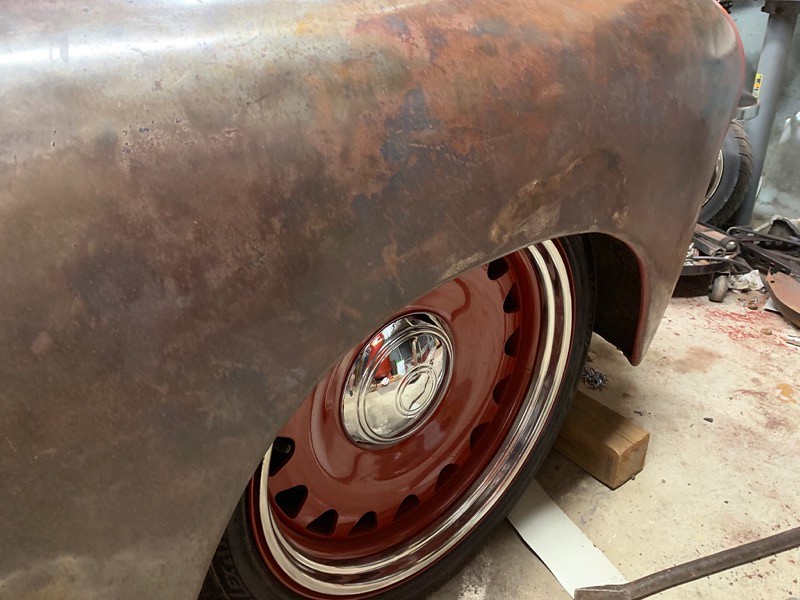
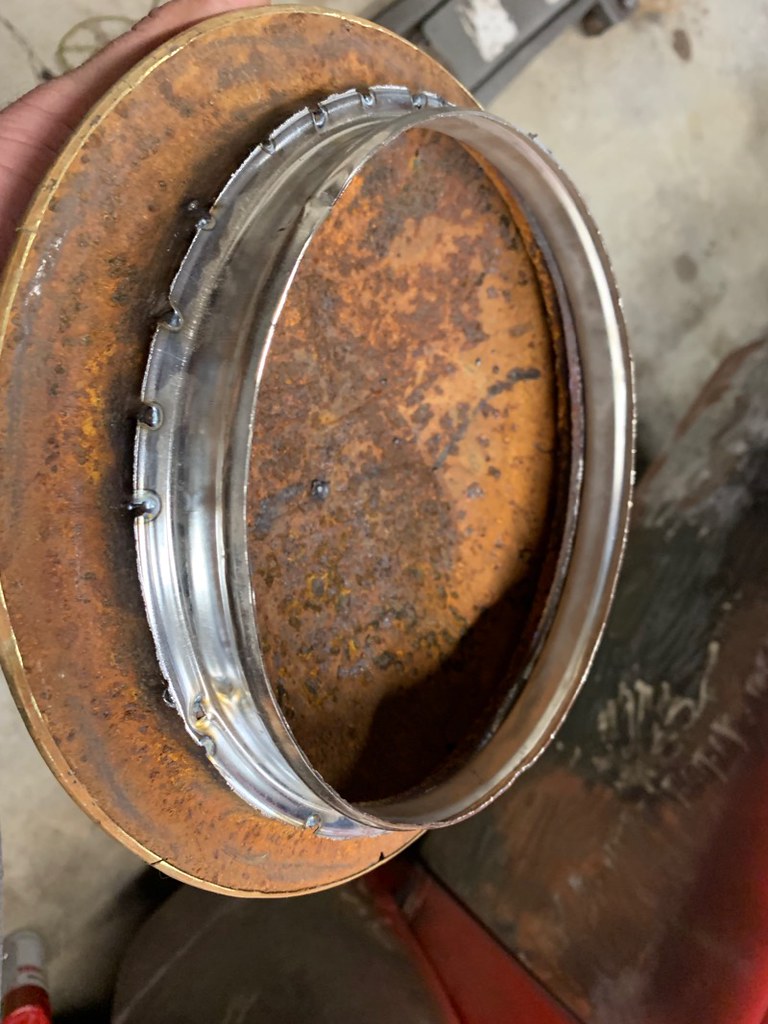
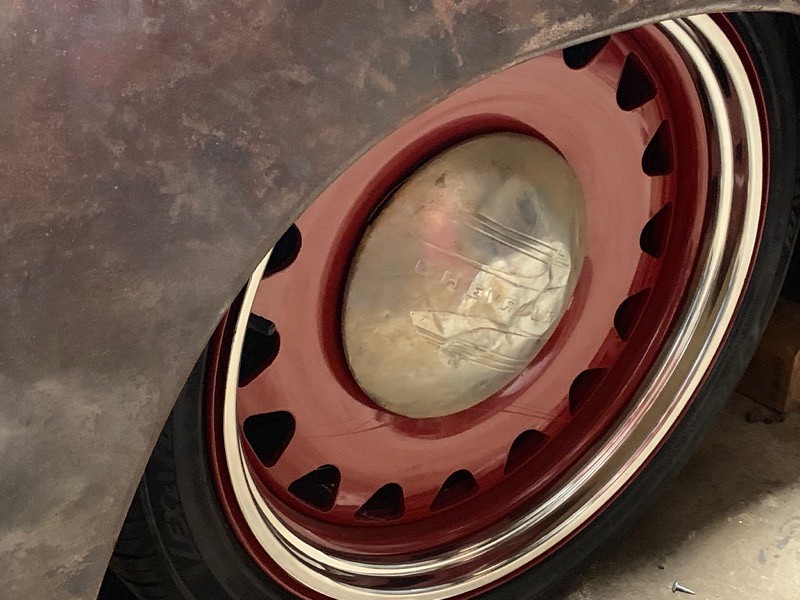
I worked on the caps too. the rally style caps mobsteel sent me fit nice but arent the look I am going for. I had a spare 41 cap so I cut the mount off and checked the height.
 IMG_2445
 by
Joe Doh, on Flickr
 IMG_2437
 by
Joe Doh, on Flickr
 IMG_2441
 by
Joe Doh, on Flickr
it is just slightly proud of the wheel, I gotta figure out if that matters because mounting them like this is easy but mounting them to fit closer will be more difficult, ah crap I just figured out what the right thing to do is didnt I?
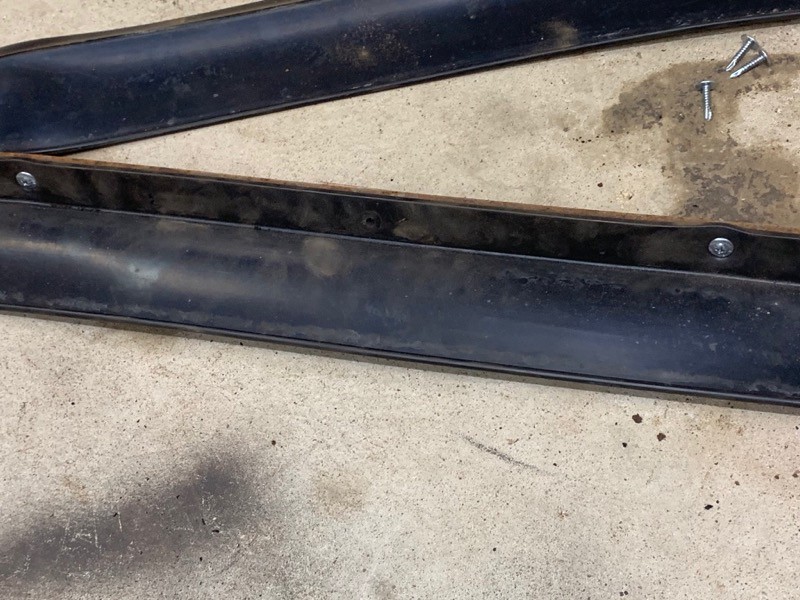
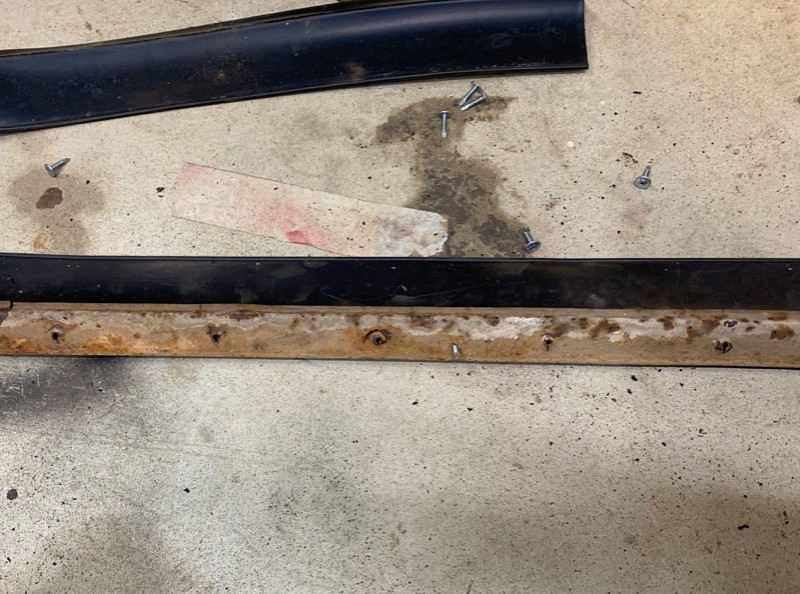
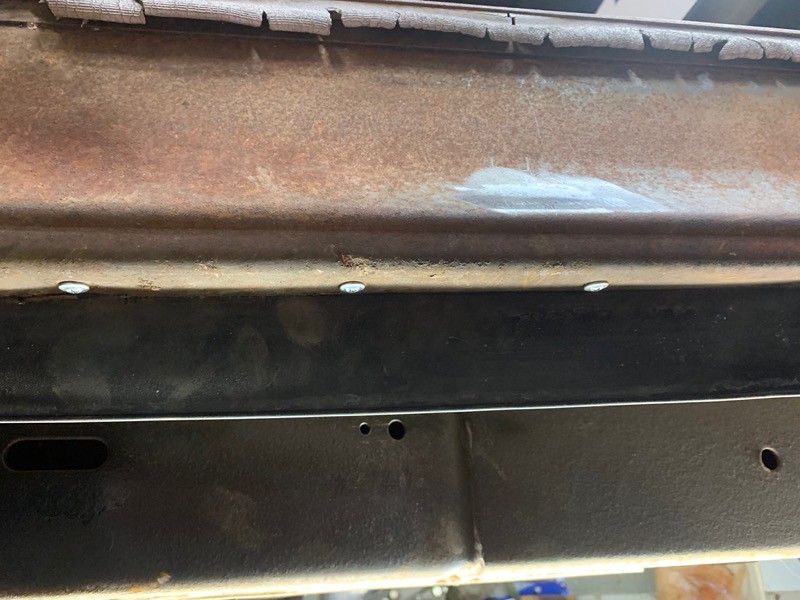
did the running board seals, for guys who havent yet let me run it down. the seal goes on top of the cab lip which has holes drilled in it, the screws pass through the holes upward through the rubber of the seal and into the mounting plate. this can be as fun as a pineapple enema. I find the best way to do it though is to drill through the rubber into the mounting plate in three places, screwing them down tight so they arent proud of the rubber. then drill through the rubber at the locations of the mount plate holes. then its simple to install as an assembly.
 IMG_2464
 by
Joe Doh, on Flickr
 IMG_2465
 by
Joe Doh, on Flickr
 IMG_2466
 by
Joe Doh, on Flickr
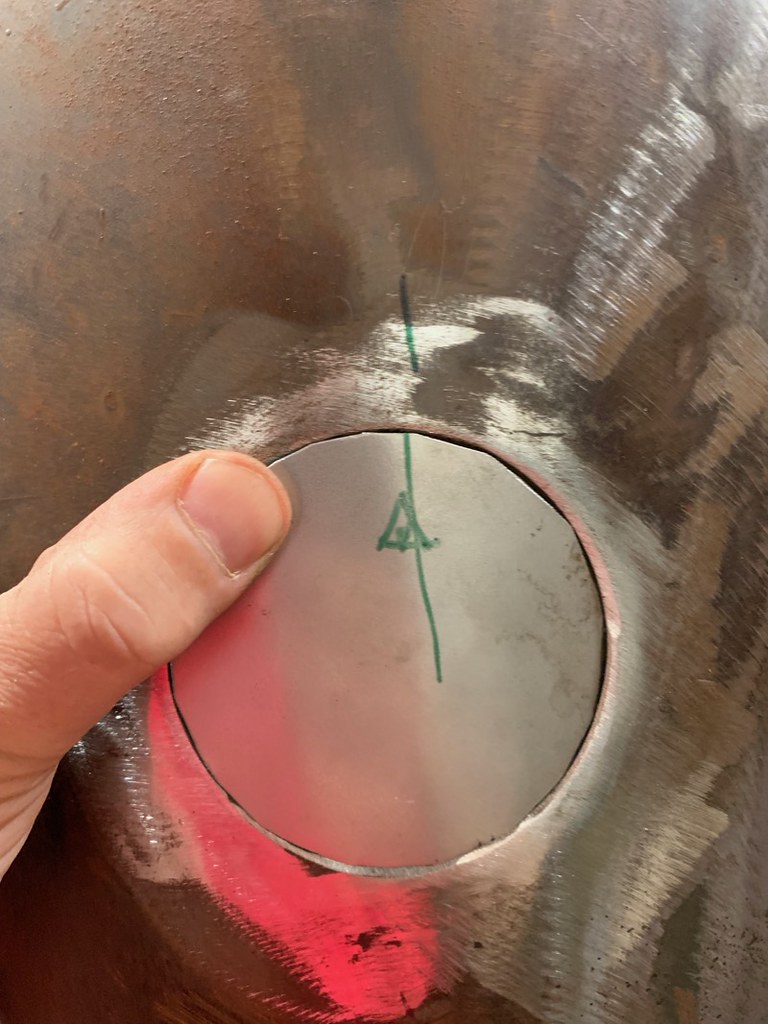
last thing for the night I cut the filler... uh.. filler.
 IMG_2467
 by
Joe Doh, on Flickr
tomorrow I will mount the running boards and try buttoning up the interior. then maybe lights if I have time.