Thanks guys! I always hope that detailed instructions may help someone else avoid having to reinvent the wheel (god knows I have borrowed enough ideas from others in this build). While waiting for those darn door latch mechanisms to come back in stock I have kept busy with some minor things on the truck. First was the headlight buckets.
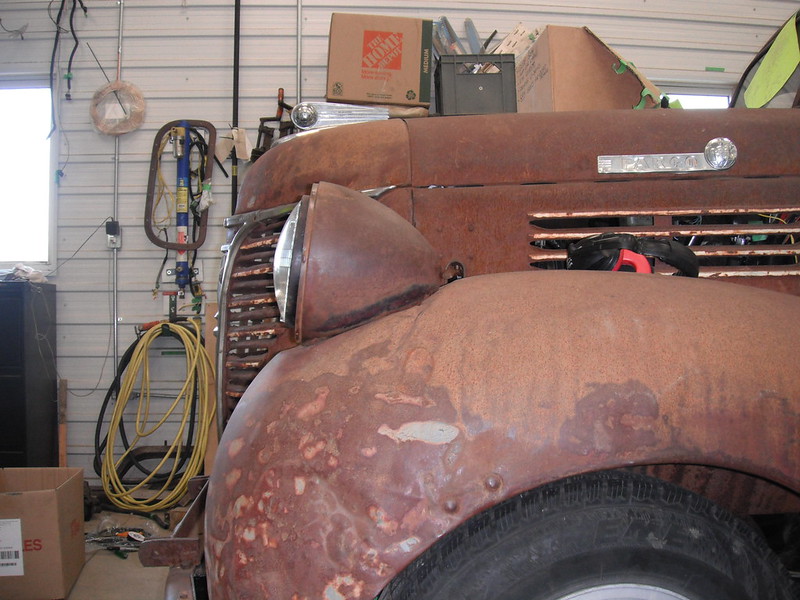
While reassembling the front end I realized that one of the headlight buckets was canted upwards. These fenders had been horribly bashed and I did my best to remove the biggest dents, however the area where the headlight buckets mount did not come out as well as I had hoped. I could have taken it all apart and started bashing again, but I am lazy so I did something simpler. Here is the headlight bucket that points too far upwards:
These buckets sit on a thin rubber pad (which I didnt have anyhow), so I grabbed a thick piece of rubber and made a pad, then hit it with a die grinder to adjust the way the bucket sits:

Once that tapered pad was installed, the bucket pointed forward:

Next I decided to try something different with the S10 gauges. My first attempt (Version1.0) was far from satisfactory. The needles sat deep in the housing, and I had completely forgotten about the fact that my seating position results in me looking down, rather than straight at the gauges. As a result, the needles and markings were half hidden from my sightline. I was going to just redo them, bringing the needles forward, but I realized that if I do that I will lose the light that lets me see them in the dark. I seemed to be stuck, but then realized I could use the original S10 gauge faces. Yeah, its not gonna look period correct, but then neither does the speedo. It was time to stop dithering and make something I could clearly see during both day and night. Heres what I did.
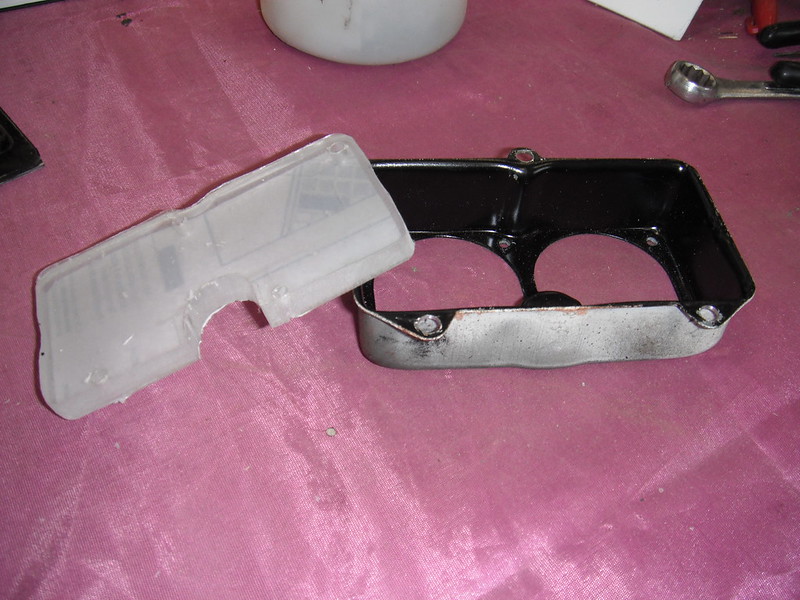
I cut a piece of ⅜ plexiglass to fit inside the housing:
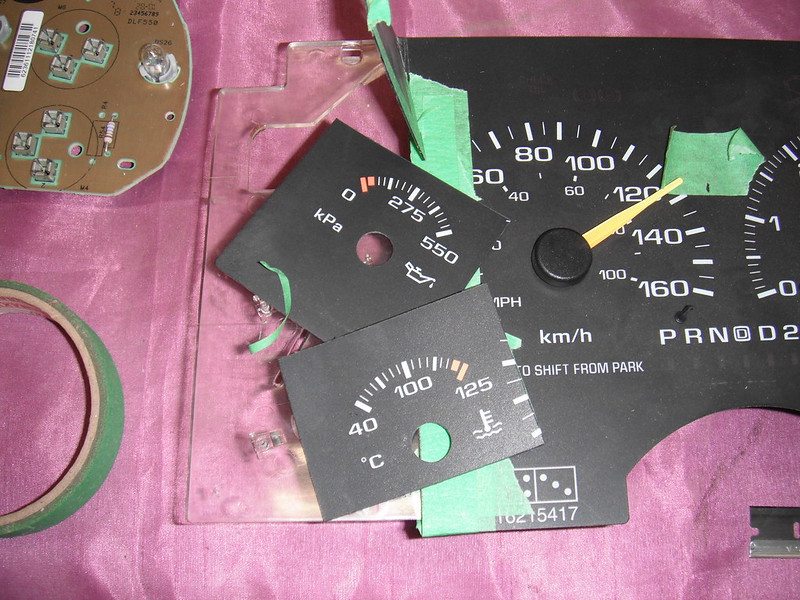
The S10 gauge face is a thin sheet of plastic which is glued to a clear panel in the instrument panel. I have no idea what kind of glue GM uses, but it is amazing. It's super hard to pull that face off, however once its off the glue is still there, and is still SUPER sticky (even after 25 years). I cut out the face sections around the gauges and stuck them onto the piece of 3/8ths plexiglass:

I gave it a test tug and that glue would not let go. Wow! I finished drilling all the holes I needed, popped the needles onto the gauges and then made fresh front borders. I now needed light. The S10 gauges are designed to let light in from the rear, so I fabbed up a couple of brackets that would hold a light behind each gauge set:

I put it all together and heres how it looks now:

The gauges are far easier to see now. I am still not thrilled about the modern look, but they are functional, and will work for now. My goal at this point was to use everything I could from the donour vehicle in order to get this truck onto the road with minimal costs (version 2.0 cost me about 5 bucks to do!). I have a list of future mini projects, and I think I will add nicer gauges to that list. I got a bit stubborn trying to prove to myself that the S10 gauges are reusable. While I finally did do it, the ordeal reminded me of the expression just because you can, doesnt mean you should!