Moving on to the front.
Removal of the factory components is pretty straight forward. Because our StreetGrip kit utilizes the same spindles found in the new coil over kit we chose to keep all of those components intact for this build.
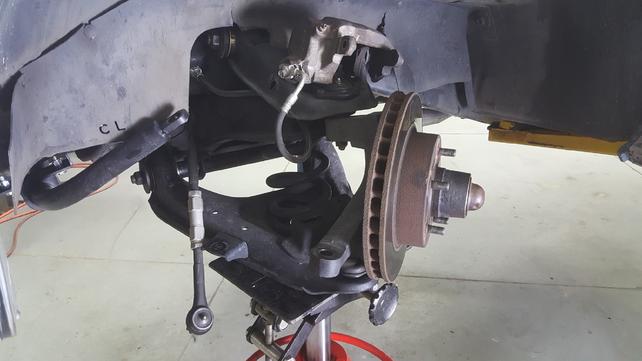
Once you have the vehicle supported, remove the brake calipers and tie them up out of the way. We use a little bailing wire to secure them towards the front of the truck.
Once the brake components have been removed, support the lower control arm with some sort of jack. Because we were using a 2 post lift, we used a transmission jack under the arm. With the jack compressing the spring, we removed the castle nuts from the spindles as well as the outer tie rod ends.
Side note: Put the castle nut back on the tie rod end that way you don't spend 15min trying to find it because you forgot where you put it.
With the castle nut removed from the upper and lower ball joint, we took a metal chain and ran it through the coil, looped it around and secured the ends together. This will keep the coil spring from shooting out when you start to relieve tension.
Using the floor jack and some caution, we began to slowly let pressure off of the spring. Once we got to a certain point, we use a pickle fork to break the ball joint free from the spindle. Once the tension is undone, remove the chain and the spring will come out. We have used a spring compressor in the past. If you decide to go that route, be sure and use a quality tool. Its not worth loosing the use of your fingers or hands to save $20.