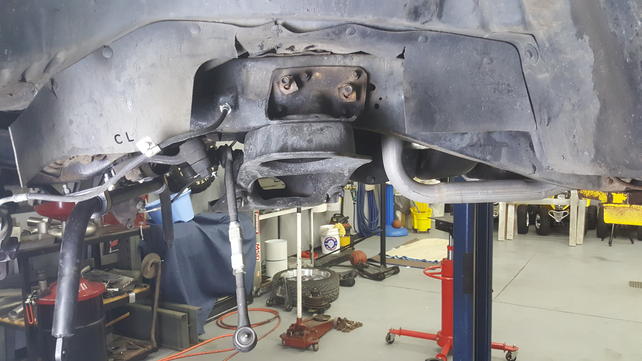
Once you have all of the factory suspension components removed, the next step is to remove the factory coil spring bucket brace.
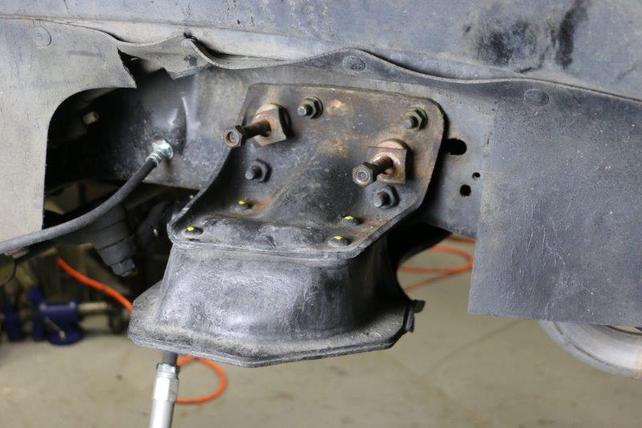
There are 4 factory rivets that will need to be removed in order to install our upper coilover mount. To remove these, we cut a (+) pattern in the top using a small angle grinder. Once the rivets had been cut, we used an air chisel to knock them the rest of the way off.
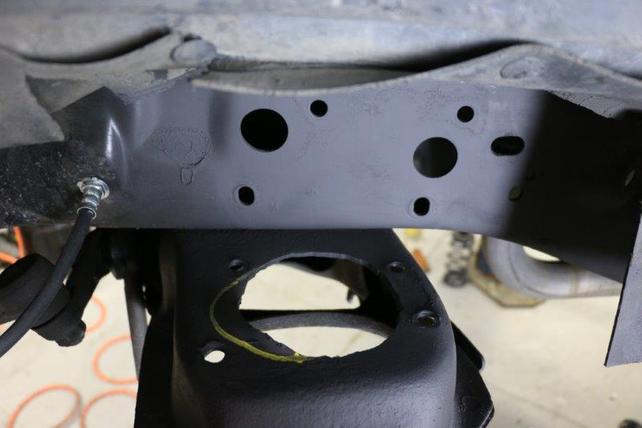
So I got a little spray paint happy and went ahead and cleaned up the bare metal areas and hit them with a coat of paint BEFORE I realized we needed to trim out the upper spring bucket. For purposes of this build thread, I'm going to say it was intentional so that you could see the yellow marker where it needs to be clearanced out. This will allow the new upper mount to sit flush on the spring bucket.