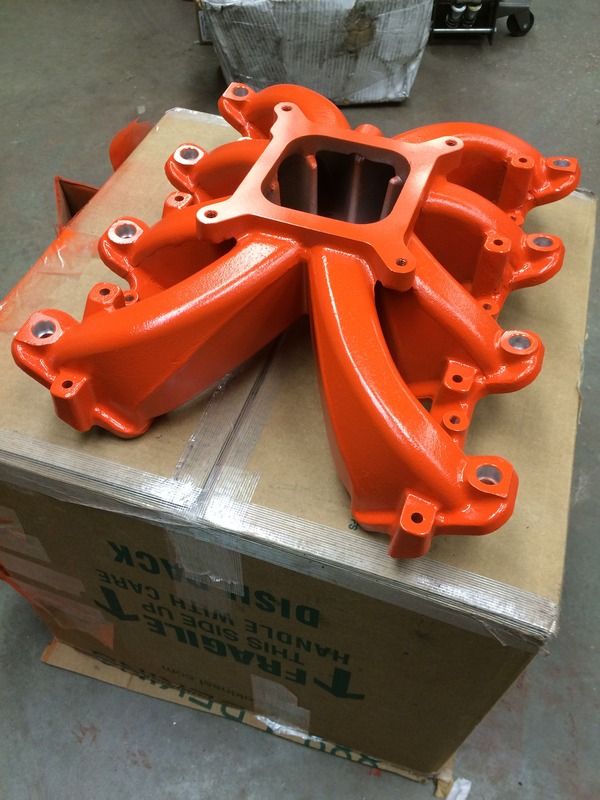
Back to the intake. I couldn't stand the aluminum intake. So, I filed off the Holley logo and painted it orange:
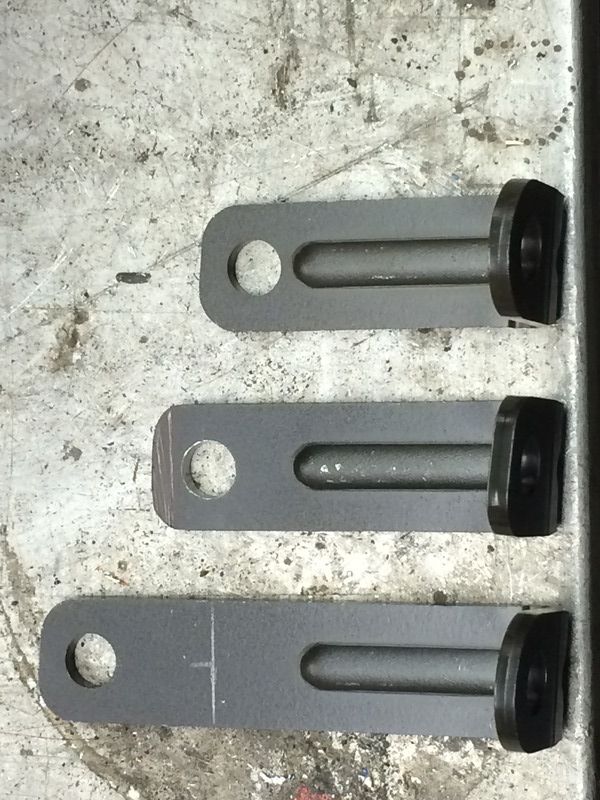
The Holley fuel rails come with two sets of brackets; tall for LS1 and short for LS3 style. The truck injectors are in between those sizes. So I had to cut down the LS1 brackets. In the next photo, LS3 on the left, LS1 on the right and the cut down "truck" size in the middle:
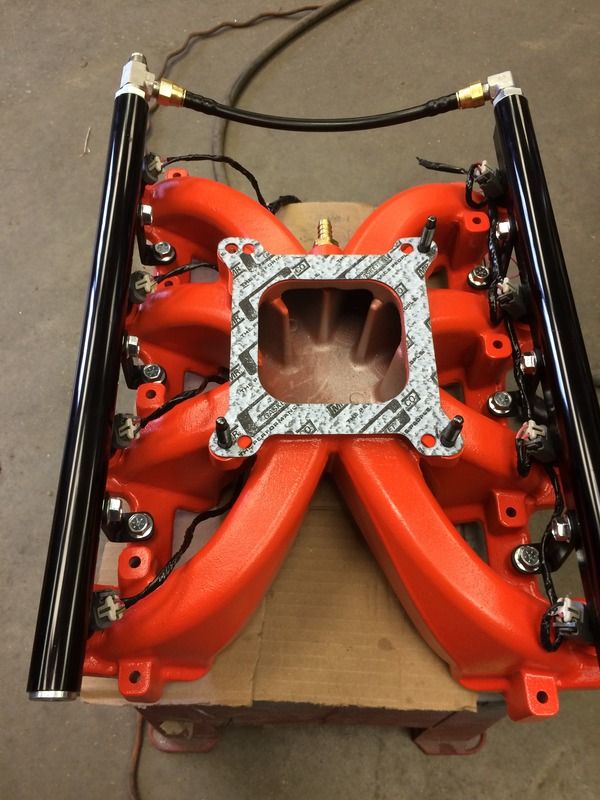
Here's the fuel rail mounted to the intake. Note that the injector wiring is different from left to right. I was trying to determine which way looked better:
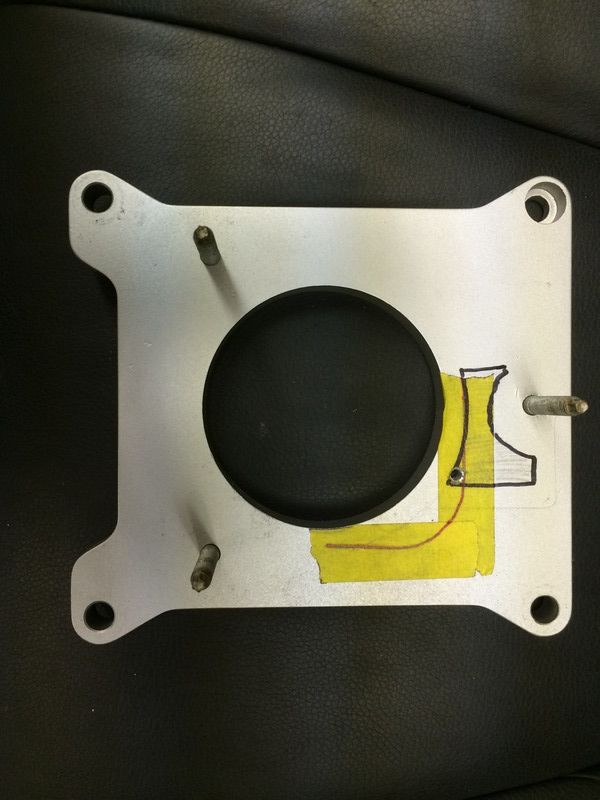
Back to the TB. First, the Holley intake only has a single vacuum port (3/8 NPT). I needed to hook up my PCV system and brake booster, so I didn't really have a place to mount the MAP sensor. In the picture below, the red line represents the square bore of the intake and the black oddly shaped area represents a "relieved" area on the backside of the TB. So, I drilled a 1/8 hole where they intersected and then drilled/chamferred a hole in the TB to accept the MAP.
I don't have a pic, but a simple "Z" bracket held in place by the upper TB mounting bolt secures the MAP and keeps if from falling out of the TB.
Here's a pic of the air cleaner mounting ring on the TB. I found out really quickly that, being a cast part, the TB has draft (i.e. it tapers smaller toward the top) and it isn't round. So, it took a significant amount of time to hand fit the ring to the top of the throttle body and get a tight interference fit. I literally used machinist's die and emery cloth to get it just right.
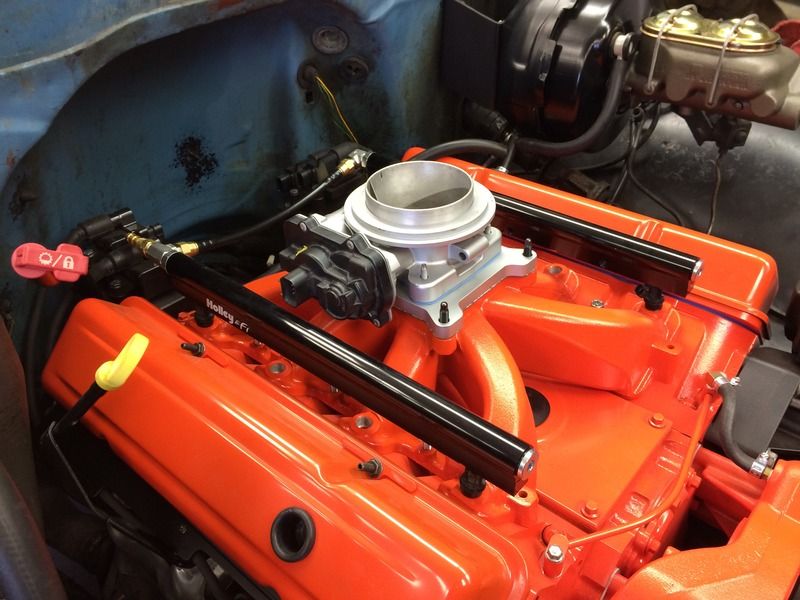
Here's what it looked like on top of the engine. Note that it doesn't have the rail brackets (or even all of the injectors) in this pic, but it gives the idea what it looks like.