Thanks Greg, if you are making no modifications to the window opening framework, I would think youd be fine.
Another small project in the shop, a good friend of mine has a powder coat business and has been restoring a Kent model KMX850 bmx bike. The bike was found in the woods and was brought to him for repairs, with many of the obsolete parts being sourced from other style bikes and scooters. Here is where he has it thus far..
.JPG)
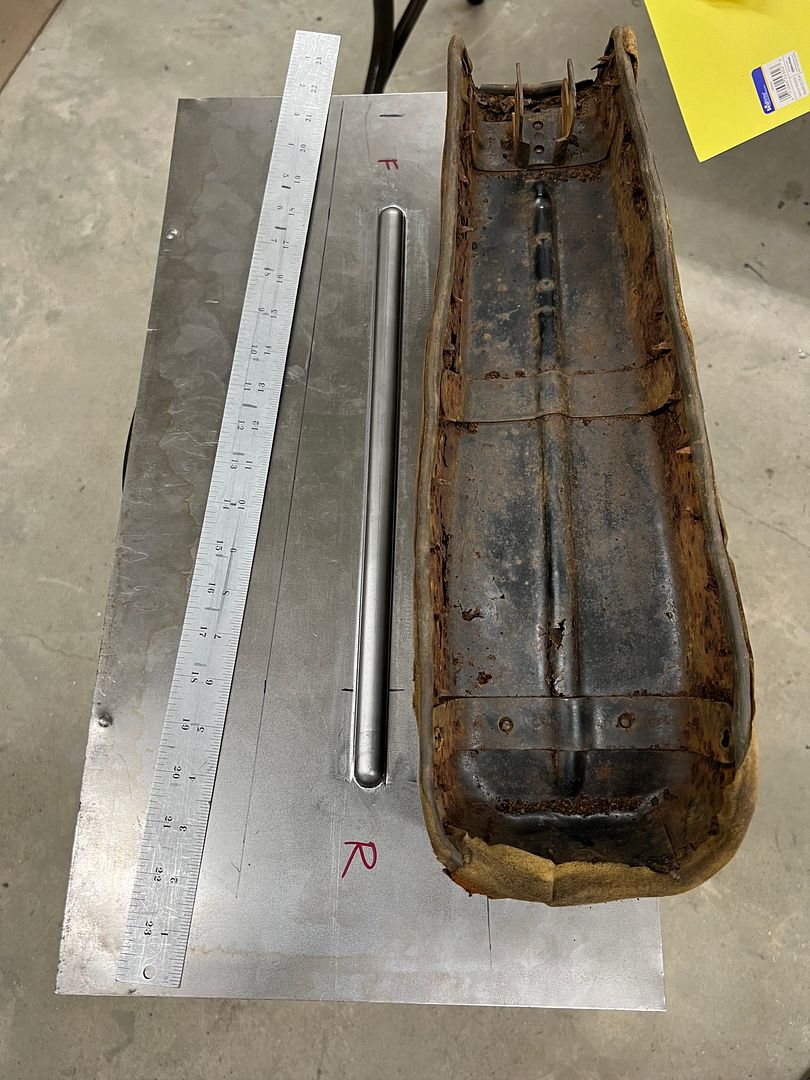
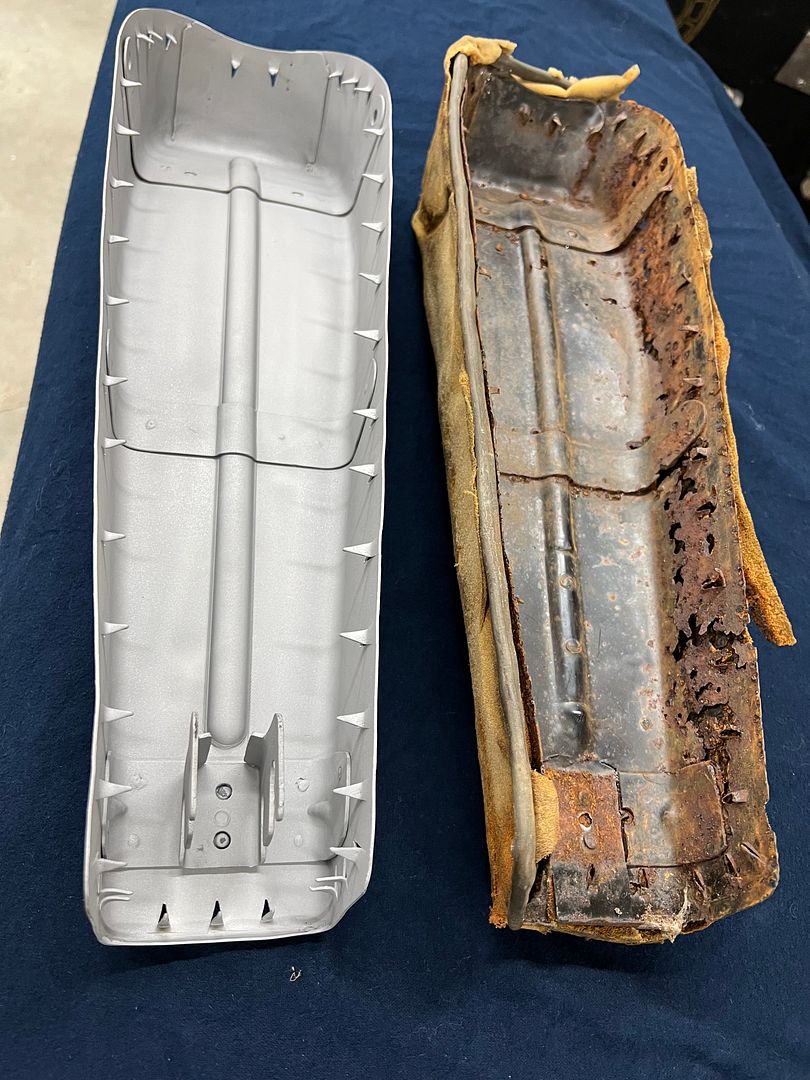
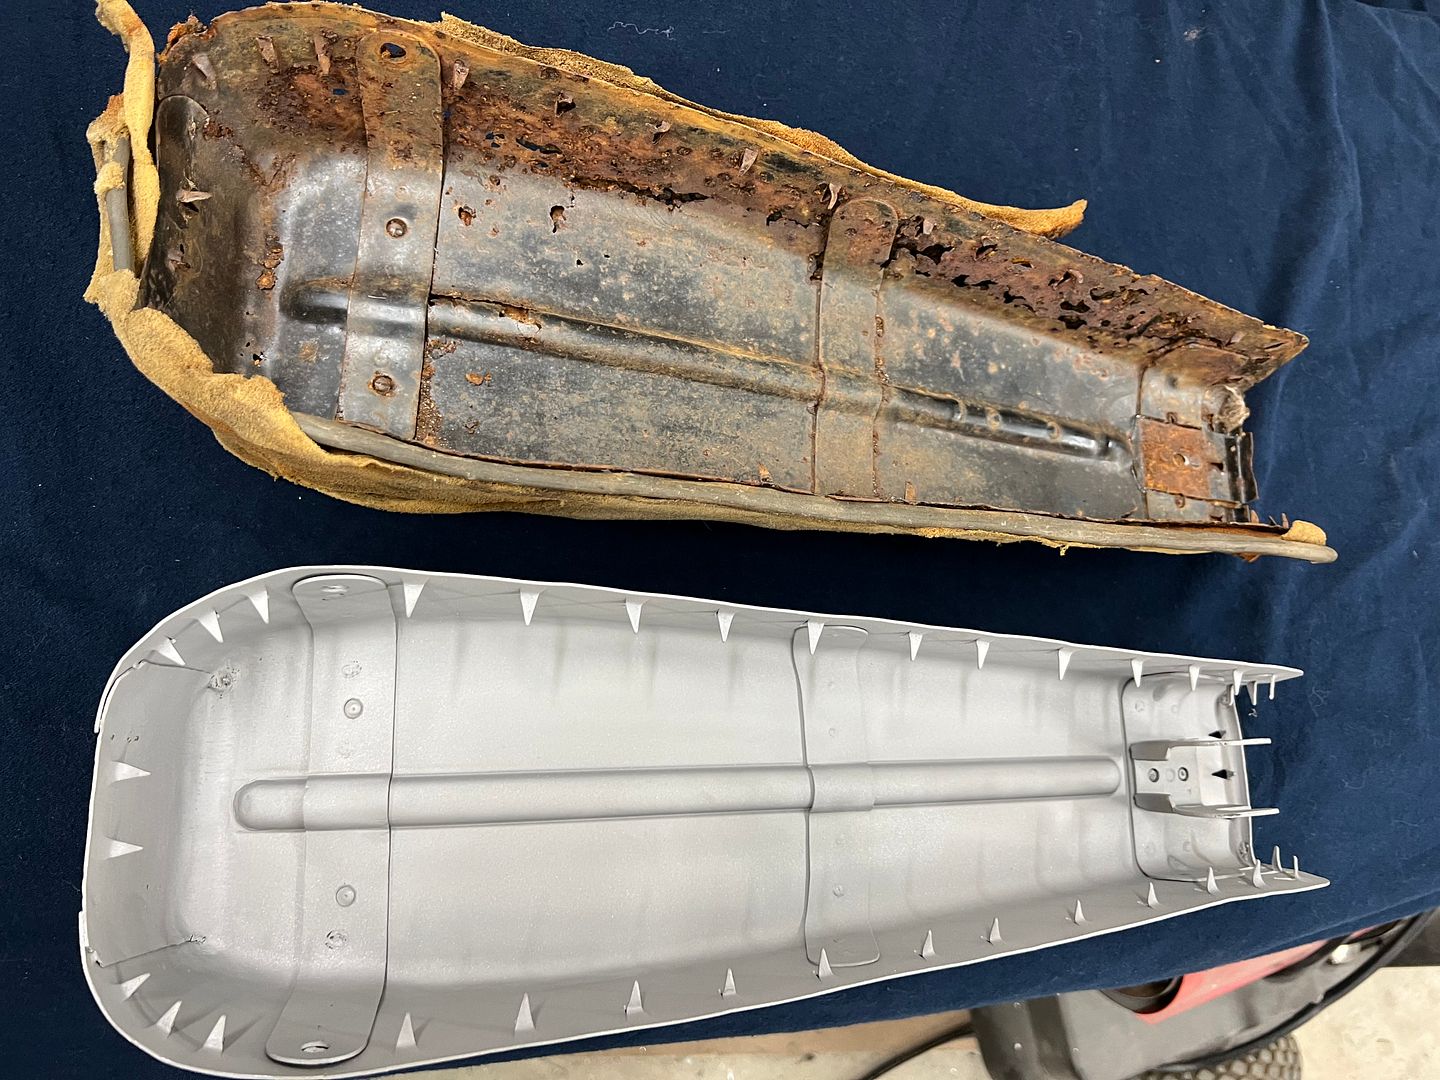
Once the sun had taken its toll on the seat upholstery, the foam inside became a nice sponge for all the precipitation that Mother Nature could throw at it, leaving much of the seat pan gone. So he needed a seat pan fabricated, and this is where I entered the picture..
.JPG)
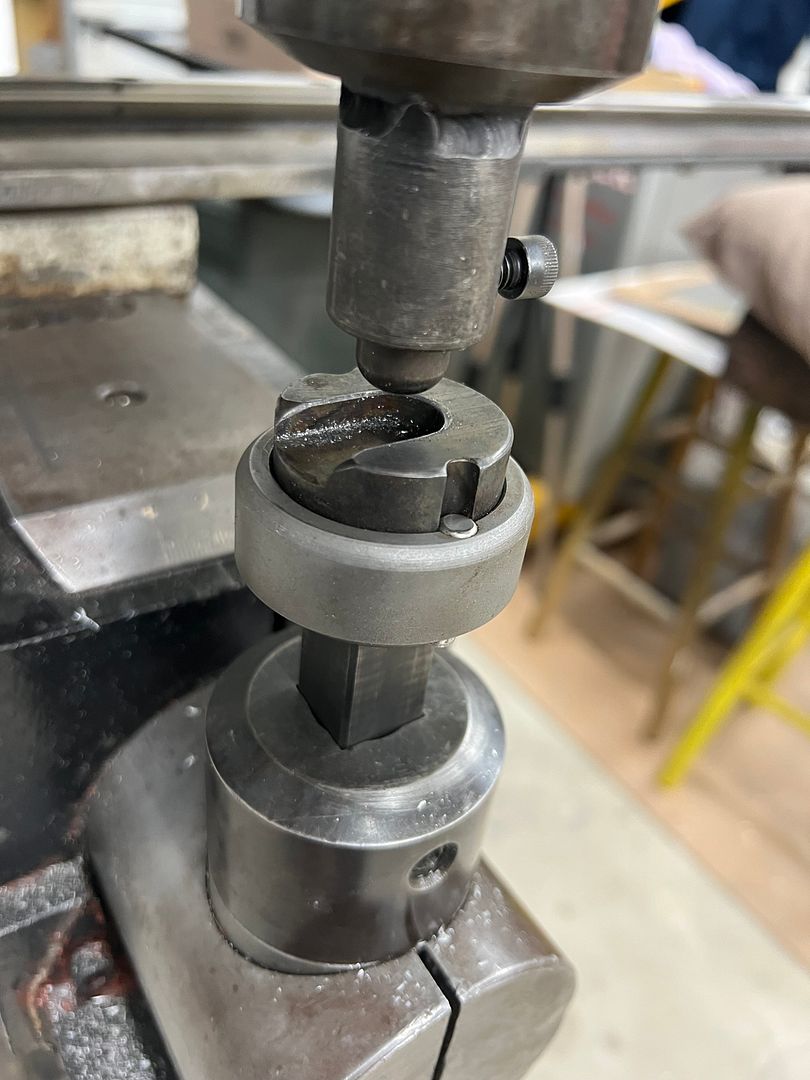
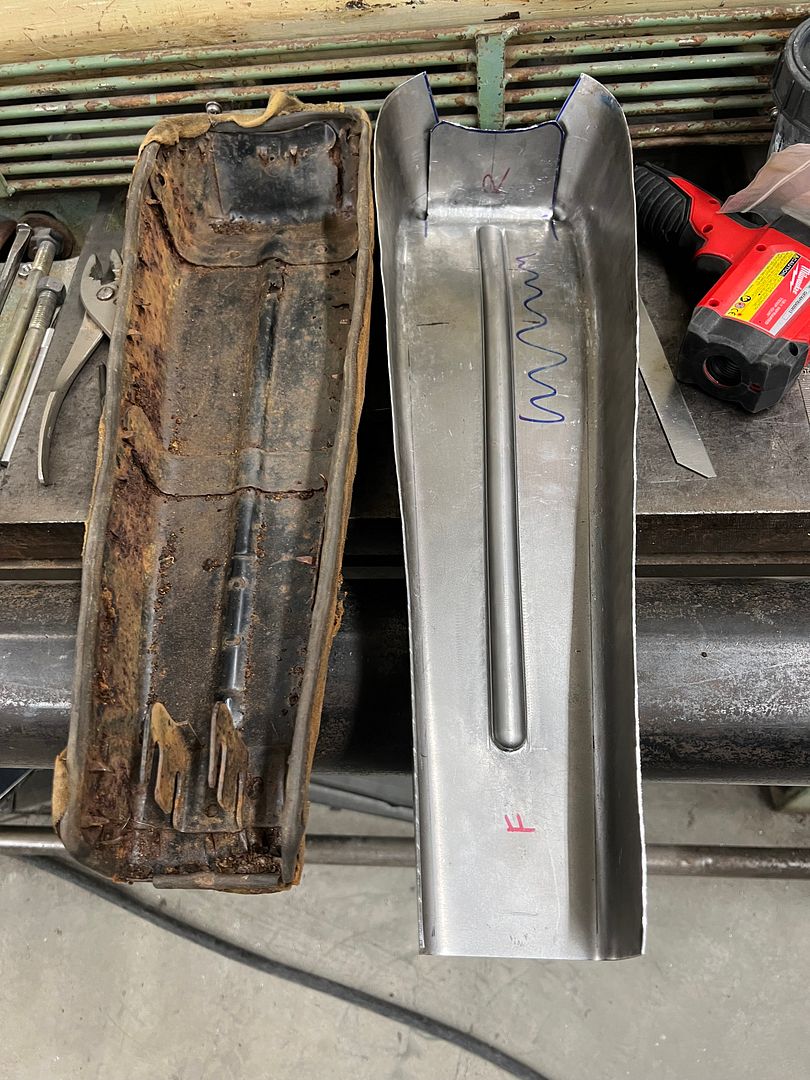
His major concern was that we duplicate the impaling spikes to secure the upholstery.
.JPG)
I had attended an estate sale about a year ago and picked up a set of Malco notchers, not knowing what I'd ever need them for, but also knowing I couldn't do without them.
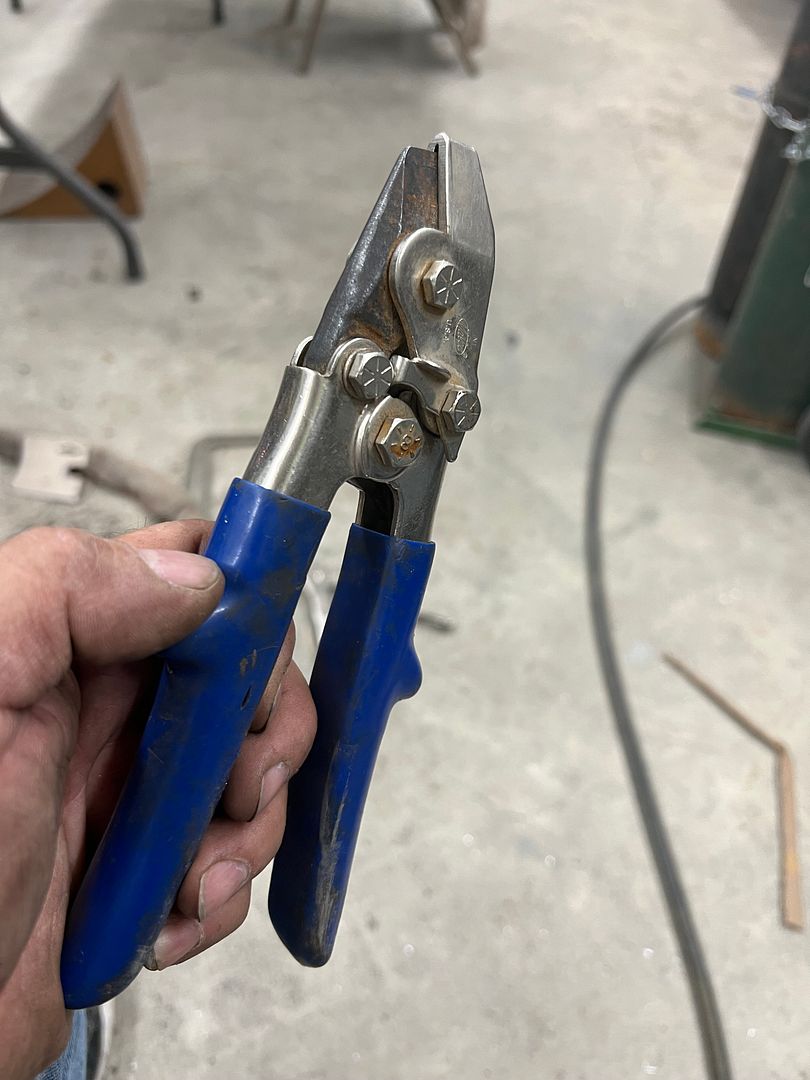
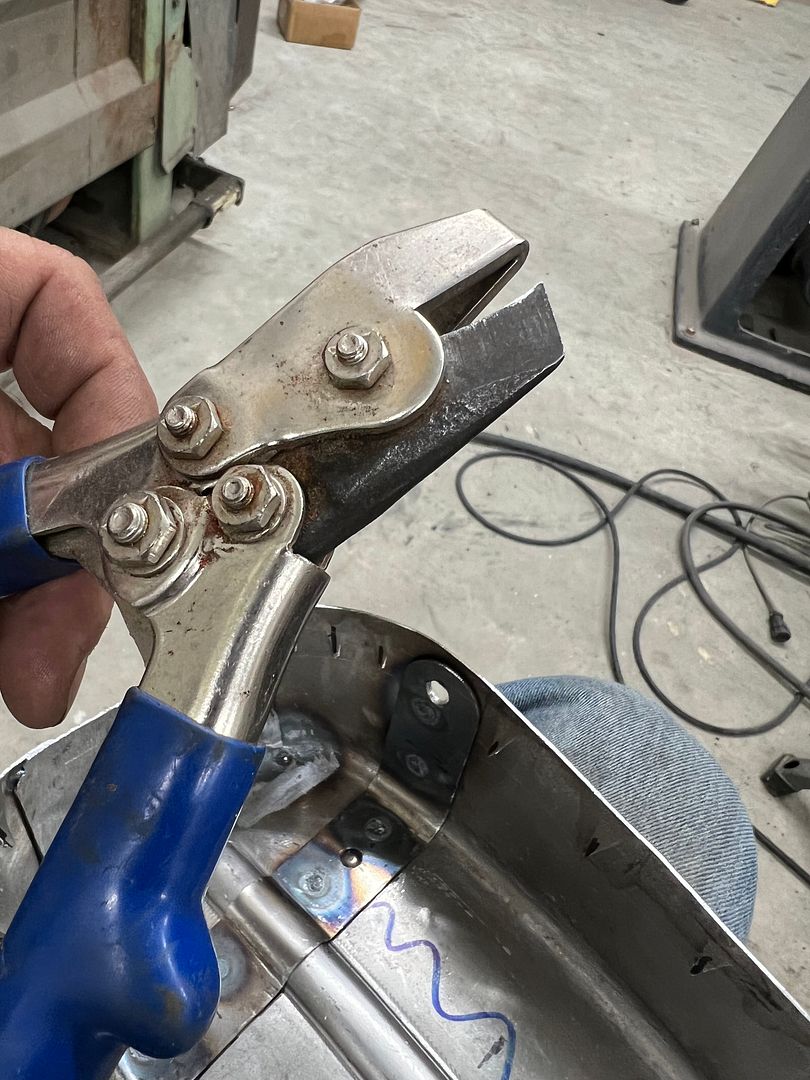
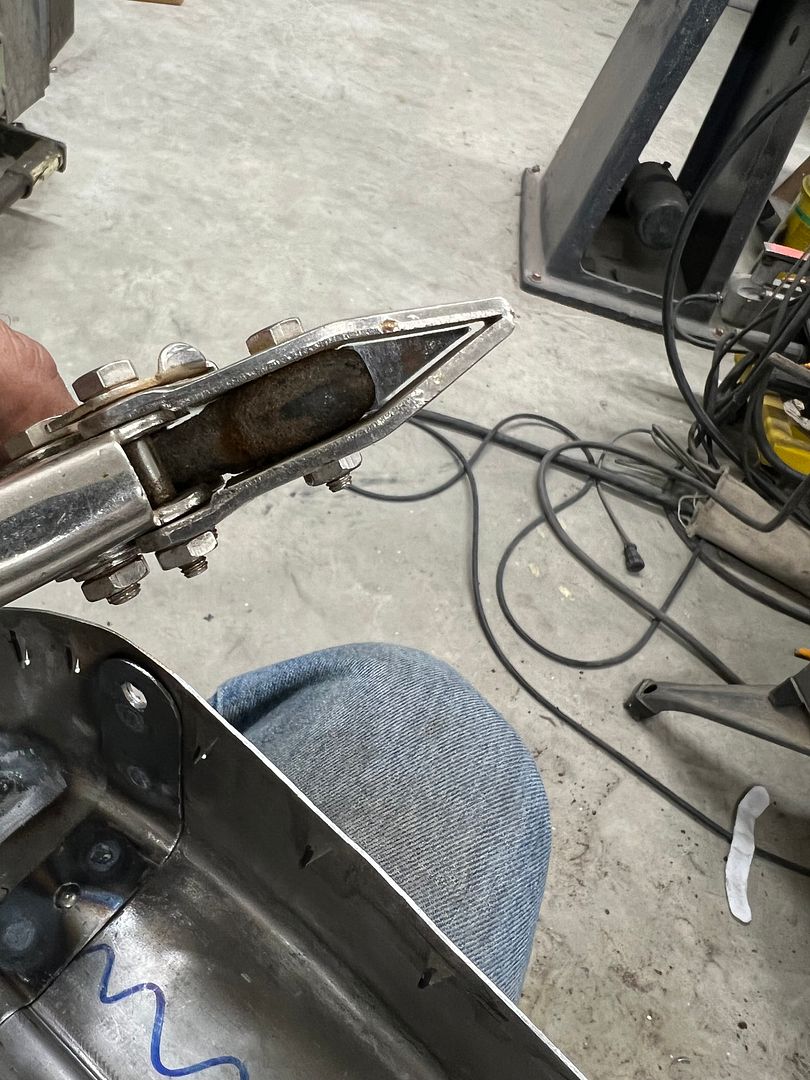
So when I pulled these out of the tool box all fears had been abated..
We started with a piece of 19 gauge AKDQ and used Stan Fulton beading dies to add the center bead.
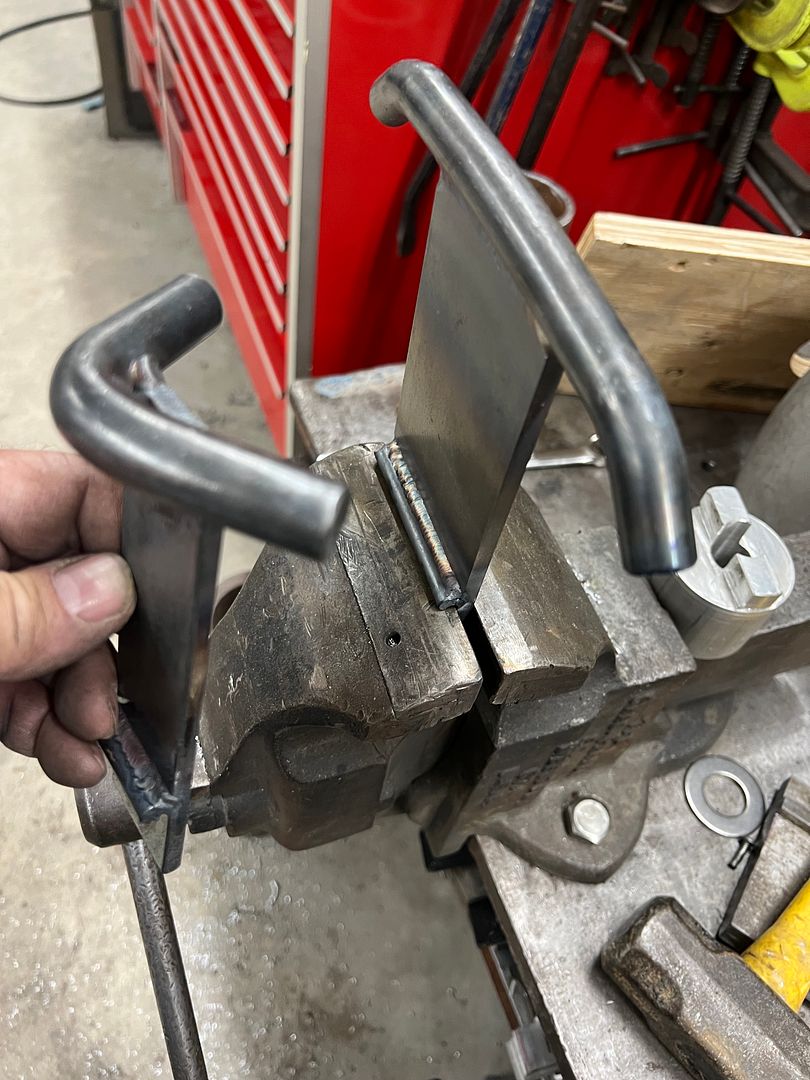
A piece of 5/8 round stock on the magnetic brake then added the radius for the side bends. Some of the 5/8 round stock was also used to make some post dollies with a welded stop for use in the bench vise..
Basic shape
The Erco kick stretcher used on the sides and the post dollies on manipulating the radius bend helped to provide the kickup needed at the rear.
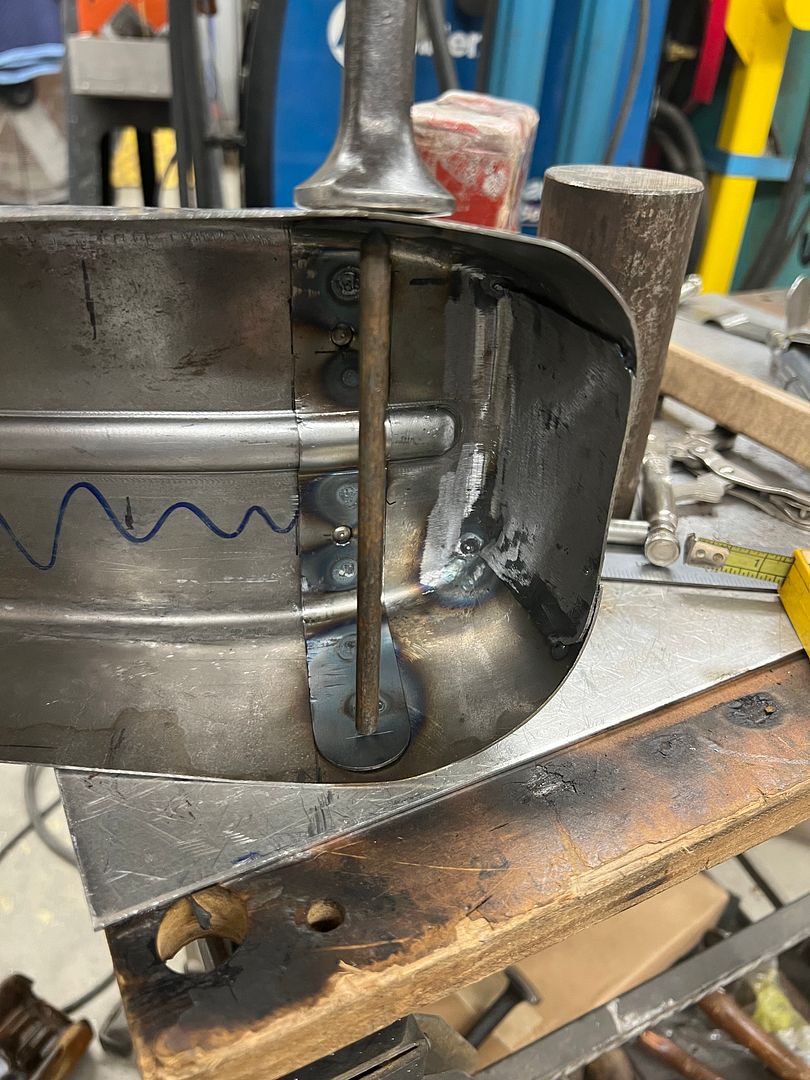
A solid rod across the rear mounting holes gives us some critical dimensions for layout....
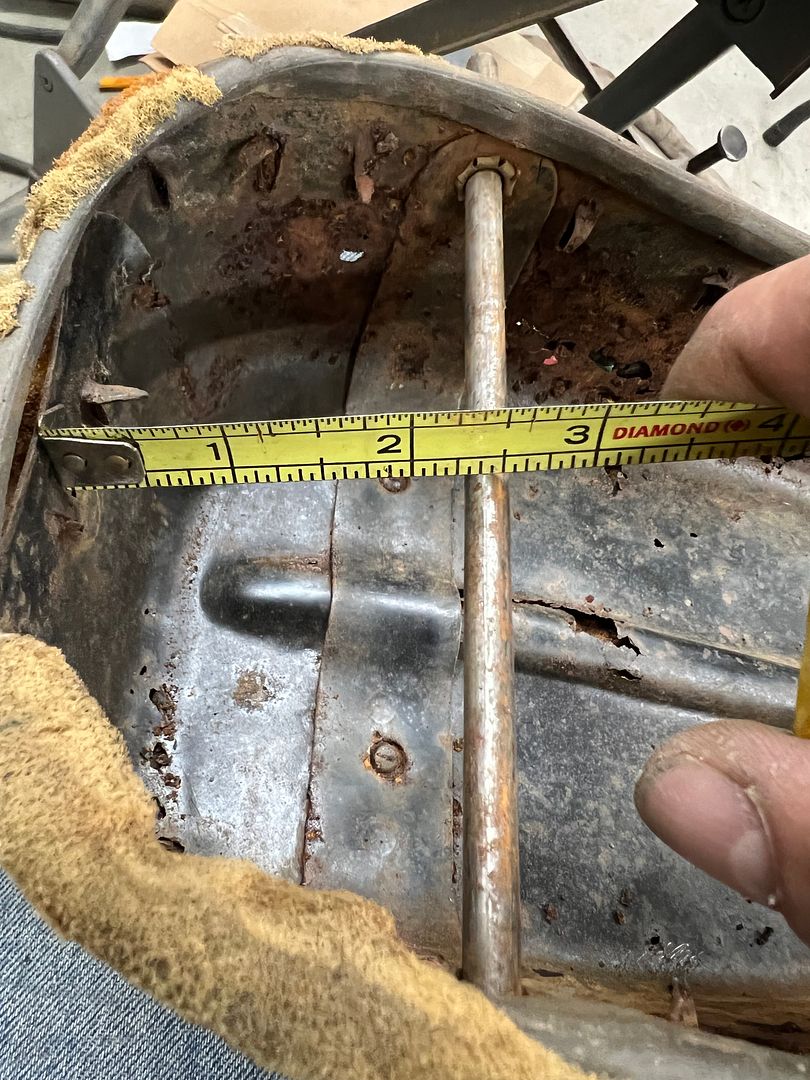
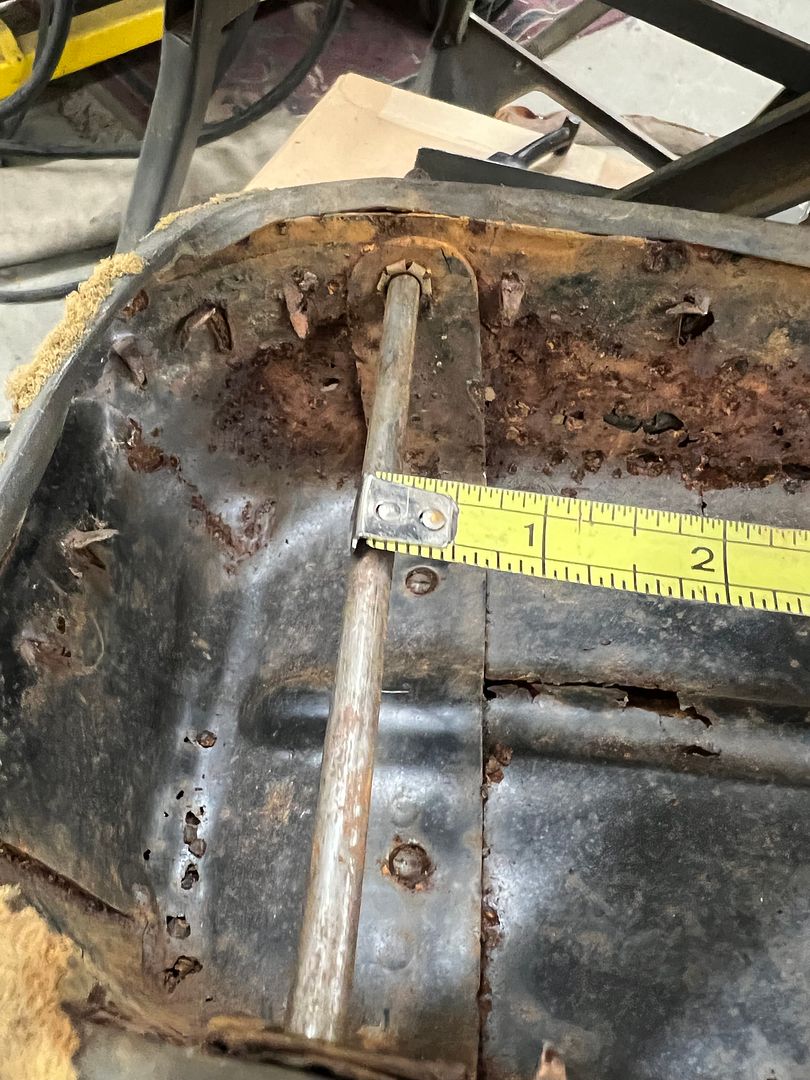
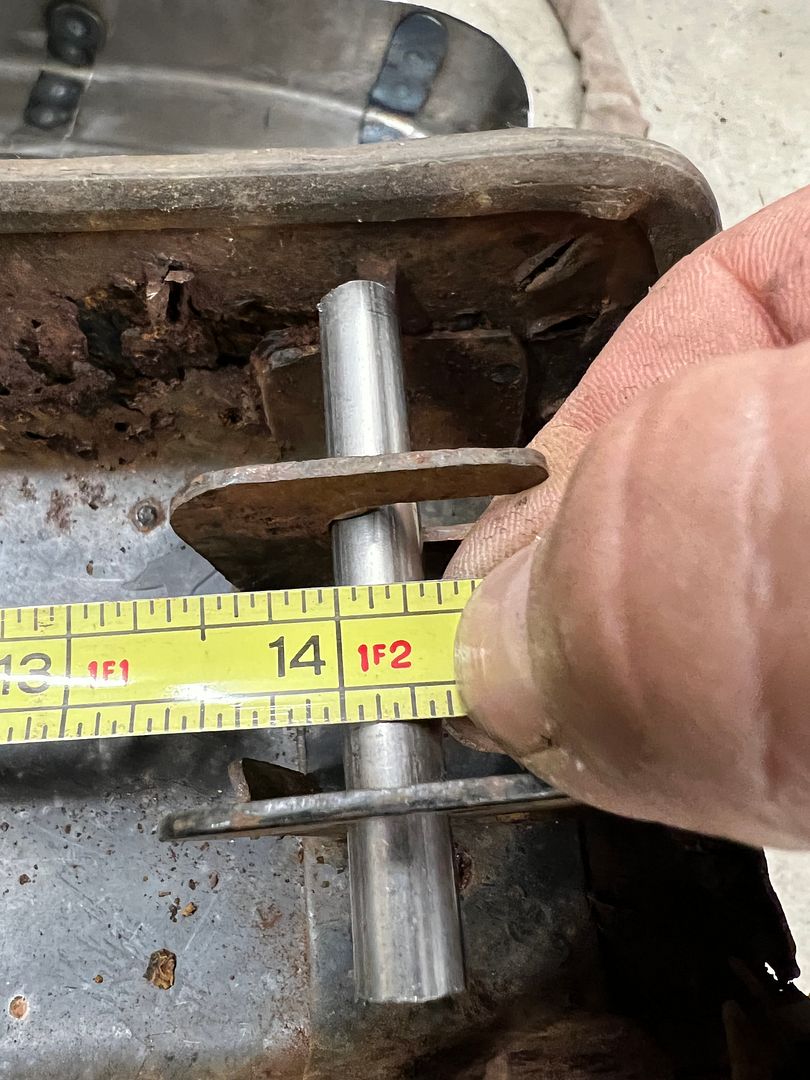
For the mounting holes in the rear, we measured 9/16 from the edge to hole center as per original, and then made a two ended transfer punch that fit snugly between the sides. Once we had our rear measurement and the point aligned to the 9/16 scribe line, we tapped either side to mark the holes.
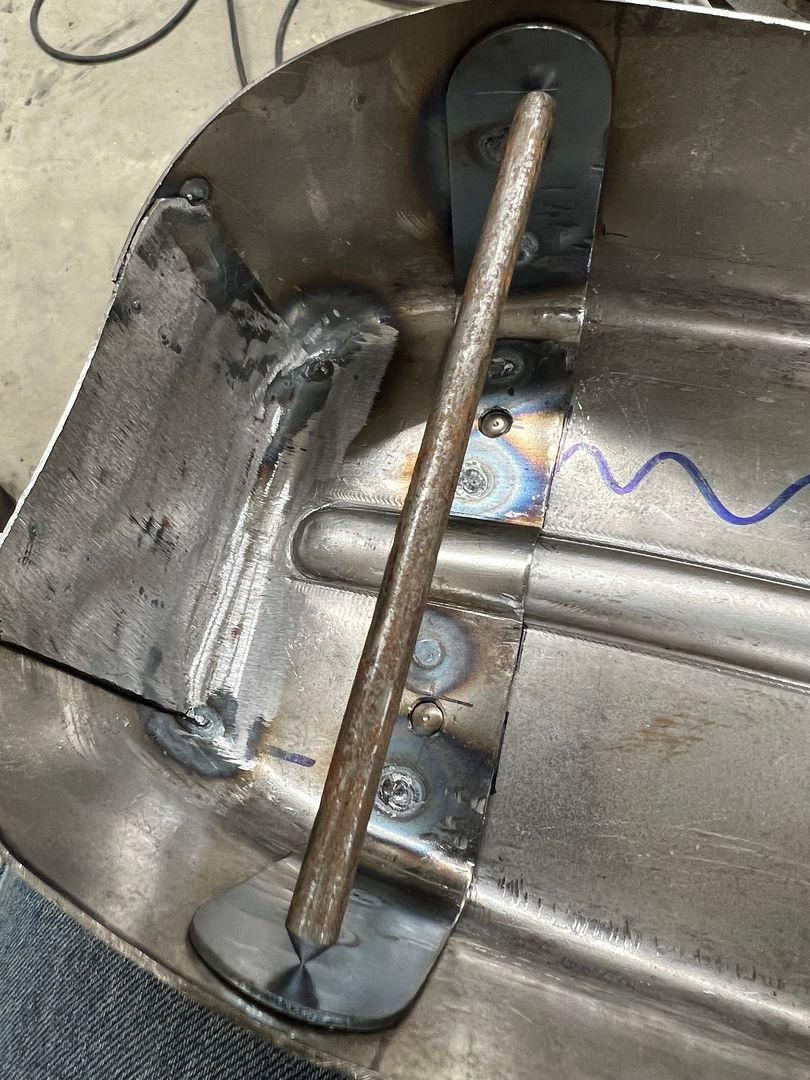
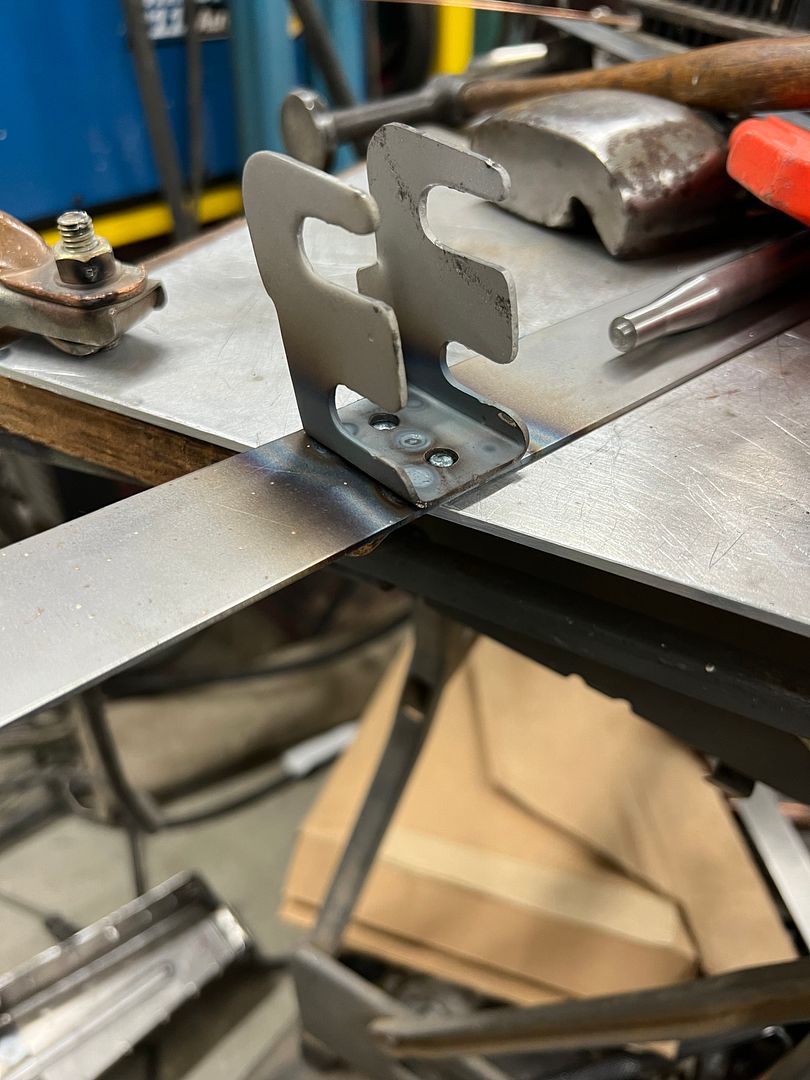
Once drilled, a rod through these holes lets us locate the front bracket. We reused the bracket to save some time (and money) as it was still good and solid..
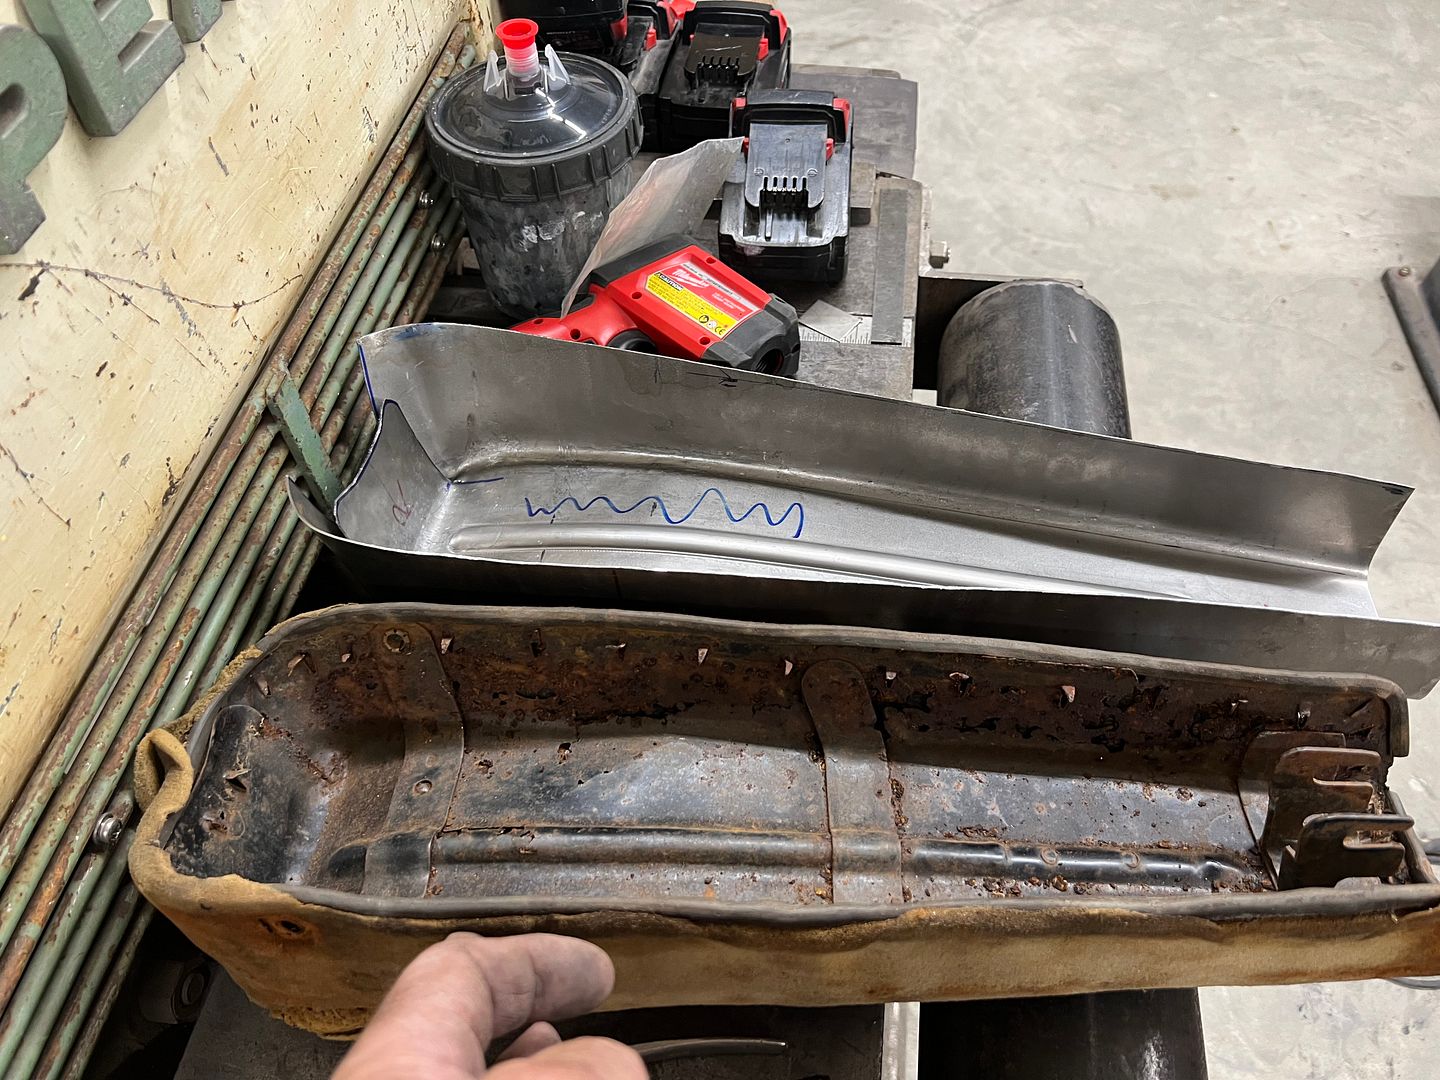
Impaling spikes added

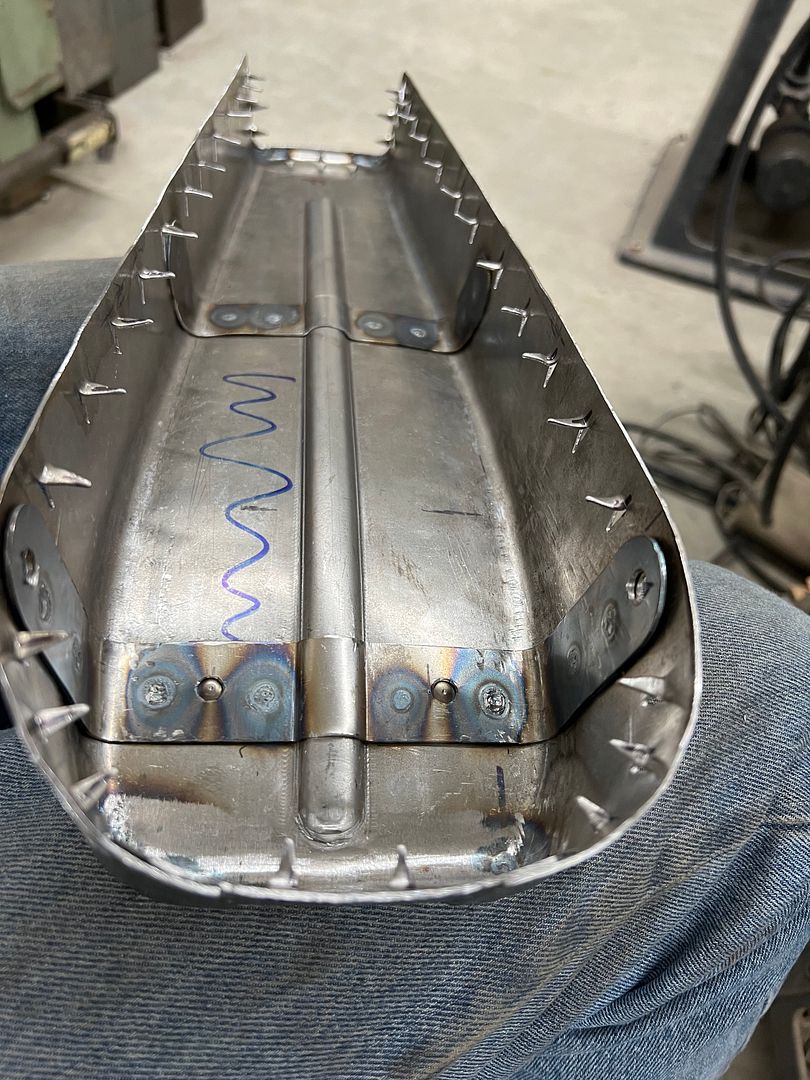
All bracket installed and assembly gets media blasted to prep for powder coat.
 Posted via Mobile Device