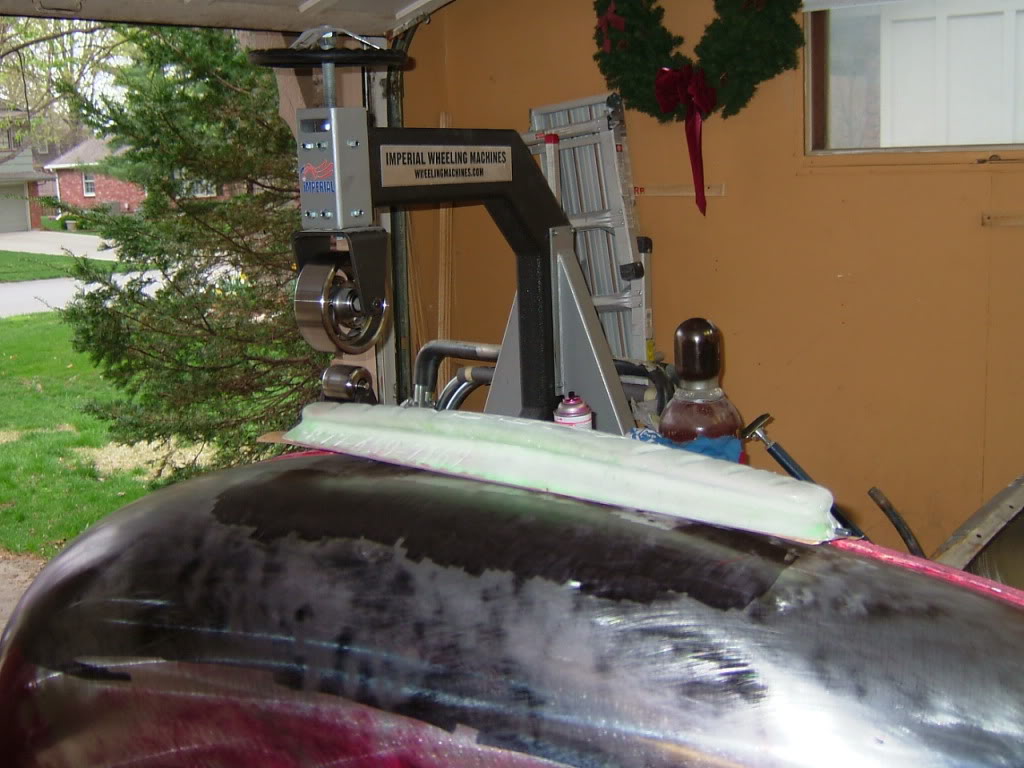
Now we have the entire fender inked, or the area receiving attention. Make sure the entire panel is coated do not leave any areas on marked. After this picture was taken I went back over any bare spots.

I use a block sander with 180 grit and block the fender. The sander is an Adjustable Flex Sander or AFS sander and is 21 inches long. The sander has removable steel rods and allows you to go from a rigid block to one with some curve. I use this for blocking body filler and primer and they are a top notch product.
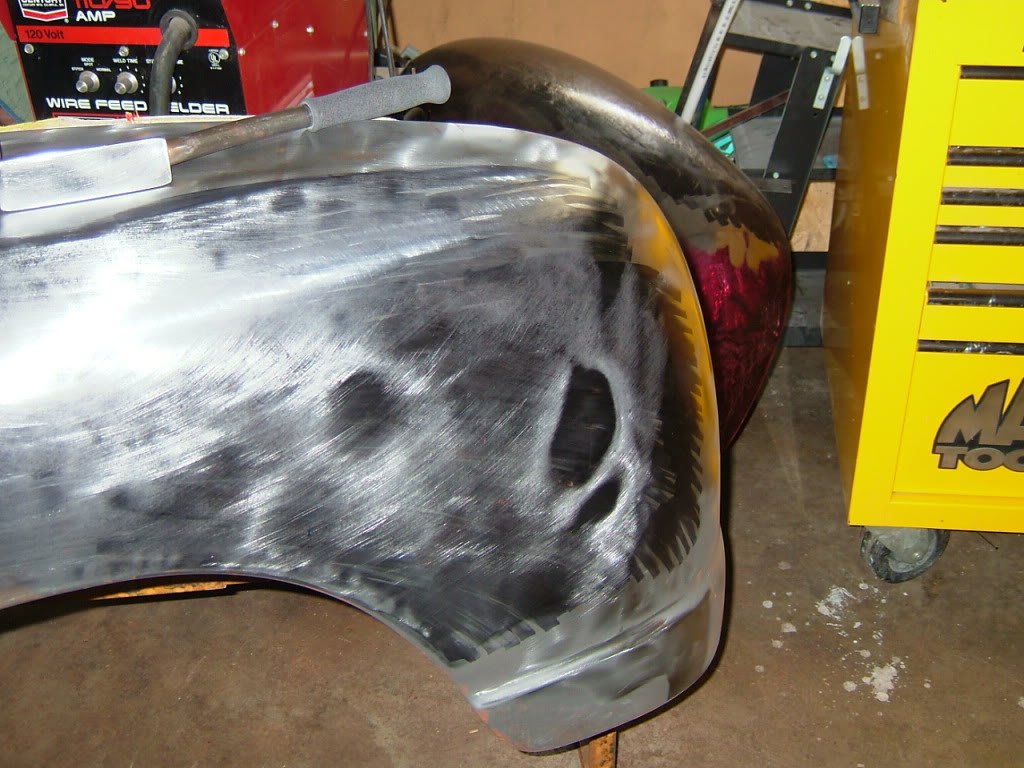
Fender block sanded and showing all the damage. The remaining black spots are lows areas which needing rising. Hard to see in this picture but any bright shiny spots of metal are high spots needing lowering. Some pretty nasty damage is in the front area were the rear portion shows some large damaged spots but is fairly soft. I like the marker because you can physically see the dents, see the progress happen, and see where your body hammer is hitting the metal.

Ill focus on the rear of the fender which contains some simple dents. These dents are fairly soft and simple because its nothing but displaced metal. If you look at the larger dent around the perimeter you can see the metal is bright and shiny much shiner then the surrounding metal. This indicates the metal around the low spot is high. Which in dent repair 101 states this condition is true and the marker shows the basics of dents and how the metal reacts. When a dent is formed a high spot typically forms around the low spot.
Close up of the dent showing the high spot surrounding the dent. In addition, you can tell how deep the dent by looking at the marker. If the sander just kisses the ink then very little work will be needed to rise the dent up.


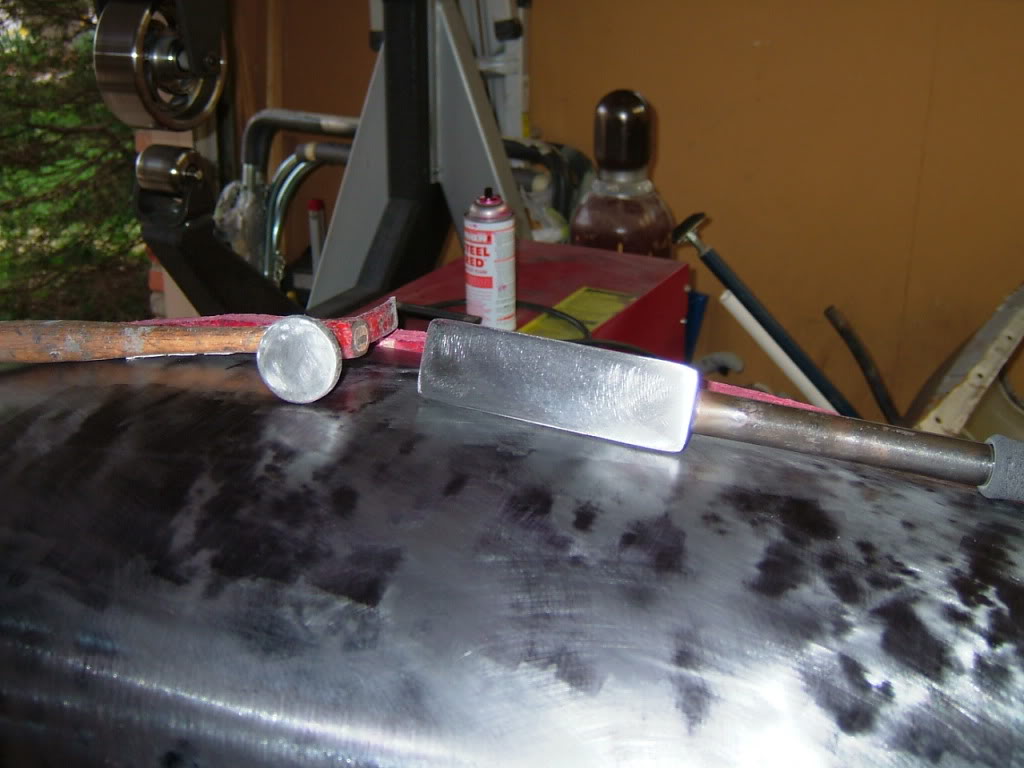
Ok, now for some tools. Another thing I learned about dent removal is avoiding the usage of body hammers and using a slapper in its place. The slapper is shown on the right and the typical body hammer on the left. As you can see the surface area is much greater on the slapper. The benefit is the slapper is more forgiving if you swing it crooked which wont ding the metal. Plus the greater area helps in locating the dolly which is placed underneath. But the biggest factor is many times a body hammer will create small dents because the force of the blow is concentrated in a smaller area. A slapper just makes dent repair easier and faster.