After working the dent for a third and final round the dent is pretty much gone. Some very minor spots remain and Ill touch them up using the hammer ON method to rise them up. All that remains is a shallow low spot off to the left. Once again place the dolly under the low spot and lightly tap the surrounding metal with the hammer. Then check your work, any small spots you can use the hammer ON method and bring them up.
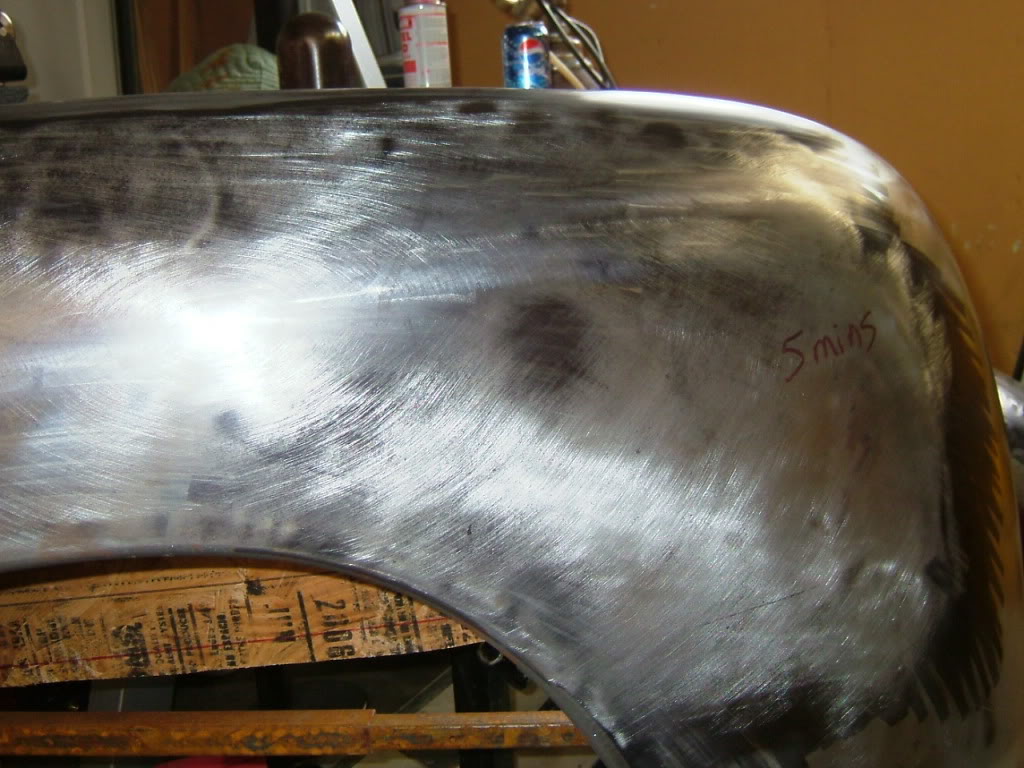
After working the large dent with the hammer OFF dolly method I focused on the very shallow low spot off the left of the dent. On this damage Ill use the hammer ON method to slightly stretch the metal causing the metal to rise up to the correct level.
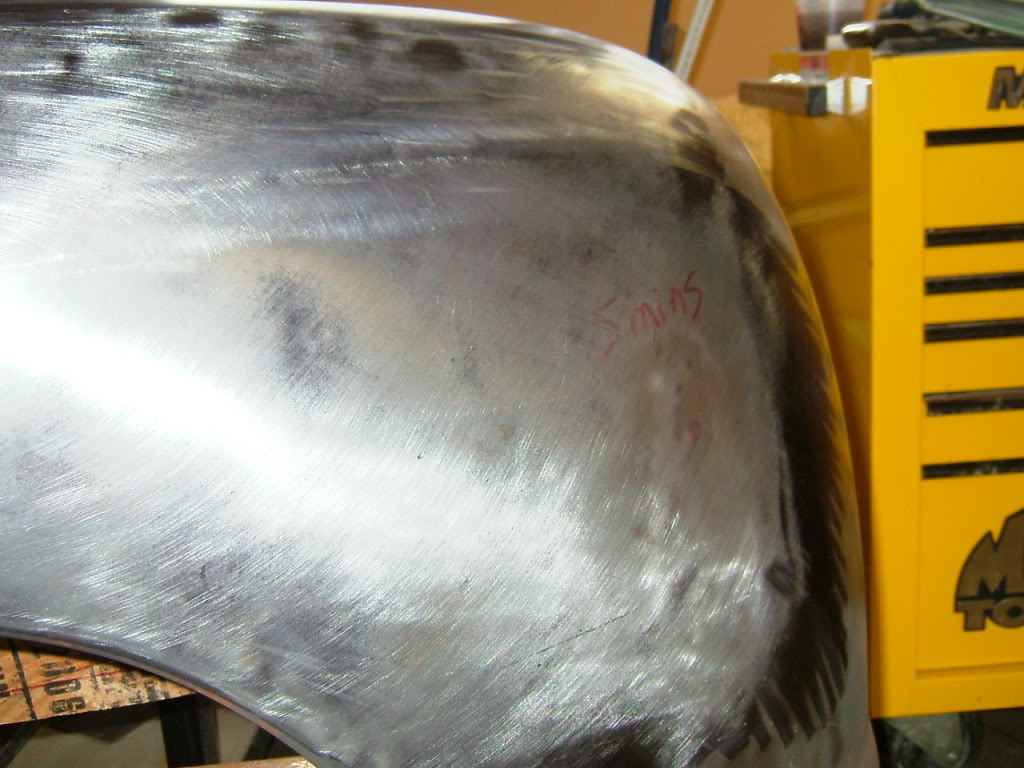
After working the area with a few light taps here is the result. Dent is smaller and much shallower, can tell by how the ink is starting to get lighter and fade away.
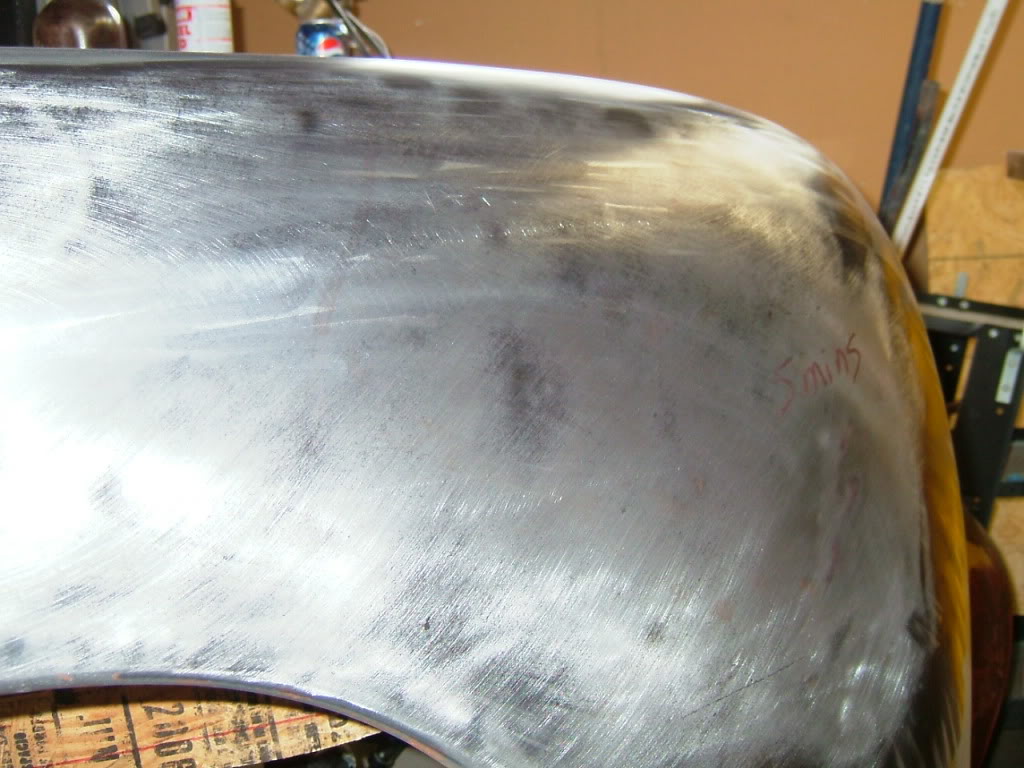
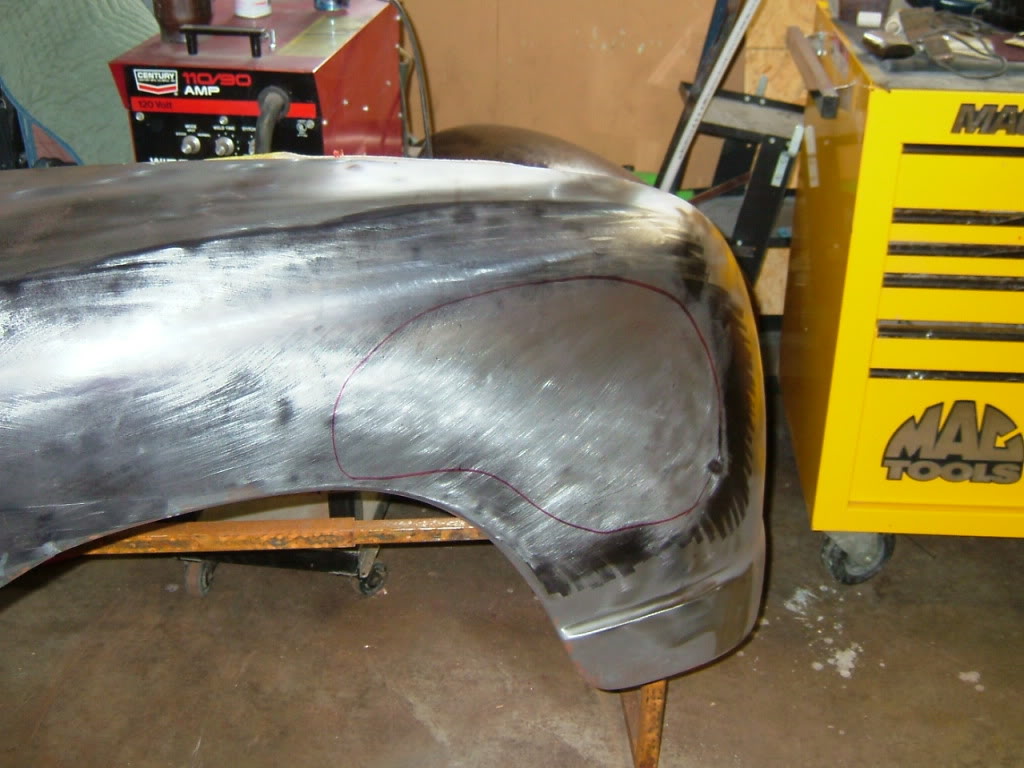
Dent is completely removed, all that remains is to lightly polish the metal with some 180 grit on an 8 inch sanding pad attached to a grinder. The 180 just provides the finishing touch to the repair. The idea is to polish or smooth the metal not grind it down so proceed with care. Picture shows pre-polished condition.

Another view of the dent repair prior to polishing, total time in repair less then 10 minutes and far less then a bondo repair.
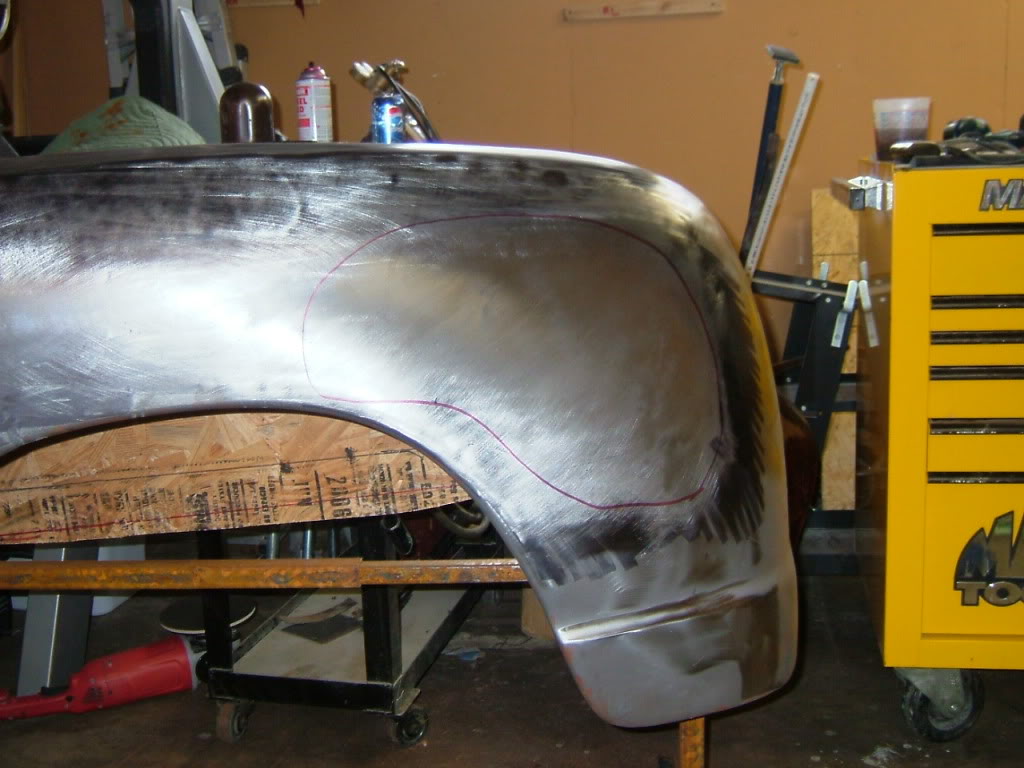
A different fender but shows the affects after polishing which really shows the quality of the finished panel. The final results are one of no body filler and only the need for a few coats of urethane primer then paint.

