On to 2022! Now let's get back to finishing up that body drop. I decided 1" was as much as I could drop the body without major modifications, and this was achieved in a straightforward manner by lowering the four body mount brackets by, you guessed it, one inch.
The first order of business was to pull the cab and drill out all the rivets holding the body mounts on. I prefer to drill them out and then knock the heads off with one good smack on a chisel. While I had the cab off, it was also a good time to clean up the center section of the frame.


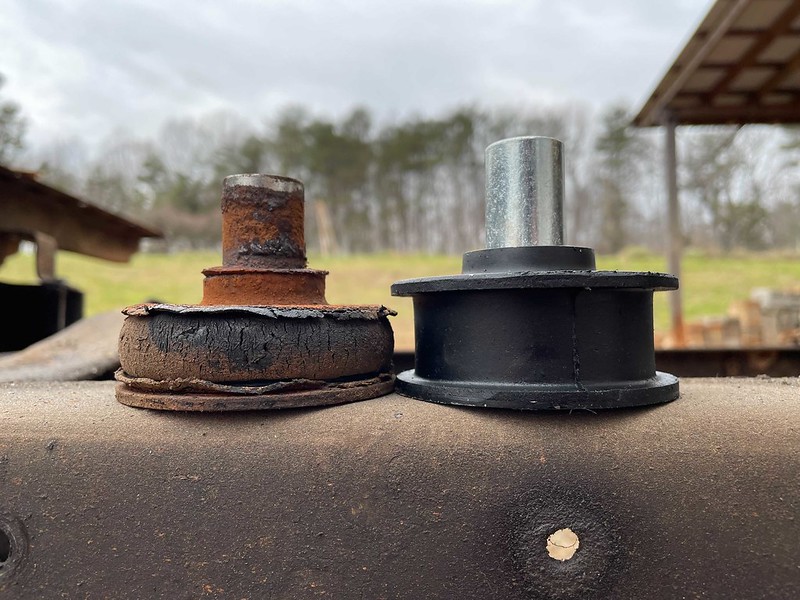
I definitely wasn't going to go this far and then reuse the original cab mounts. I deliberated between poly and rubber mounts and ultimately chose rubber. This isn't a race truck afterall. Of course, after 50 years of being squashed between the frame and cab you would expect the original mounts to be compressed somewhat. As you can see, the new mounts were about 1/4" taller than the originals. There goes some of my drop! In all likelyhood these new mounts will compress some once snugged up and the variance between old and new mounts will be minimal.
After drilling new holes in the frame, I simply bolted the mounts back on with some grade 8 hardware. Well, it wasn't quite this simple for the front mounts. Since the lower mounting holes drop below the frame when the bracket is lowered 1", I actually had to drill new lower holes in the brackets that matched up with the original lower holes in the frame.

At this point, it was time to drop the cab back on the frame. This was accomplished fairly easily with the use of a lift. I have occasional access to this at my father-in-laws shop. Once the cab was back on and the mounting bolts tightened up, all that was left to do was sit back and admire the new lower stance which is completely unnoticeable without the fenders on!


One thing I left out up to this point was the cab clearancing required. I will show this now after reinstallation of the cab for clarity on why this was necessary. Up front, I had to trim a notch in the pinch weld along the floorboard. Don't worry, I only cut off the 90 degree lip on this seam, not the weld itself. Also requiring clearance was the rear panel of the cab. Very minor 1/8" notches were cut in the bottom edge of the panel. Lastly, a sizeable hole must be cut in the cab floor to allow room for the stock crossmember. Notice I angled the corners of the rear cut so that the seatbelts can still be bolted up even after I add a 1" raised filler piece over this hole.


Now back to admiring the progress thus far:
