I fixed the broken trace on the back of the gauge cluster and still had no brake lights. then I remembered that the only thing I took out when I moved the PCM inside was what I thought was the heater relays on the firewall. plugged one back in and viola! brake lights.
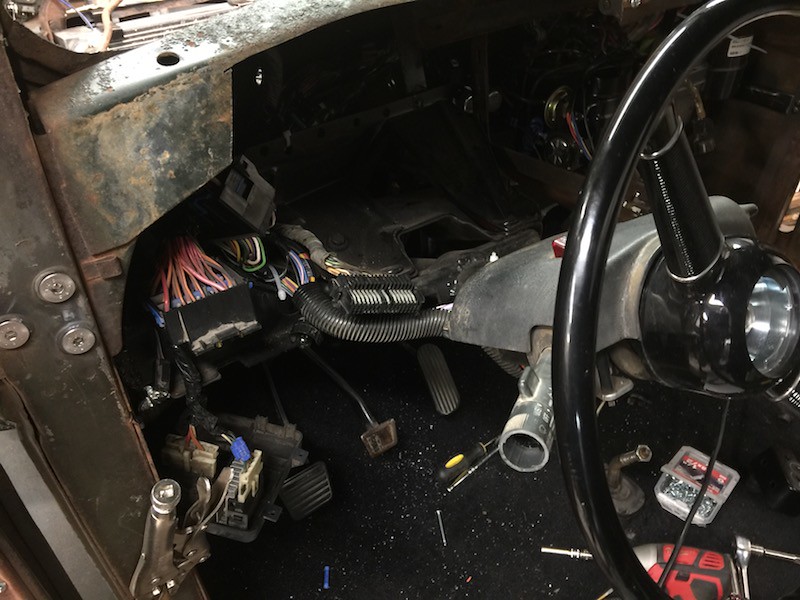
I got the cluster all sealed up where I cut it and it fit great so I thought I would do a fit of the dash with it attached in case I wasnt able to get it in once the dash was installed. I had to move the fusebox, it was 100% visible wires and all with the dash in. putting the dash in was the single most frustrating thing, it had fit great every time till today, I ended up needing to take the column loose to get it even halfway in.
 IMG_9863
 by
Joe Doh, on Flickr
 IMG_9870
 by
Joe Doh, on Flickr
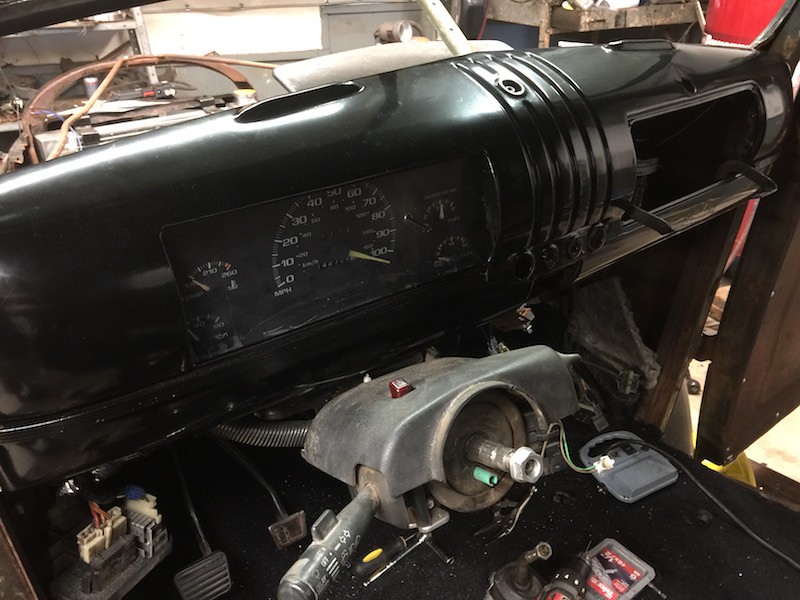
you can see the cowl vent was open after I got the bracket bolted down and the fricking thing would not budge. you also can see I chopped the end off the wiper stalk, it didnt switch high/low beams because it hit the steering wheel. easy peasy though, just shave down the cut piece and glue it back on.
 IMG_9867
 by
Joe Doh, on Flickr
 IMG_9868
 by
Joe Doh, on Flickr
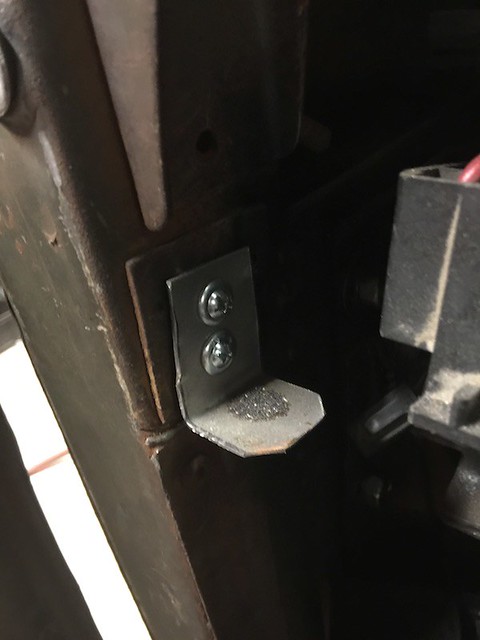
the drivers side dash bracket was broken off (somewhere in history) so making a new one was only half the job, I also had to dig the broken one off the dash
 IMG_9869
 by
Joe Doh, on Flickr
 IMG_9873
 by
Joe Doh, on Flickr
that kind of sums up working on old stuff. if you arent drilling it off or cutting it off, its probably because it was rusted off.
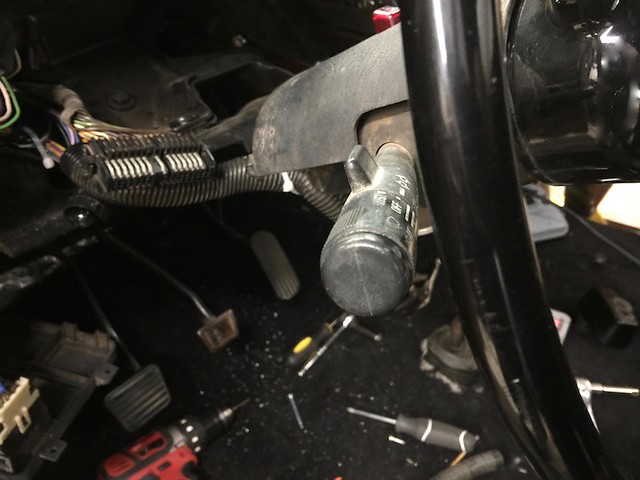
the handle still wouldnt let me close the cowl vent so instead of disassembling it again I used a jack to keep the dash part of the vent handle from bending the mount and whacked the ever living snot out of the handle till it finally freed up and closed the cowl vent. it was at this point the previously temporary gauge install fell out and I realized the cluster would come out through the dash like I had hoped. good to know.
 IMG_9876
 by
Joe Doh, on Flickr
 IMG_9874
 by
Joe Doh, on Flickr
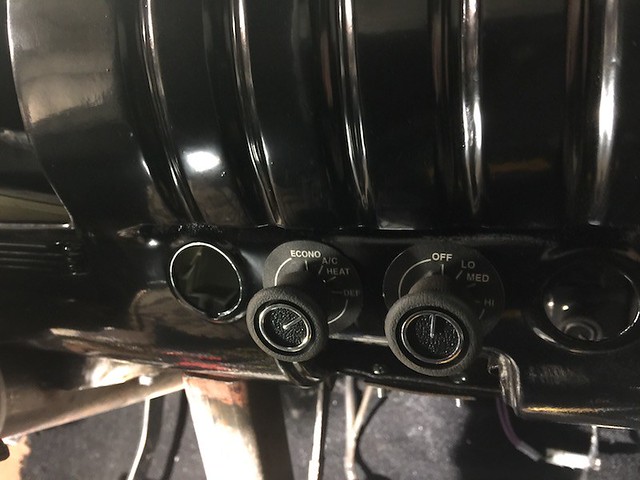
got all the various brackets and switches installed.
 IMG_9877
 by
Joe Doh, on Flickr
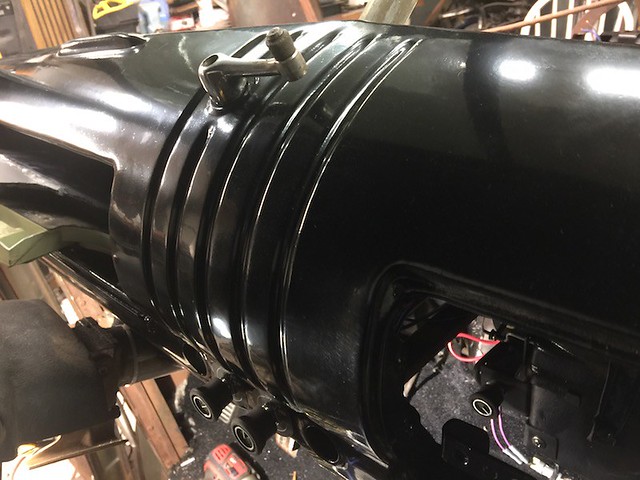
then I realized the windshield crank didnt fit in the hole because the dash was installed a 1/4" to far to the passenger side. so I took the whole dash loose again and repeated my minstrations.
 IMG_9878
 by
Joe Doh, on Flickr
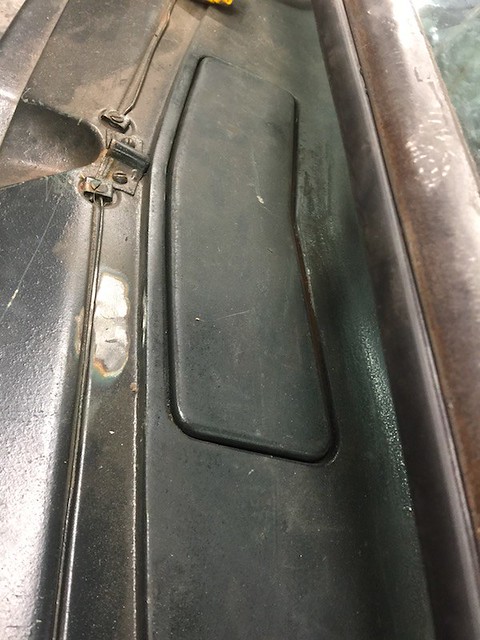
did this at some point. hope it buffs out because I am not painting it again. I guess unless it doesnt buff out.
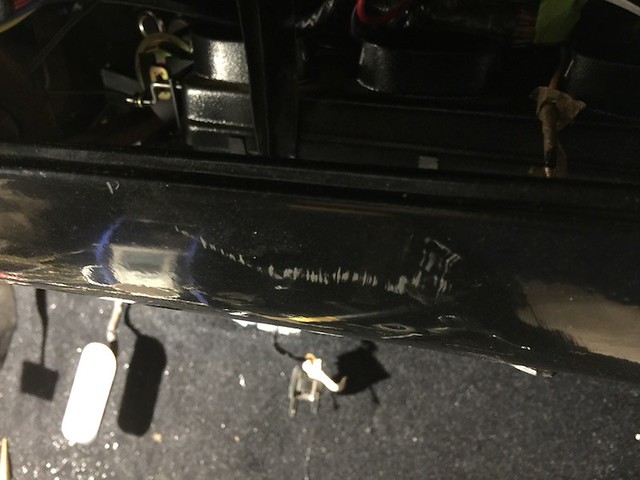 IMG_9879
 by
Joe Doh, on Flickr
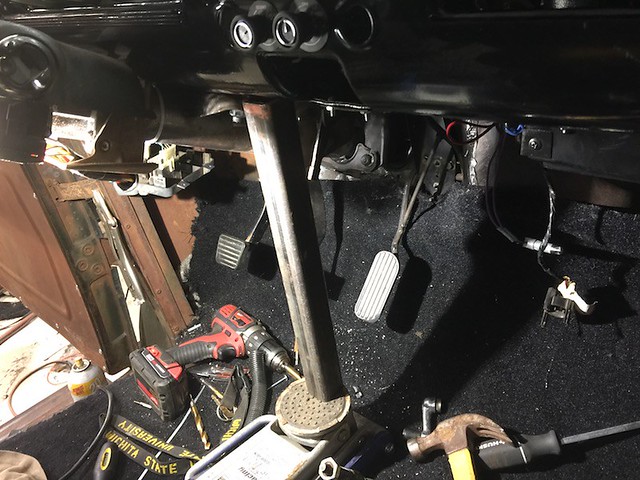
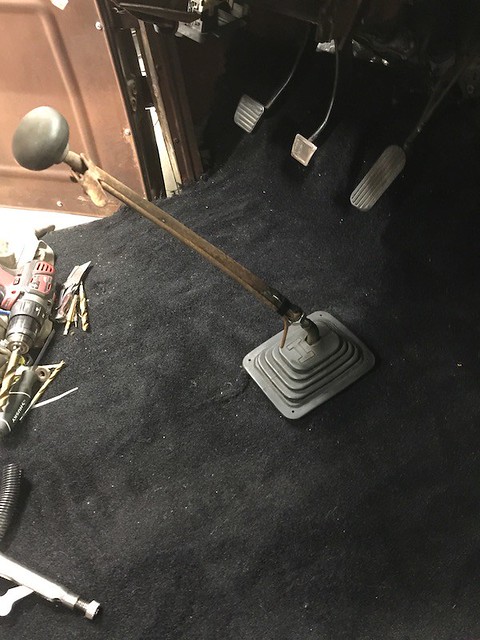
to end the day on a high note, I decided the oem s10 shift lever and boot were ugly. I dug around and found an old hurst boot, a couple metric nuts, and the original shift lever from the 41.
 54916861698__3B94E67D-5E08-4D56-A4DD-23F0D34094C8.JPG
 by
Joe Doh, on Flickr
the little rod connected to the reverse flipper I will weld a tube to the shift lever so you can fiddle with it non stop while driving.
tomorrow seat and bed. unless something else wants to poke me in the rear end.