Ok, it's been a while and time for an update. I've been madly working on winterizing my shop and getting things ready to work in cold weather. Who wants to work without walls and heat... not me. I also was helping a friend put a notch in his 69 short bed. That's all finished up now and the last few days i've finally been making some progress on the '71. Although I wanted to build my 4 link next I've been waiting now 8 weeks for suspension bushings to come that are still on the way from Thorbros, Quality Air Ride or Suicide Doors or whatever you call them these days. I talked to them yesterday and it seems my order was never placed

Anyway, hopefully they come soon and I can build the 4 link. In the mean time I've been working on prepping my frame.
I've decided to box my frame and use the back half of it as an air take. If I enclose from just behind the rear cab mounts to the begging of the frame notch as an air tank it will give me about 10-15 gallons of air depending on how I do my cross members.
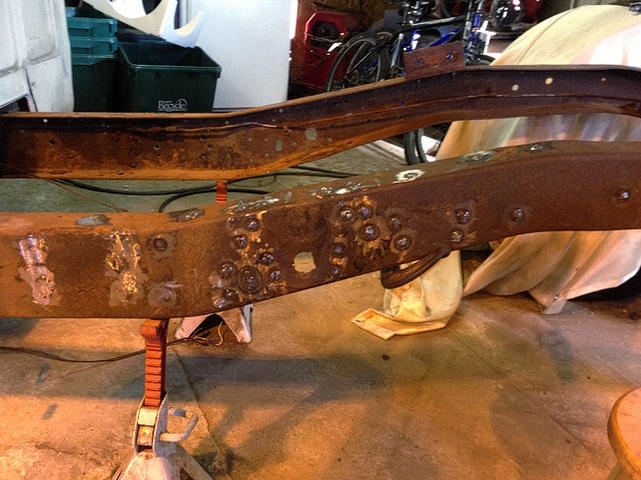
I stripped out the rear end and started grinding, air chiseling and pounding out rivets. Man was that a chore! Then came the welding. Only 114 holes to fill! I started making plugs for the holes at first but in the end I found it much easier to fill the holes with weld. I used a coper pipe hammed flat and placed on the back of the hole to keep the welds from shooting through as I built up the sides and closed them in. It worked great. I welded the outside of the frame first. Then I also did the inside. Ground down my welds on the outside and touched them up. It took me a while, quite a bit of gas and wire but they are all welded in now.
After I finish welding in my notch in I'll box the frame and check for leaks. I'm pretty excited to have a trick air tank hidden in the frame. Especially with my plans for a flat bed. My frame easily visible.
Here's some of my progress.
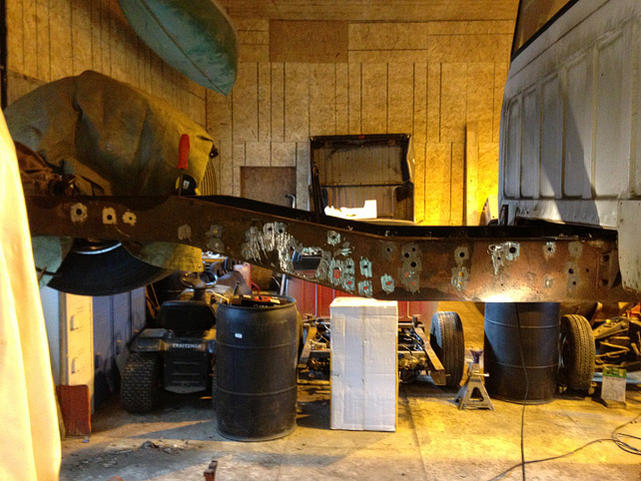
This is the swiss cheese that I started with.
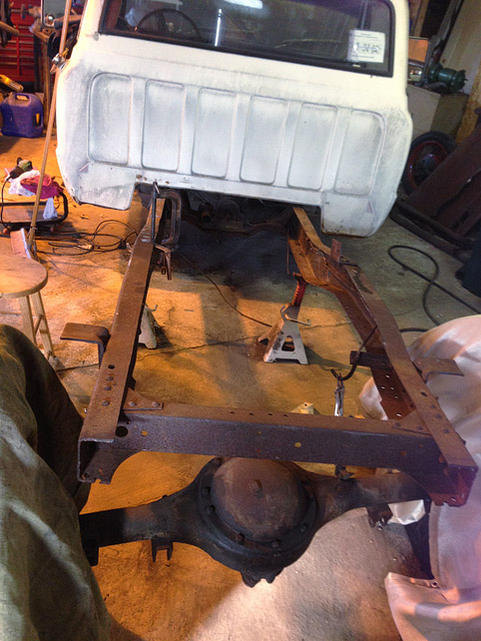
Rear end and cross members stripped out.
The big hole left in the center here is the factory hole behind the leaf spring mount. It's made to let all the gunk pass through and not get caught in the frame and create a moisture trap. But it still had a bit too much of the metal eaten away so I had to cut out the surrounding area back to wear the metal was nice and thick and patch it in.
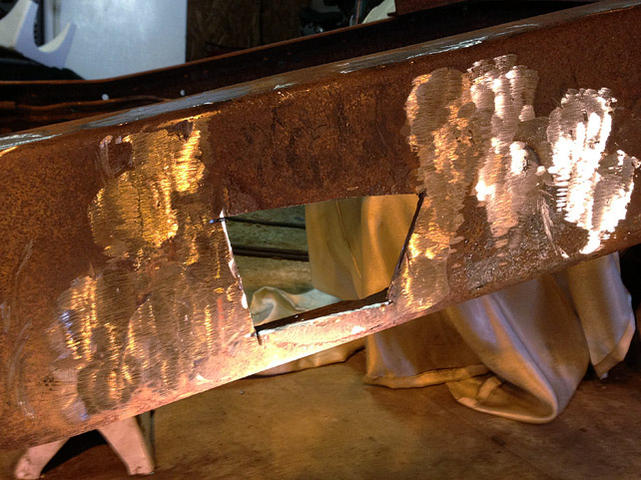
The hole.
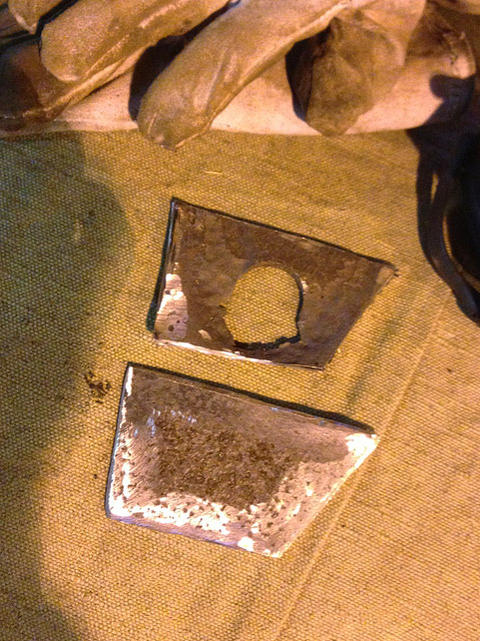
My patch cut from the cross member that I ripped out.