Ok Lets put it all back together
Put your idle screws back in. I went all the way in until lightly seated, and back out three full rotations, as a base to start.
I was wrong, it did have a gasket, but it was rock hard until I soaked it over night.

Put it back in.
Didn't forget the fitting this time.
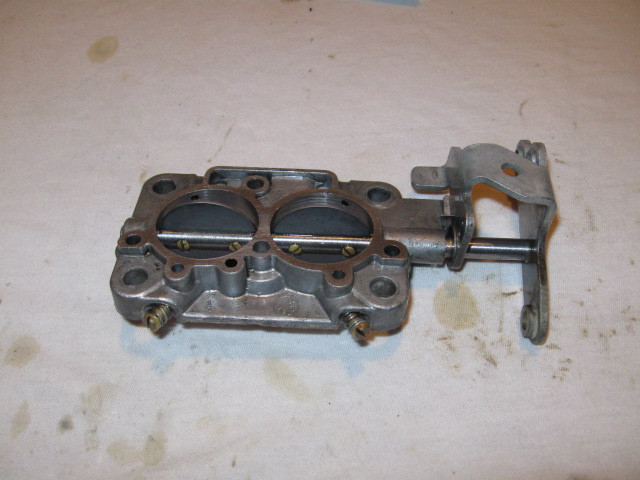
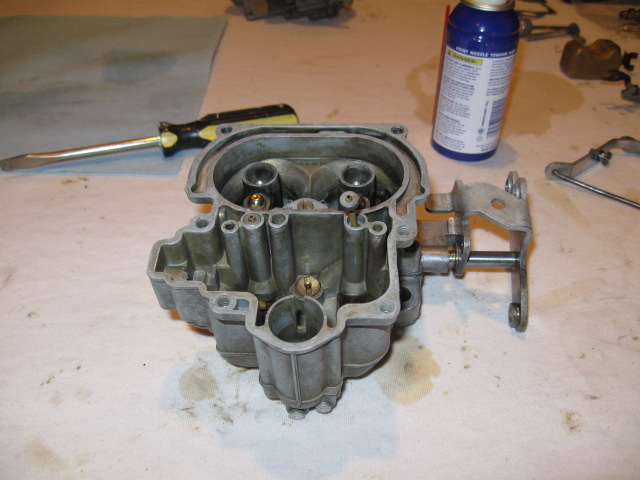
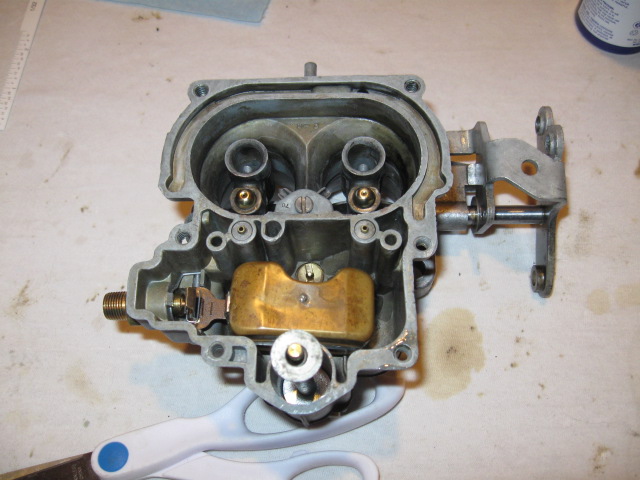
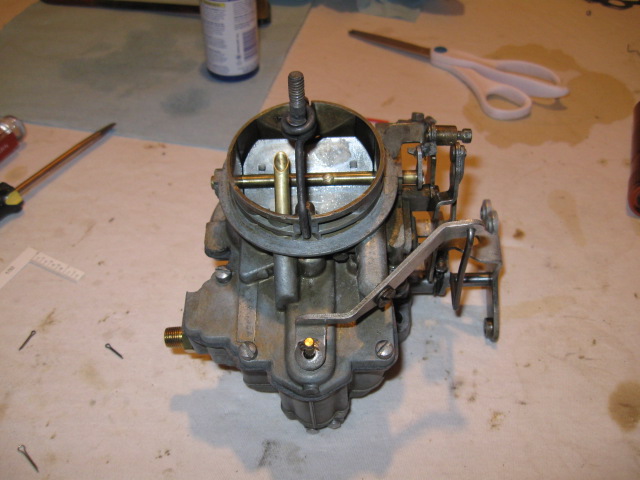
Put your new crush washers back in. These in the kit were not a great fit, but they work. One note though, you can see the main jets. I WOULD have taken those out and cleaned them. But I can't find my tool for it. I bought a kit when I rebuilt my Qjet, but I can only find one of the bits (for adjusting the idle screws on the Qjet), which of course didn't work. I would have tried needle nose pliers.. but didn't see the point in asking for trouble.
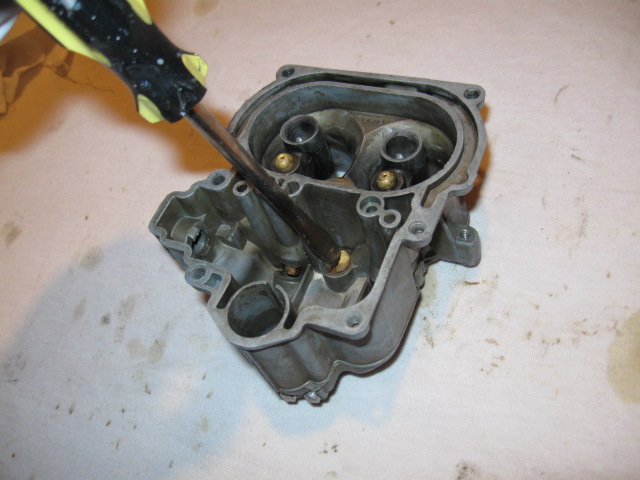
Here's a better picture of what I was talking about earlier, don't forget to put your checkball in first!
And it's in.

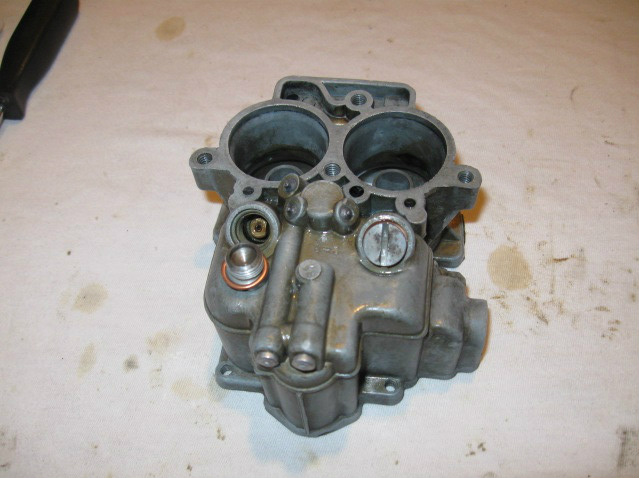
Put your 4 screws back in, the left/right are a different size than the top/bottom. I forgot to take a picture of the gasket, but scroll up if you forgot.

I put the picture up earlier, but forgot to give a description. But I did take out and clean the idle tubes and clean them. Put those back in.
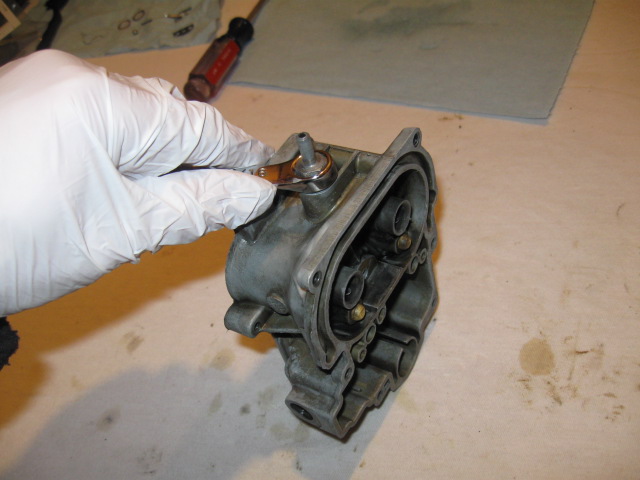
Put your float, needle, and float retaining spring back in. Good news is the spring goes in way easier than getting it out.
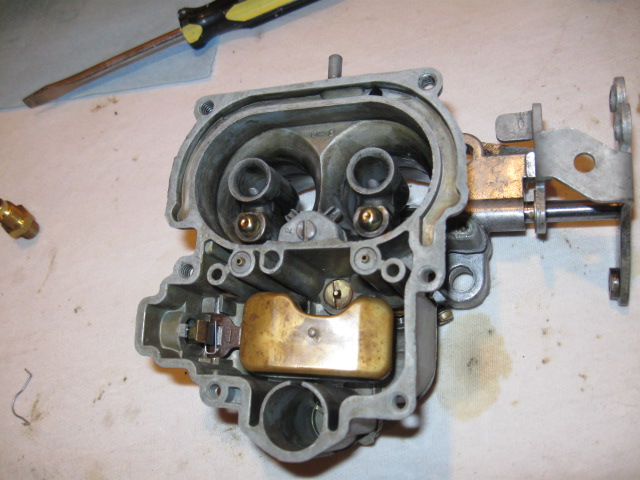
Screw the fitting/needle seat back in.

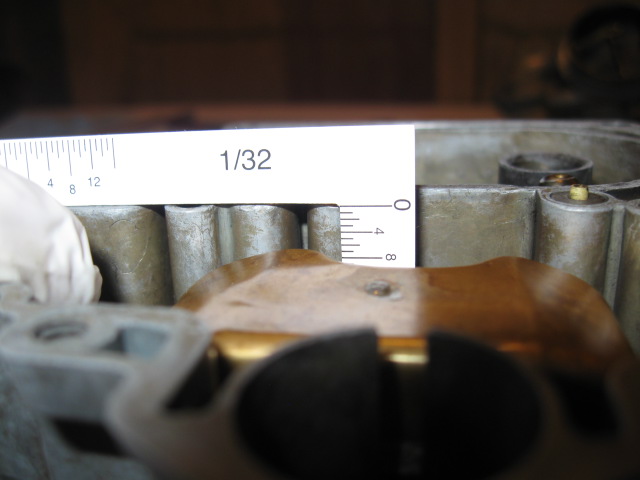
Check your float level and adjust if needed. 3/16. I was provided a 1/32 gauge, so even though the picture doesn't show it perfectly, it's at 6/32 (3/16).
Paper says to soak the plunger for a few minutes in oil. I did it, spray paint top works very well


Don't forget your checkball first!

Drop in your plunger
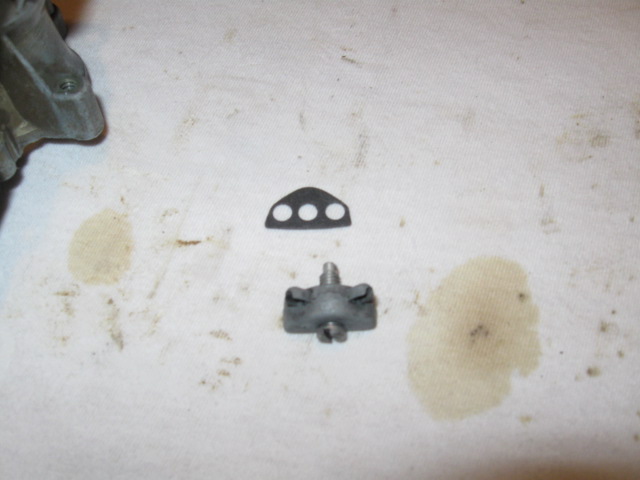
Put on your gasket.

Put on your air horn, tighten your screws. One is longer than the rest, this is for the bracket for the choke.
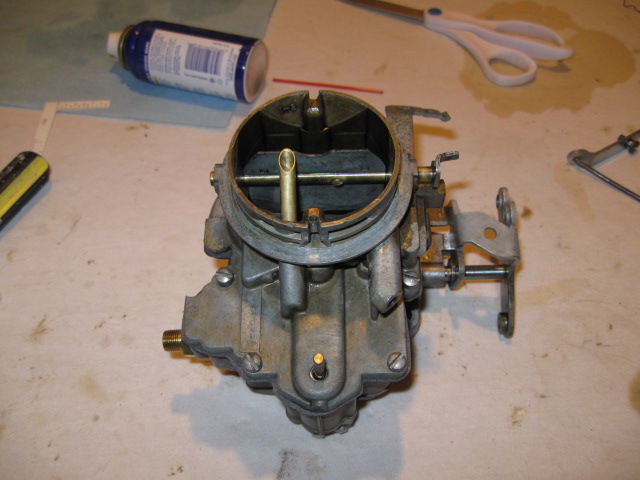
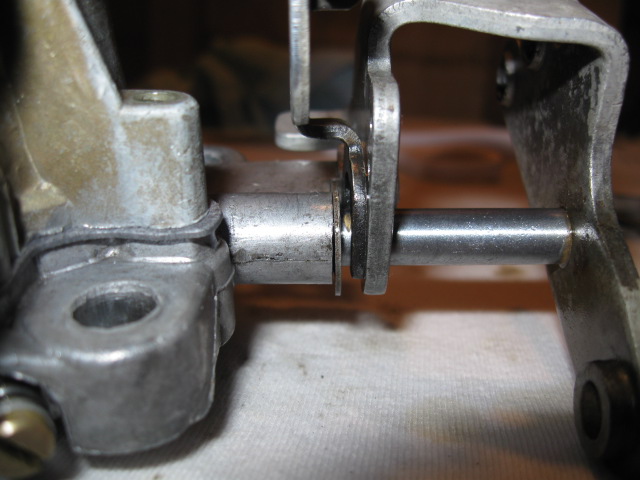
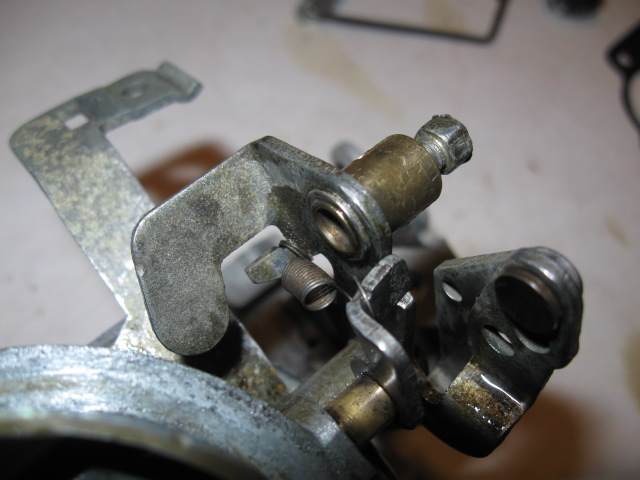
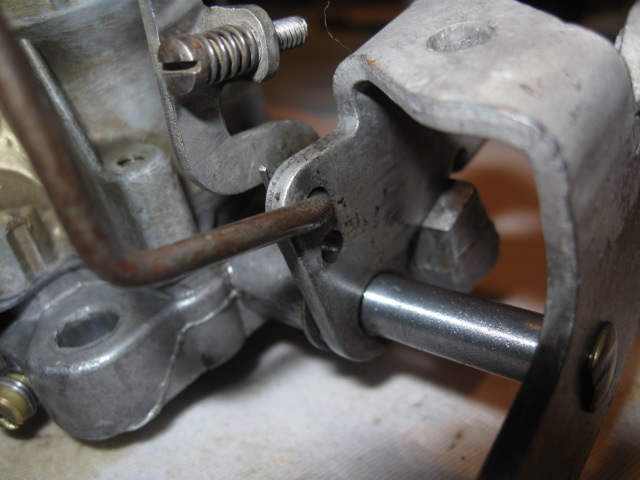
And put back on all your linkage. The rest is just a bunch of pictures of various spots. I know I had to re-look at my pictures.


Don't forget to clean up your intake before you put the gasket on.

All back on!

Now take a minute before you make adjustments.
