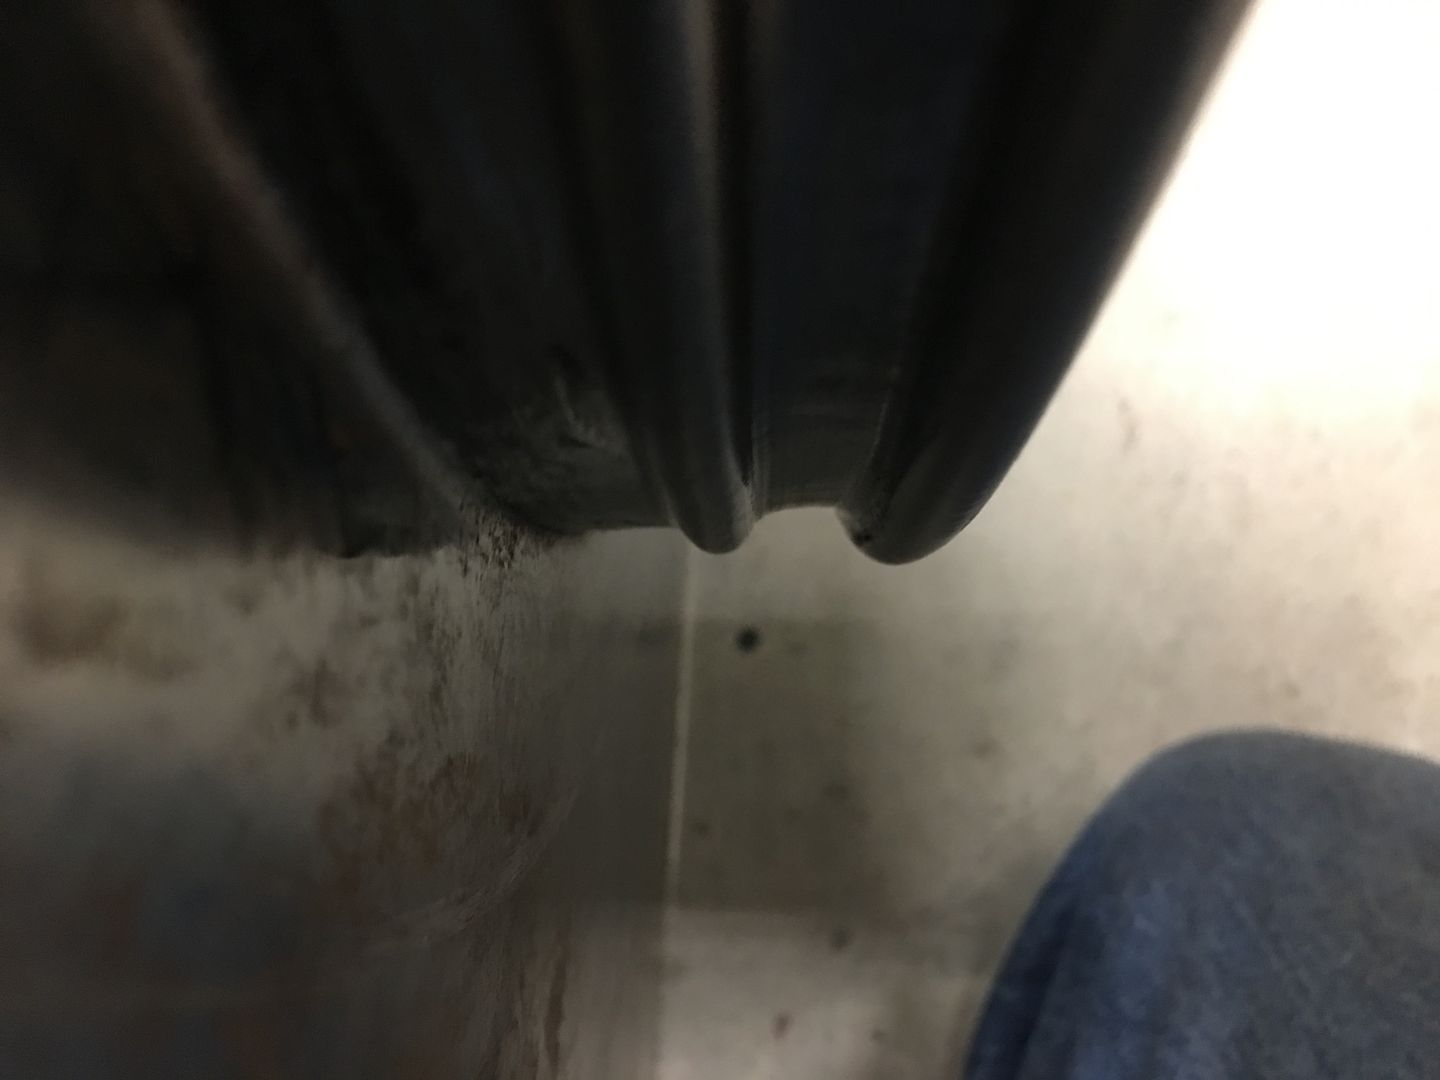
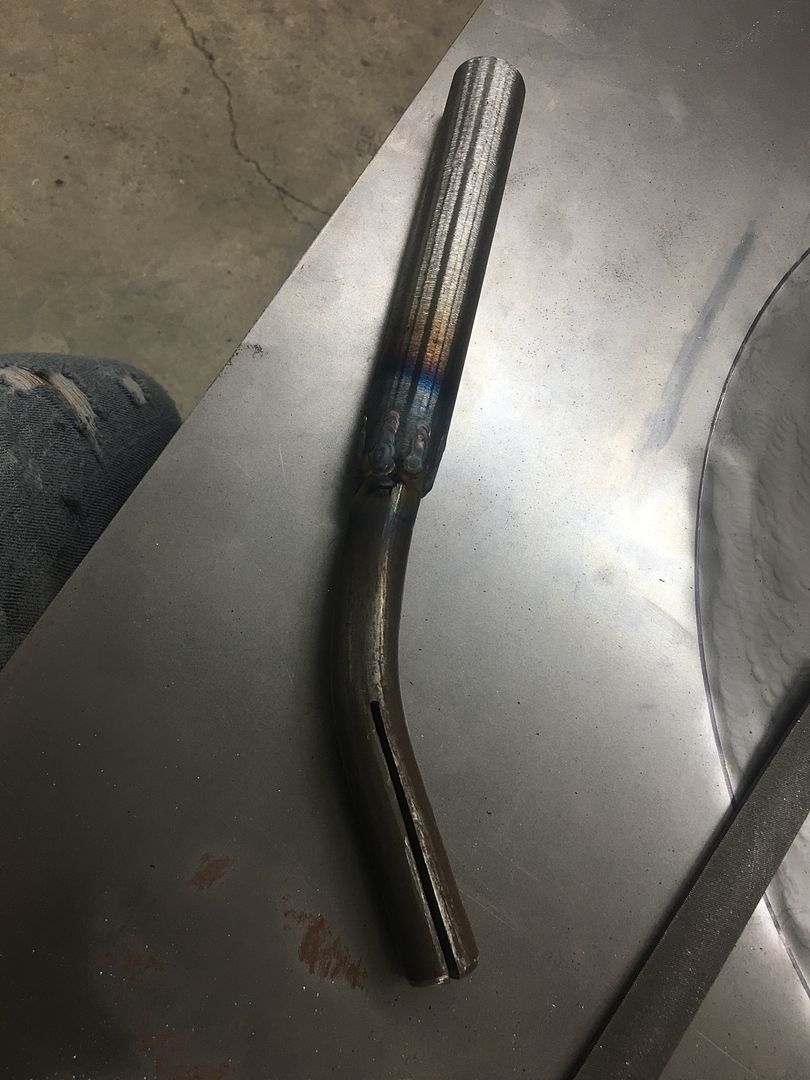
So now for some hindsight. When we had done a flat test sample we noticed the edge of the lower die had made a crease (finger point). To alleviate this, I will normally taper the dies so the edges aren't tight together, in hopes of curing exactly that.
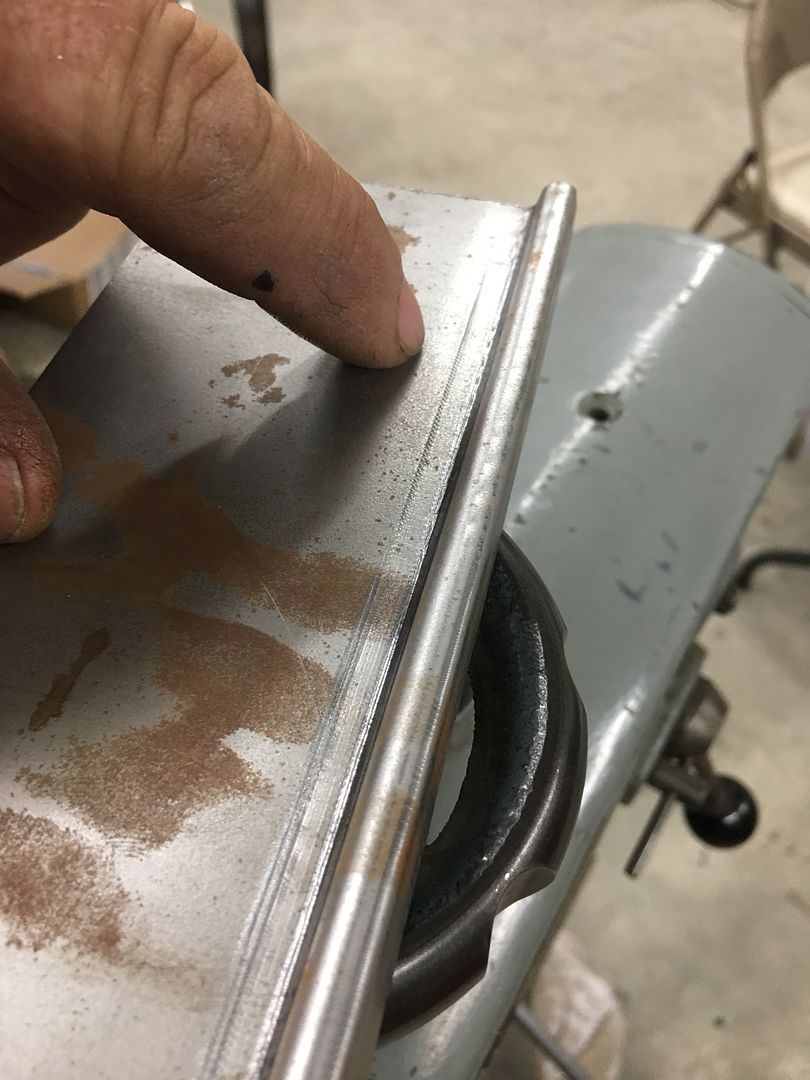
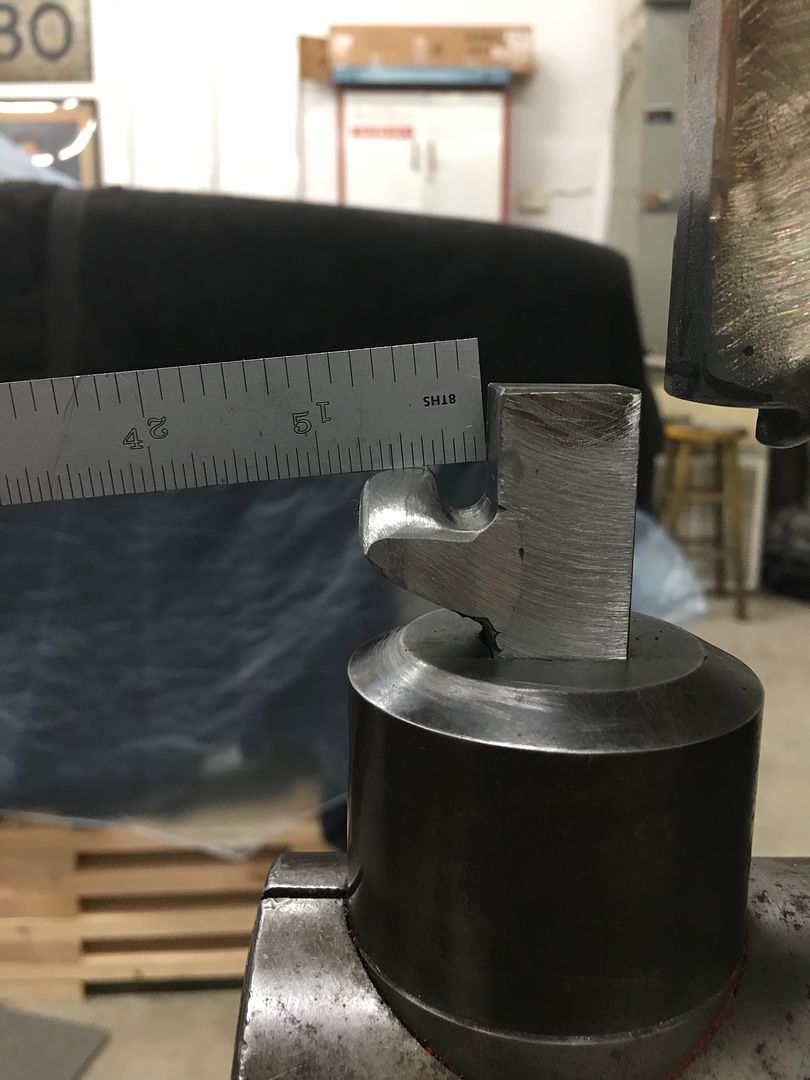
Looking back, this slight defect would have been at the edge of the center bead and likely not noticeable at all. Next, between this taper and the ~1/2" flange not wanting to stretch, the resulting shape matches the bottom die, and pulls the shroud circumference inward.. which was not desired either. So moving forward, rather than a folded flange here we should opt for an offset first for more flexibility in stretching outward for the bead detail, and then fold the flange last.
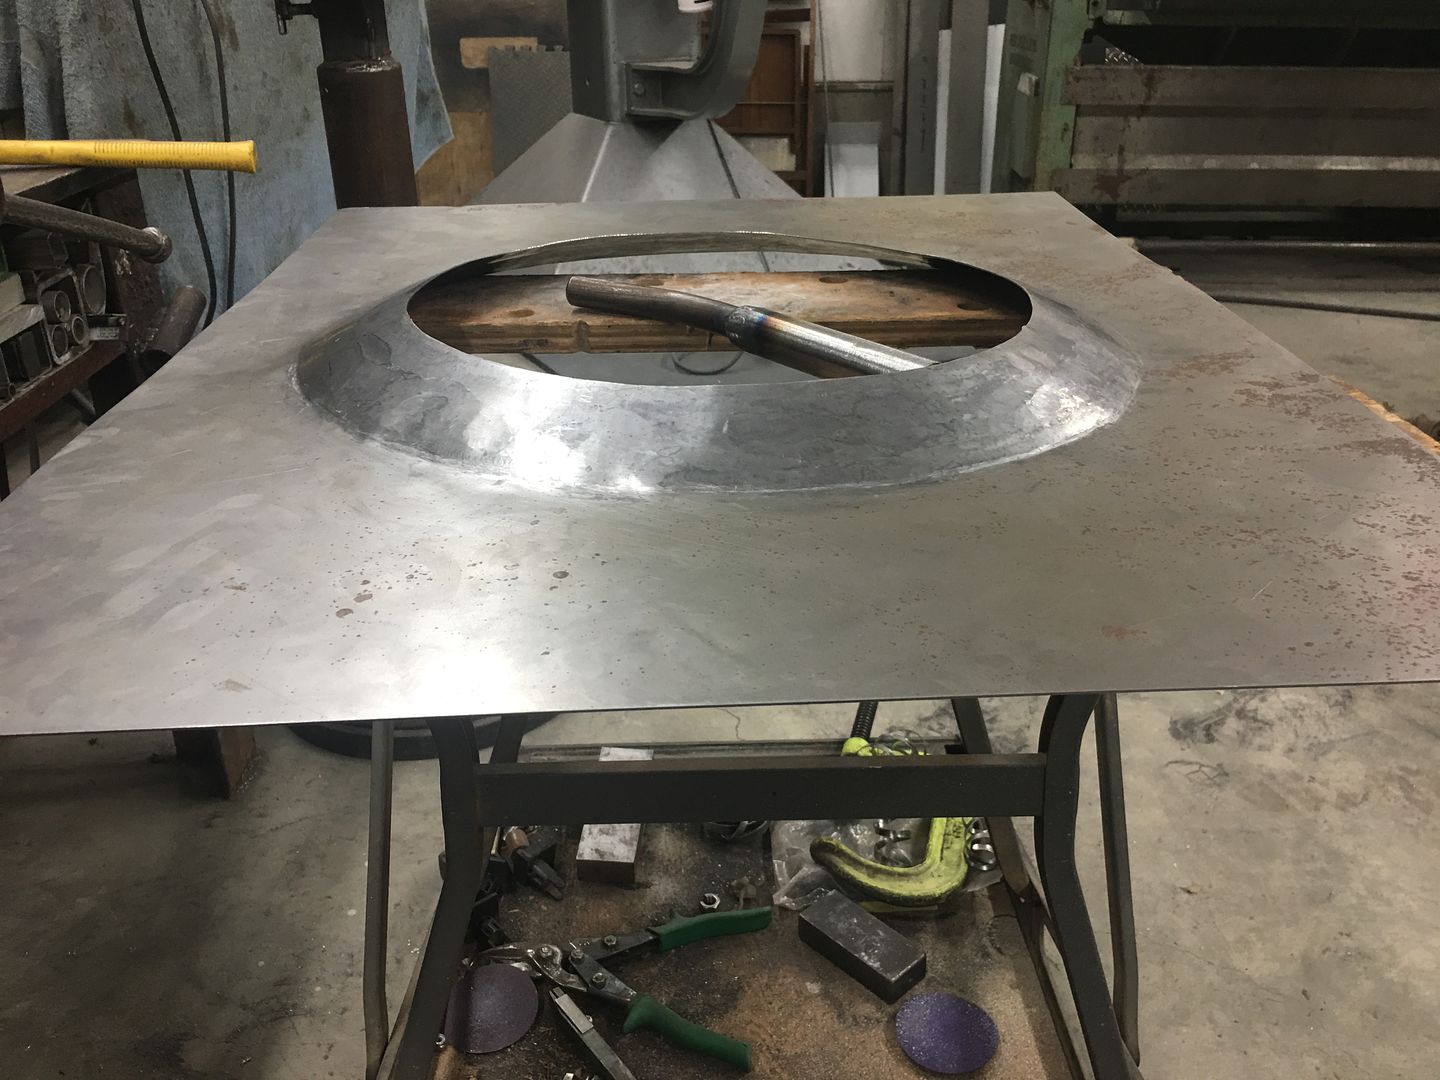
So given our misshapen and slit open fan shroud is no longer viable, what's a person to do? I'm not one to so easily throw in the towel. More accurately, I've been called hard headed. So here we go with the second take of Fan Shroud fabrication. And since we missed this step last time, take a look at this video having just cut out the center hole..
https://www.youtube.com/watch?v=hakmD7Wn4f8
There were absolutely ZERO burrs as can be seen. If your tin snip game is not at this level, please watch this instructional video by my friend and fellow metalshaper Bill Gibson. He will explain exactly what you need to do for the same results...
https://www.youtube.com/watch?v=qAOQfUaRZyw
I had been using tin snips for DECADES and watched this video, quickly learning what I had been doing wrong for so long...
....and then back on the NEW fan shroud, stretch with a blocking hammer on the stump, tip the edge, stretch again, until we are able to get the shroud into the power hammer...
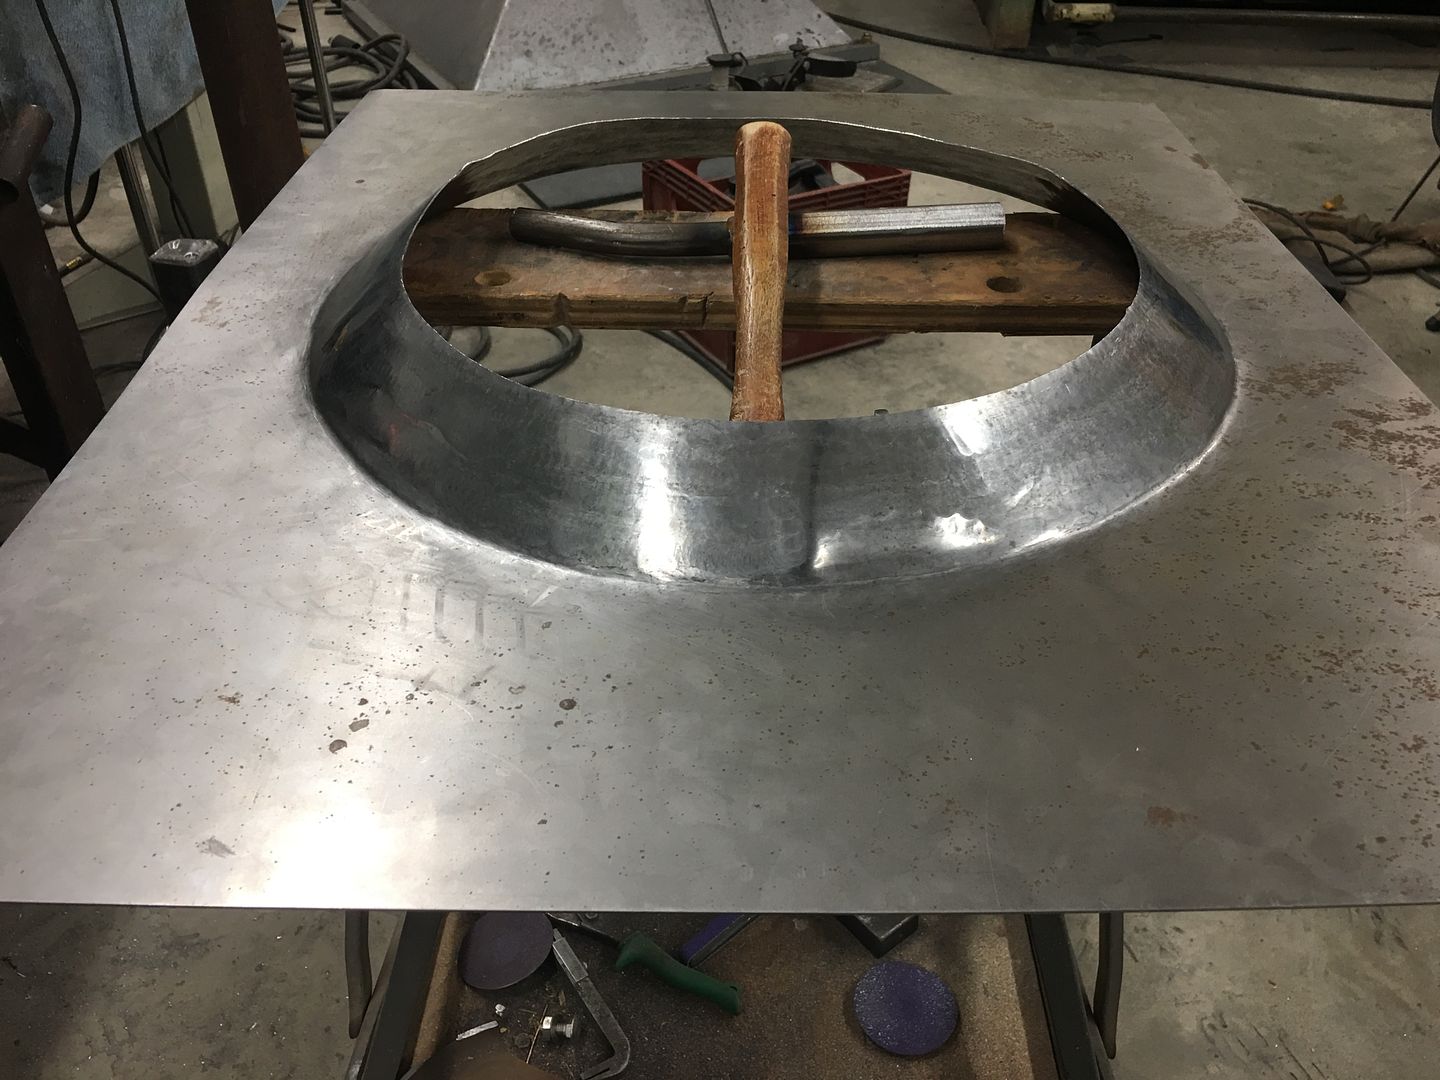
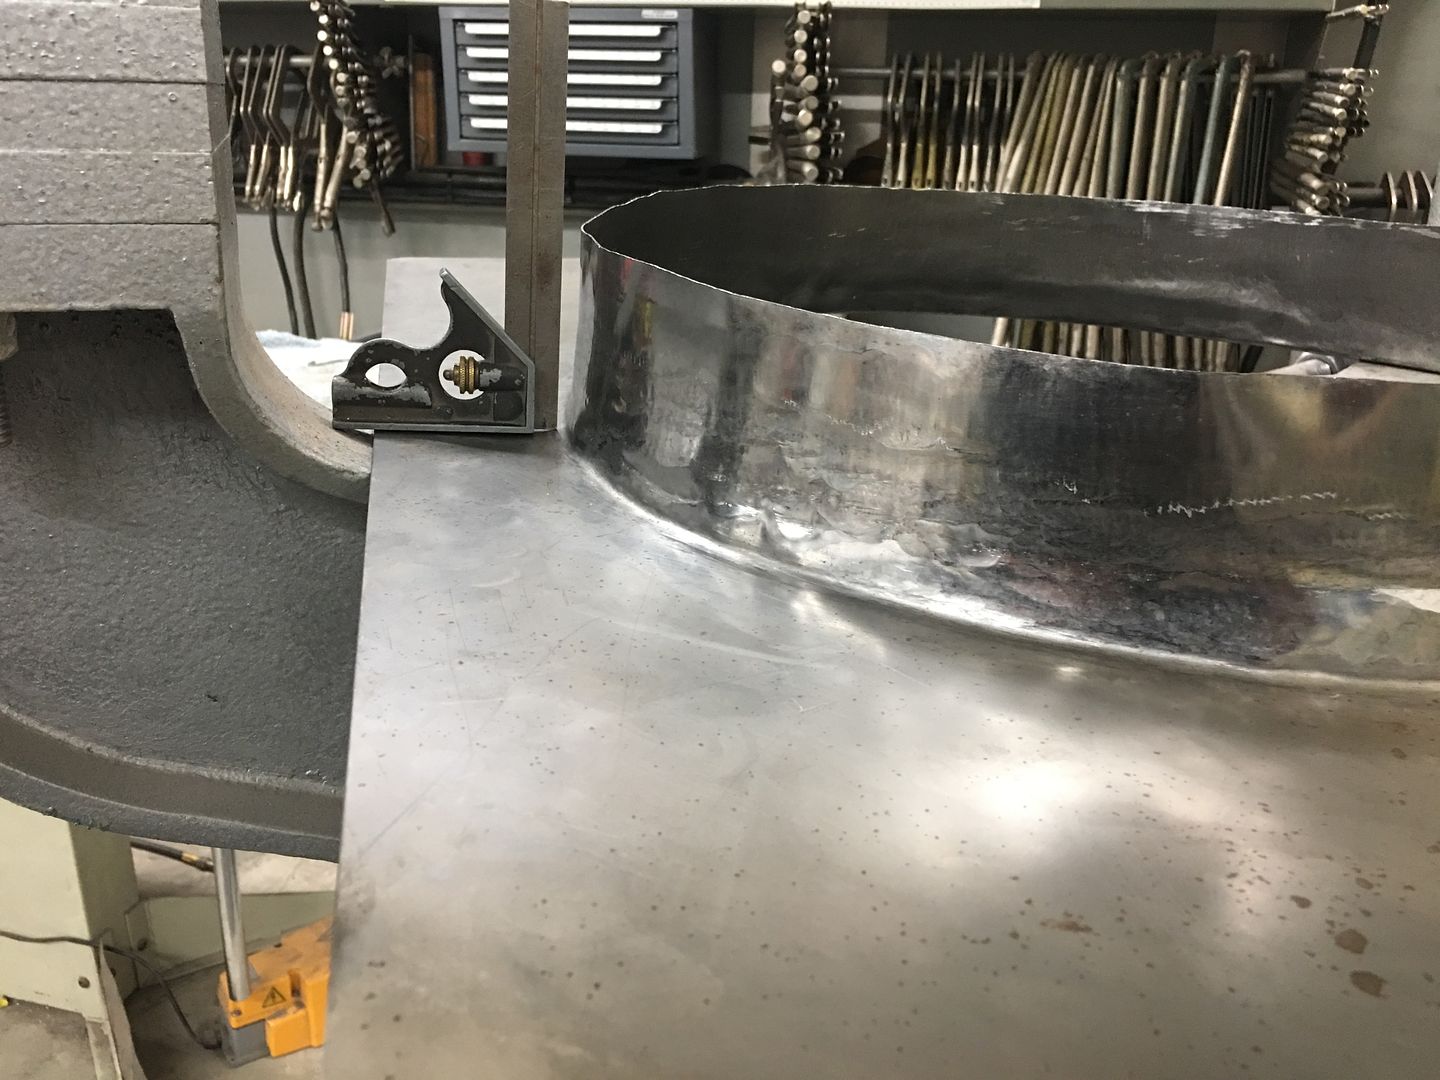
and using the power hammer....
https://www.youtube.com/watch?v=NqGRLIFKQ1o
https://www.youtube.com/watch?v=FyCR6sI8TUU
Getting close, we're down to about 10% more to go...
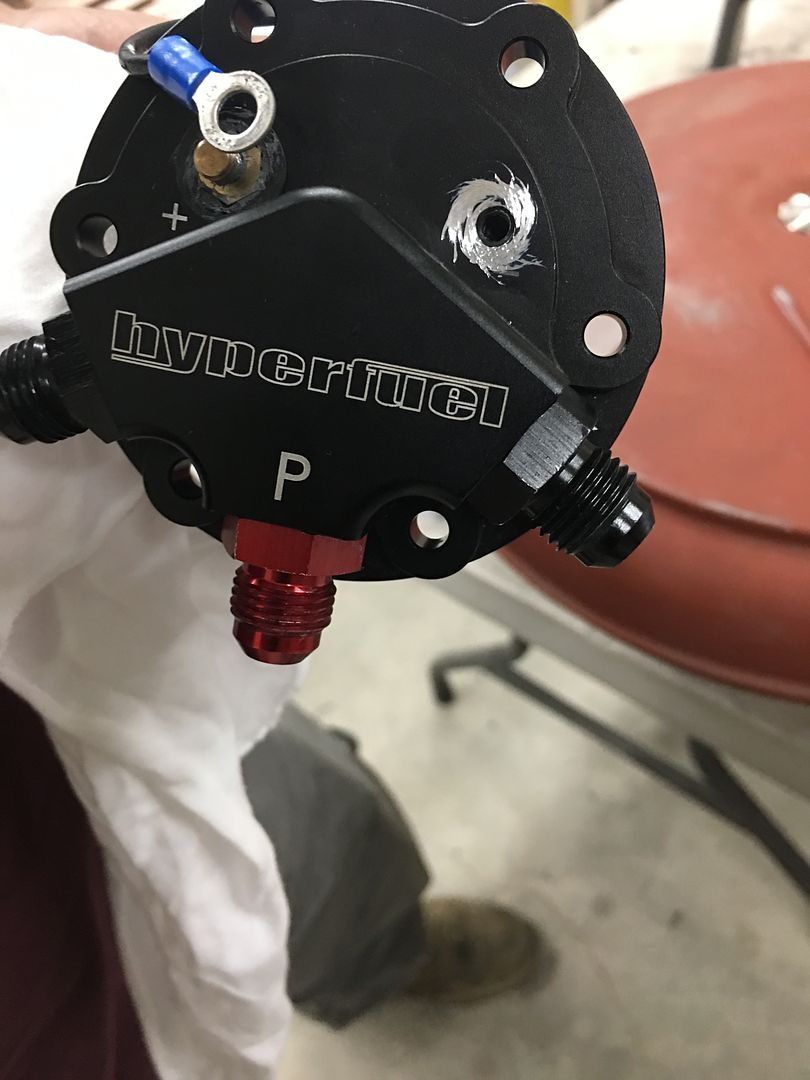
In between all that fiasco, Mike was working on getting the car test fired. All the temporary wiring connected, and for some reason we had no fuel pump action. OK, third time we've dropped the tank in a week, and removing the pump we find NO connectivity from the outside ground to the inside ground. WTF?
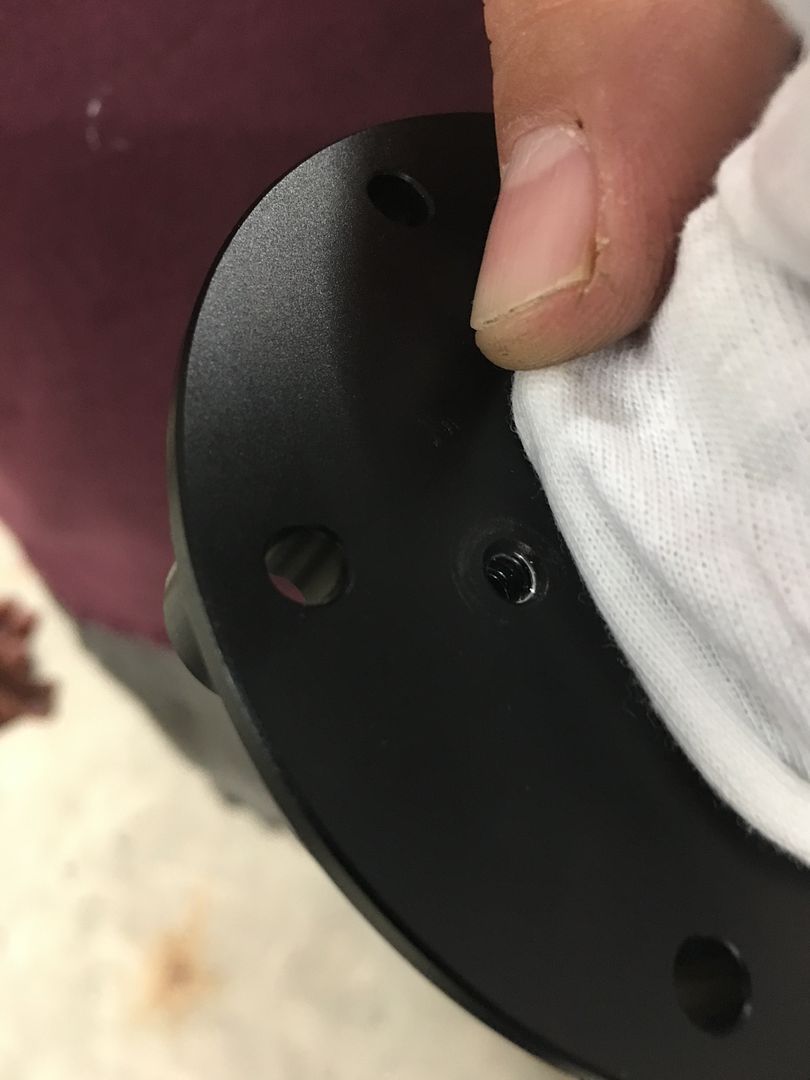
Lo and behold, there is no pass through on the grounds but each (inside and outside) has their own bottom tapped hole. It would appear the tapping occurred PRIOR to the anodize finish, and you know how well that conducts.. The burnishing brushes wouldn't touch the stuff, so we used some sharp implements of destruction to allow a ground path...
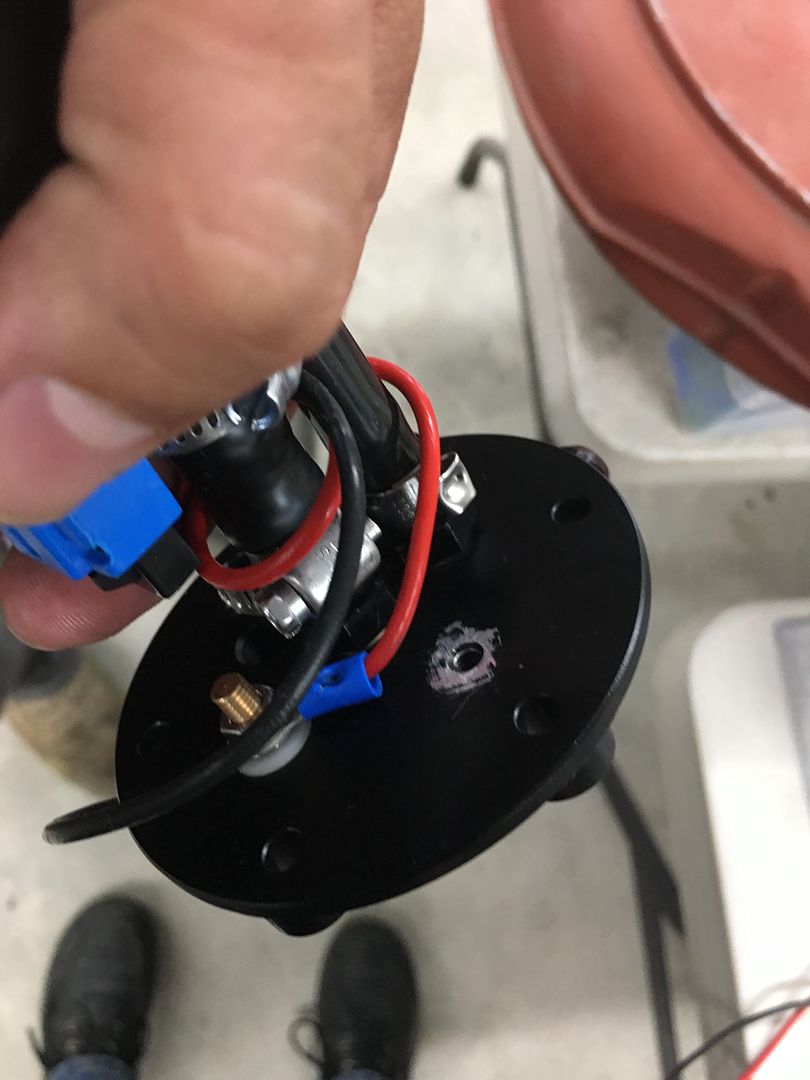
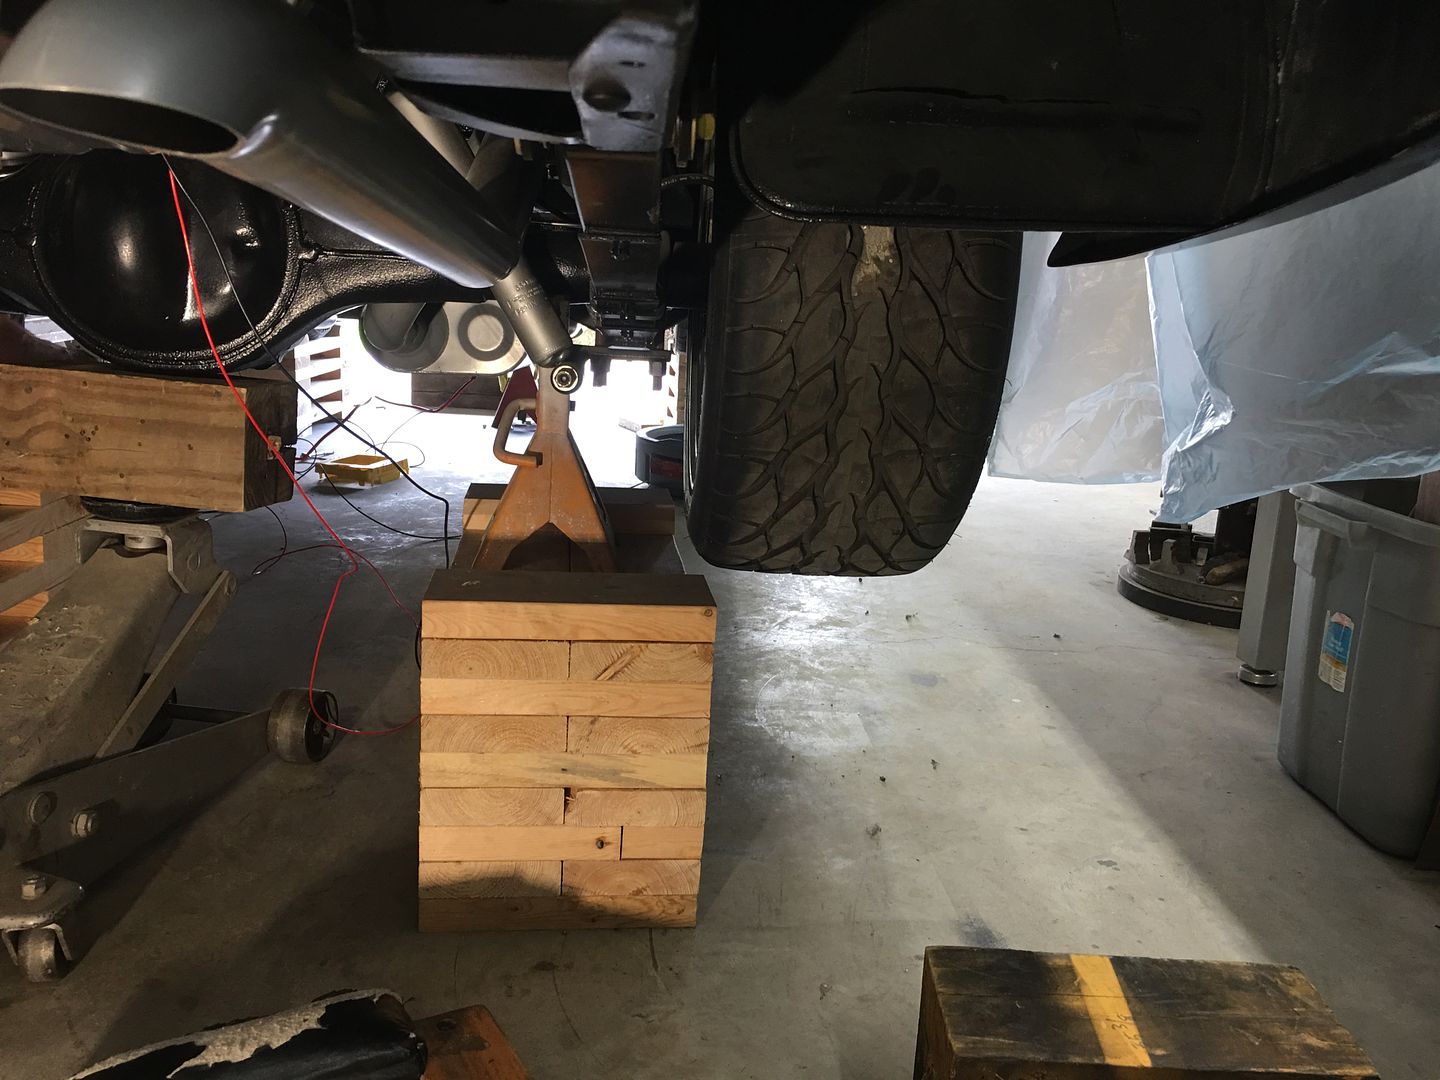
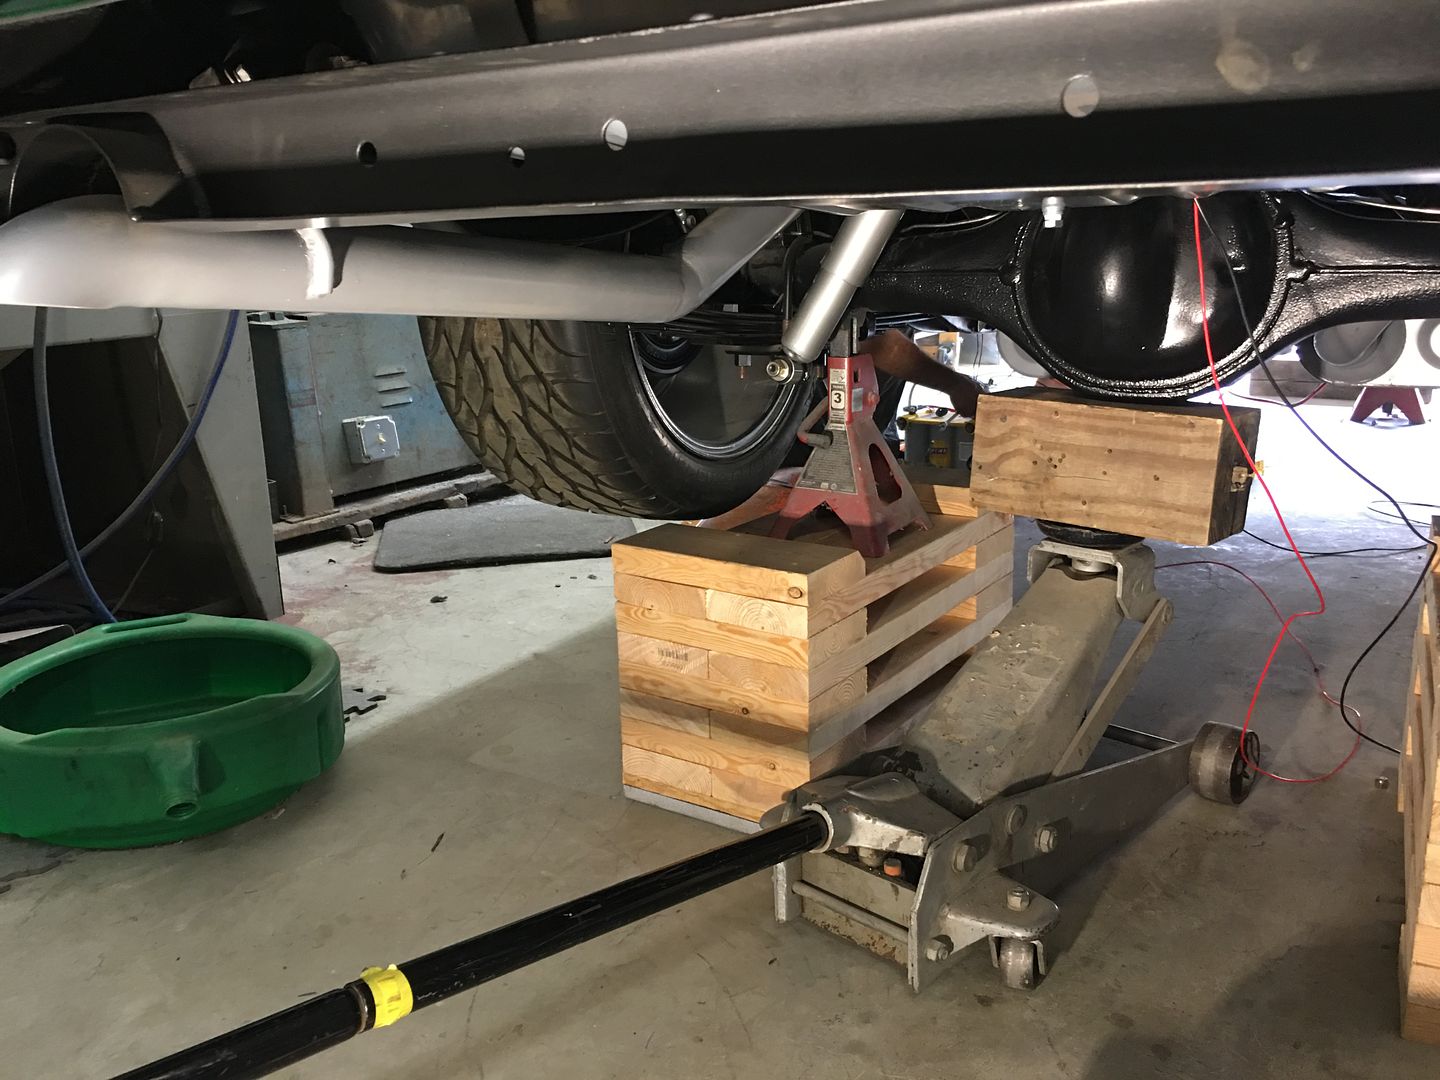
That fixed the issue, one that should not have been there from the start. Next, in the interest of safety, lets move the rear "lift kit" from the tires to just inboard using jack stands..
So now with a bit of fuel pressure to work with, we give you a rumble... We still need to adjust the air/fuel ratio but it was good to hear this after everything else the past couple weeks..
https://www.youtube.com/watch?v=MoIjmmmXtO0