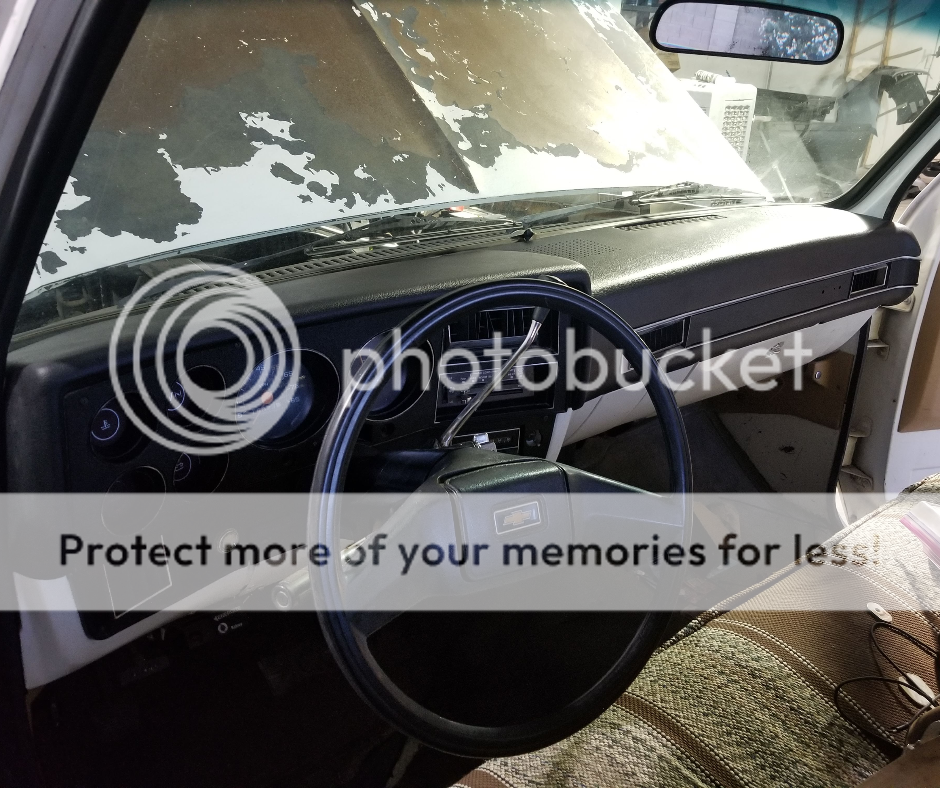
after about a year of ownership the dash was really driving me crazy, I have a dashmat place steps away from my shop but just couldnt bring myself to cover it that way. And no matter how many times I looked at the LMC or USA1 sites I couldnt reach into my pockets for those options. So I went old fashioned DIY
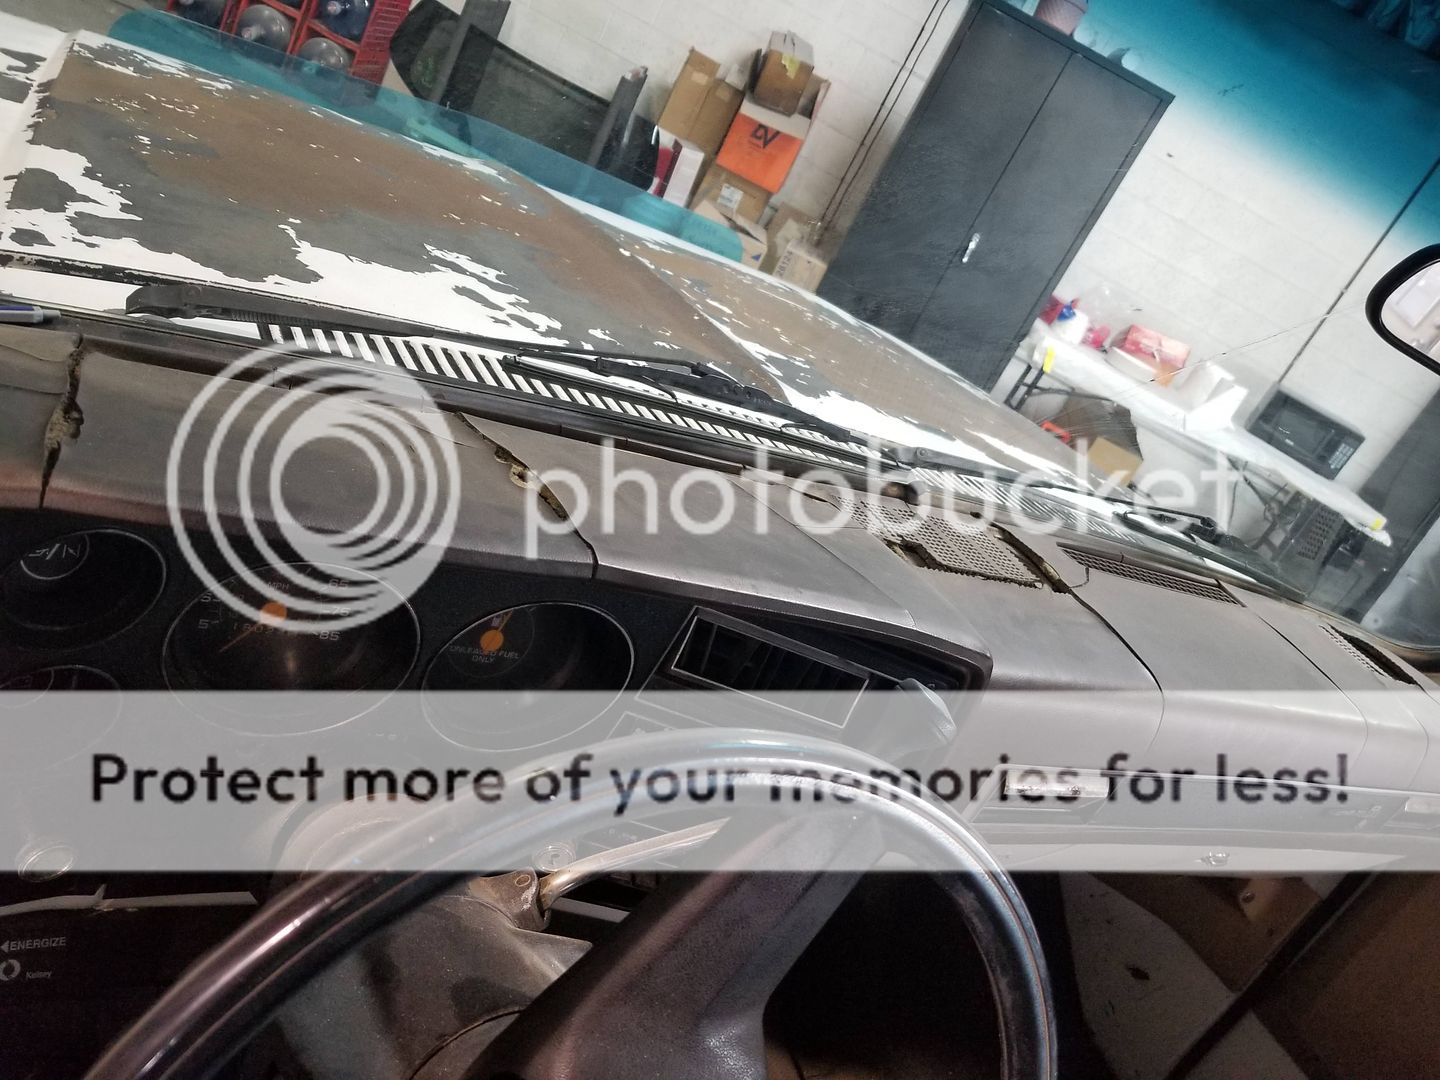
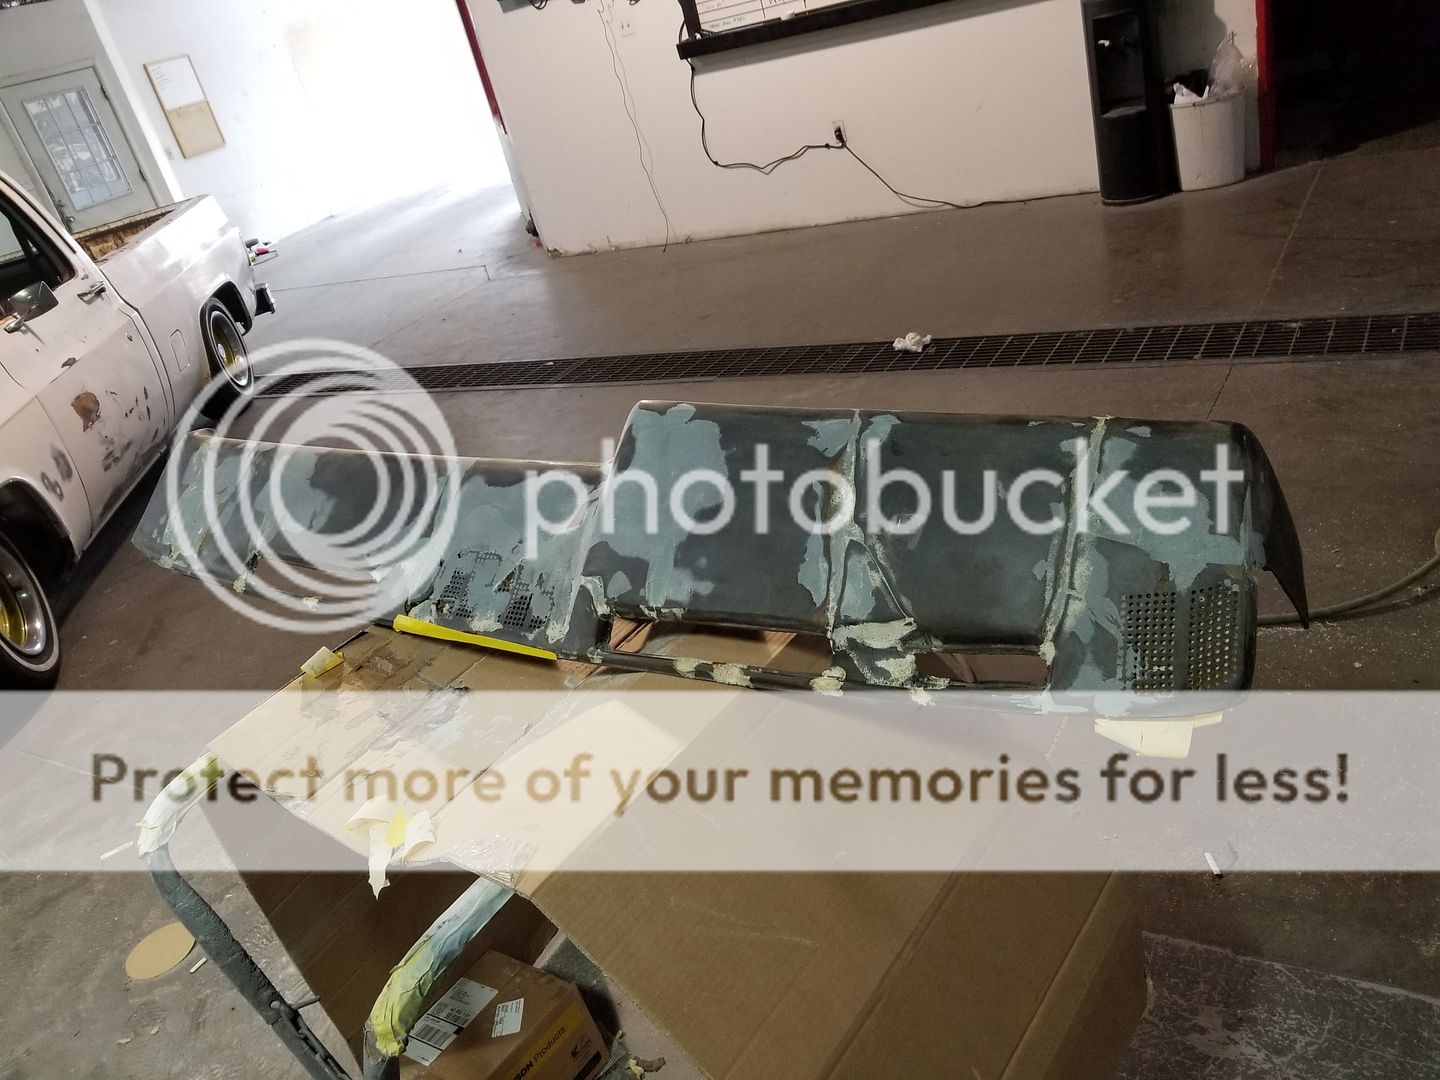
I watched a handful of Youtube videos and started digging with a die grinder, a lot of this was just chasing cracks all over, first I tried the expanding foam and it seemed to be more of a mess than it was worth.
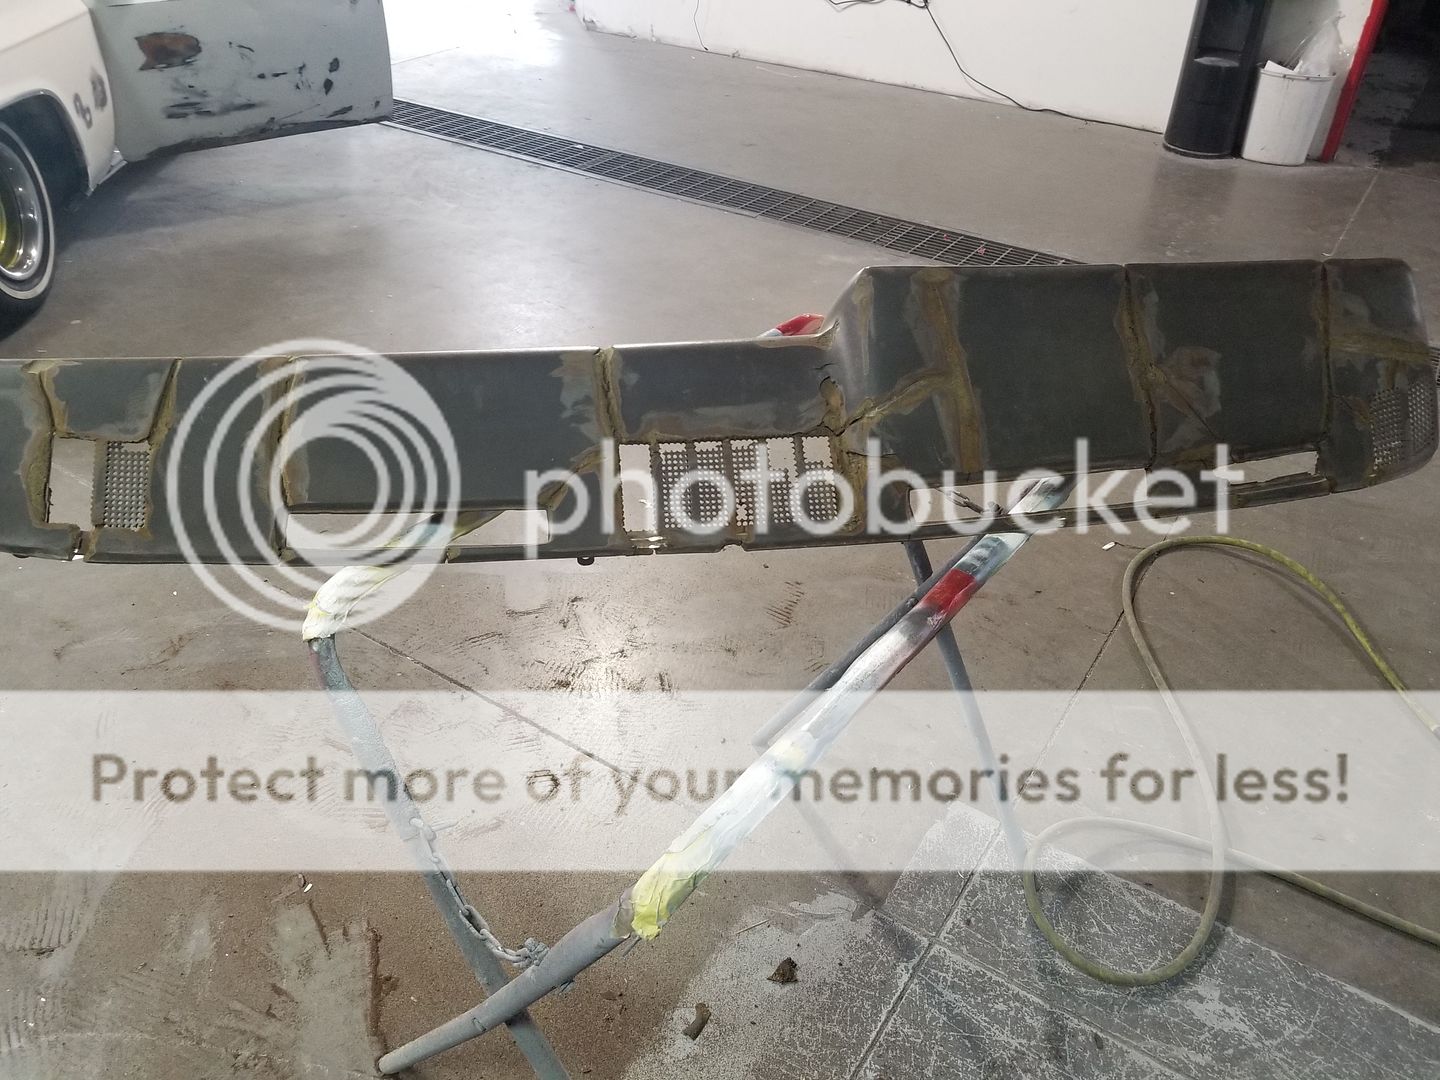
my concoction was a mix of a few things, fiberglass backing where there were full blown holes, kitty hair filler on tip, and sandable seam sealer on the small ones
In the interim I pulled the clean crack free dash from the wife's K5, it was some aftermarket situation, weighs about double and fits like garbage so that was a short lived run.
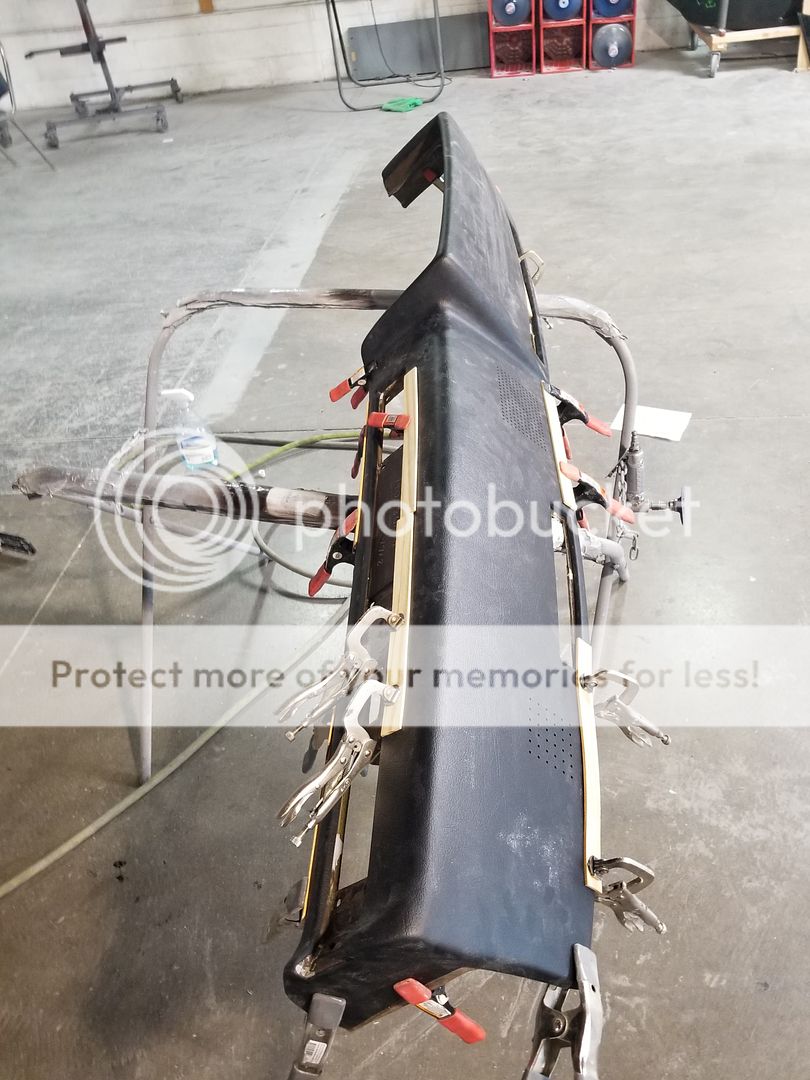
At this point it got a little hairy, I like to think I'm a reasonable smart person, and every bit of common sense says that a Coverlay cover is probably a bad choice. But they have a lifetime warranty, one of the vendors I use gave me a solid discount on one....... so lets glue a cover over a sorta smoothed dash.
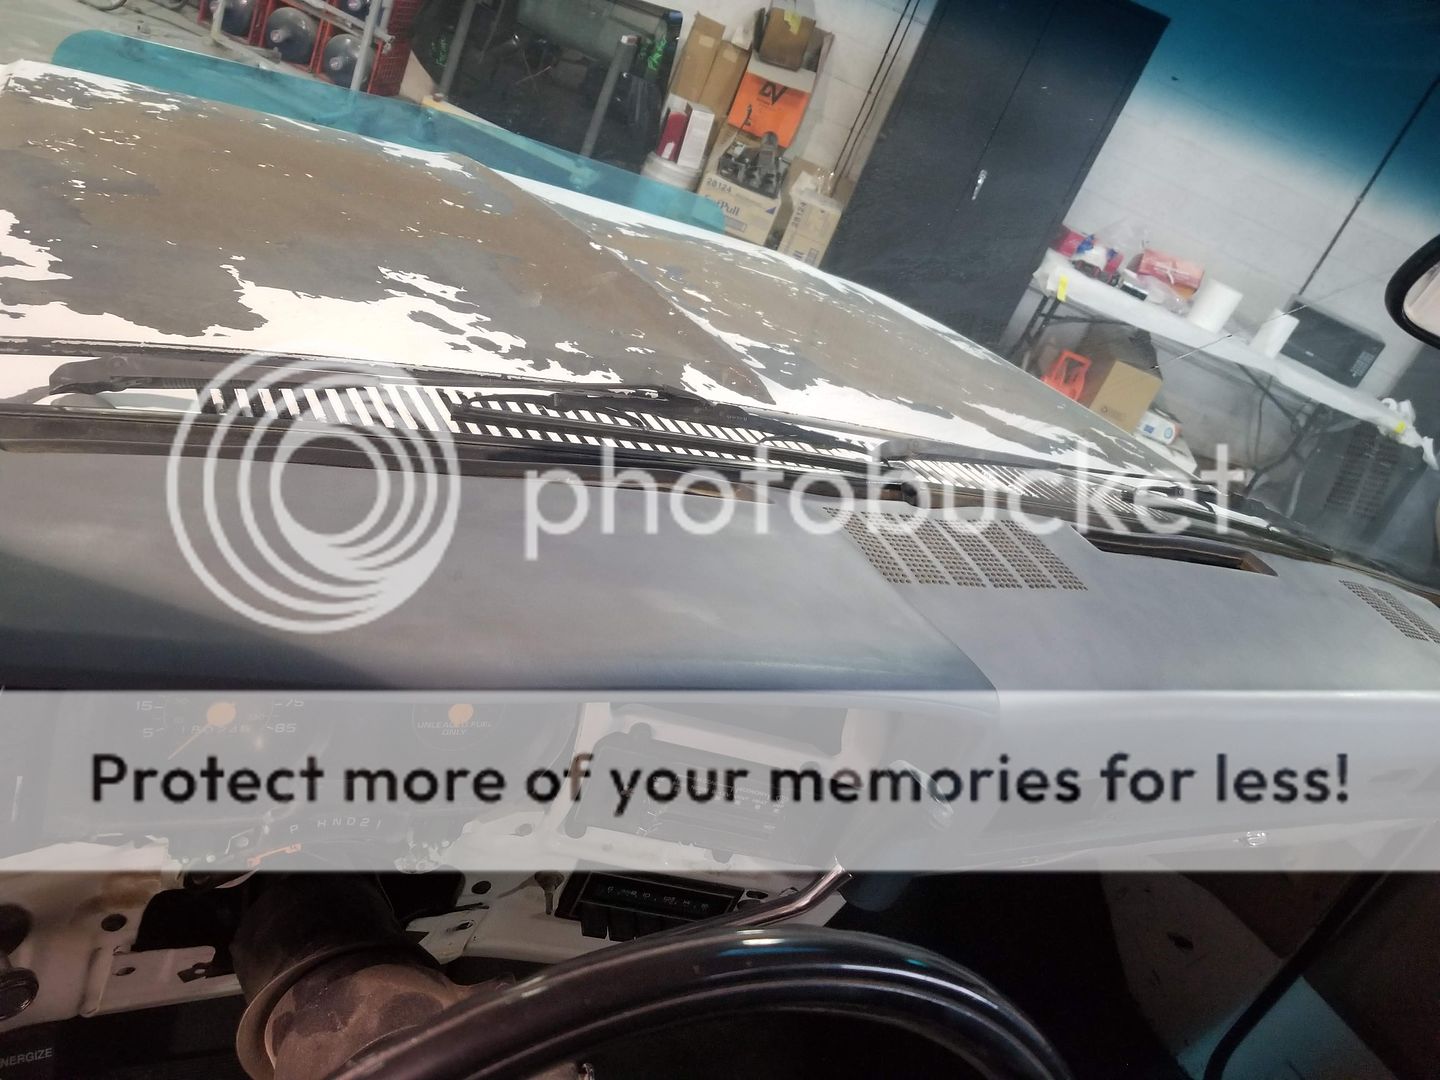
Test fit was pretty solid surprisingly enough
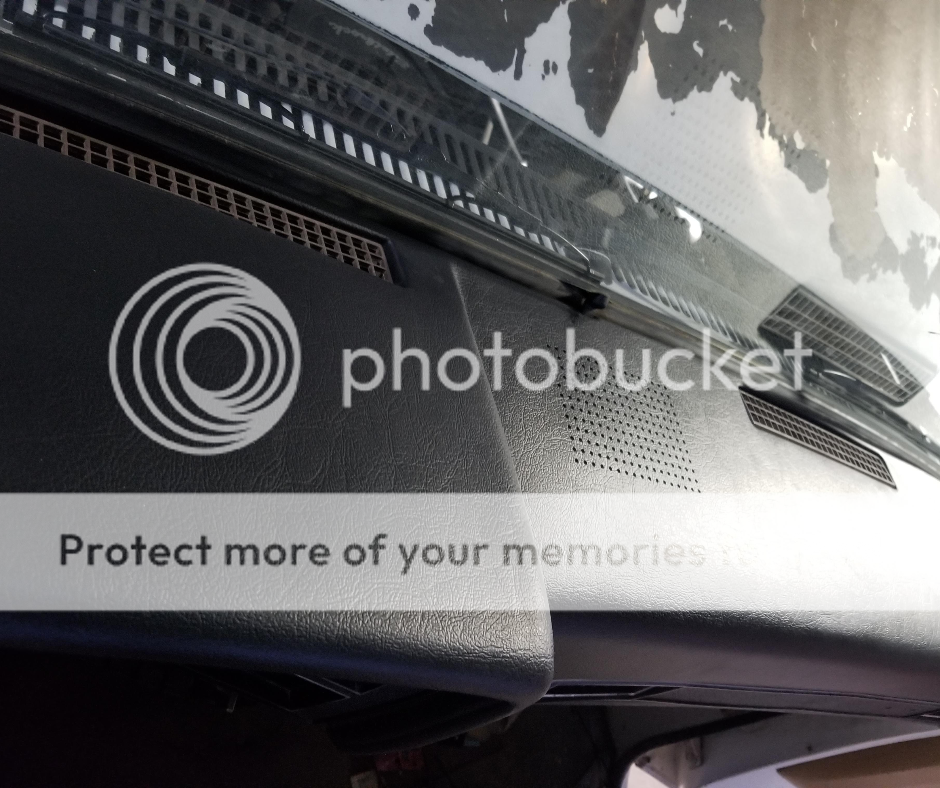
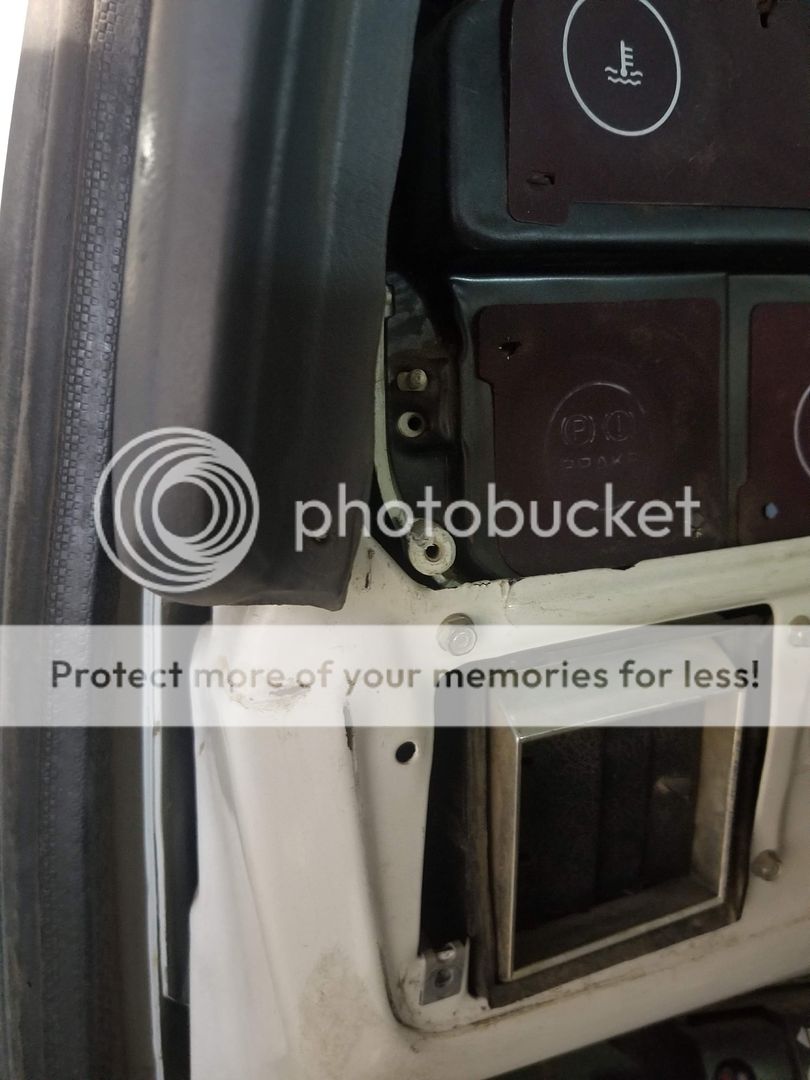
There were just a few final issues on the overlay, they dont include nearly enough of their "adhesive" but some panelbond did the trick for me, otherwise, with the added cover the trim and vents need some light massaging to fit right, and the speaker vents dont quite line up with the originals.
At first glance it's pretty good. It makes a ton of sense why the instructions say to only glue around the perimeter, in the AZ sun this thing swells in the middle quite a bit. With AC on or in the shade it keeps its form pretty well