Quote:
Originally Posted by cebra

"So that really expensive clear coat that was supposed to be formulated to be painted directly to bare metal and not rust... well it rusted."
Oof, that sucks to hear since you put so much work into getting it to bare metal. I know it isn't for everyone but I think fauxtina (when not overdone) looks nice and saves a ton on a paint job and more importantly the stress that comes with having a full done paint job and driving a vehicle. I think it is a reasonable option if you have an original survivor and want a truck to just drive and not have to worry about.
|
I'm just glad I did not get the whole truck done and cleared then this happen, at least it was just a little bit on the cab and doors and a test fender.
The way I see it with the way I painted the truck I can just rattle can over the patina spots or touch it up with a can of spray paint and not have to worry about it getting scratched or dented. I built a rock crawler a few years ago It was a 97 tj that was stretched into a lj. I took it all over the place I would beet it off trees and rocks bury it in the mud. It was spray painted flat black and I would just touch it up when needed. Then I put a nice paint job on it. At first I didn't even want to take it out, then I tried to be careful in the trails I just could not bring myself to scratch it up and I no longer enjoyed it like I had and ended up selling it. I don't want to do the same to this truck. I want it to look good but I don't want to stress out over it when I mess it up. If it already looks ratty then a few more dings and scratches won't matter and it will be easy and cheap to touch up if I want and for now I like the look.
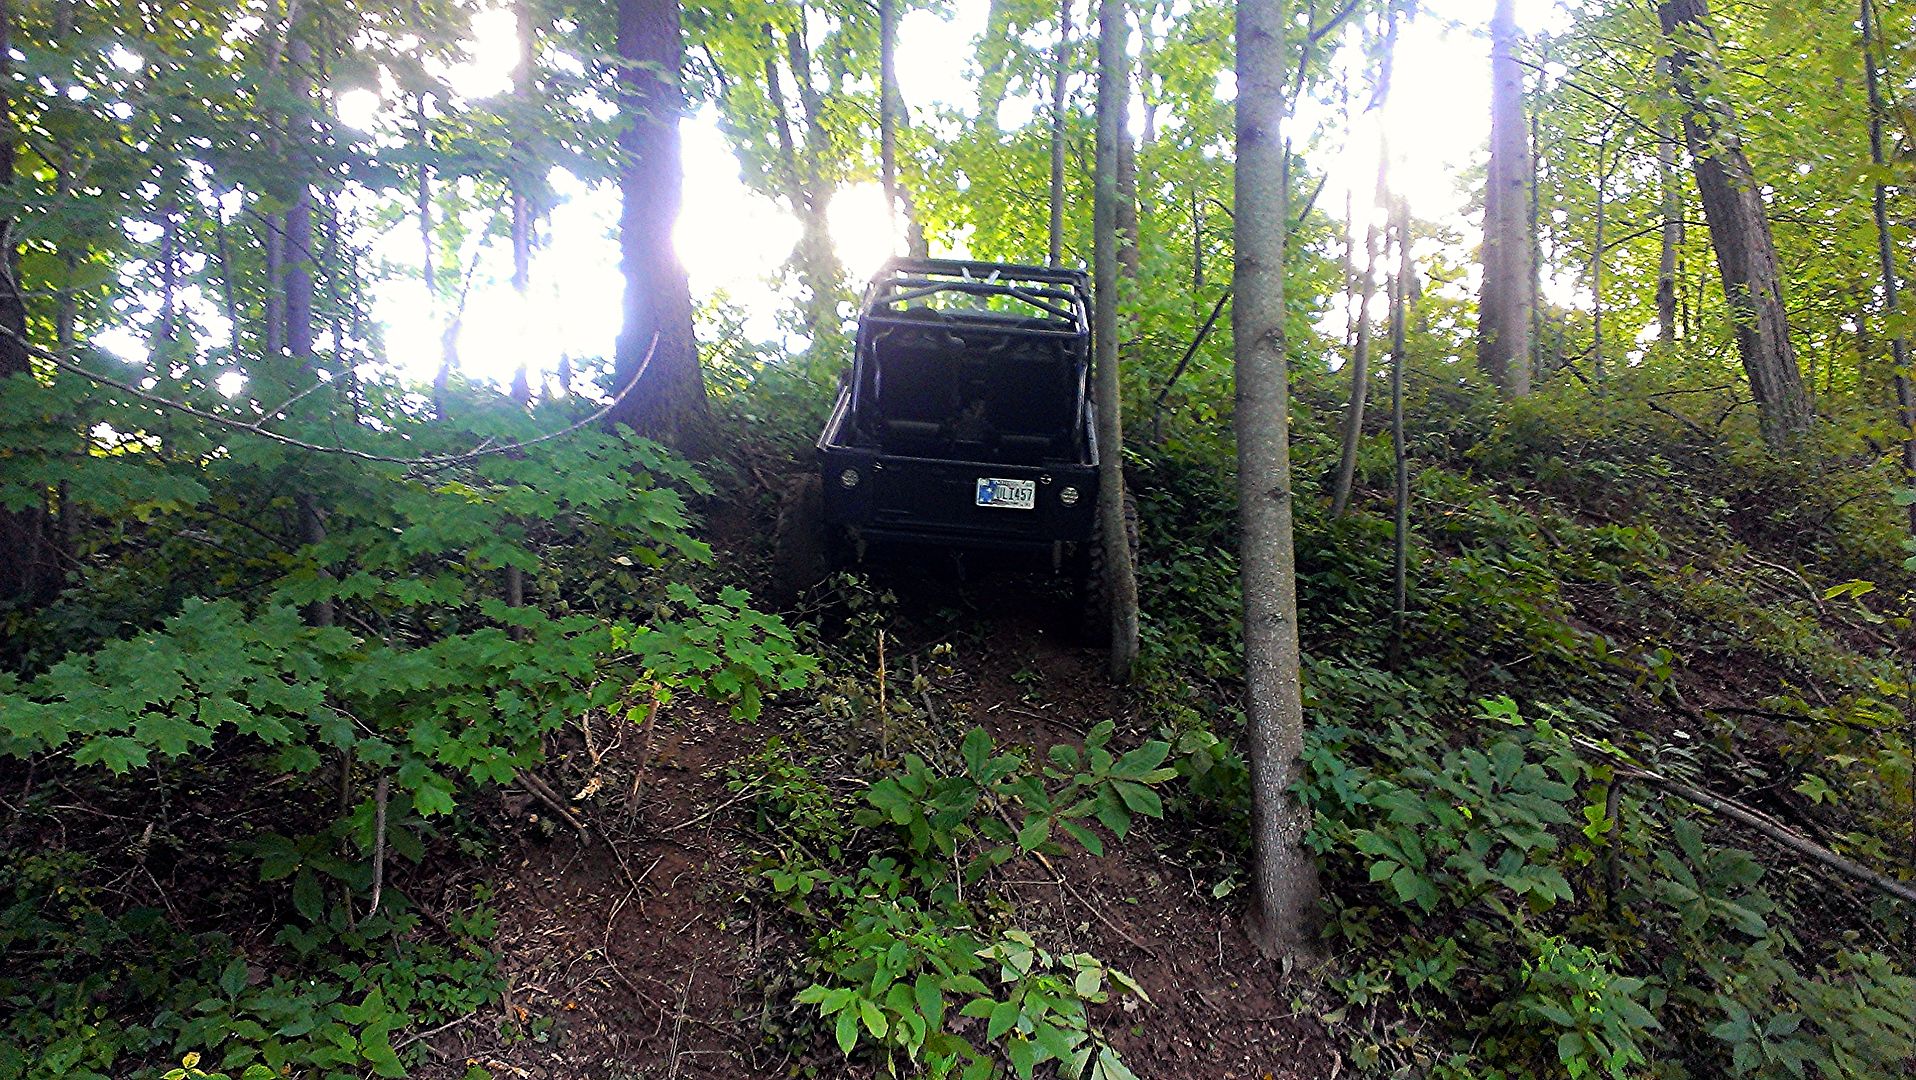
Pic of the jeep
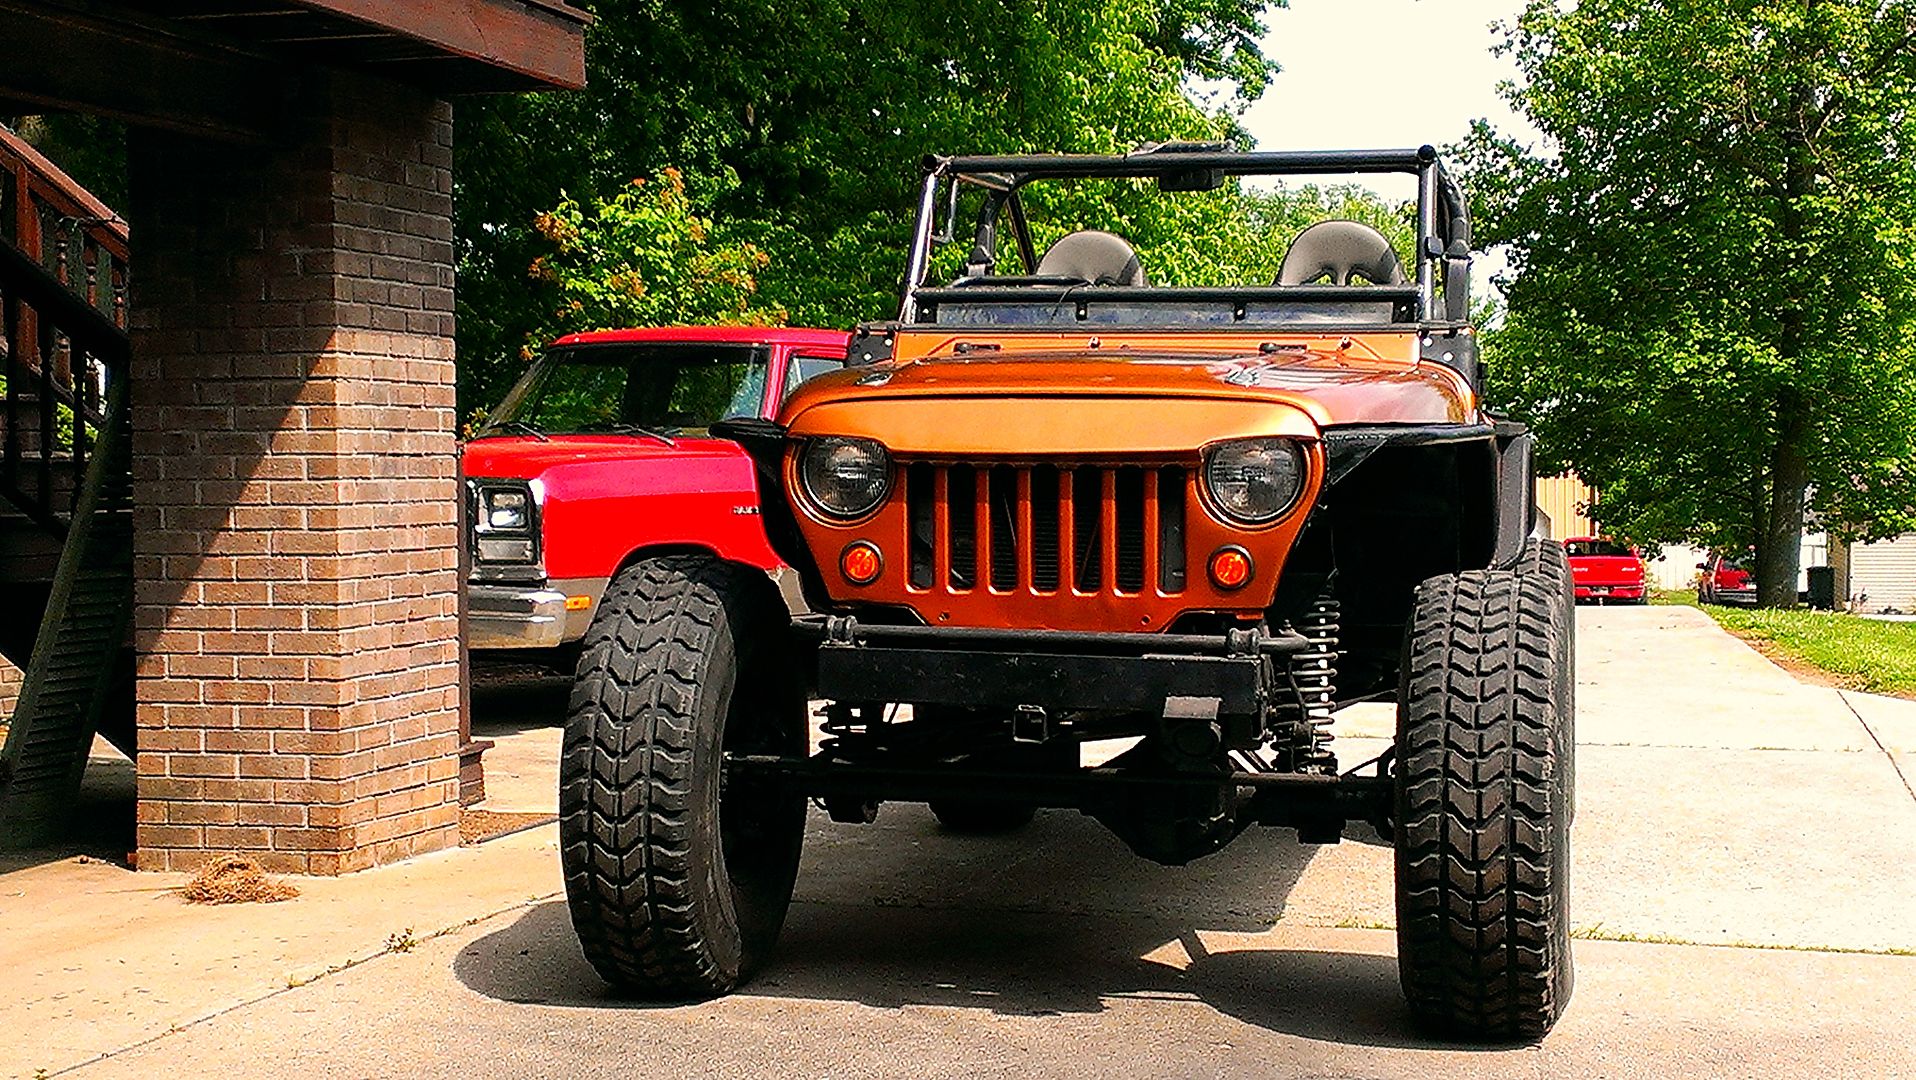
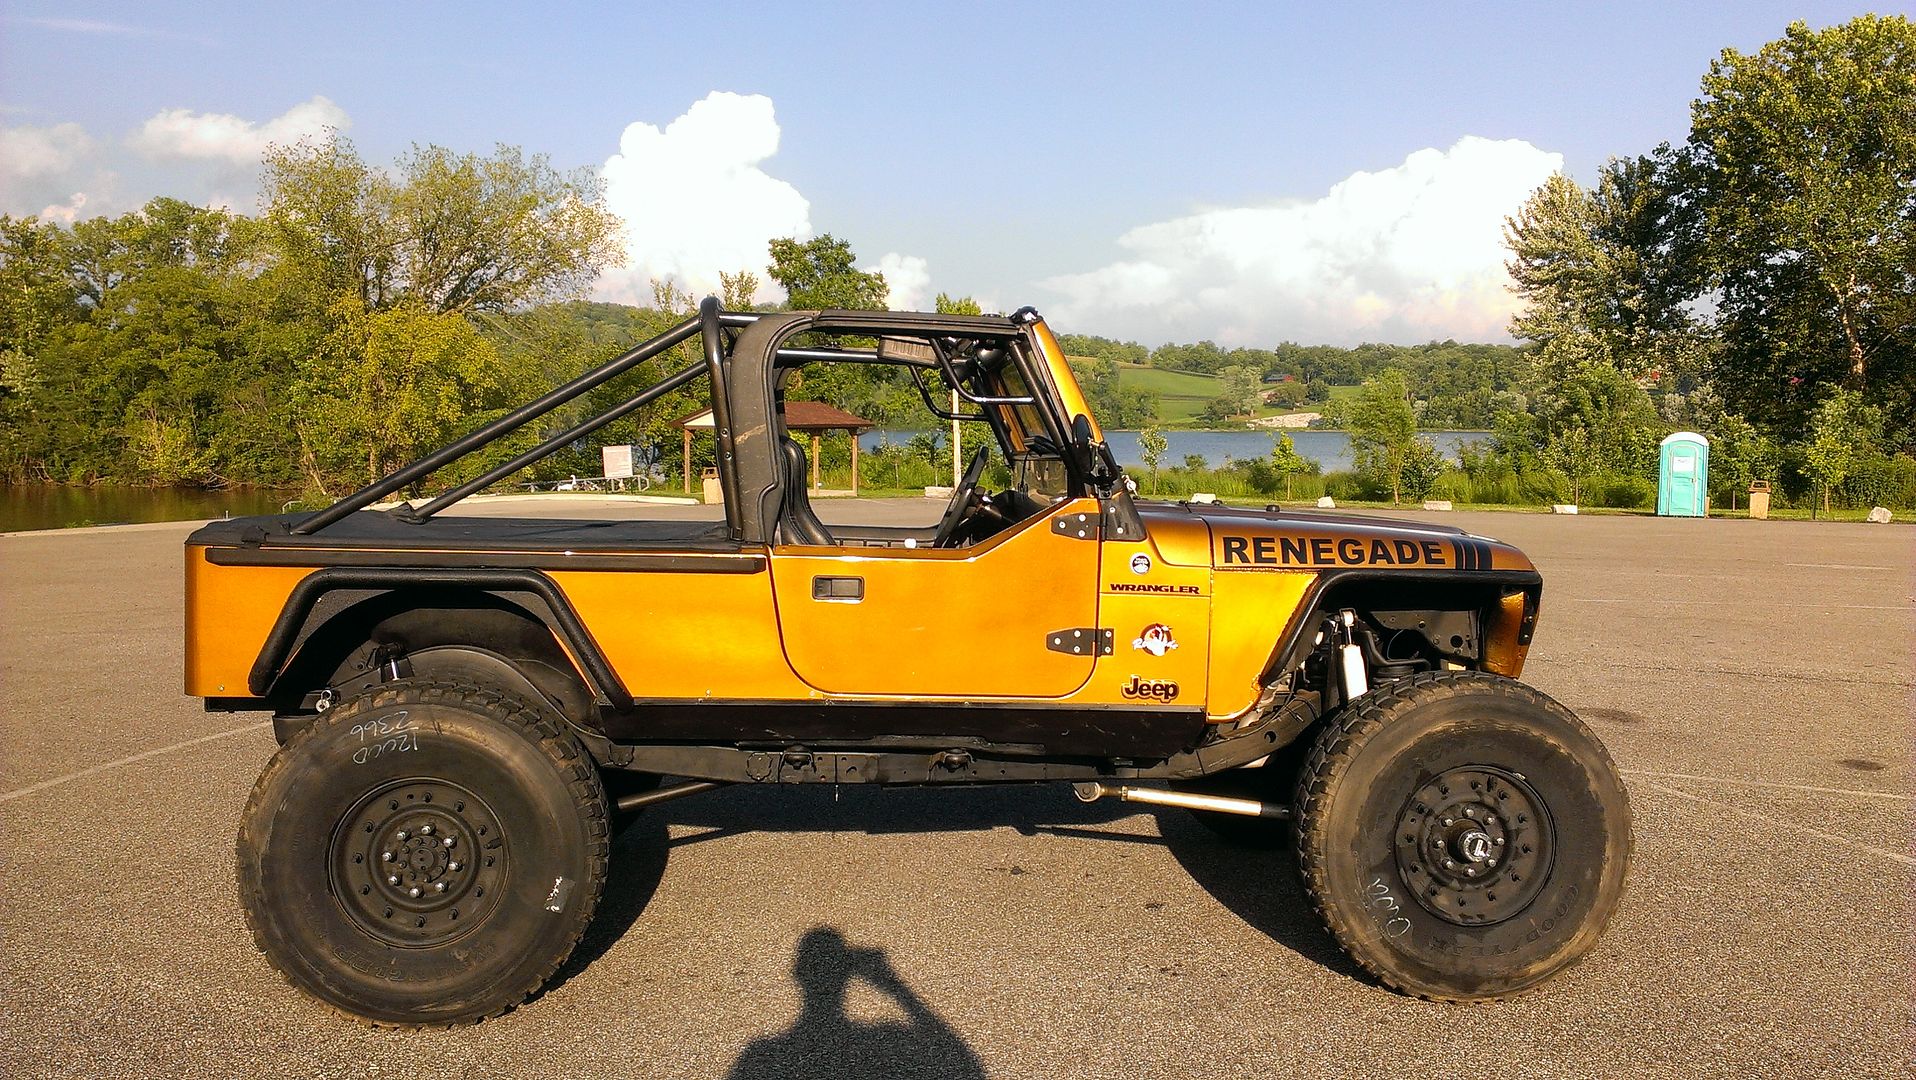
Before I made it pretty.

Quote:
Originally Posted by richards72chevy
Nice work.
|
Thanks, it's getting there hopefully I will get the engine installed some time this week I just need to replace the rear main seal and it should be ready to go in.
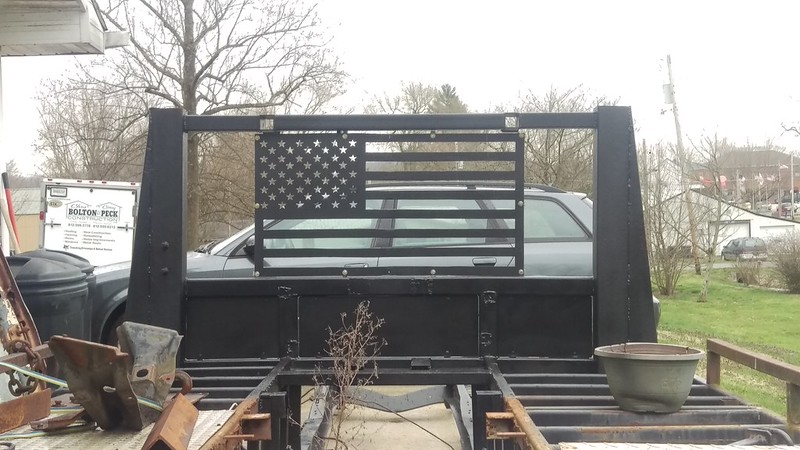
A few weeks ago I made filler panels for the headache rack I made them bolt in just in case I needed to remove them they are made from the metal from the old side box.
 IMAG2686
 by
jarrod vanwinkle, on Flickr
 IMAG2687
 by
jarrod vanwinkle, on Flickr
 IMAG2688
 by
jarrod vanwinkle, on Flickr
I rebuilt the hydrobooster
 IMAG2697
 by
jarrod vanwinkle, on Flickr
 IMAG2699
 by
jarrod vanwinkle, on Flickr
I cleaned and painted the power steering box.
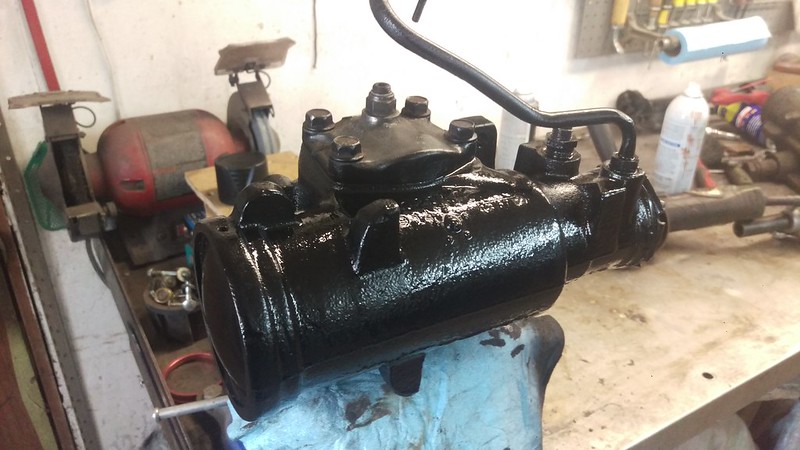 IMAG2698
 by
jarrod vanwinkle, on Flickr
I repaired the radiator support
 IMAG2704
 by
jarrod vanwinkle, on Flickr
 IMAG2706
 by
jarrod vanwinkle, on Flickr
 IMAG2707
 by
jarrod vanwinkle, on Flickr
 IMAG2708
 by
jarrod vanwinkle, on Flickr
 IMAG2710
 by
jarrod vanwinkle, on Flickr
 IMAG2713
 by
jarrod vanwinkle, on Flickr
 IMAG2714
 by
jarrod vanwinkle, on Flickr
 IMAG2715
 by
jarrod vanwinkle, on Flickr
I had a flag made for my headache rack.
 IMAG2719
 by
jarrod vanwinkle, on Flickr
 IMAG2720
 by
jarrod vanwinkle, on Flickr
 IMAG2722
 by
jarrod vanwinkle, on Flickr
I installed the cab a front suspension.
 IMAG2725
 by
jarrod vanwinkle, on Flickr
 IMAG2726
 by
jarrod vanwinkle, on Flickr
 IMAG2727
 by
jarrod vanwinkle, on Flickr
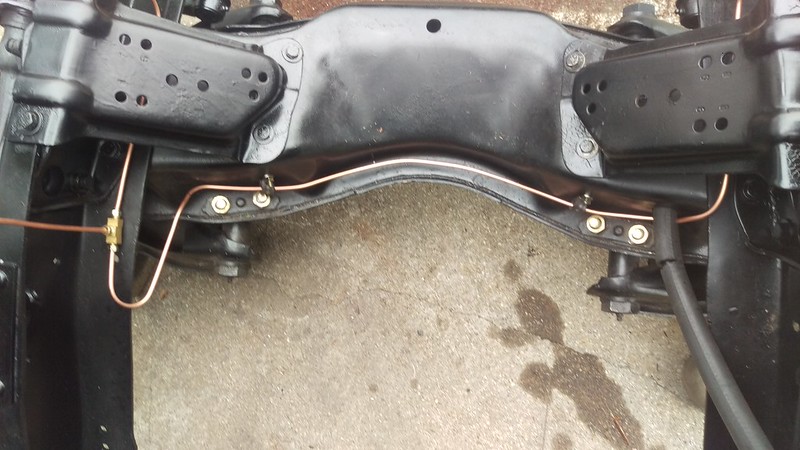
I moved the front cross member forward a few inches to clear the front cummins.
 IMAG2730
 by
jarrod vanwinkle, on Flickr
 IMAG2733
 by
jarrod vanwinkle, on Flickr
 IMAG2734
 by
jarrod vanwinkle, on Flickr
I temporary ran the air lines into the cab I plan on installing a bulkhead fitting to connect the air lines.
 IMAG2732
 by
jarrod vanwinkle, on Flickr
 IMAG2735
 by
jarrod vanwinkle, on Flickr
 IMAG2736
 by
jarrod vanwinkle, on Flickr
I installed the 1975 c30 motor mount brackets so I can run the first gen cumming motor mounts.
 IMAG2737
 by
jarrod vanwinkle, on Flickr
I installed all the steering components
 IMAG2740
 by
jarrod vanwinkle, on Flickr
I temporarily installed the astro van brake master so I could run the brake lines. I plan on running a 05 chevy 3500 brake master
 IMAG2748
 by
jarrod vanwinkle, on Flickr
I installed copper coated lines.
 IMAG2749
 by
jarrod vanwinkle, on Flickr
 IMAG2750
 by
jarrod vanwinkle, on Flickr
 IMAG2751
 by
jarrod vanwinkle, on Flickr
 IMAG2752
 by
jarrod vanwinkle, on Flickr
I installed the brake JB8 calipers
 IMAG2753
 by
jarrod vanwinkle, on Flickr
 IMAG2754
 by
jarrod vanwinkle, on Flickr
 IMAG2756
 by
jarrod vanwinkle, on Flickr
I installed the flag with stainless security tamper proof bolts
 IMAG2762
 by
jarrod vanwinkle, on Flickr
 IMAG2763
 by
jarrod vanwinkle, on Flickr
It was a pain to the rear brake line I installed it in one piece I ordered a 25 foot 1/4 line.
 IMAG2764
 by
jarrod vanwinkle, on Flickr
Today I installed the wheels to make it easier to get the engine hoist under the crossmember. There is 5 psi in the bags in this pic the fender is just resting on the tire it's not bolted on. On a side note I looked up the date code on the tires it was 034 = Date of production: 1993-01-25 that means they are 27 years 2 months 18 days old and they have 70 psi in them. That's kinda terrifying I had a 6,800lb tractor on the back of this thing with thouses tires and drove it almost 3 hours home when I bought it.
 IMAG2767
 by
jarrod vanwinkle, on Flickr
I painted the trans
 IMAG2768
 by
jarrod vanwinkle, on Flickr
I will be replacing the rear main seal tomorrow.
 IMAG2769
 by
jarrod vanwinkle, on Flickr