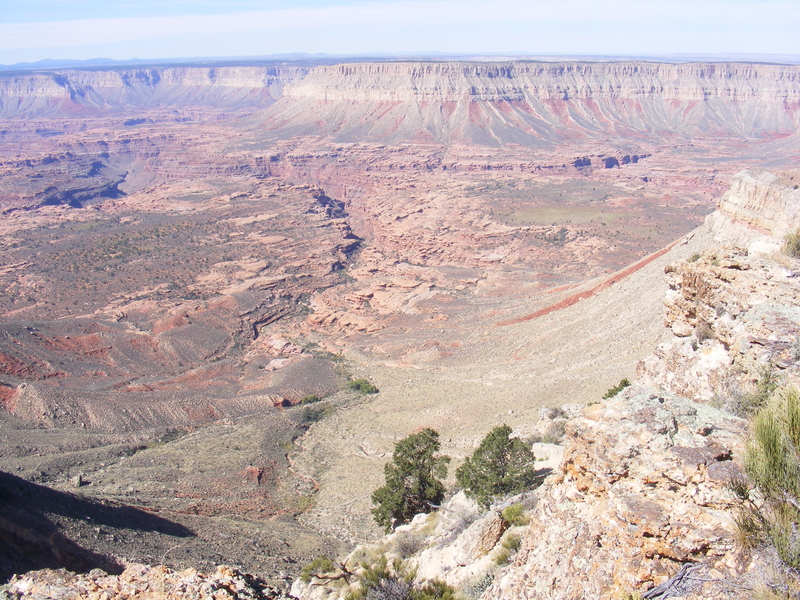
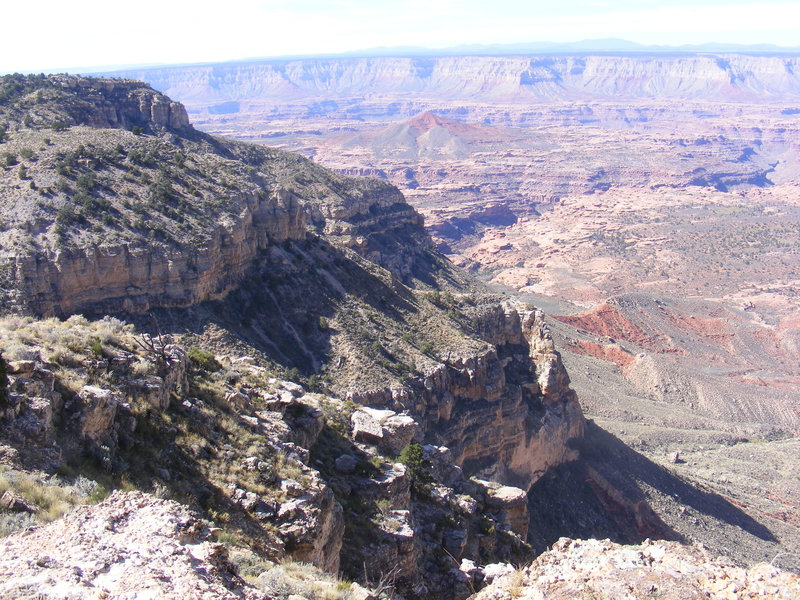
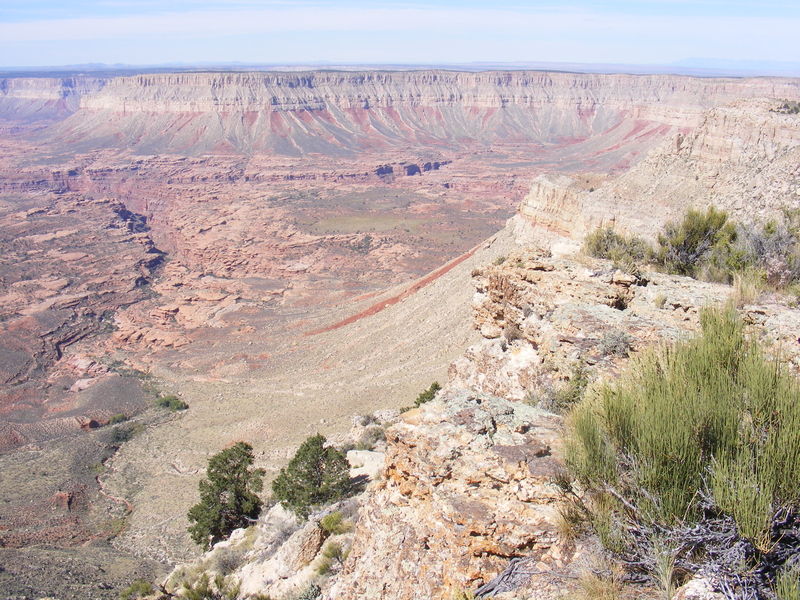
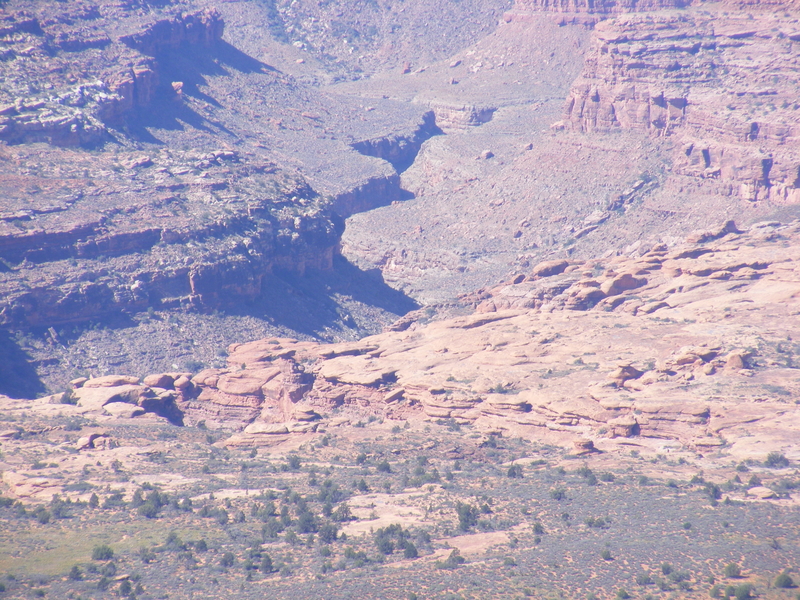
Not having a running truck didn't stop me from making it up to the North Kaibab plateau. Here's some pics off the southwest side:

That was an enjoyable trip, except for one thing: since I didn't have my own vehicle I couldn't go exploring wherever I wanted. This made me double my efforts to get my ride going. That North Kaibab trip was in October of last year, and I made up my mind that my truck would be driveable by Christmas. Time to get on it!
At some point earlier in 2015 I had redone my fuel tank pickup. It still had the old TBI in-tank assembly, and I had simply removed the TBI pump and welded a short inlet pipe to the pump holder with a piece of hose coupling the whole mess. I had used fuel injection hose designed to be submerged in gasoline and it was still in excellent shape, but I wanted to eliminate rubber hose from the inside of the tank. I ended up replacing the supply, return, and vent tubes with one-piece stainless steel tubes. I also added an extra ¼" dip tube for a future add-on. All tubes were brazed into the stock unit after the original tubes were drilled out, and then had steel AN fittings brazed onto their ends for fuel line connections. I also put an anti-vortex cap on the suction dip tube. Here's a pic of the top of the tank with the fuel lines hooked up:
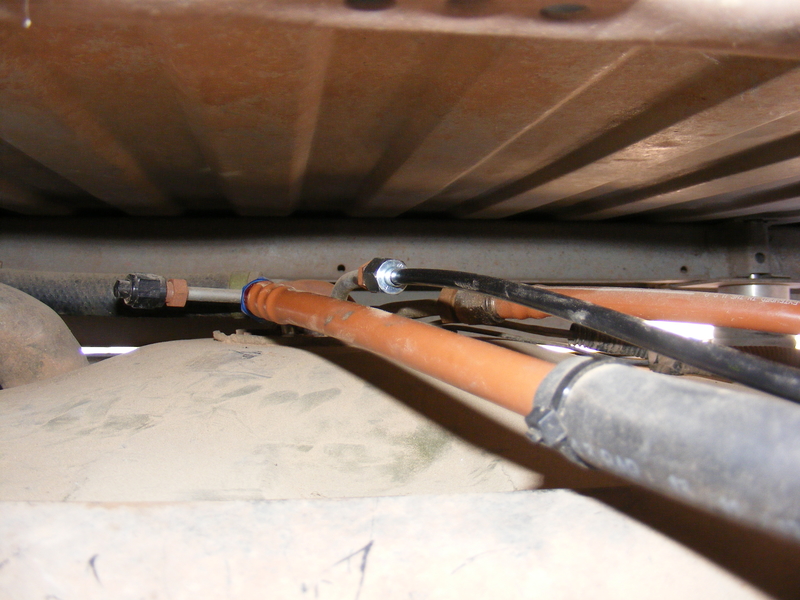
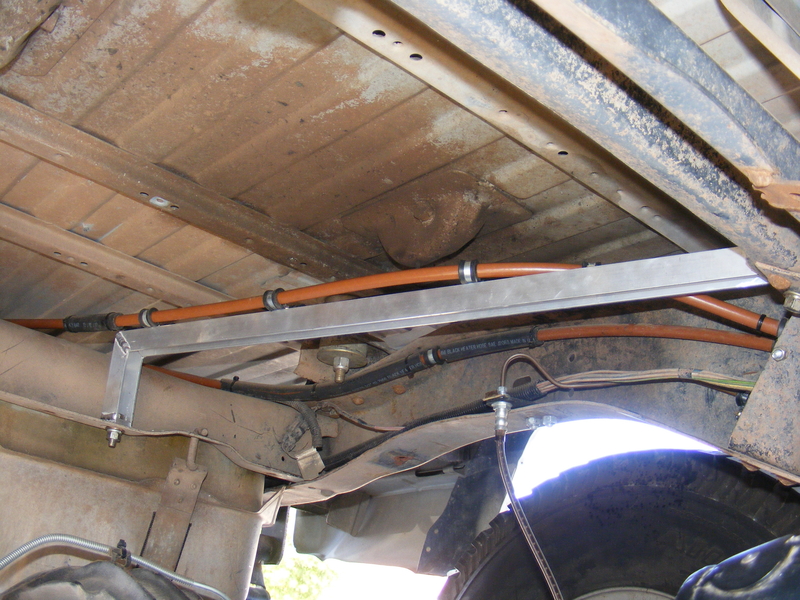
The line on the left is the supply (suction), the next to the right is the vent, and the one farthest to the right is the return. The capped fitting on the left is a ¼" dip tube for a future add-on. I should note that the vent line is ¼" air brake line that I heated and flared, allowing to to be directly attached with the same flare nut and backer used for metal tubing. Due to the positioning of the fittings I had to bring the supply and vent lines in down the center of the tank. This left them hanging in space above the axle, so I fabbed a simple aluminum bracket to support the lines:
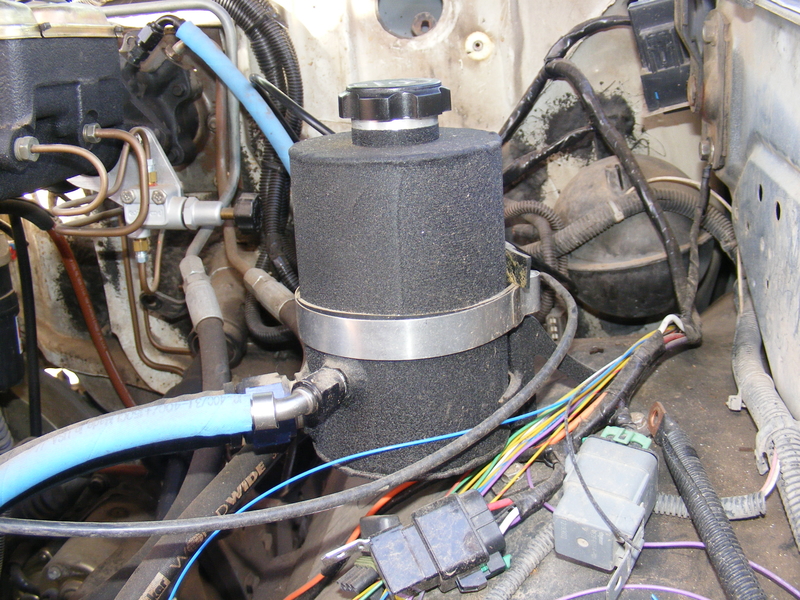
I built a new PS reservoir (filler neck machined by Todd):
and added a PS fluid filter:
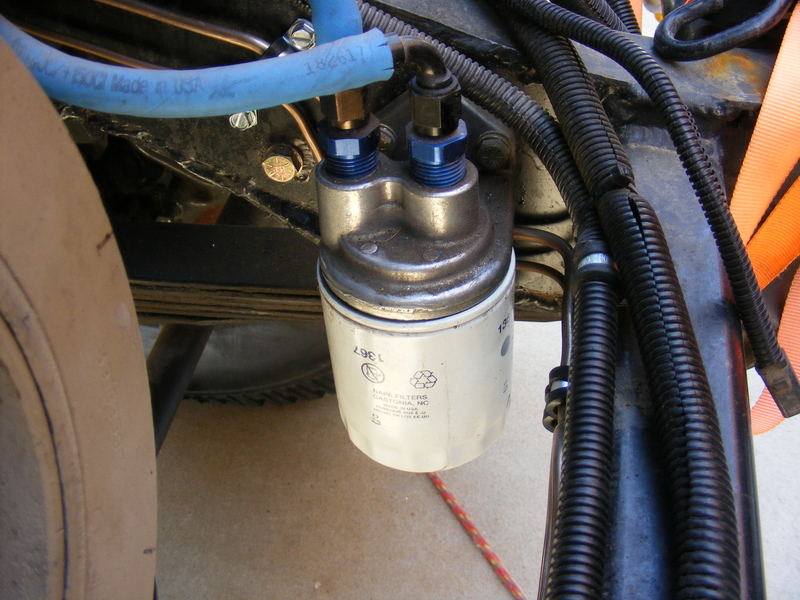
I've had it with push-on hose though. It likes to split the outer sheath, as you can see in that last pic. It doesn't seem to do any harm, but it looks like crap. Since the fittings aren't any cheaper I see no reason to use them over the regular reuseable AN fittings. I intend to replace them with reuseable fittings and Starlite hose over time.
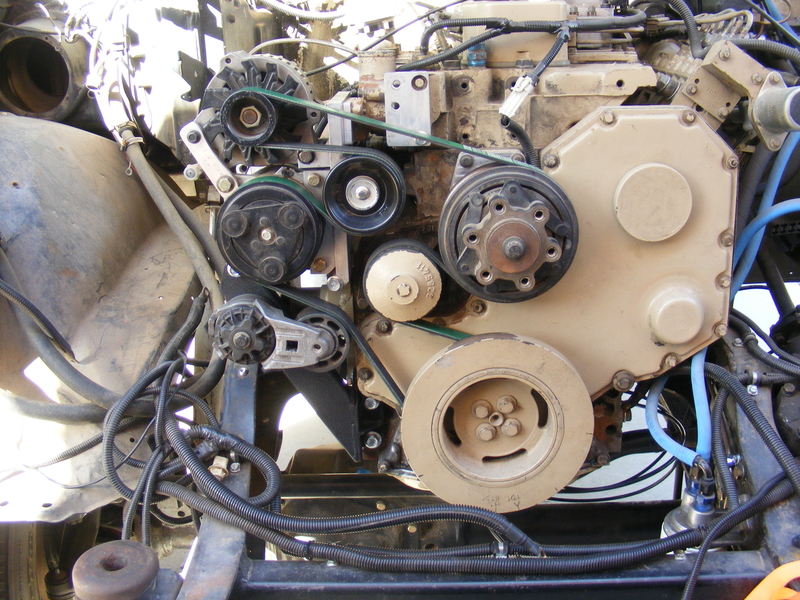
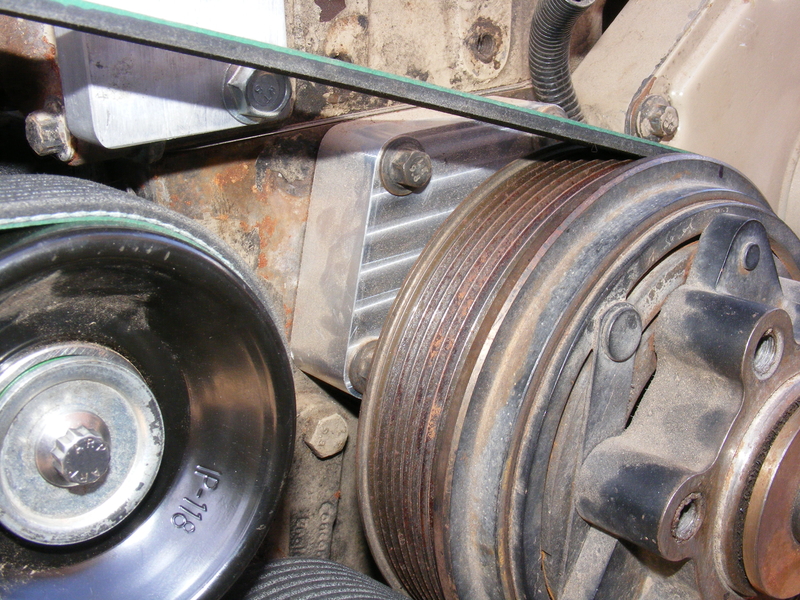
The next item to tackle was my accessory belt setup. I wasn't happy with the amount of wrap on the AC and fan drive, so I needed to do something about that. I kept most of what I had already built, but I added one idler pulley and moved the tensioner:
The tensioner bracket meant that the stock lower water neck wouldn't work, so I made a new one out of a piece of ½" plate and a piece of 2" DOM which is turned down to 1-¾" to accept a common size hose:
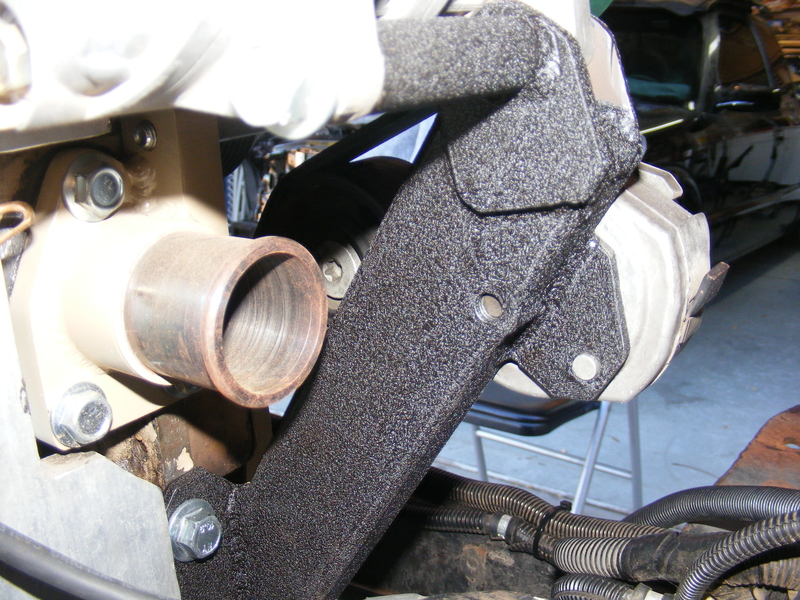
My previous fan pulley mount was the stock jobbie that came on the engine, slotted and hacked to move it as far down and to the drivers side as possible. This time around I got Todd to build me a new one:
Next up: more plumbing... yay....