well yes, its february, my slow time, so I can get stuff done every day if I want.
and I want!
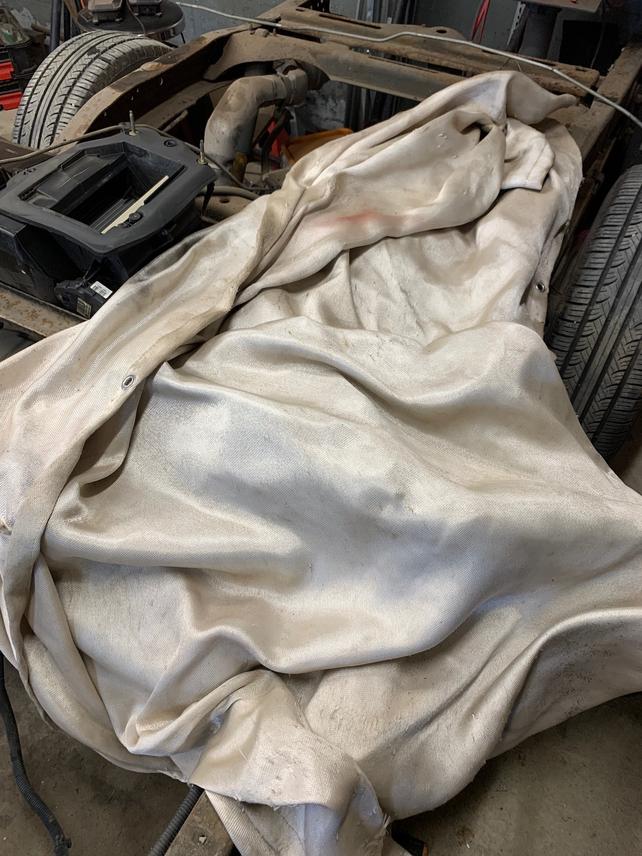
here is my shortening the frame work. start by covering up your fuel tank with a welding blanket, you are going to be grinding and welding a LOT so make sure if you have a plastic tank like I do that you cover it well, over and under.

take stock of how level your frame is, if I was doing this on a welding table I would want it 100% level, but the way I am doing this, without pulling the wheels, I just want to make sure the frame is equal on both sides. this one had a little down slope to the front, which is fine, because the distance from the frame to the floor is equal on both sides at different points.

clean up the frame with a wire cup brush, you want to be sure to clean up at least as much length as you are shortening because cleaning it AFTER you cut it is a fiddly chore.

you can also see I marked out the length of the cut, I chose 6.5" because on the last one I did 6" and there was still a good gap between the cab and bed, a 1/2" will make it closer. the ext cab s10 wheelbase is 122.9", the long bed S10 108.3", and the AD shortbed is 116", so that would normally mean shortening 7", but the AD is generally accepted to have the wheel too far back in the front wheel well, and the s10 wheelbase gets shorter as you lower it, so I will shoot for 116.5". I put an arbitrary line in front to measure from, and a line 6.5" back from where the frame splice was. I also put a reference line on the side of the frame for level. this wasnt 100% needed because:
I used stanchions welded to the cab mounts running to the floor. this will keep the frame halves from walking all over the floor once I separate them. this was the problem I had last time, keeping everything square on jack stands is not ideal. I also put one more on the front of the frame to keep the front section from wanting to tip forward.

my first cuts, you can see my stanchions worked perfectly, the frame is cut in half and only changed position about 1/32"

let me also explain my cut methodology: the rear frame overlaps the front frame at the top, bottom, and outside. the front frame is tapered in this section to sit inside the rear frame section. also, the front frame section has a long overlap for the inside of the frame, as well as long sections of the top inside and bottom inside sections. you could grind these apart with a stone wheel, but I chose to cut halfway through the overlapping sections (careful not to go all the way through), then I cut the length cut all the way through at the back, then I cut behind the overlapping sections to give me a place to pry.
more in next post.