Putting it back together
Don't you just hate those instructions that say putting it back together is the reverse of taking it apart? Well, putting the Q-jet back together is basically a reversal of taking it apart, however, here are a few hints to make it go more smoothly.
First is the float assembly. This is how the needle should clip to the float arm:

You will also have to adjust the float height during reassembly. To do this, use one finger and press down on the float pivot:

Using another finger, gently but firmly push the needle end of the float down:

While doing this, measure at the point specified in the specs that came with the kit. The brass and plastic floats both have different points to measure from, but the measurement you are looking for will be the same. Use the measurement spec for your carb number exactly.
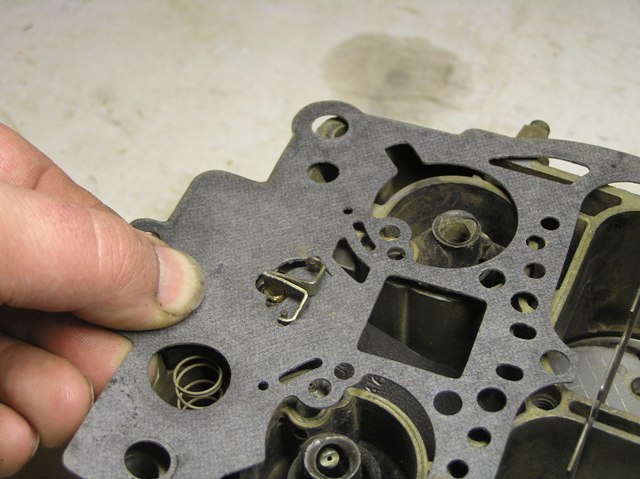
The next problem point can be the primary rods on the hanger. Sometimes there is a little spring on the hanger to help hold the rods. The spring sould be installed like this:

The little plastic collar on the metering rod hanger should be a snug fit in the hole in the bowl. If it is not, you can lightly peen the metal so it stays in place.
After that, the next frustrating point for some can be the top gasket, and getting it over the metering rod hanger. An easy way to do it is like this:
Bend the little flap down:
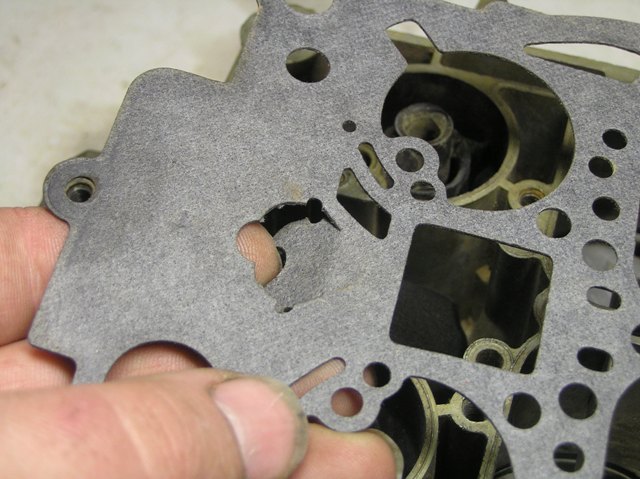
Then get it started over the hanger:

And then slide the gasket to the front:
And that's it:
After putting the airhorn back on, the hardest part left to do is re-installing the inner & outer choke linkages.
Get the outer stuff ready first.
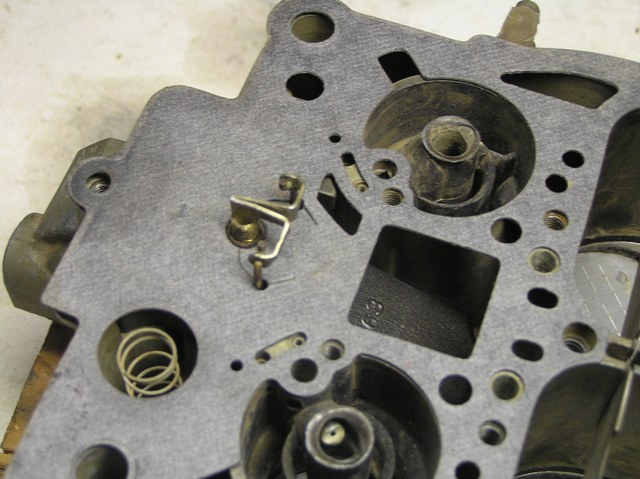
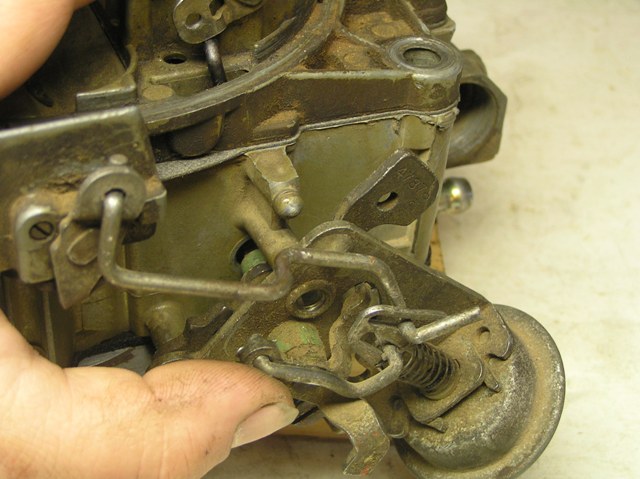
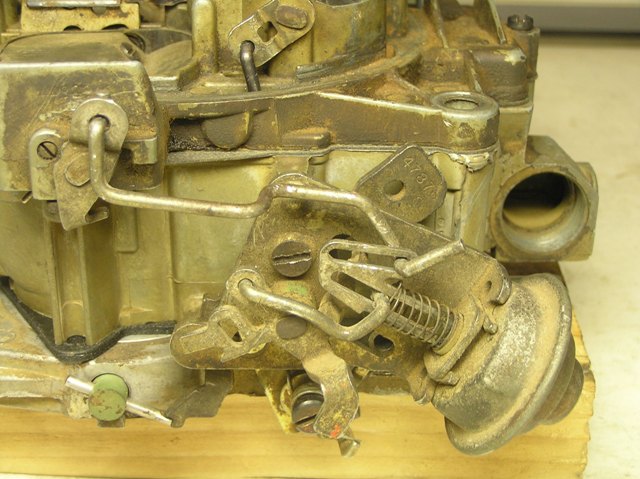
The next two images show how the fast idle cam should go on the side choke linkages:

You'll also need to re-install the lock-out lever:
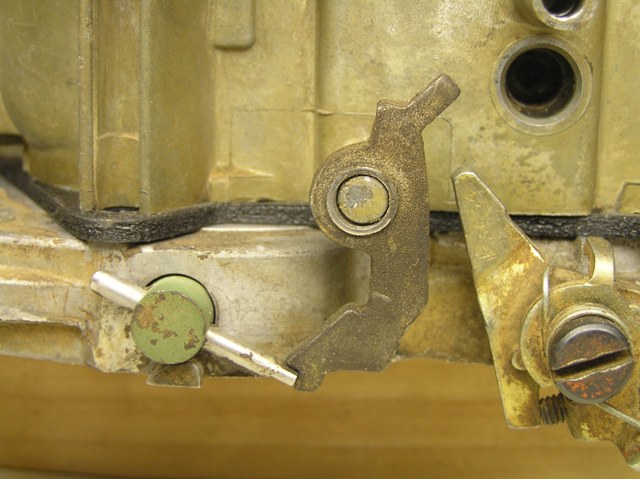
Now lower the link and lever into the slot:

Until it is visible in the hole on the side:

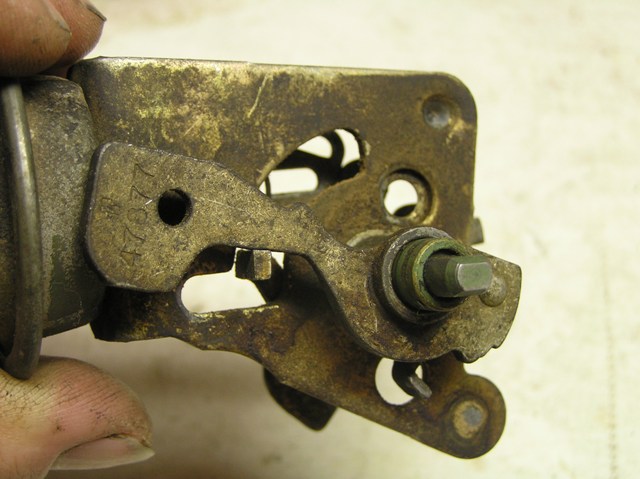
And hold the side assembly up and put the shaft into the hole:

And "pinch" the lever with the slightly pointed end of the shaft:
With the lever pinched, you'll be able to rotate it by pushing the rod down (shown here with the lever & rod outside the carb) so that the flats will line up and the two pieces will go together.


Re-assembled linkage:
After the carb is assembled, you'll still have to do a few choke adjustments.