UPDATE
Made a ton of progress and have a lot more pics to follow, right now I only have a few from my phone.
Upper perches have been welded and smoothed. All of the front accessories are bolted back into place. I had to put a mall tweak into the frame (much line the "bump" on the passenger side) to clear the power steering hose.
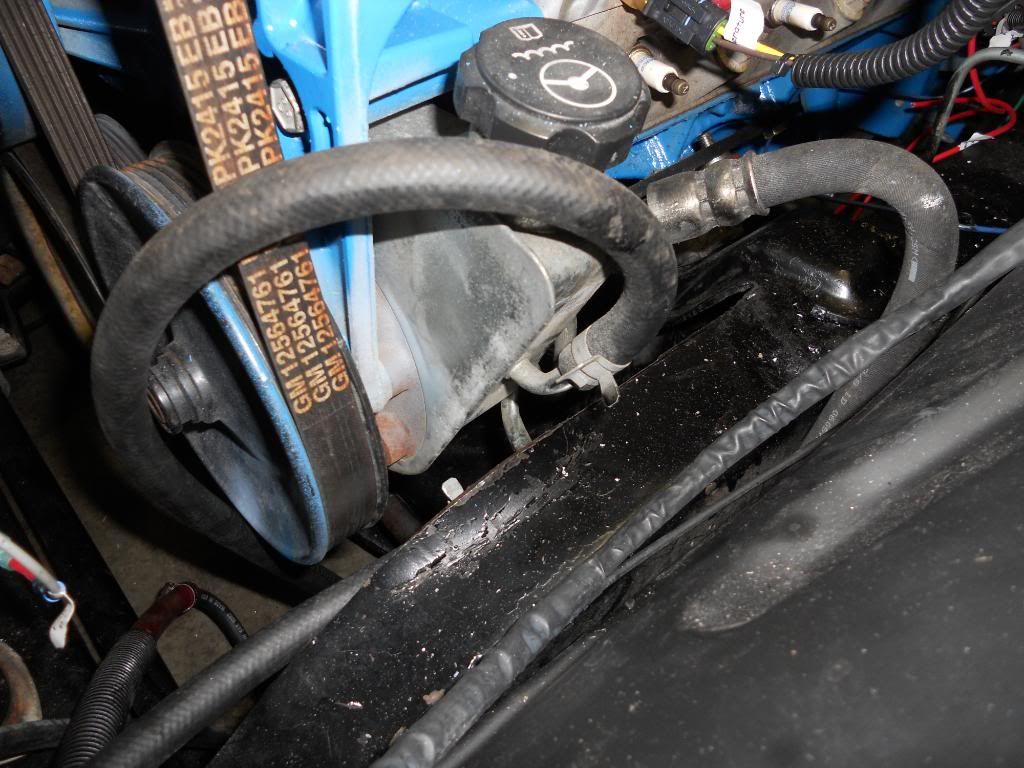
I also found out that the ps pump I got was originally set up for a hydroboost truck, so I may put that into my plan in the future. My cam will be too much for vacuum brakes I imagine.
Balancer is back on as well, along with the radiator and fan.
HOW TO INSTALL THE BALANCER ON THE LSX MOTORS;
If you don't have the service manual, or DO have it but got scared off when it started mentioning special tools...this may help.
Its only a few steps, they aren't that hard, and you get a reusable tool out of the deal for less than $10.
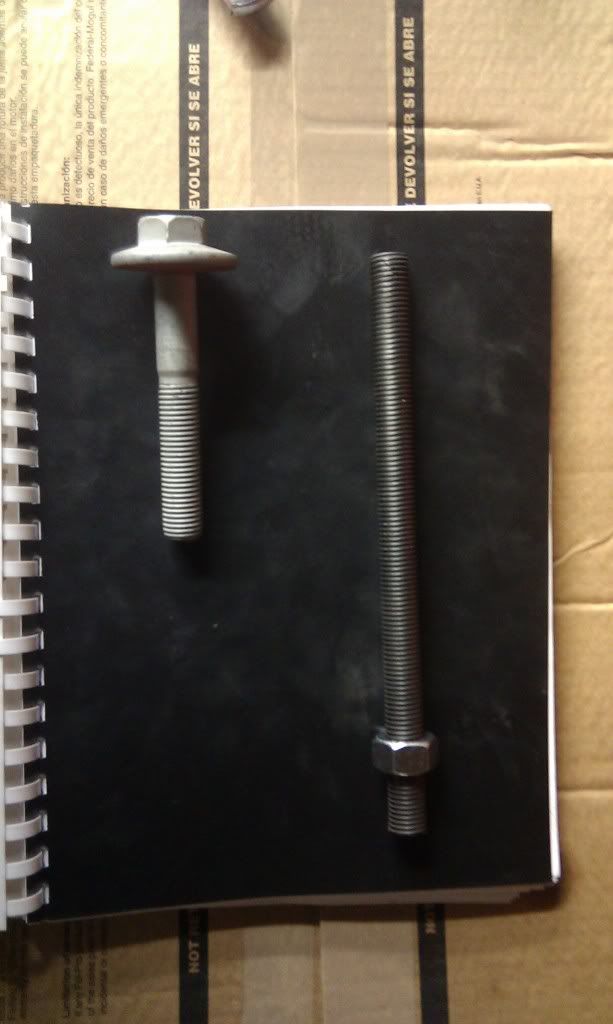
1. Track down some threaded rod. You need about
10" of M16 x 2.0 threaded rod. Most home depot and Lowe's don't seem to carry metric threaded rod, as it's less common in home repair. I recommend Fastenal if you have on in your area.
2. Get a nut and spacer/stack on washers about 2-3" thick. I had the balancer with me and found washers that fit the center groove perfectly.
Total Cost; $10.42, and thats ONLY because I bought a full 3ft of rod.
This is the rod I cut down, compared to the stock balancer bolt.
3. If you have some rust on the snout or inside of the balancer, use a little scotchbrite pad to clean it off. You can then use either anti seize or a little wd40 and put the balancer up onto the crank snout as centered as you can.
4. Insert the rod and begin to tighten the nut. this will pull the balancer inward and begin to tighten into place. Keep tightening until the balancer is seated flush into the seal. You can use the scrub marks on the balancer to see about how far in it needs to be tightened. I used an old belt and a straight edge to check that the balancer and accessories were properly in line. DON'T just use a straightedge against the face of the pulleys; the power steering pully has a wider lip and will set the balancer off center.
5. With the balancer fully seated, use the
OLD bolt and tighten it to about 40lb/ft (37 to be exact, according to the manual). These bolts stretch and can't be re used for the FINAL installation.
6. Take the
NEW balancer bolt and thread it into place. The final tightening should be down to 240lb/ft, but since many people wrenches don't go THAT far, just torque the sh!t out of it.
Thats really all you need to do, just make sure to use a new bolt for the final installation and you're good to go.