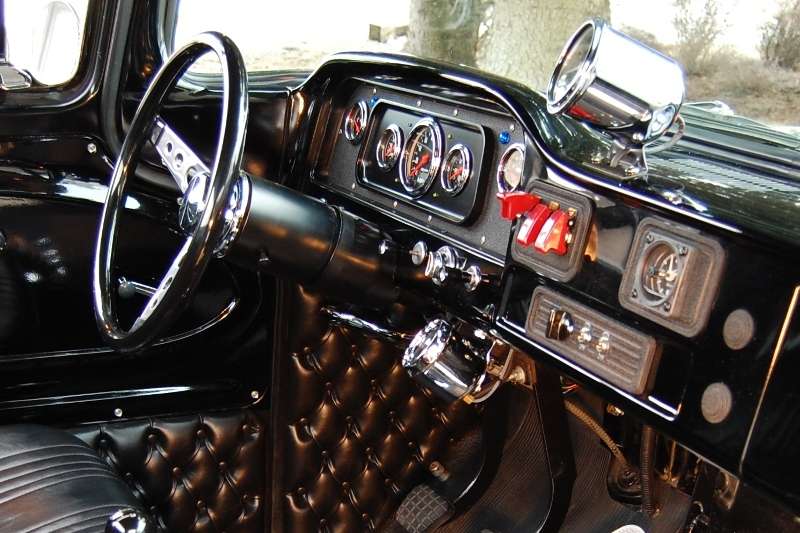
I also had my son machine up new switch panels for the dash, replacing the ashtray, heater and radio block off plates. Although the radio plate looks factory, it’s actually solid milled aluminum. The plates can be seen in the third picture above.
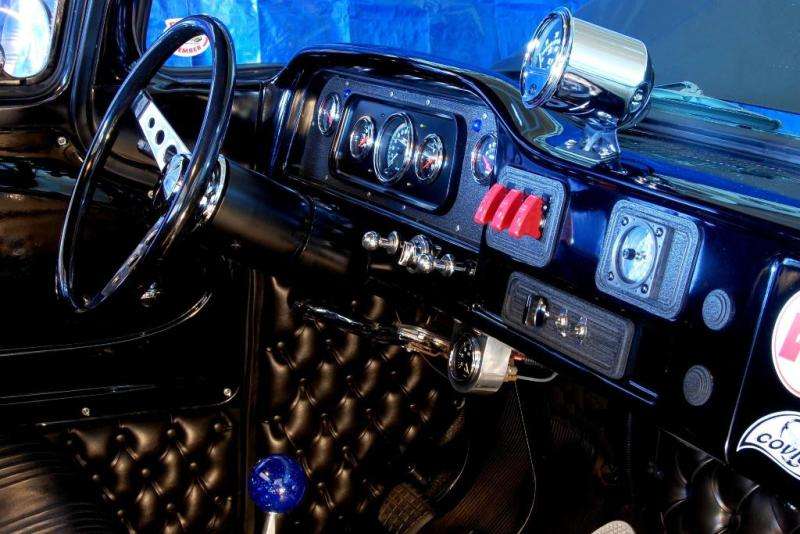
The new had barely worn off panel #4 before I started thinking about redesign #5. I discovered panel #4 looked very similar to the standard Ford dashboard of the same period, and it just didn’t look very striking. This time I wanted something that actually looked like it had some thought put into it, and would also be reminiscent of the original cluster. So a two piece design was dreamed up and fabricated by my machinist son.
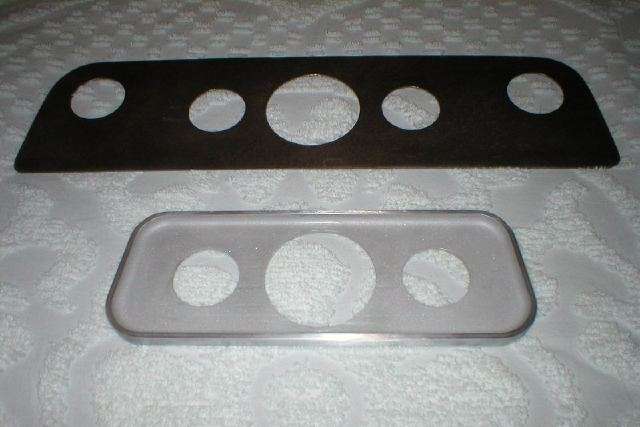
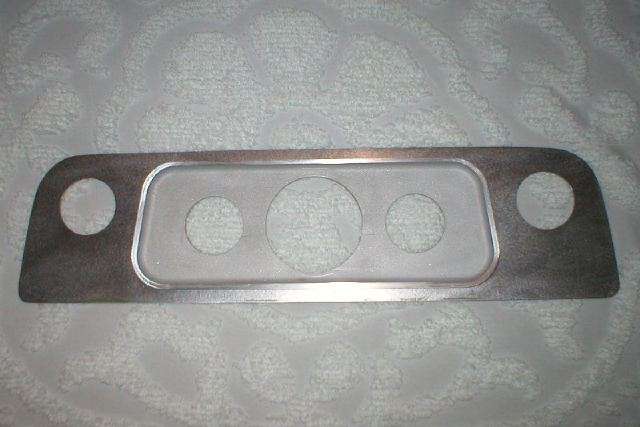
I wanted to minimize the amount of wrinkle finish, so the center panel was painted satin black and fit over the wrinkle back panel. Another feature of both panels 4 & 5 is they attach by perimeter screws to the factory rim. This allows removal of the cluster panel without scratching the paint on the dash.
Being an old guy with a bad back, I can’t work up under the dash. With the current configuration, I can pull the steering wheel and have the instrument panel pulled and laying on a towel within 15 minutes. This allows all gauge wiring issues to be handled from the comfort of the driver’s seat.
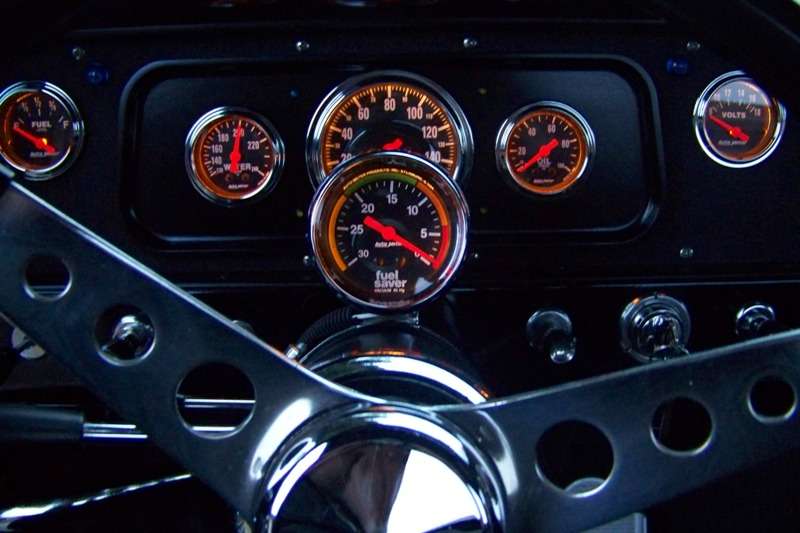
Here’s a shot of the assembled dash. In addition to the gauges on the instrument panel, I also moved the vacuum gauge to the steering column, and the clock to the old heater panel. Fog lamp and heater switches which had previously been on the heater panel were moved to the radio plate, after more modifications by my son:
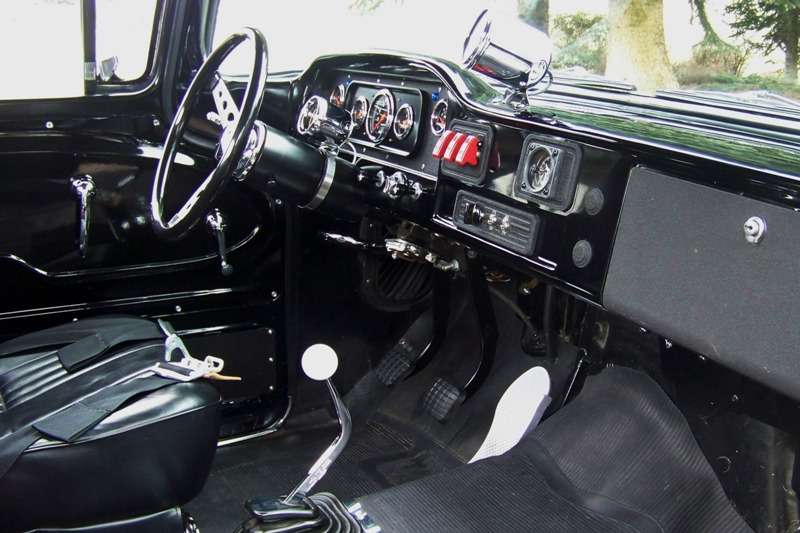
At first I thought having the gauge on the steering column would be an interesting feature, but the chrome cup glared so bad in the windshield I had to put a cut off sock over the cup to see where I was going.
I tried mounting the vacuum gauge under the dash lip, which looked ridiculous:
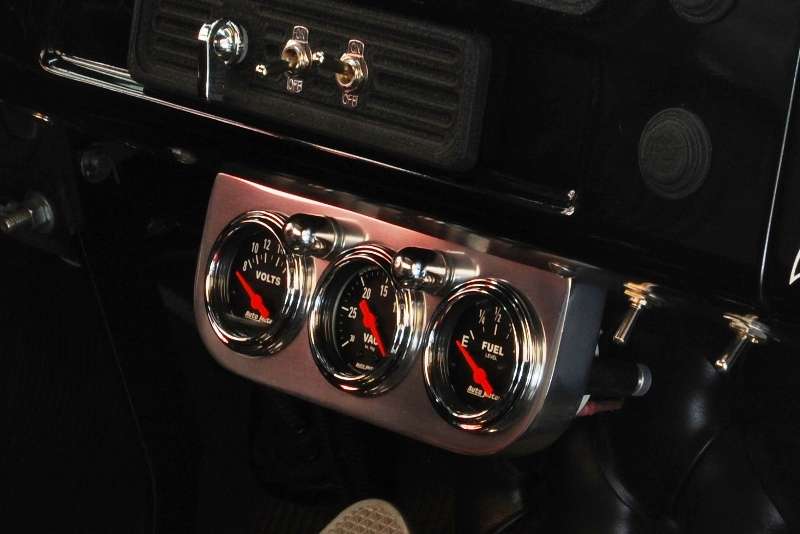
This gave me an excuse to create one of the few missing accessories that were so popular in my youth – an under dash gauge panel. Not being able to find a suitable accessory panel, I once again called on my son. He whipped one up out of aluminum, and a 2 1/16” vacuum gauge was mounted down below:
Lingering on this topic a bit into the future, this configuration lasted for several years until I got the bug for a triple gauge panel with external lights. These were very popular in 1962 and were gone almost as soon as they appeared (panels with external lights).
After years of searching, I finally came up with a suitable example at a price I could afford. Upon arrival it was discovered to not be in the tip top shape I had hoped for. Starting with 100 grit on an air file, final polish came 3 ½ hours later. Unfortunately my son recently borrowed his buffer back so all the finish work had to be done by hand. Rather than fabricating a new cluster panel to eliminate the empty gauge holes, I decided to cover the holes with two chrome bullets I had hanging around. I actually like the way they look, appearing more as design features than an afterthought to cover up missing gauges.

Here’s the before shot with the VDO gauge in the center

And here’s the after shot with the Autometer matched set, clearly illustrating how much more important the Autometer rim looks:
Having every interior accessory I ever dreamed of owning in my youth, no additional dash changes are scheduled or anticipated.
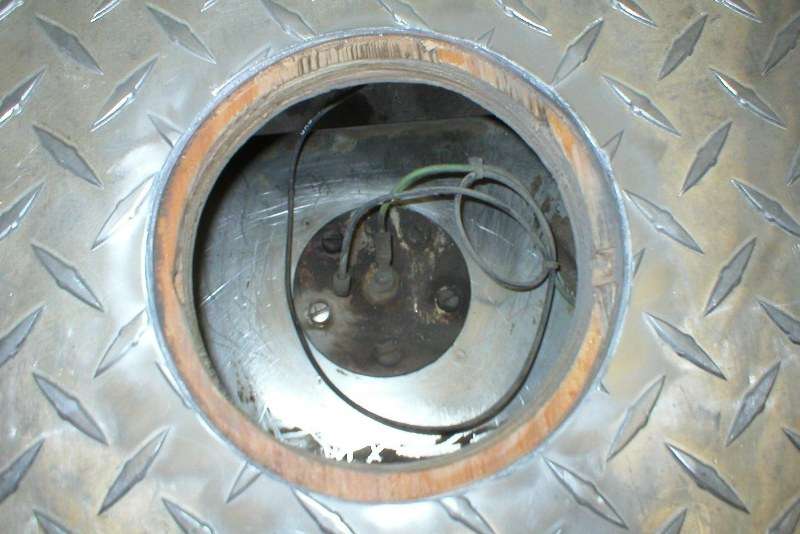
Swapping from VDO to Autometer gauges also meant the gas gauge sending unit had to go. Since my bed is already ugly (and covered), I simply cut another hole over the sending unit to allow removal and replacement of the sender. The cover plate was reattached with epoxy. It was certainly easier than dropping the tank.