To read the original thread and discussion on this topic go here- LINK
So...I bought this BEAUTY of a cab up here in the northeast where it like finding a needle in a haystack. Every bit of this cab is mint except the cab supports, and the usual rockers, cab corners, etc. Same ol song and dance. I thought this was a great opportunity to purchase Tri-pros new one piece floor. I ordered the floor, both sets of A and B pillar patches, kickpanel patches, rockers, and cab corners.
The cab is a 68 C-30.
Here are some closeups of the carnage:
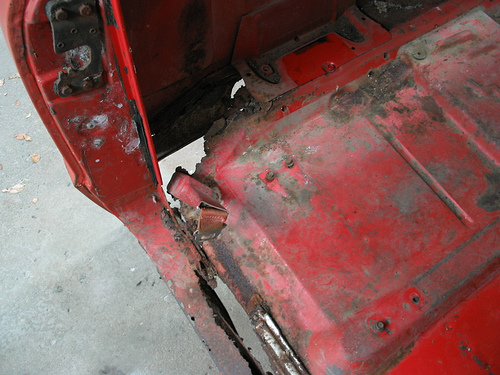

I know what your thinking, " that floor looks pretty nice!" Yes, it was, but all the cab supports are gone, so instead of screwing with replacing all those, I got this:


OHHH, isn't she purdy!
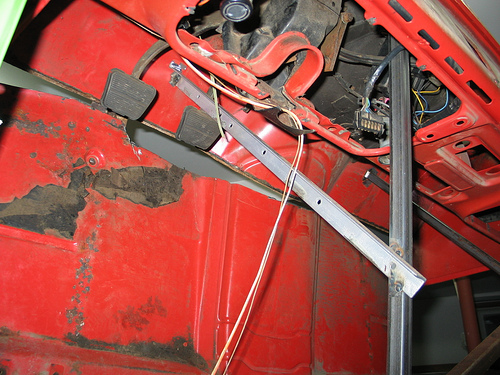
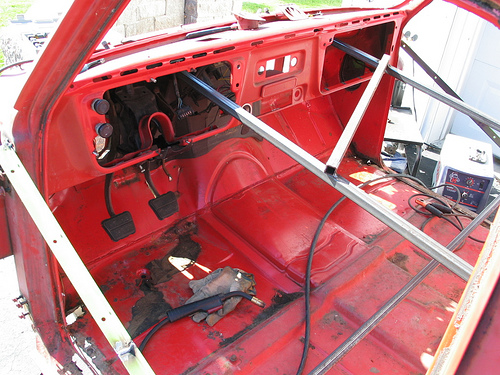
So the first step I took was to brace this bad boy up. The more the better I believe. So I put two braces from the rear wall to the firewall, and then tied those together. Then I ran some across the door openings, and tied those together. Lastly, I ran two vertical braces to tie the upper and lower together. Hopefully this will do the trick. Other people I have seen do the floor swap only put the first two braces in from rear wall to firewall and they did not report any issues with movement, so I think I am all set.

After the cab was braced, the first thing I did was remove the rockers. This is the first time I've done any sheet metal work, so I was expecting this was going to be a....well you know. Anyway, the rockers came out real easy! I was pleasantly surprised. The first thing I did was clean off the area to find the spot welds, then I center punched them.