Almost finished with the transfer case. As far as internals go, I'm done with the rebuild, now I'm working on getting my mount plates and such bolted up. Unfortunately I procrastinated on ordering hardware from McMaster, so the case wont be ready to go in until the end of the week. However, I did fit up my e-brake and its perfect. A bit of a PITA to put together but I'll work on that. First picture below shows the rear mounting plate all painted up and the e-brake caliper bracket. I'll get a pic of the e-brake fully assembled tomorrow after I do some cutting to make it easier to put together. Also something to note on the rebuild, and something I would recommend for anyone looking to take on an NP205 rebuild, I went through EVERYTHING in this case, NP205's are very very simple transfer cases, really nothing to them, and an extra hour or two spent during the rebuild to clean every single gear, shaft, and needle bearing will pay off in the long run. I didn't bother with many pictures of that because most of that good stuff is shown in the service manuals if you decide to rebuild a 205 yourself. And yes I am OCD about the black and chevy orange thing if you can't already tell. It's a good color combo.

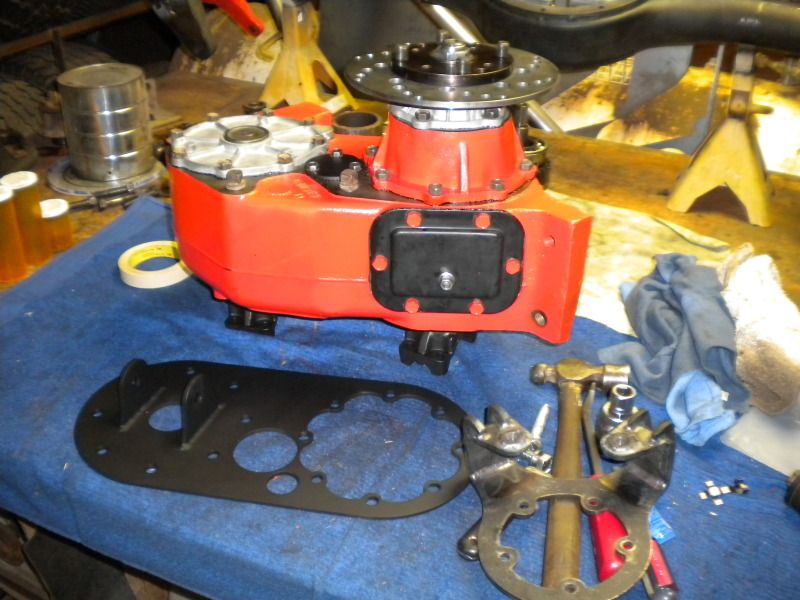
Didn't feel like flipping the case over again to get pictures of the front input and front output yokes, but here they are, a pair of beefy 1350 yokes.

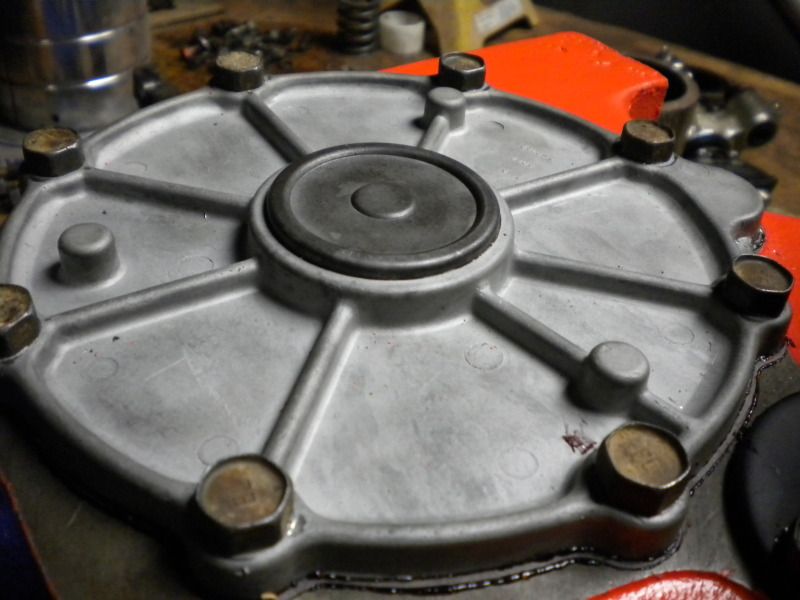
Also note I sand blasted the bearing/seal retainers and left them alone after that, I like how they look.

Also sand blasted the front output rear cover and left it alone after blasting, has a cool finish to it. Don't mind the dirty hardware, that's all getting replaced with new bling grade 8 stuff from McMaster.
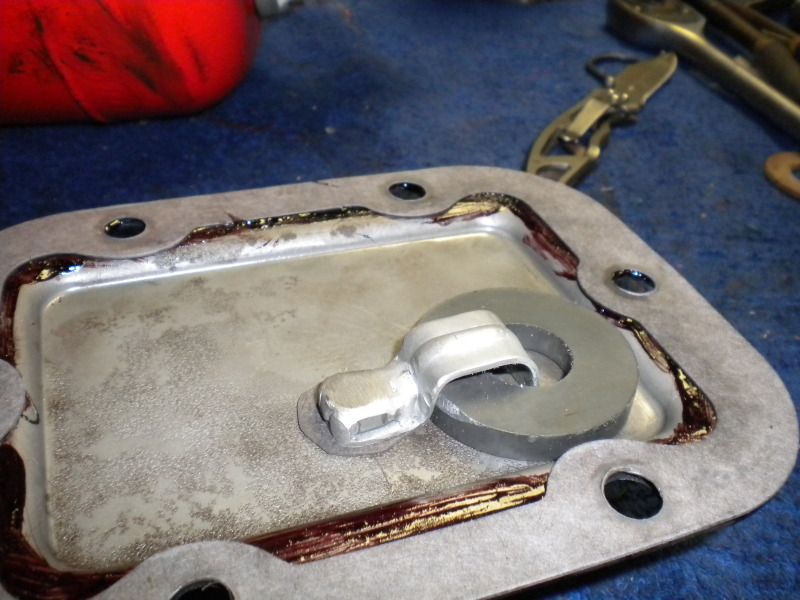
When I was assembling this 205, I noticed the old Ford divorced 205 housing did not have an extra rib in it to attach the clip for the magnet in the housing. I really didn't like the idea of not having a magnet to grab up any metal particles from the oil. Since I will have it clocked with front output 10* below input/output level, and the PTO cover will be fairly low and have oil constantly on it or flowing over it, it would be a good place to put a magnet. So I took a clip meant for securing conduit, welded a 5/16'' bolt to it, drilled a hole in the PTO cover, put 2 nuts and red threadlock for extra security, and I ended up with a nifty magnet clip that won't come lose and let the magnet get munched by the gears like the stock clip can allow.
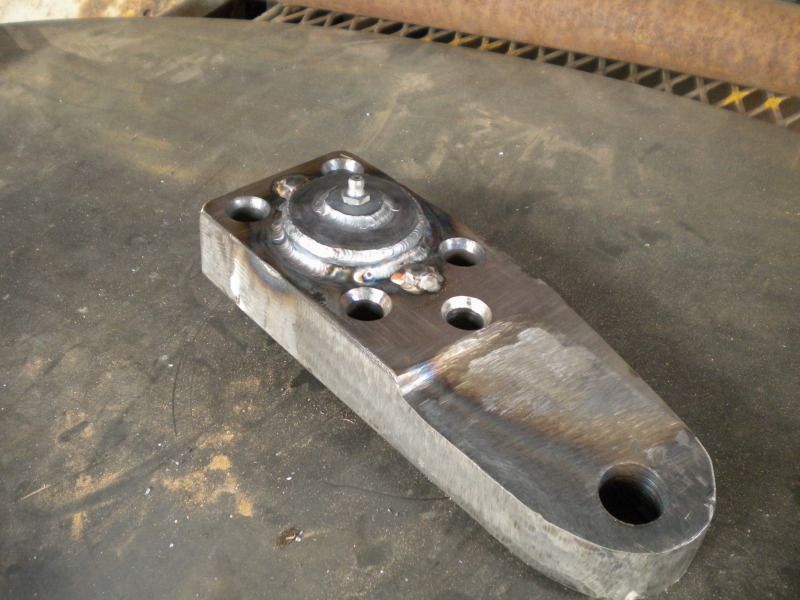
And I'm almost finished with my crossover steering arm, just have to order a tapered insert from WFO to weld in and it'll be good to go.
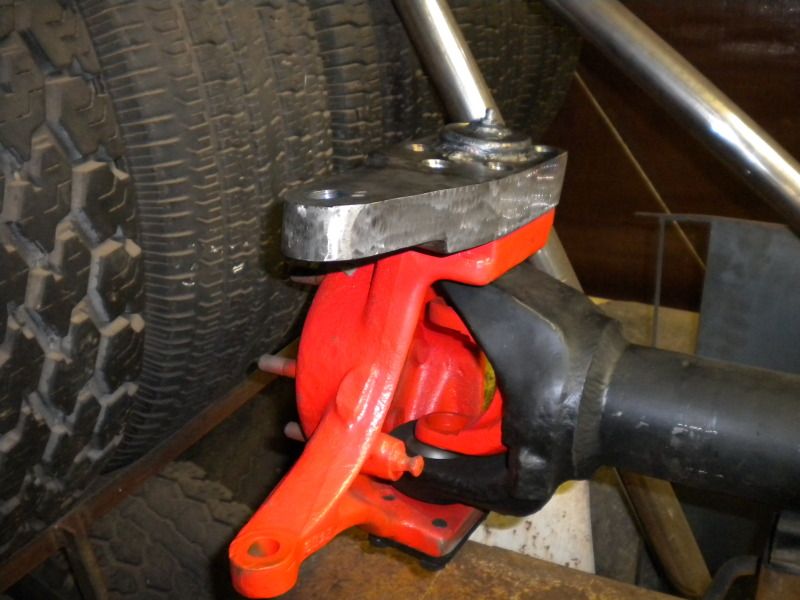
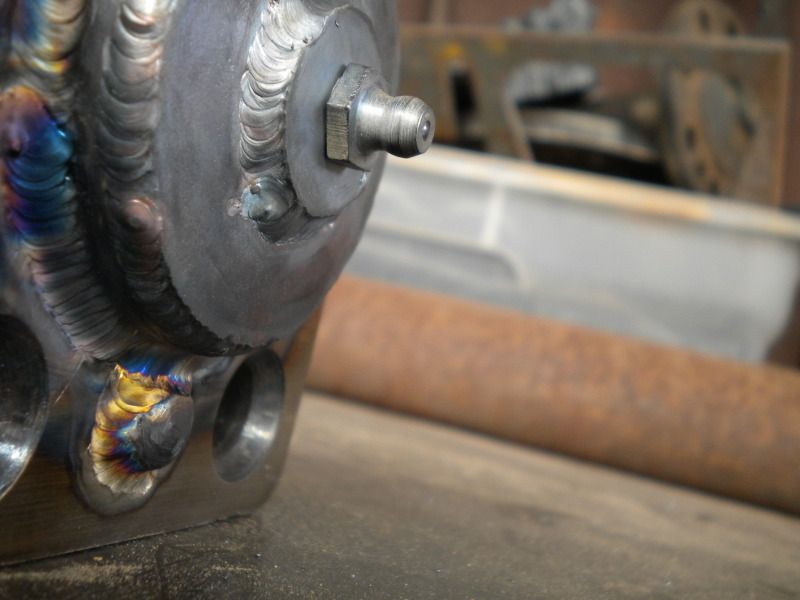
I TIG welded the kingpin spring cap and dowel pins to it yesterday and it came out nice. The inside of the cap has a thick flat washer below the outer cone shaped washer, so as not to wear a deep groove in the cap over time.
Cap and dowel pin, gotta show off those TIG welds!

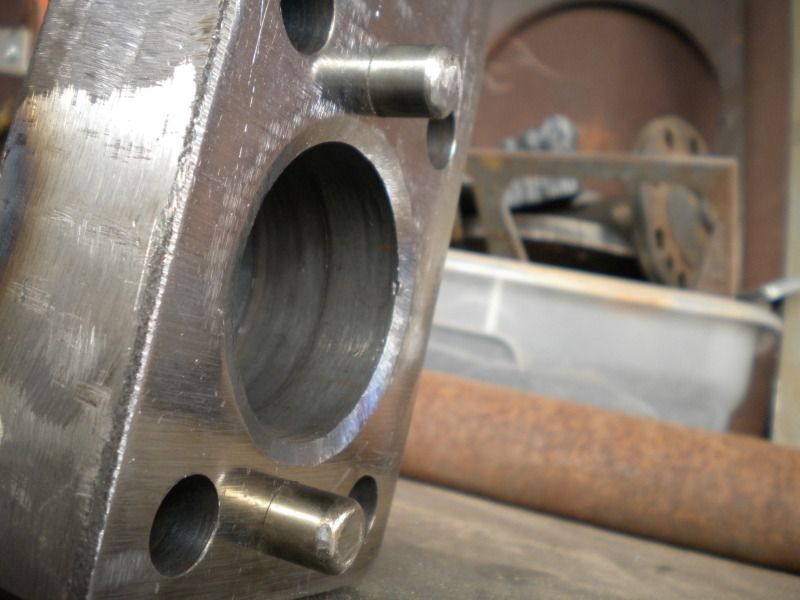
And this is what the bottom of it looks like with the dowel pins. I ran the arm across a belt sander for a while before putting the dowel pins in to get a nice flat smooth surface where it contacts the knuckle.
More updates with pictures coming soon! Stay tuned!