Quote:
Originally Posted by hgs_notes

Thank you
Blind luck LOL
Thanks! It certainly has evolved.
Yesterday I got the other side bar done between the middle and rear hoops.
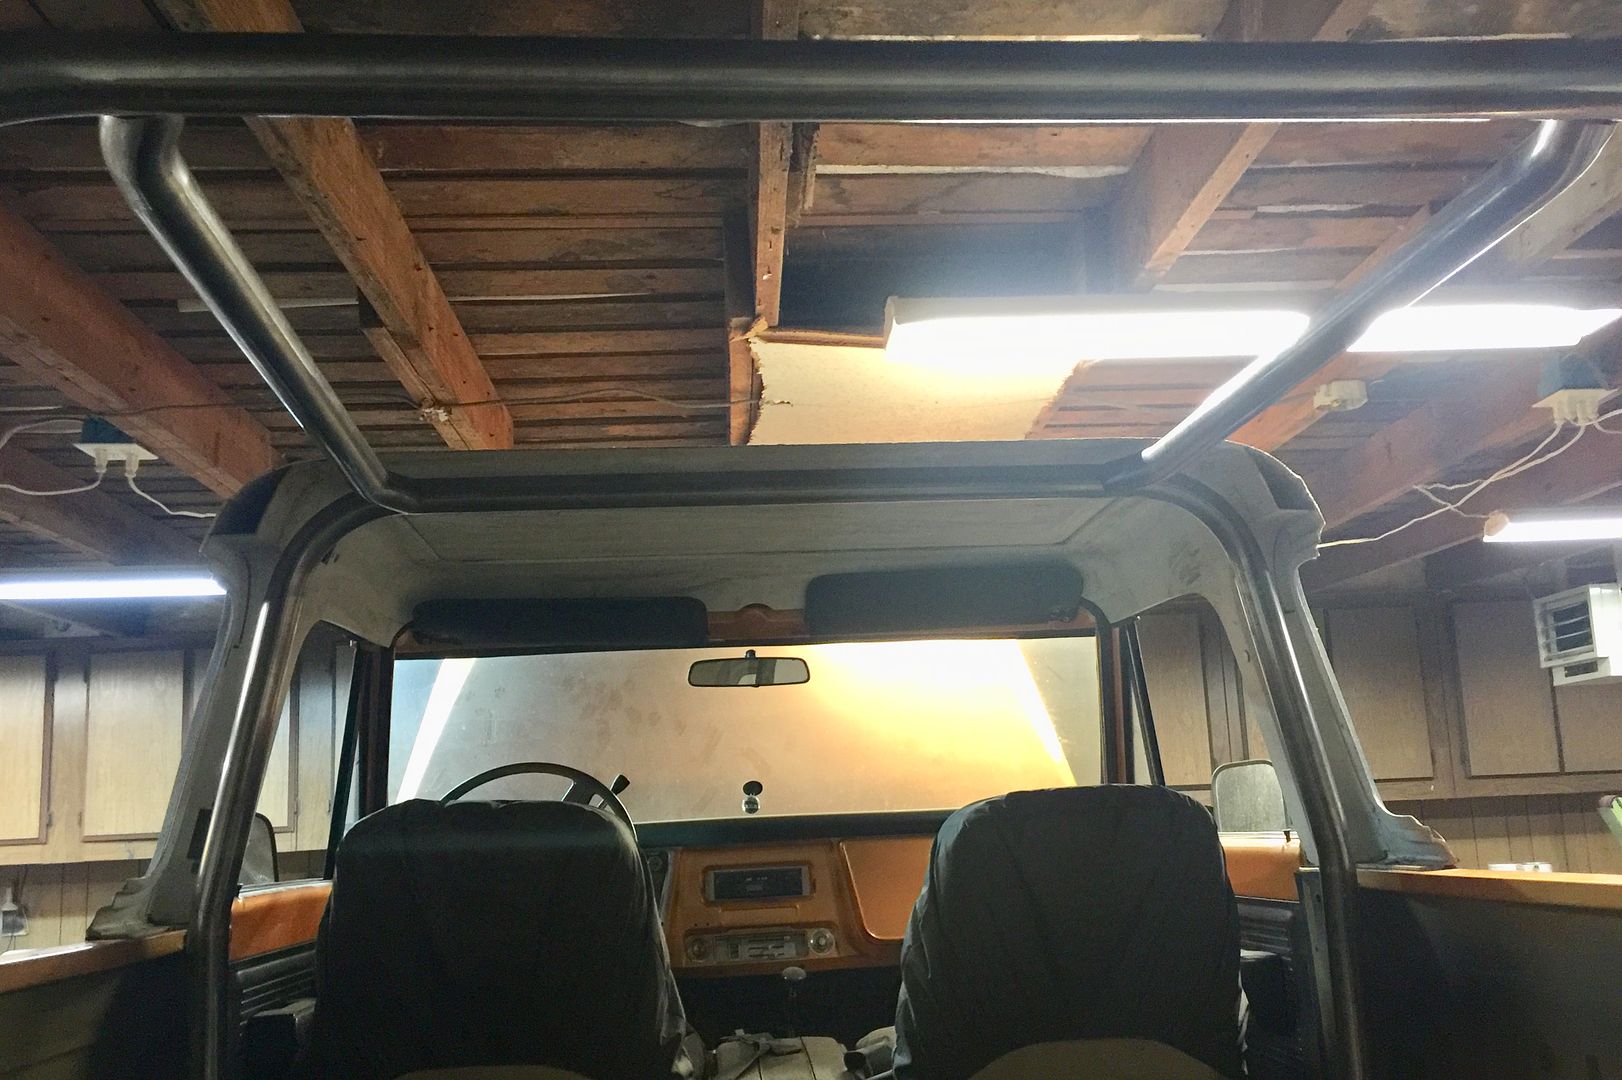
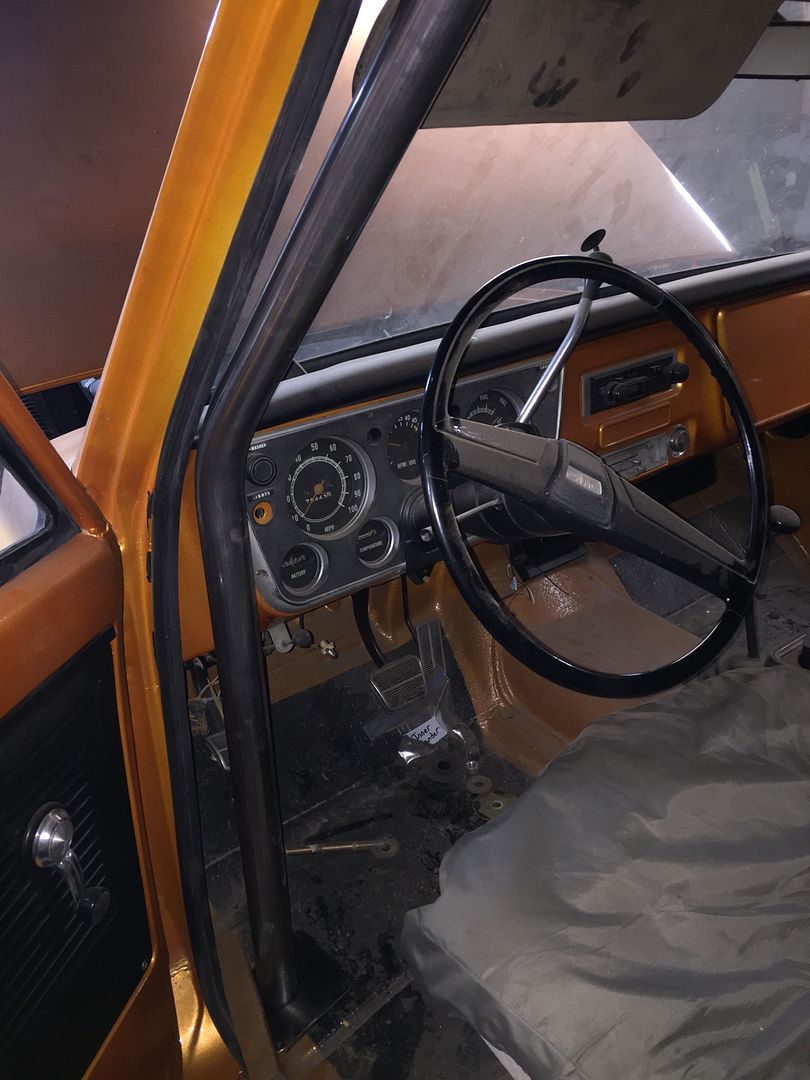
Then the part I have been dreading, those front bars along the windshield post. Sure they are pre-bent, but nowhere near close to fitting. Each end was about 6-8" too long so getting it in to try and mock up was not going to happen without cutting first. I took a bunch of measurements and did a little geometry and got the lower part of the bar cut fairly close without being too short. That gave me an idea of where the bar would mount to the floor. Then more measurements and geometry and using the magnet levels and calibrated eyeball to make an informed guess of the back end where it meets the middle hoop.
At that point I could get it in and see where I was at. I was able to get the bottom end angle cut and set the tube in it's final resting spot. Then was able to mark the angle where the tube met the middle hoop. It's got a weird angle because the windshield post angles back and inward but the bar is bent through a single plain. So if the lower part is vertical along the door to the dash, then the bar is turned inward towards the back.
Anyway, setting up to notch that back end of the tube was challenging for a noob like me. Eventually I realized that if I set the notch angle, which is perpendicular to the vertical front section of the bar, then I just had to rotate the tube in the notcher until the lower section was level. 
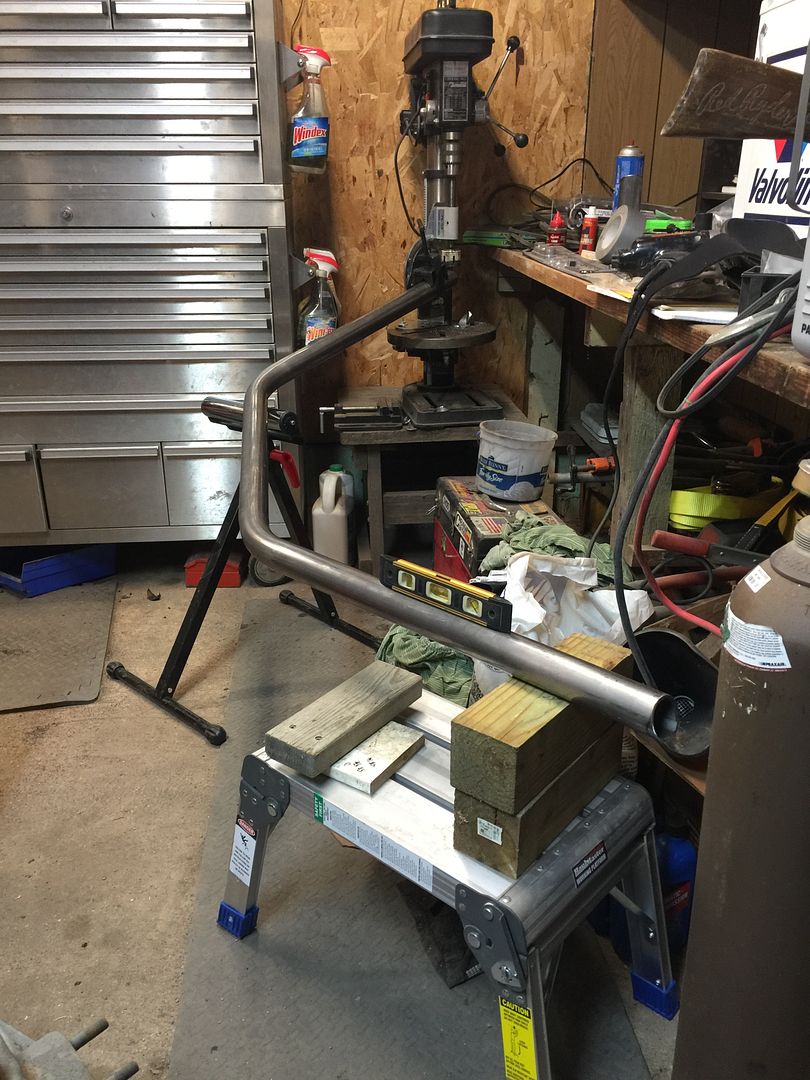
Holy hell it worked!!!  

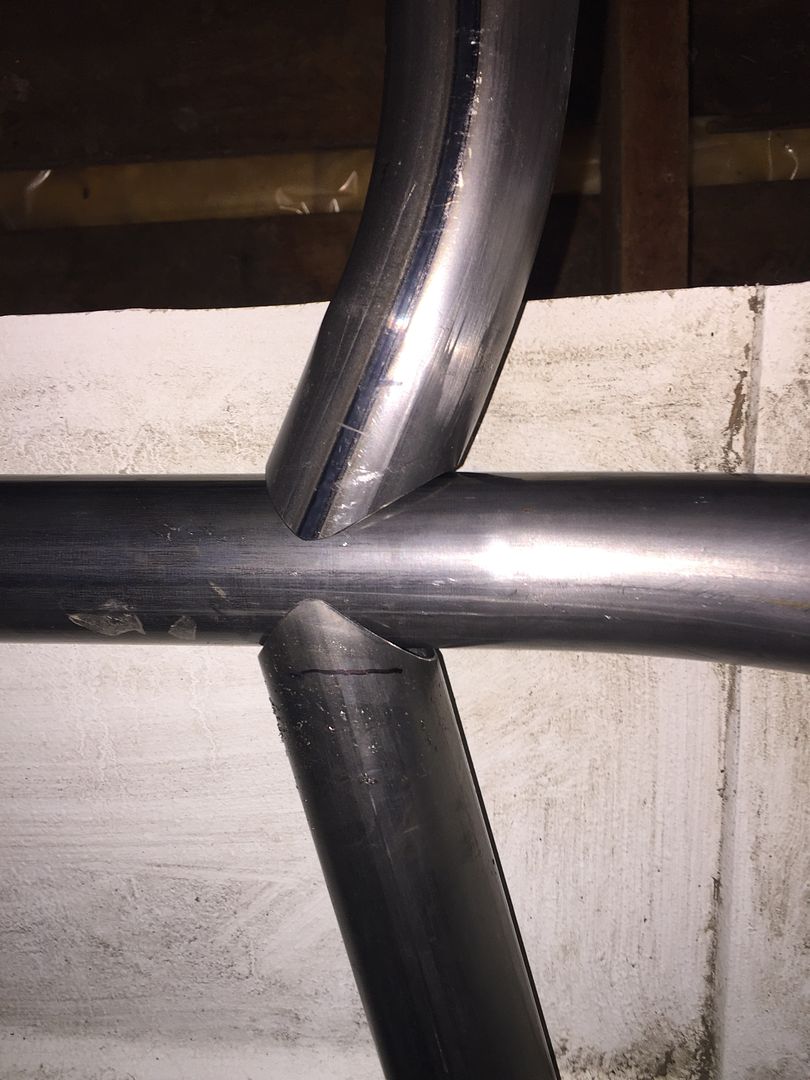
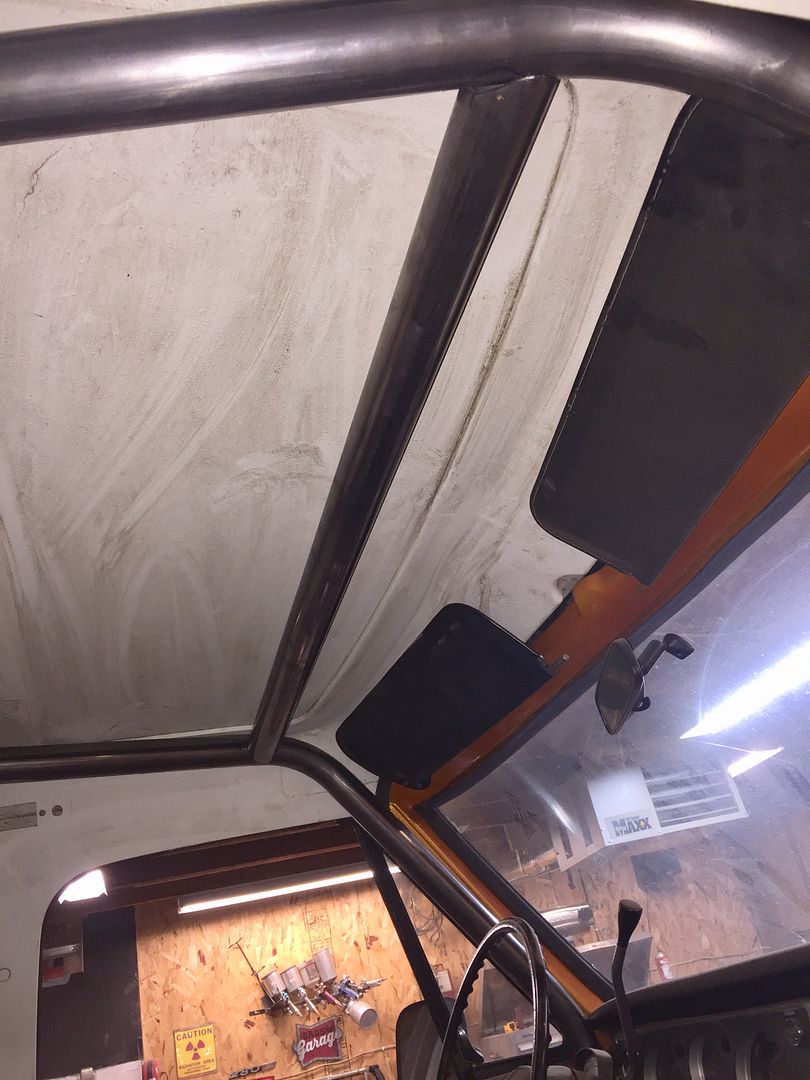
You can really see the angle here...
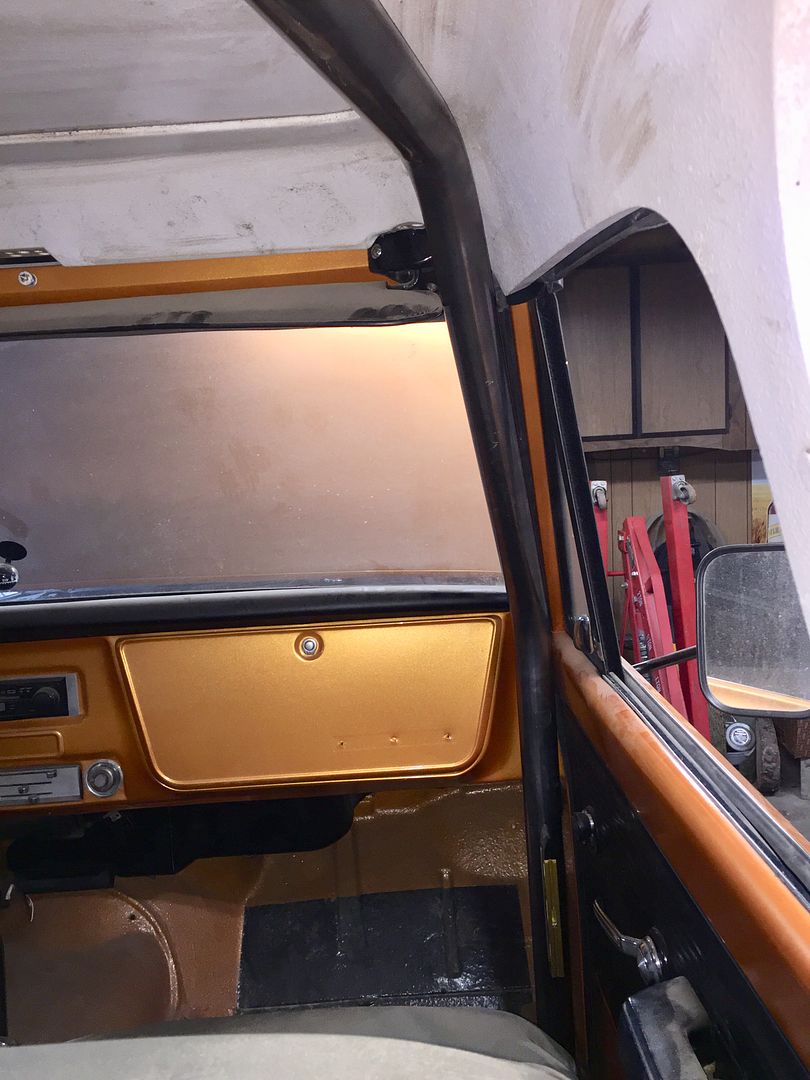
This pic is looking upward at the middle hoop where the front and rear tubes attach. The upper (in the pic) is the rear and the lower is the front tube.
After hyperventilating a bit at my success I pulled the tube back out to use as a pattern for the other side. I just set the uncut driver side tube on the floor and set the cut one on top of it and marked it up for cutting. Just needed to reverse it in the notcher.
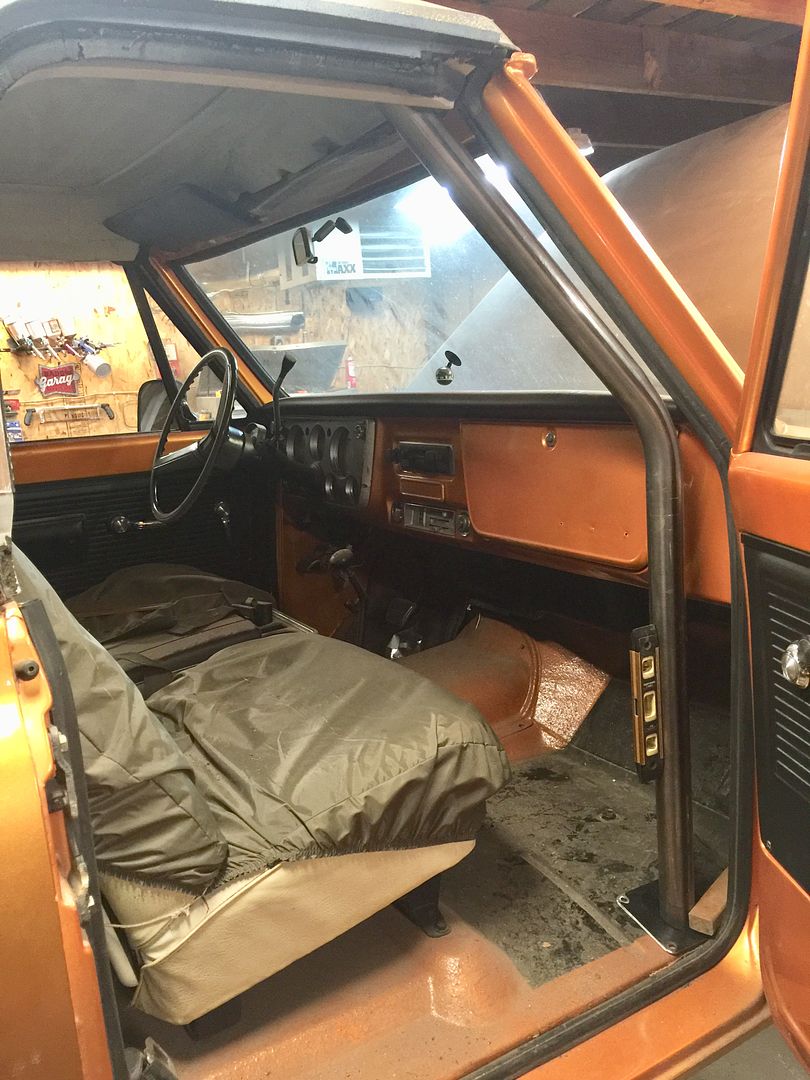
Sweet! It fit. The cross tube wasn't too difficult, although I think I'm going to pull it out for a small adjustment. The angle for the notcher stays the same because math. LOL
I think I was off a few degrees from one end to the other and I want it to fit back about a half inch from where it is now.
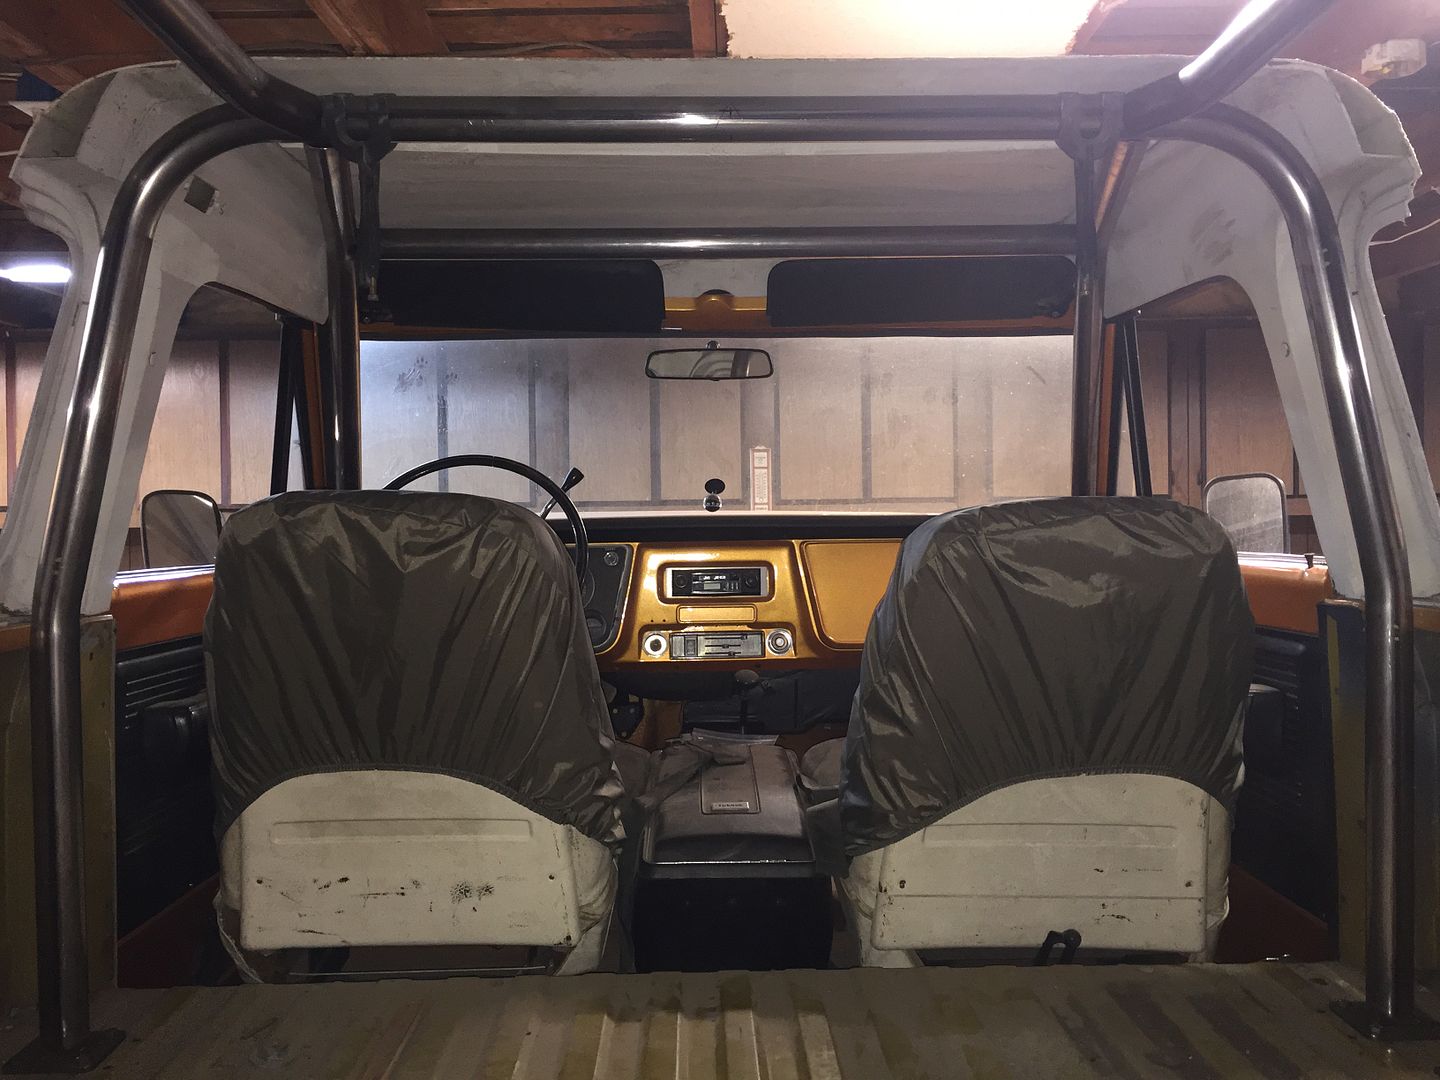
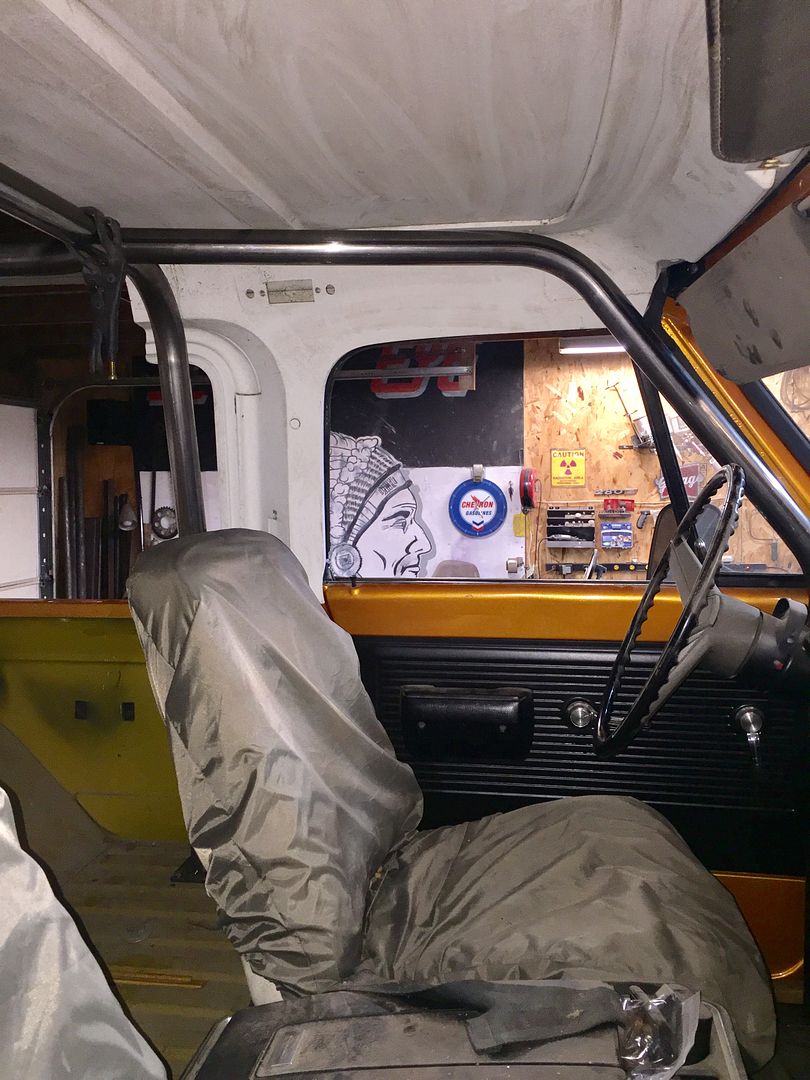
No interference with the doors, the glove box door opens, the visors will move, though they do hit the tubes. They flex enough to work though. None of the tubes are tacked together yet. They just fit good enough to stay in place with a couple locking pliers to keep them from sliding out of place. I'll have to remove the seats and console for room to work.
As it is it's a 6 point cage. There are 2 more tubes that are supposed to mount to the rear wheel tubs. I'm not going to do anything with them until I figure out the rear suspension because I'll probably be incorporating upper shock mounts, etc. I'll be adding some triangulation tubes, door area tubes, and tubes through the firewall to the front of the frame. I'll end up with at least an 10 point cage but probably more like 12-14 point when it's all said and done. |
I have driven several vehicles with cages over the years, I want to share some thoughts.

I am worried about how far inboard your side bars come in, they are almost directly overhead, if you wind up in the situation you need the roll bar, this could be fatal because it would be like having a baseball bat dropped right on top of your noggin!
It would be better to tie the bars in at the corner of the bend (shown in green) keeping the bars as close to the edge of the shell as possible! (orange)
I know it would probably mean having to buy more material at this point, but a couple of sticks of tubing are a lot cheaper than a serious injury or even loss of life! Especially if it is someone you love and you are left holding the regret bag.
Tying into the corner of the bend is pretty easy, you make a kicker bend that is at a 45° angle to the side tube, then make the notch perpendicular to that, and it will fit right in!

Also I strongly suggest putting an offset bend in the post going to the floor show in orange here, the reason for this is, when getting in and out of the truck it will make it a lot easier with your feet, get your foot wrapped around that bar as you are getting out and go Alpha Sierra Sierra over tea-kettle face first onto the pavement and you will understand why!

Also do install grab handles up at the front corner of the cage, but make sure that handle is inboard enough in its arc that if the truck were laying on its side and the cab crushed in, that who ever's hand is holding that handle will not be crushed! Because if the truck goes over the first thing someone is going to do is grab that handle!
And don't forget if you install 5 point harnesses, make sure the shoulder bar is above the shoulders because if you have an accident and they are below the shoulders it can cause compression injuries to the spine!
I don't want to sound like a downer, I just have some experience with this and know someone who got killed when his jeep flipped and the cage dimpled his noggin.
That being said I have high hopes you never need to use the cage because it would be a shame to mess up a truck you have done such nice work on, but better to have it and not need it than need it and not have it!
P.S. and by the way, PVC pipe is great for mocking up cages as it is a lot cheaper than steel, heat it up and bend it in your bender just as you would the steel tube. if you are unhappy with how a piece came out, get a butt connection, cut off the bad part, stick a fresh piece of pipe on, and keep mocking up!