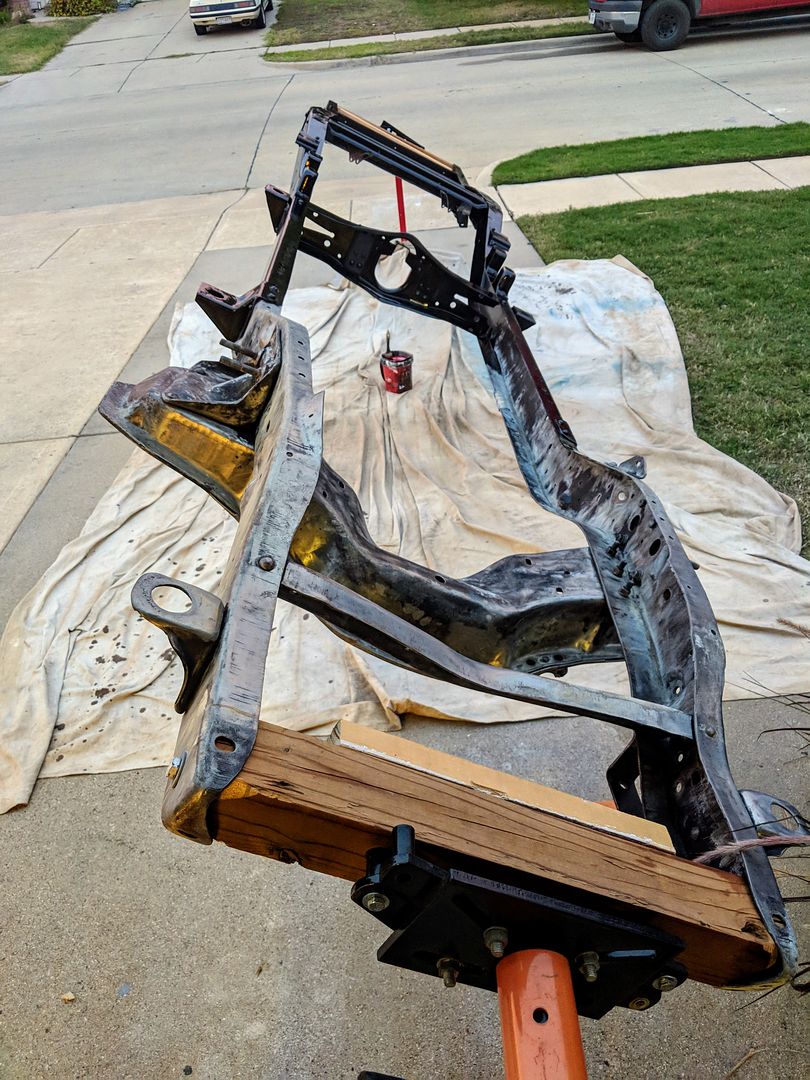
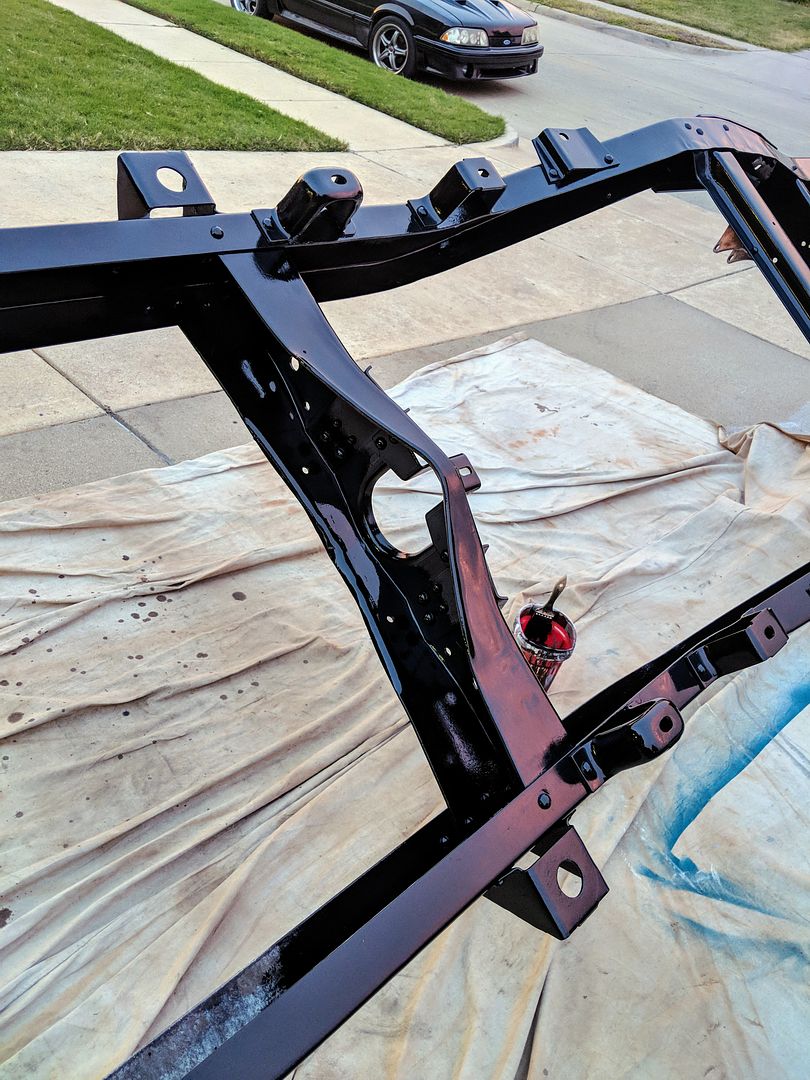
I couldn't quit there of course. I went ahead and cleaned up the frame, prepped it, and brushed on some POR-15. Check out this really cool picture. I use my google pixel 2 XL phone to take all my pictures. I also use google photos which has this cool feature where some pics it will auto fix them and then alert you asking if you want to save the photo. It's trying to get you to use their apps to modify pics of course but I like the features so I do use that app. Anyways, I thought this picture it fixed up looked really cool with a crazy Texas sky in the background.


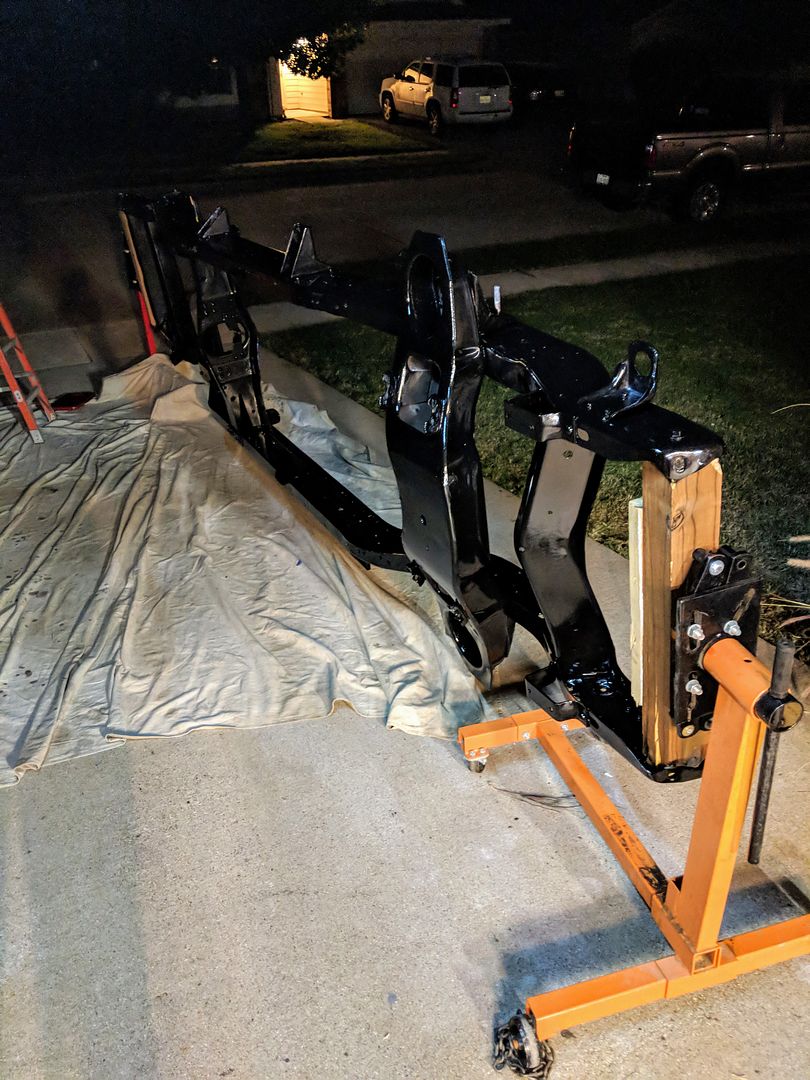
I can't tell you how ingenious the idea was to make a rotisserie out of engine stands as it make painting the frame SO MUCH EASIER. Thanks to BRUCE88 for that idea you rock sir.

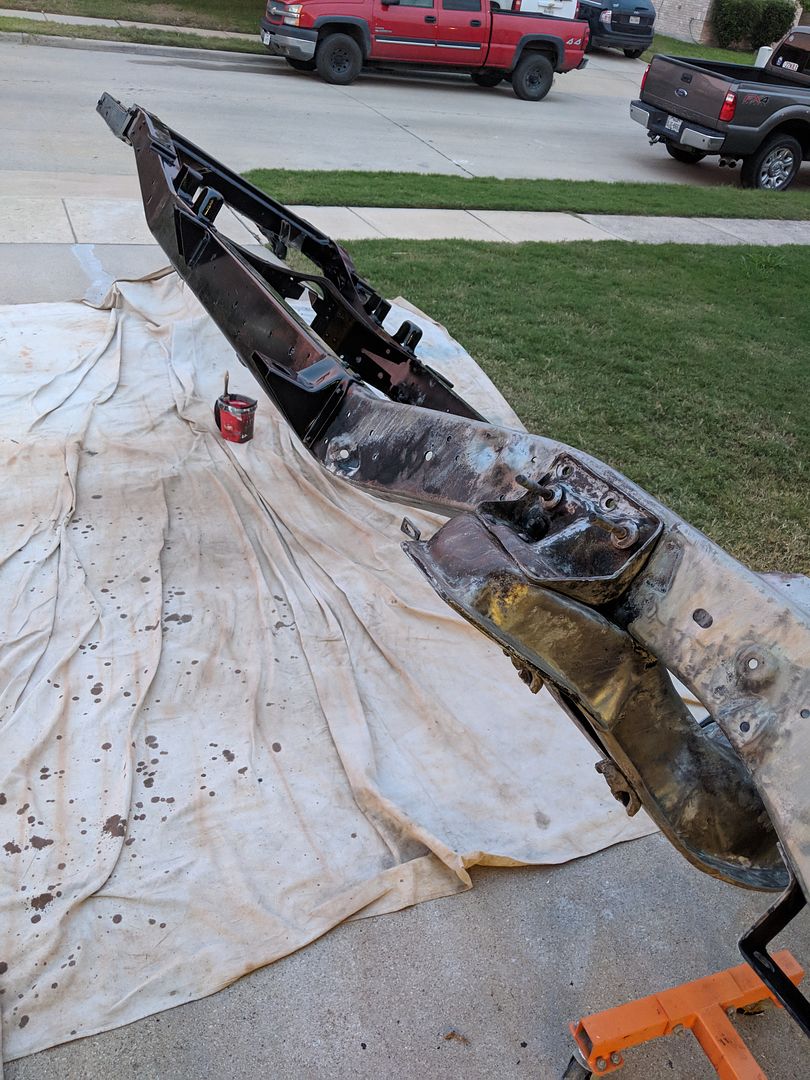
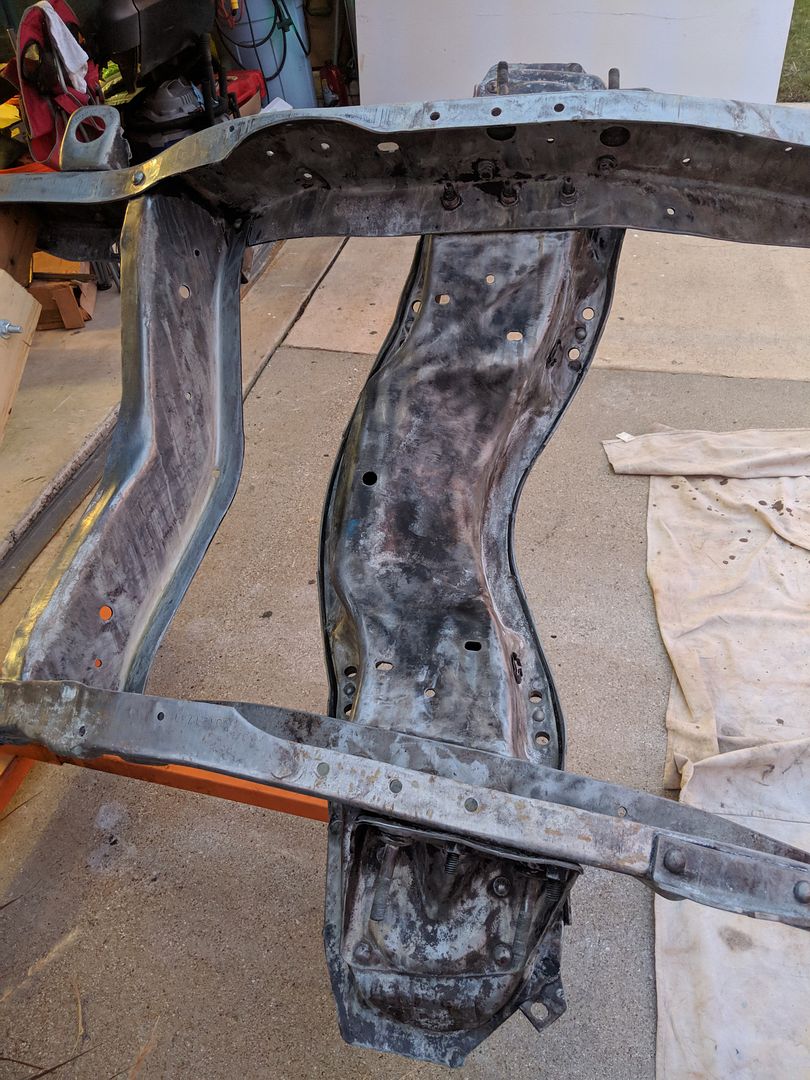
So again, I wire wheeled the whole frame. Yeah I saved time, but it was a hard dirty job. Sandblasting would have been the better and faster way to go. But I saved a little cash so whatever. So Sunday night after the c-notches I cleaned up the frame a little more with a wire brush, then blew off the dust. I sprayed on the POR-15 metal prep with a 1 gallon weed sprayer. Kept doing that for 30 minutes keeping the frame wet. That stuff ate most of the rust and etched the metal turning it almost white like a calcium look. I rinsed it off with a water hose and put the frame inside the garage for the night.
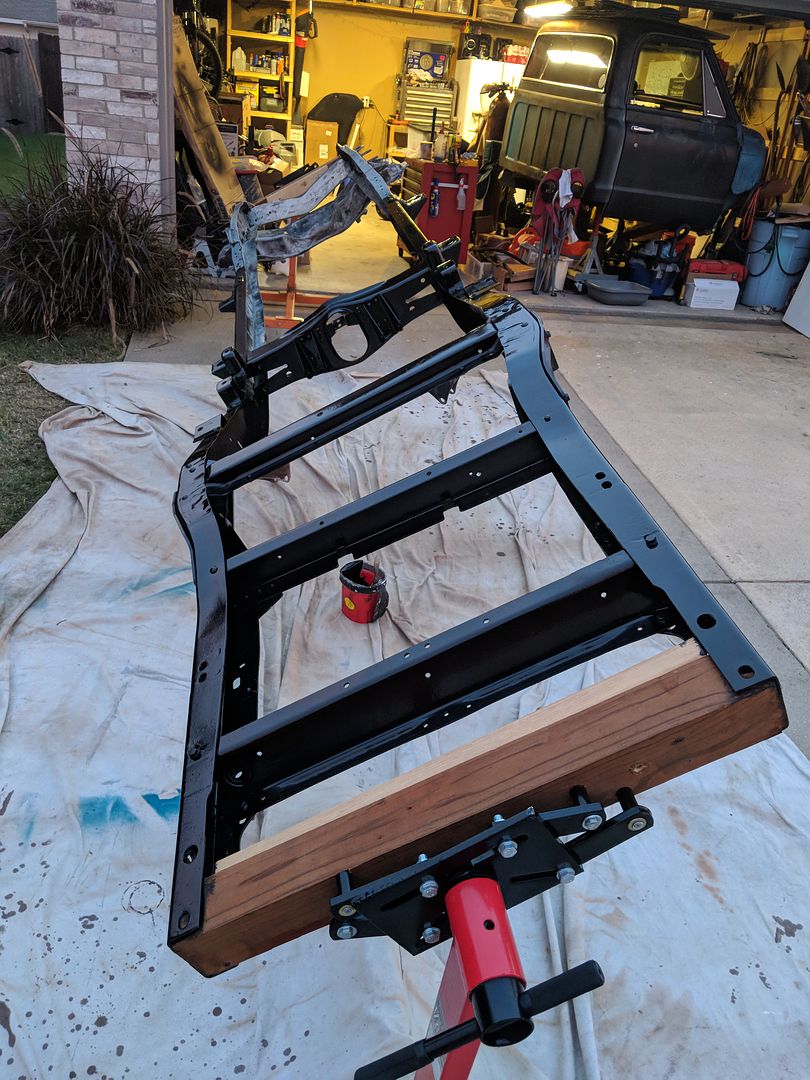
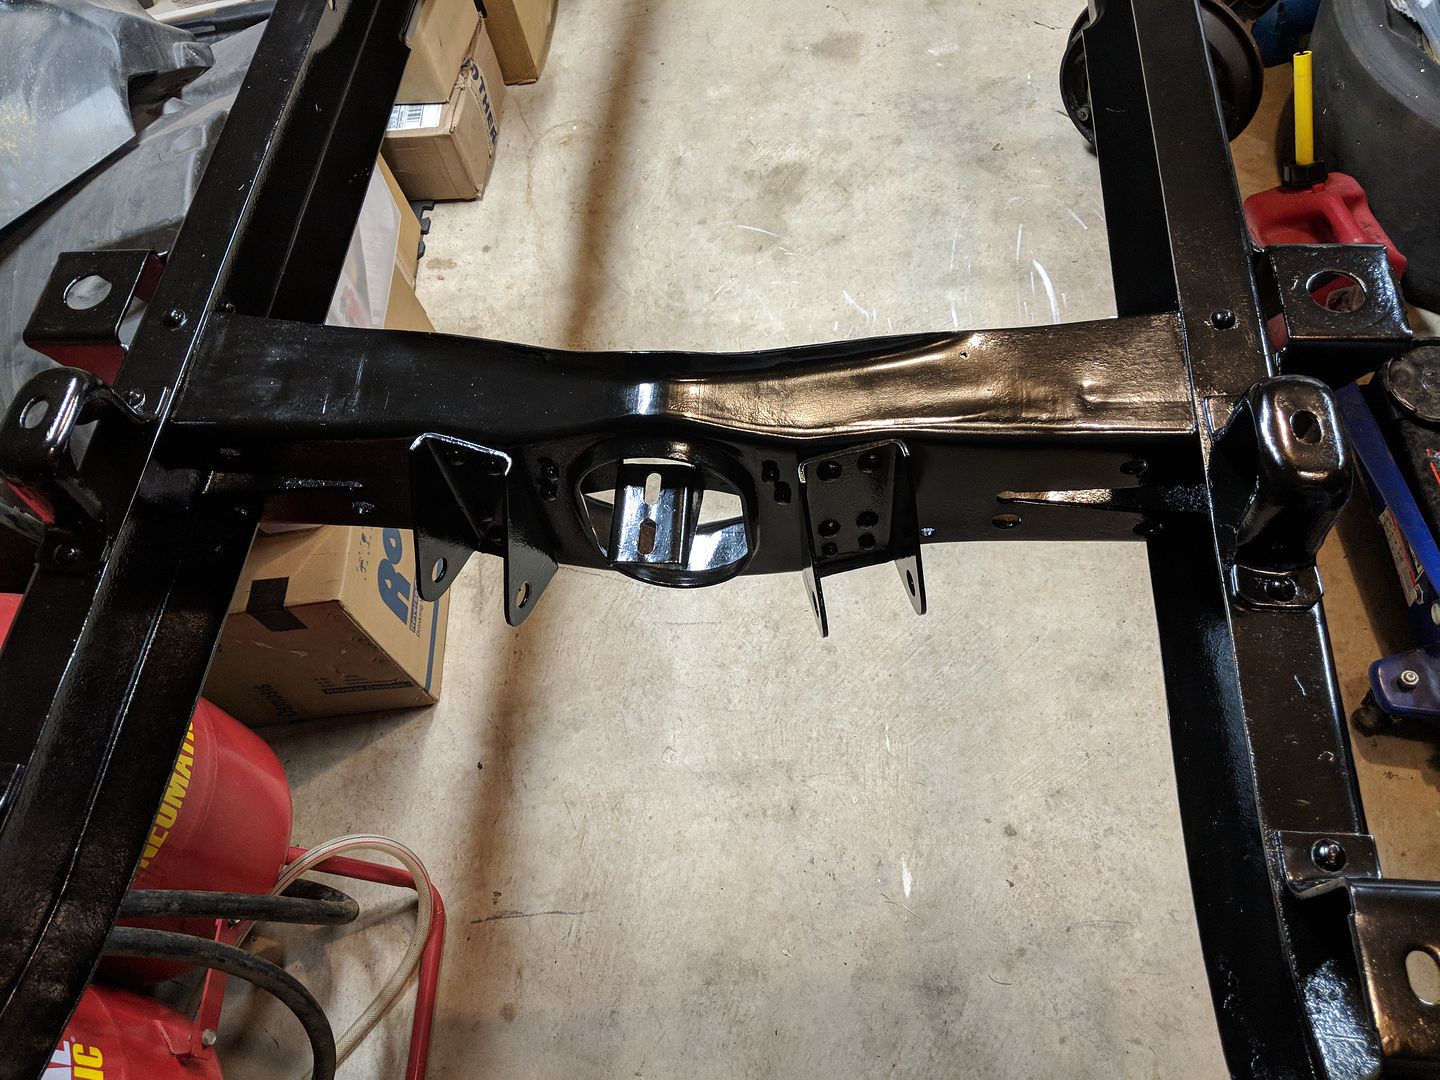
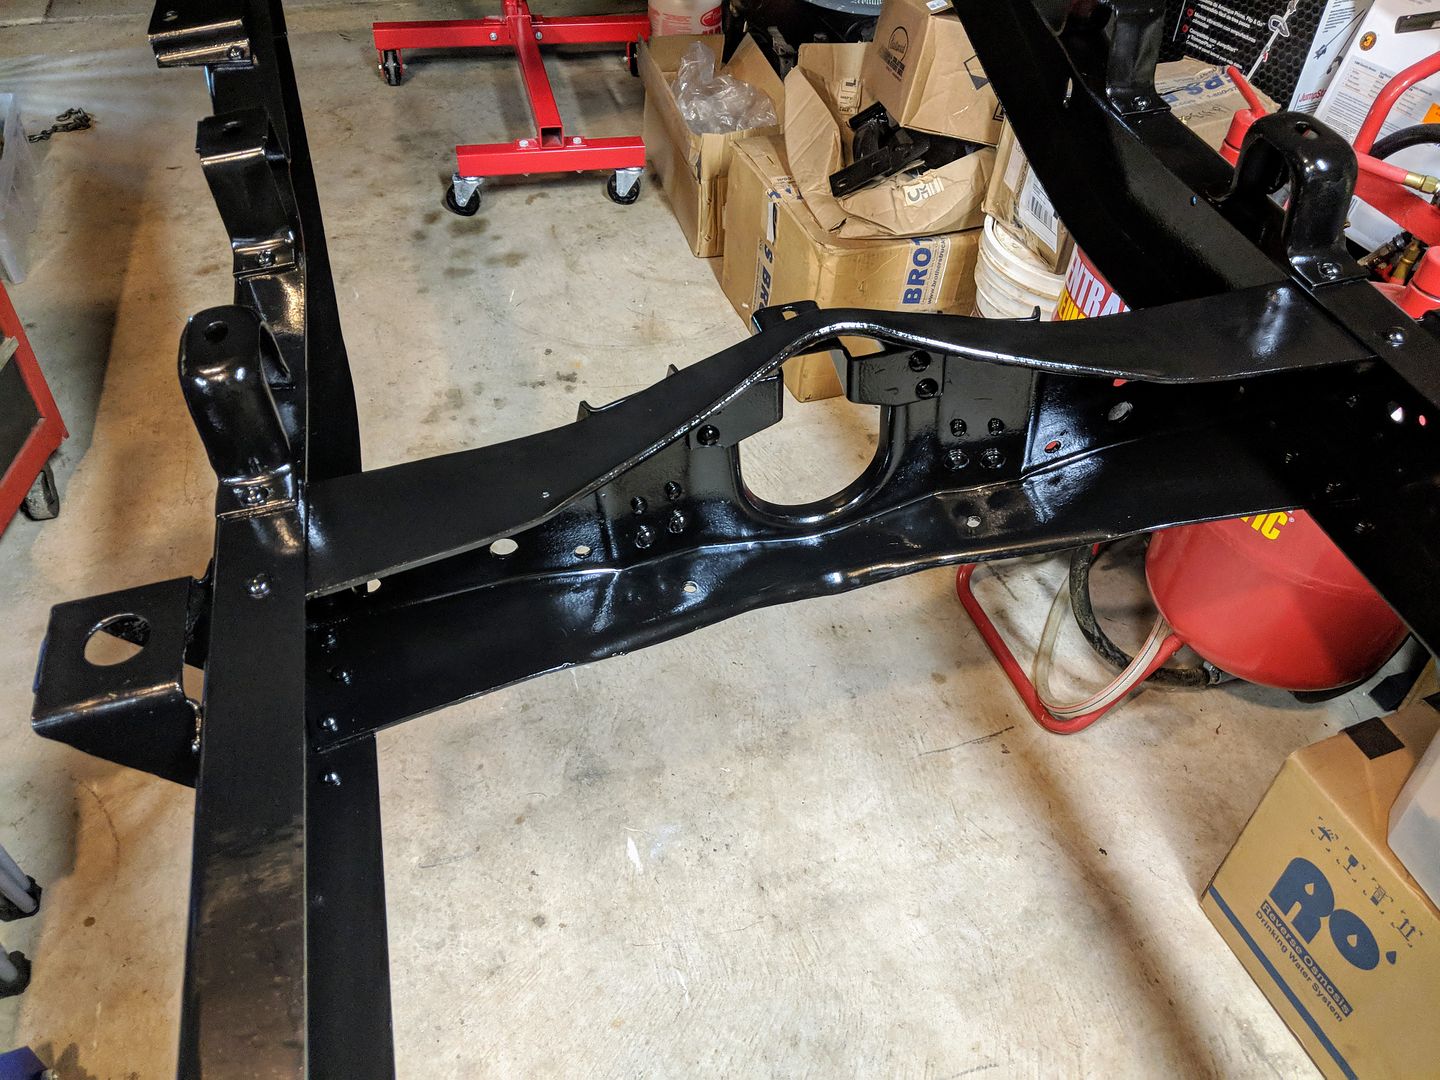
Monday night I got home from work and brushed on the first coat of POR. I used semi-gloss black. That stuff is awesome. It really goes a long way with just a little bit of product. Stuffed it back in the garage. Then tonight(Tuesday), after work I pulled it out of the garage again, scuffed the whole frame with a red scotch bright, and gave it a second coat. I did 2 coats with a single quart of POR-15 and still had just a little bit left over.
I did my research on this stuff and ended up buying 2 quarts of POR semi-gloss black, and also bought a pint of the POR top coat with UV protectant for my springs and other parts I paint that may see a little sunlight. But they all said get 2 quarts. Well i did it with one quart. But I think I may need the second quart still to do my a-arms, trailing arms, etc so I'm not sending that last quart back...
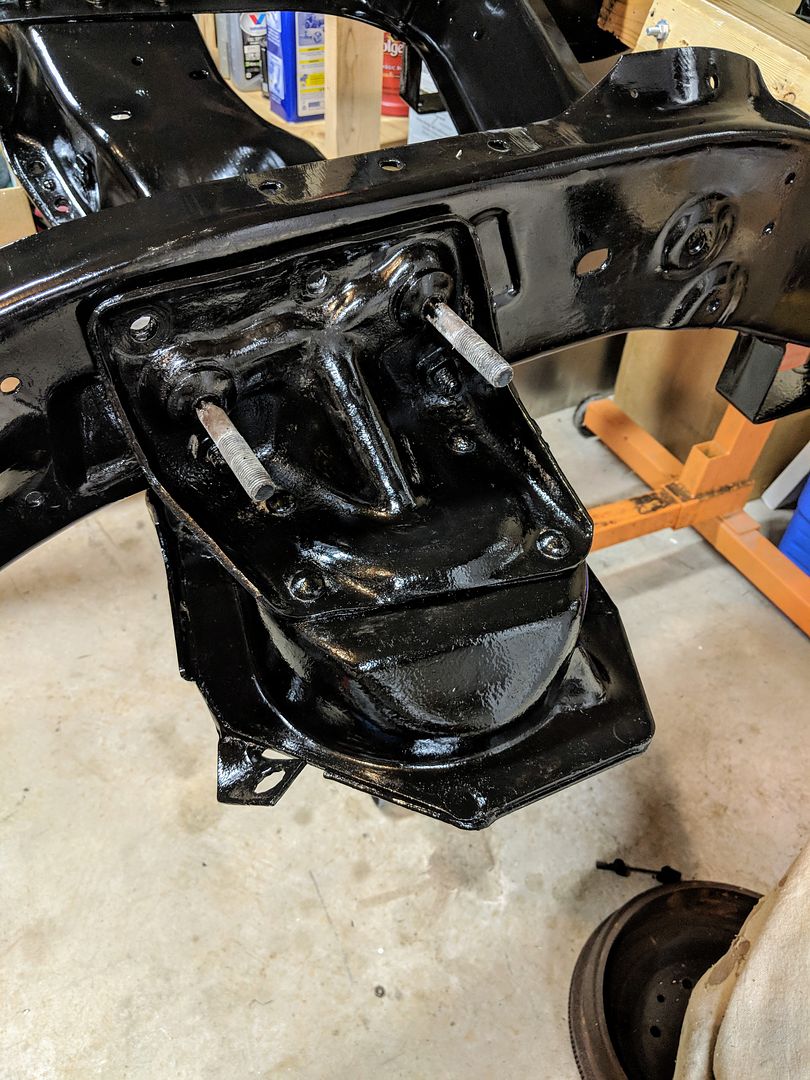
Some pics here. This is after the first coat. I will have more pics of final second coat later when I start putting together the rest of the suspension parts and get her back on her own wheels! But the second coat doesn't look much different than the first coat. This stuff is thick looking when it dries. And it almost looks like a powder coat.

.