Long ago, I took the Cummins water inlet housing and cut about one inch off of the hose nipple, then took a small block water pump and cut the inlet off of it. I gave that to a co-worker to turn down the iron above the hose nipple to the i.d. of the Cummins inlet then brazed them together. I ran into some interference with the frame though. The top of the frame rail flares up in the area of my water inlet rendering it useless--swell. I have made other plans since (another trip to the Cummins supplier with a dumptruck.....) so this setup is not going to be used, but the "flare" still creates an issue with the new plans. (The first few pics of the Cummins installed show this flared lip better than this pic)
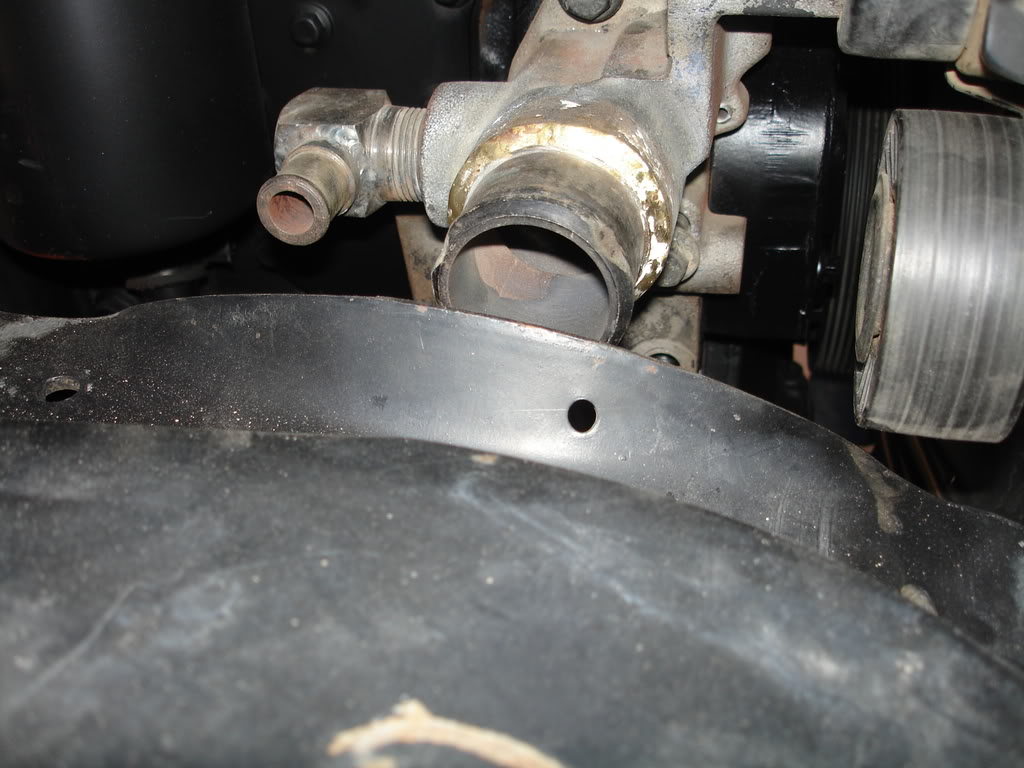
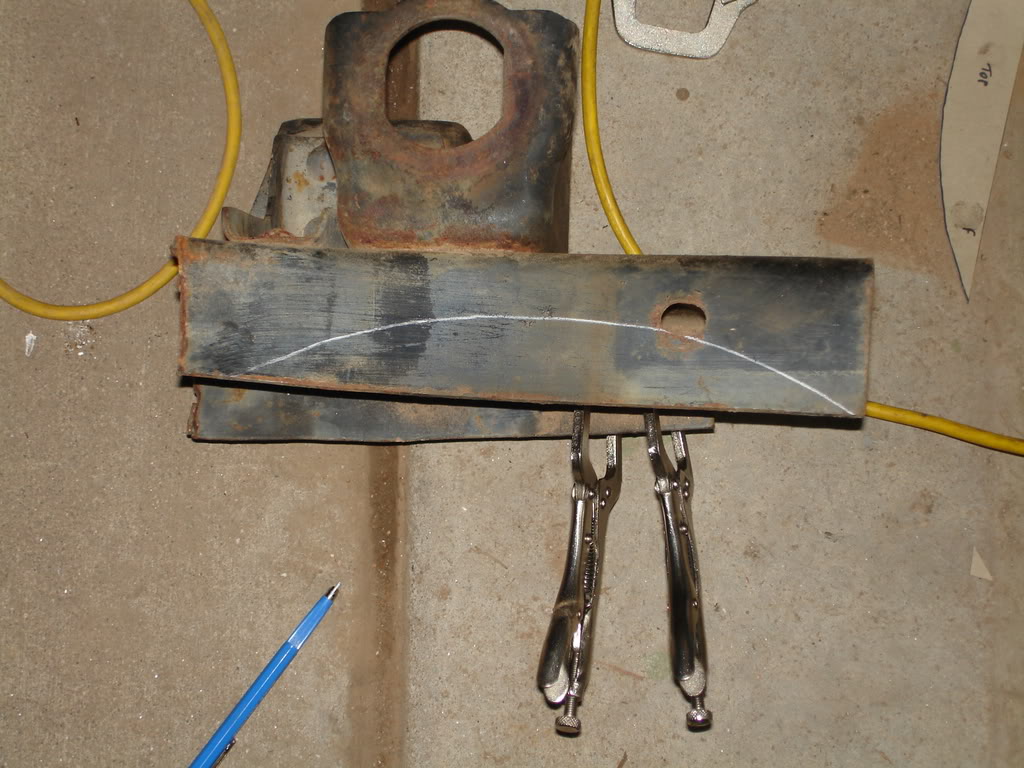
So I removed the "flare"
Made a template
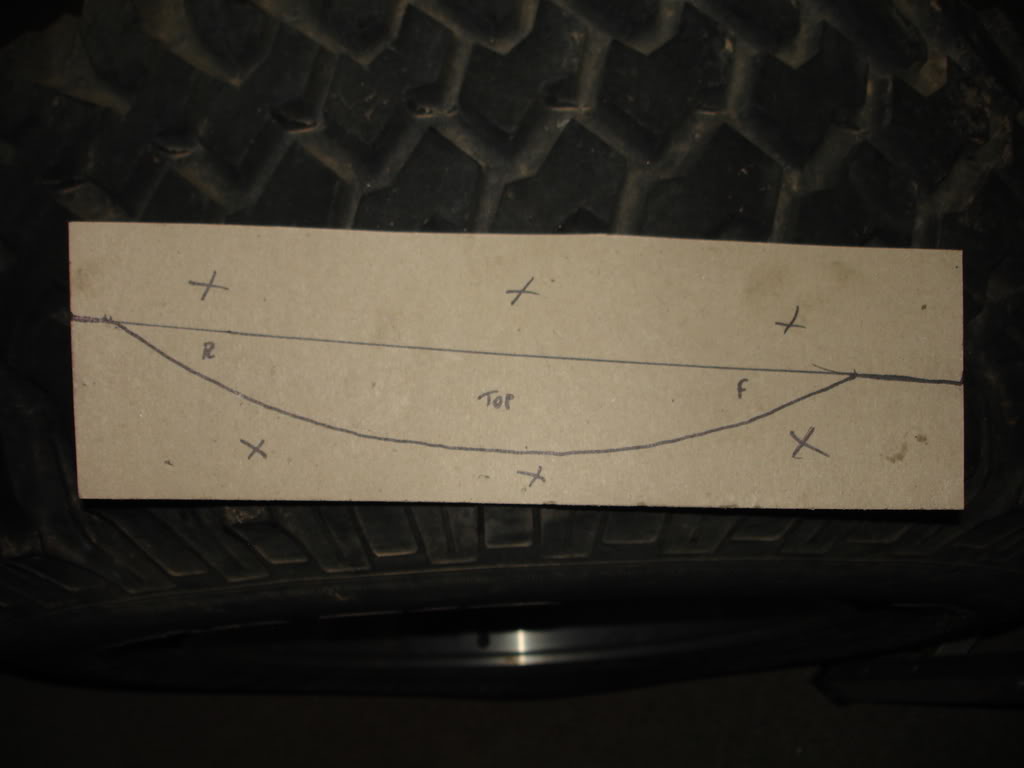
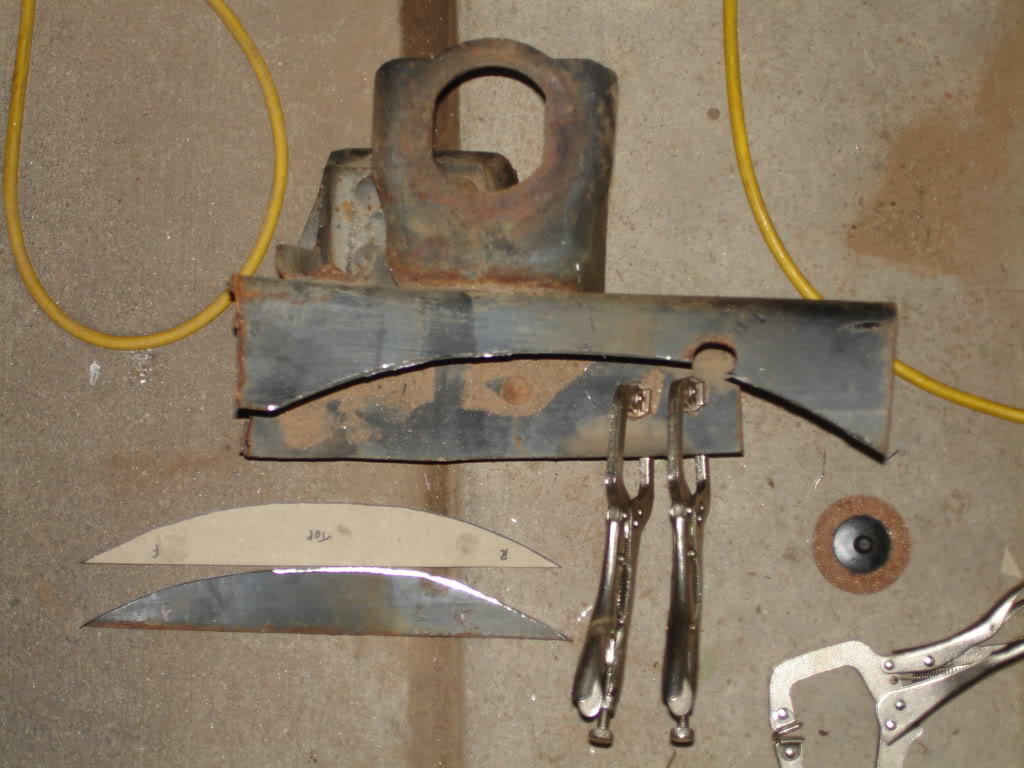
My personal machinist Russ, alias BadDog, hooked me up with a chunk of frame to make a filler piece out of so it would be of similar metallurgy.
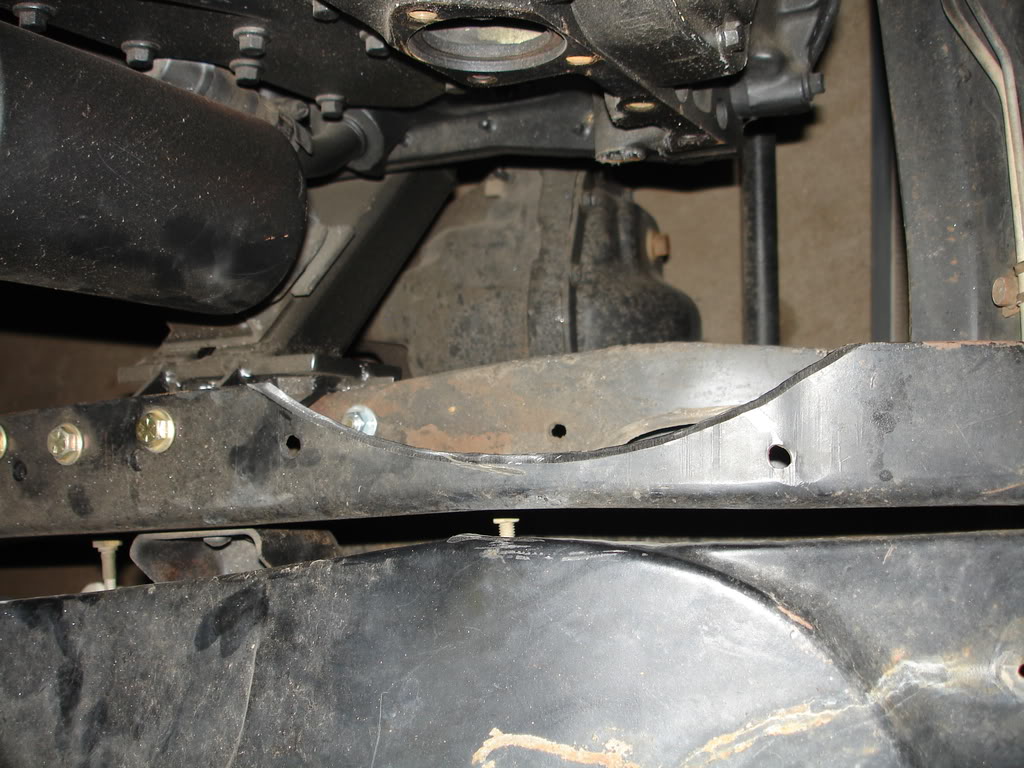
I then cut it out
Then welded it in and painted it. It is hard to see in the pic, but the top of the frame rail is flat from left to right (inside to outside).

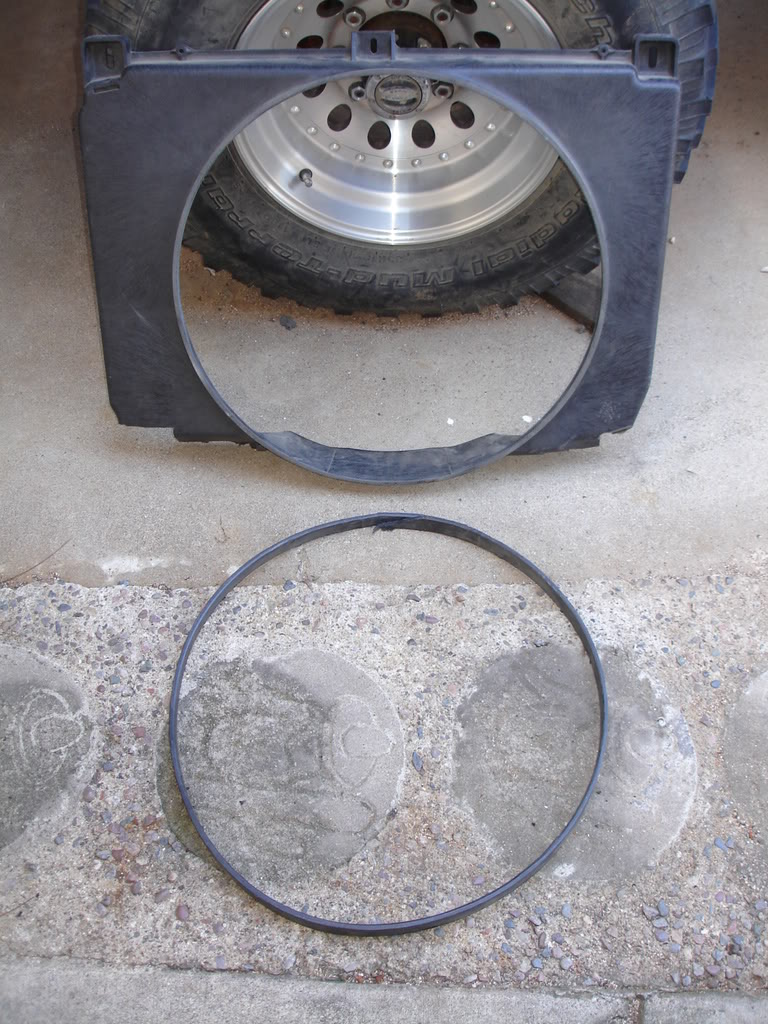
Then I got to work on the fan shroud. After I mounted the fan on the platinum plated, diamond encrusted fan hub I started taking some measurements. I was coming up with dimensions within 1/8" of the dimensions of the 73+ big block shroud I modified for the 454. Hmmm, this could work. I dropped it in for a test fit and it hit the crank pulley something fierce. So I took a couple measurements and determined removing one inch off the engine side of the shroud should make it fit. Hmmm, how to cut one inch off accurately so that it doesn't look like you mixed a twelve pack and a chainsaw to get your results. I thought about a few possible options and came up with one that worked pretty good. I put a miter gauge in my jigsaw and set it at one inch. Then I cut into it and spun the jigsaw around the inside diameter of the shroud cutting exactly one inch off of the shroud. I dropped it in for a trial fit and it passed. Fan blades are half in and half out just like they should be. I still have the stock viscous fan clutch on it in the pic.
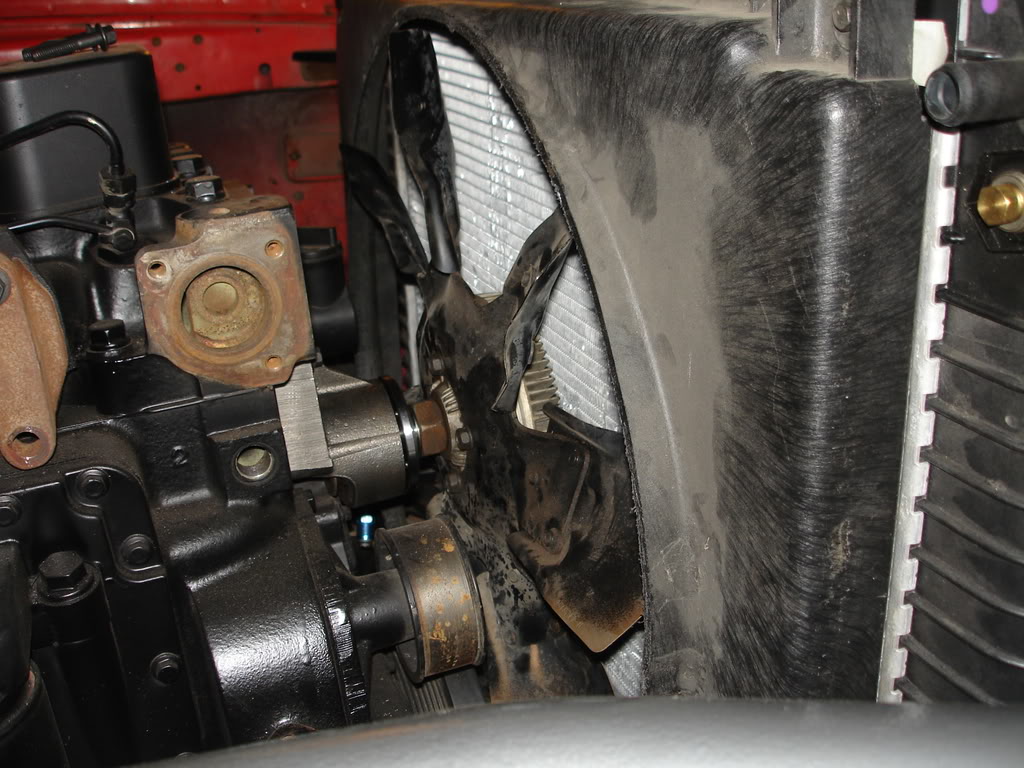
I know very little about working with plastics, so I did not know what to try to clean up the burrs from cutting and generally smooth out the surface. I threw a piece of 80 grit on the D.A. and got at it. Man, that worked friggin' sweet. Easiy cleaned it right up and was able the chamfer the edge to make it look nice.
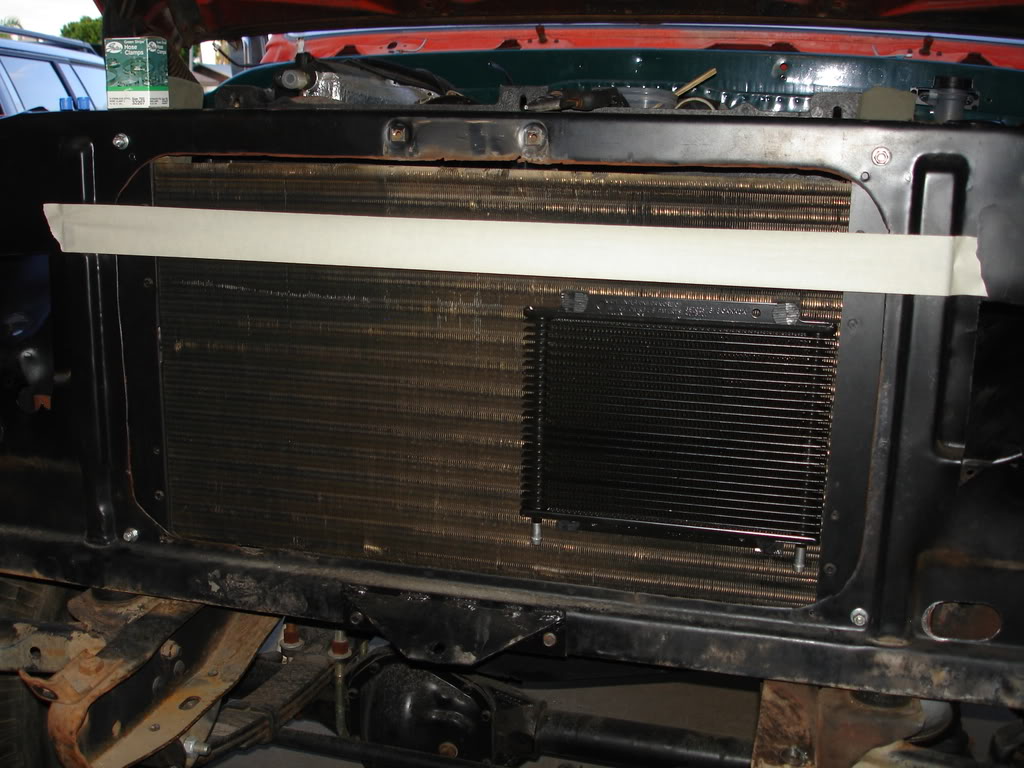
Lastly, I got my power steering cooler mounted. I wanted to mount it to the back of the intercooler, but the mounting was going to interfere with "future plans". I decided to mount it directly to the condenser. I did not want to, but my options were limited. It actually mounted up well and does not move at all, so there it stays. I also mounted the power steering filter, but I forgot to take a picture of it.